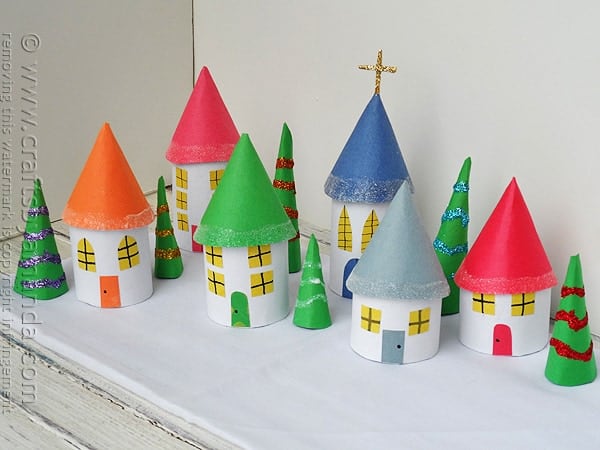
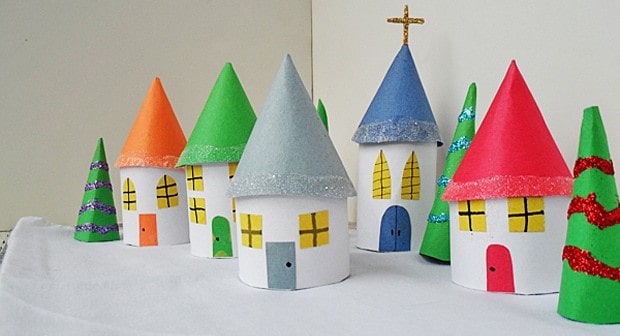
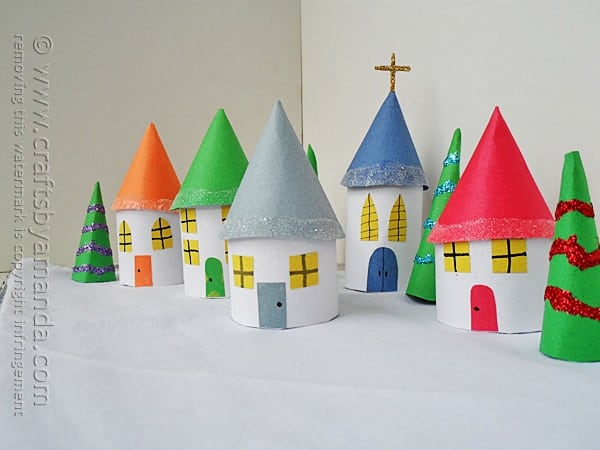
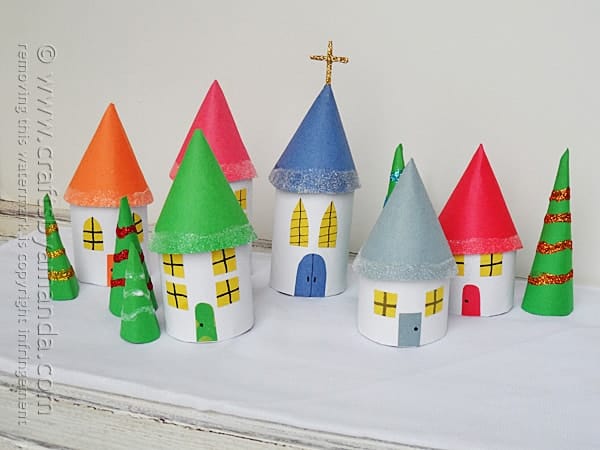
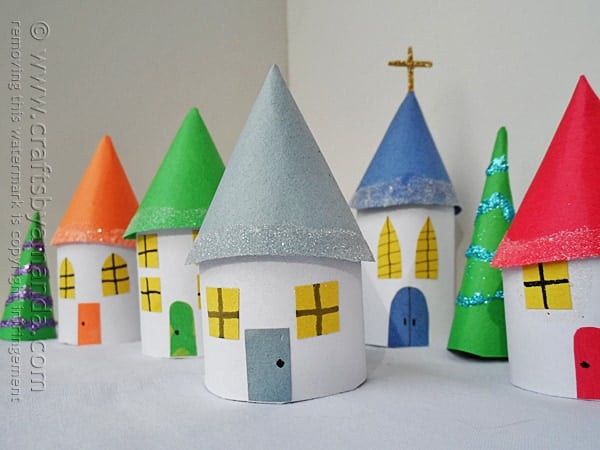
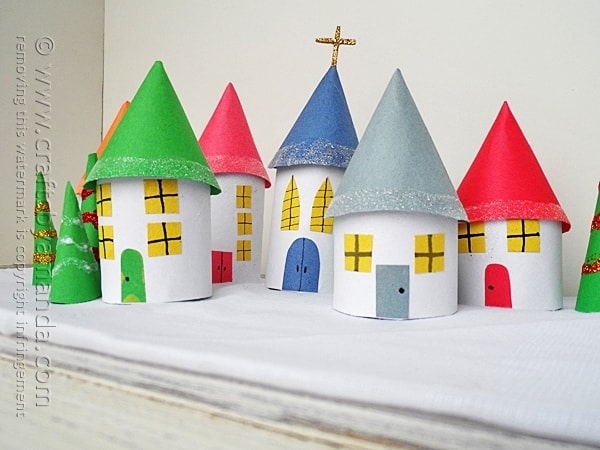
It’s amazing what you can make out of a recycled cardboard tube. Take this little Christmas village for example. I only have six buildings here, but imagine how expansive it could be! What an awesome classroom craft this would make, with every child making one building. You’d have a huge village to display for the holidays.
As a child I always went with my family to my aunt’s house for the holidays. At Christmas she had a huge display of beautiful houses, a post office, general store, and a church. It was gorgeous, but completely off limits to small hands. We were allowed to look, but not touch. I remember wanting my own village because it just seemed so magical!
I’ve always had that memory in the back of my mind, so I set out to recreate a holiday winter village that even little hands could touch. In fact, one that would need little hands to create it!
Sure, mom (or a big brother or sister) may need to help a little with the details, but this project has a “please touch” rule!
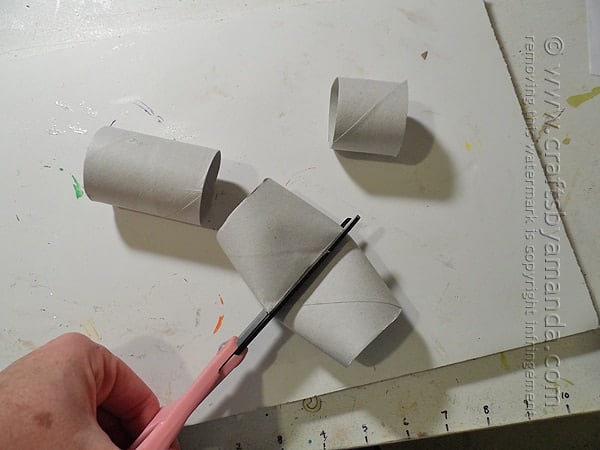
Start off by cutting the cardboard tubes in half, in thirds, etc. In other words, make varying heights so all the buildings aren’t the same size.
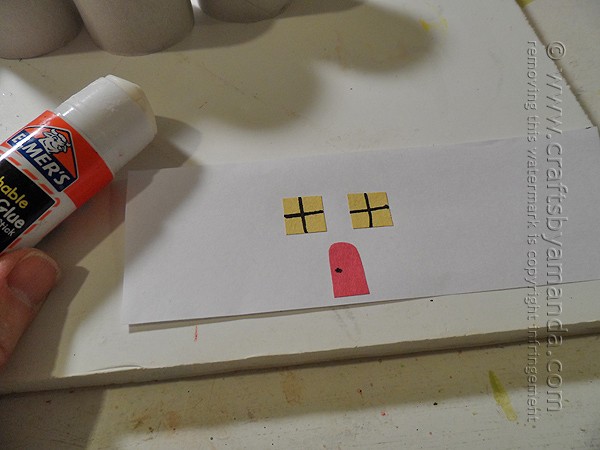
Use white construction paper to make the outside of the building. Use a glue stick to add construction paper windows and doors.
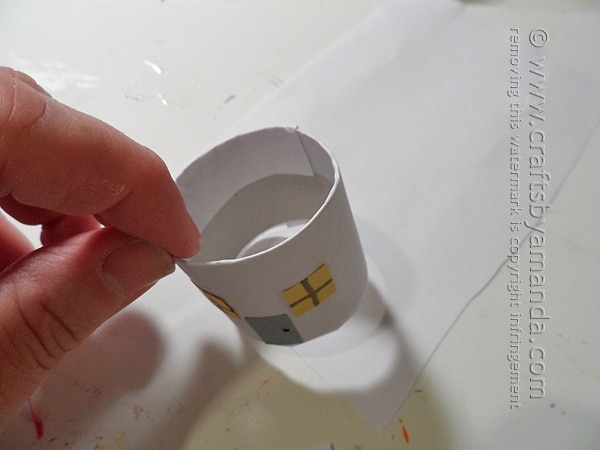
Don’t worry if you made the paper too big, just tuck it inside the tube.
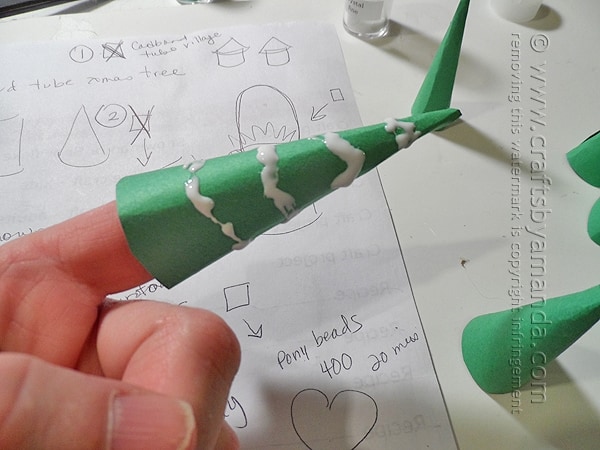
Make rooves by rolling construction paper into cones. You can make trees that way too, then decorate them with white craft glue and glitter!
Sky’s the limit. Make however many you want, however many make you happy. And kids, don’t be surprised if mom sits right alongside you making her own village. It’s fun for crafty adults too!
More Christmas Projects
- Coastal Branch Christmas Trees
- Decomesh Poinsettia Flower
- Wood Slice Christmas Tree
- Felt Christmas Tree Centerpiece
- Christmas Village Shadowbox
Cardboard Tube Christmas Village
Supplies
- 3 cardboard toilet paper tubes
- White paper
- Construction paper in various colors
- Black fine point marker
- 1 to othpick
- Glue stick
- Hot glue gun
- White craft glue
- Glitter in various colors including white
Instructions
- Cut cardboard tubes into two pieces each. Cut one evenly in half, the other two cut so that you have two large pieces and two small pieces. This will give you varied heights for the buildings.
- Cut white paper into 6-inch long pieces, the height should be about an inch taller than each tube.
- Cut out doors from colored construction paper and add a door knob using marker. Cut out small squares for windows from yellow construction paper. Use marker to draw window lines. Use glue stick to attach windows and doors to the white paper strips.
- Cover the back of the white paper with your glue stick then attach it to the cardboard tube. Fold the excess paper inside the tube and secure.
- Use colored construction paper to make simple cone shapes for roofs and hot glue them in place.
- Make trees from green construction paper. Use a small paintbrush to "draw" on a few lines going around the trees and sprinkle with glitter. Knock off excess.
- Use a small paintbrush to paint glue along the edge of each building's roof and sprinkle with white glitter. Knock off excess.
- For the church, cut the ends off of a toothpick to make them blunt. Cut toothpick in two pieces, one longer than the other. Hot glue the toothpick into a cross and glue the long end inside the top of the church roof. When dry, paint the cross with white glue and sprinkle with gold glitter, tap off excess.
- Watercolor Luminaries - February 11, 2025
- Free Valentine Printables: Cards, toppers, and tags - February 4, 2025
- Valentine Hugs - January 31, 2025


Dot morin says
Good for kids, but, confused elderly need more instructions like dementions and HOW to make the cones in different sizes.
Meglila says
Hi there!
Waiting for Advent 2015 :-)
anastasia says
Great village!Amazing winter idea!!!
hugs
Amanda Formaro says
Thank you anastasia!