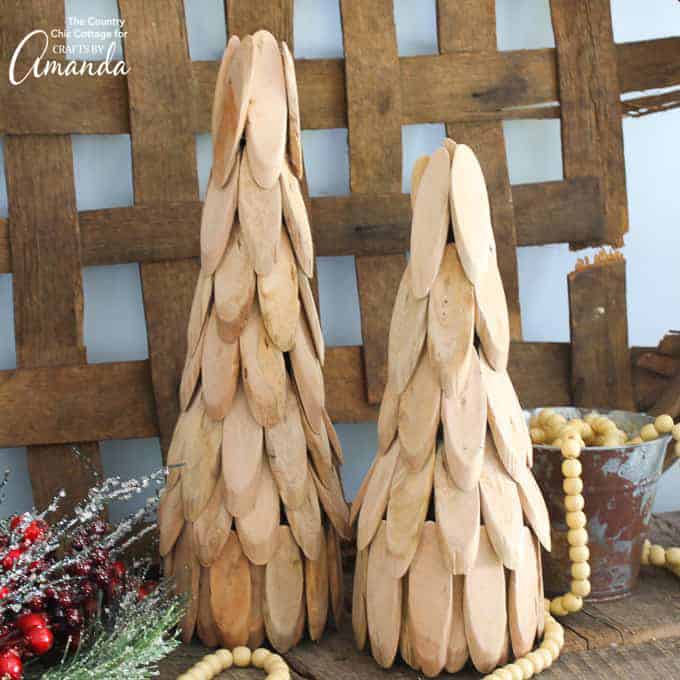
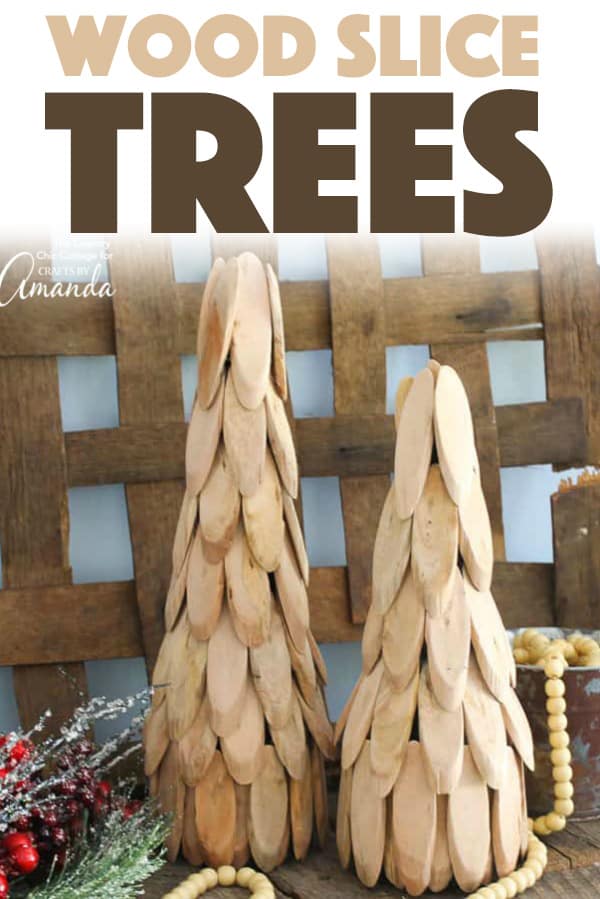
If you love all things rustic, you might want to make some wood slice trees for your Christmas decor. They are easy to make and you will love adding a few of these to your mantel or even as a holiday centerpiece. So, grab your hot glue gun and some wood slices to bring these cute trees to life.
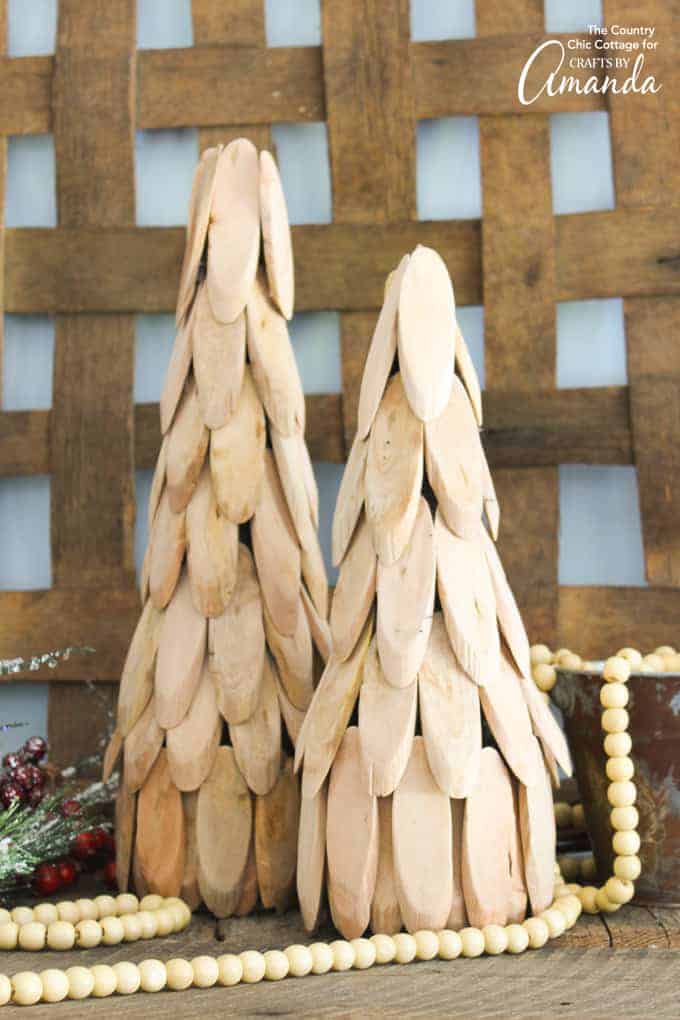
Wood Slice Trees
I love all things rustic and farmhouse at Christmas and these wood slice trees will fit in perfectly this year. I don’t know about you, but I can’t wait to get up my decorations and really deck the halls. So, if you want to get a head start, make up a few of these trees today!
Related: Want to make some more rustic farmhouse Christmas decorations? Try making these rustic Christmas ornaments from wood spools and a Christmas gnome complete with a buffalo plaid hat.
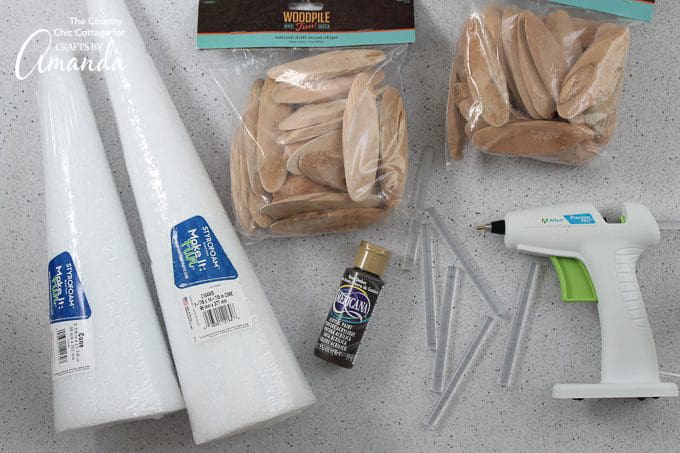
Supplies needed to make wood slice trees for Christmas:
- Wood slices (the version shown is from Hobby Lobby and two trees of this size will take 3 bags)
- Foam cones
- Hot glue and a glue gun
- Brown paint
- Paintbrush
How to make wood slice trees:
- Start by painting as many styrofoam cones as you would like with the brown paint. This ensures that any foam peeking out from your wood slices still looks okay on your final wood slice trees.
- Allow these to dry completely.
- Then use hot glue to adhere wood slices to the cone. I used two rows of slices around the bottom of the cone to cover the styrofoam completely.
- Then continue up the cone with additional rows hot gluing as you go.
- End with your top row where you wood slices should touch each other to complete the look of your rustic tree.
How many of these wood slice trees will you make this year? I may stop at these two but making even more might just be on the agenda this year! These are seriously the perfect way to add some rustic, farmhouse flair to your Christmas decor.
For another fun Christmas craft, our colorful, glittery candy cane Mason jar luminary is a festive way to add some twinkling warmth to your Christmas decorating.
And we have a whole collection of Christmas decor ideas as well to browse through! Merry Christmas and happy holidays!
More Christmas Projects
Wood Slice Trees for Christmas
Supplies
- Wood slices the version shown is from Hobby Lobby and two trees of this size will take 3 bags
- Foam cones
- Hot glue and a glue gun
- Brown paint
- Paintbrush
Instructions
- Start by painting as many styrofoam cones as you would like with the brown paint. This ensures that any foam peeking out from your wood slices still looks okay on your final wood slice trees.
- Allow these to dry completely.
- Then use hot glue to adhere wood slices to the cone. I used two rows of slices around the bottom of the cone to cover the styrofoam completely.
- Then continue up the cone with additional rows hot gluing as you go.
- End with your top row where you wood slices should touch each other to complete the look of your rustic tree.
- Clay Pot Lighthouse - July 2, 2024
- Mason Jar Bird Feeder - April 9, 2024
- Fall Mason Jars - August 27, 2021





Leave a Reply