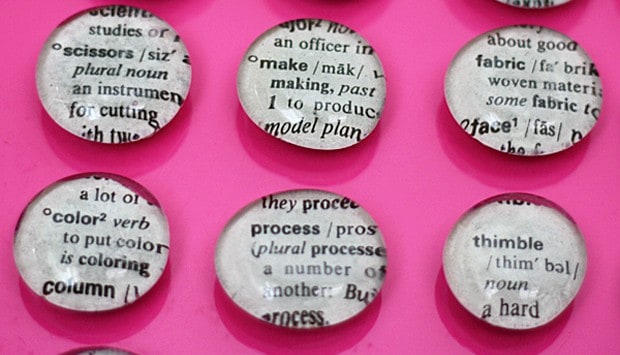
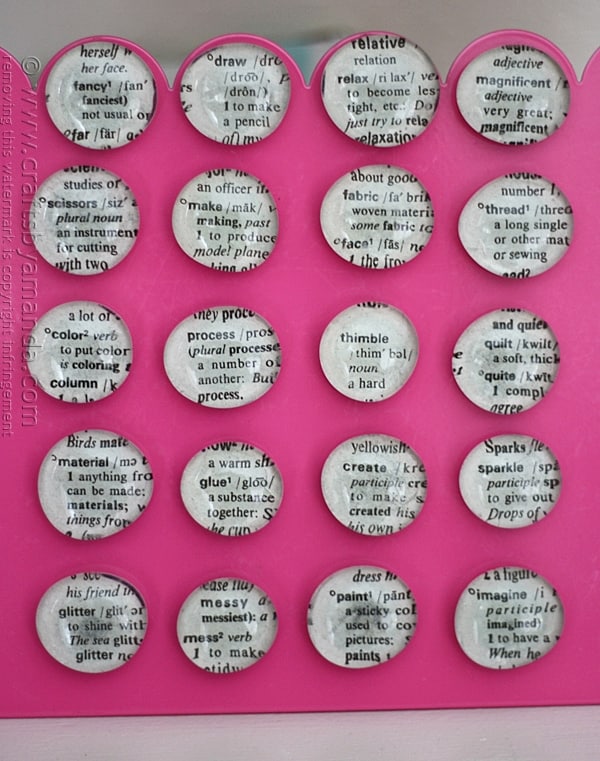
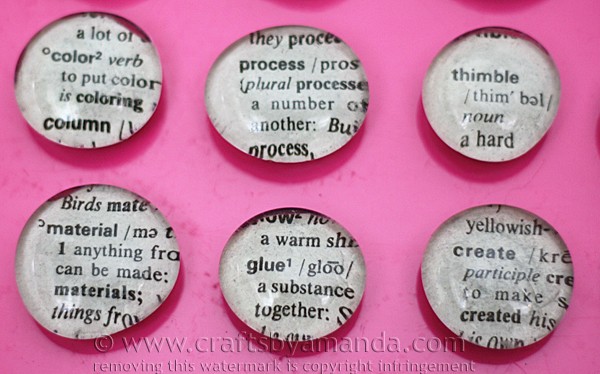
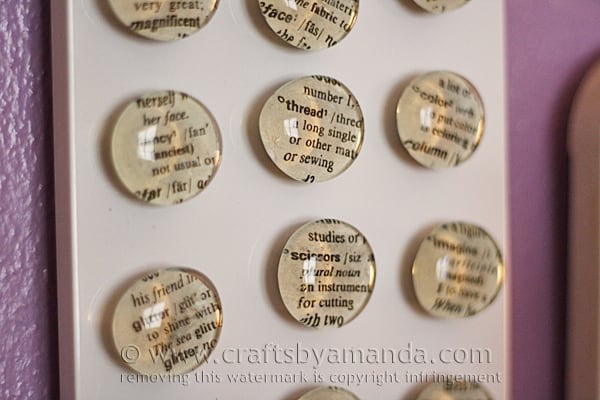
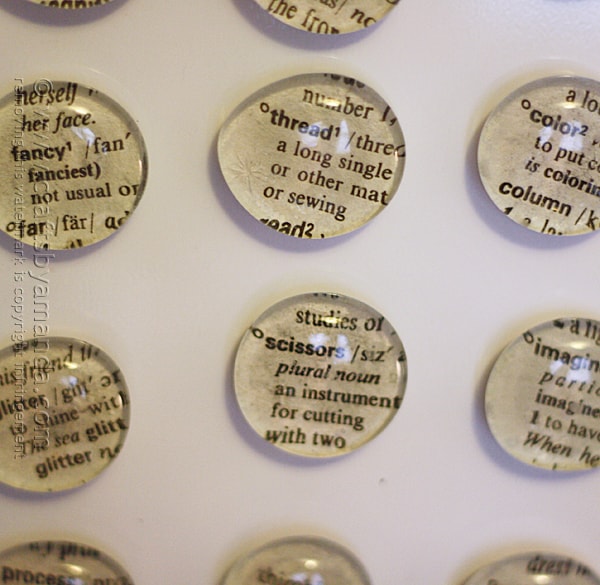
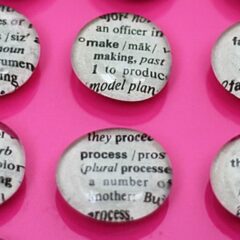
These fun and super easy magnets are made using flat marbles and dictionary pages. I used crafty words from the dictionary, but you could use any words you wanted. And the great thing about using dictionary pages is that they aren’t necessarily “girly” and would make great gifts for guys. Think of words that relate to his field of work so he can hang them on his filing cabinet or toolbox. Other ideas could be sports or hobby related words, see the end of this post for several suggestions!

A couple weeks ago I attended the CHA trade show in Anaheim, California. CHA (Craft & Hobby Association) is not open to the public, but rather to industry professionals, manufacturers, and the press. I’ll be sharing a recap of the show soon!
While I was there, I was in the DecoArt booth demonstrating how make these glass marble magnets to show attendees. This make & take was really fun, and the project is literally done in about 5 minutes. For many people that say down with me, it took them longer to choose what they wanted to put on the magnet than it did to actually make the magnet! I offered scrapbook paper, maps and the dictionary for people to use.
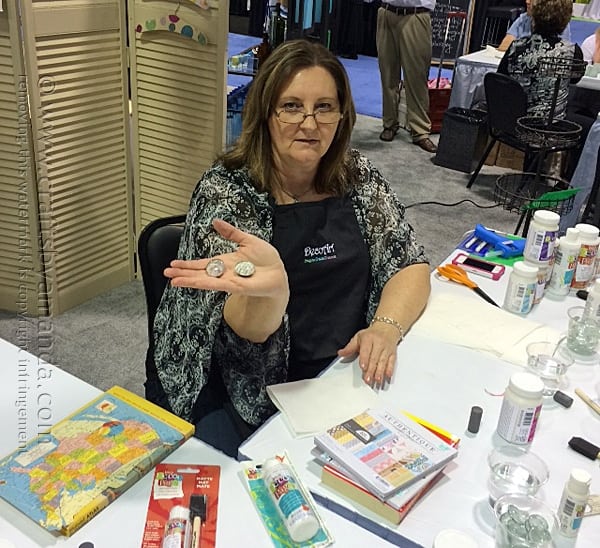
Photo courtesy of Jen Goode
It was a lot of fun, and best of all I was able to meet some online friends that I’ve been working with for a while. My good friend, Jen Goode of 100 Directions, took this picture of me in the booth doing the make & take. I’ll have more pictures of Jen and I in my CHA recap later.
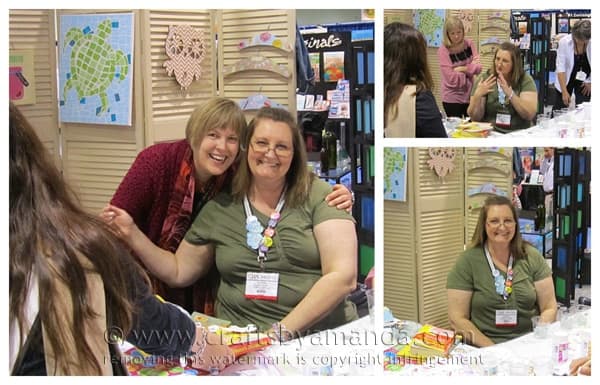
Photos courtesy of Sharon Currier
On the last day I was able to meet Sharon Currier of Crafts & Coffee. Sharon works with Styrofoam brand and we’ve been chatting back and forth online for a couple of years. It was great to finally meet her! She stopped by the DecoArt booth while I was demonstrating.
So anyway… as I was doing the make & take, I was asking people for crafty words. So thank you to all the visitors who helped me come up with the words to use!
I had a lot of fun making these and talking to all that sat down at the table with me. I really wish I would have had time to take pictures of each of them with their finished magnets!
Now, let’s get started, I’ll show you how you can make these. At the end of this post, I’ll give you some suggestions for using the dictionary for these and I’m sure you’ll have plenty of ideas of your own as well.
NOTE: Several people asked if I had a circle punch, which I did not. So if you have one that will work for the size of your glass marbles, by all means feel free to use it.
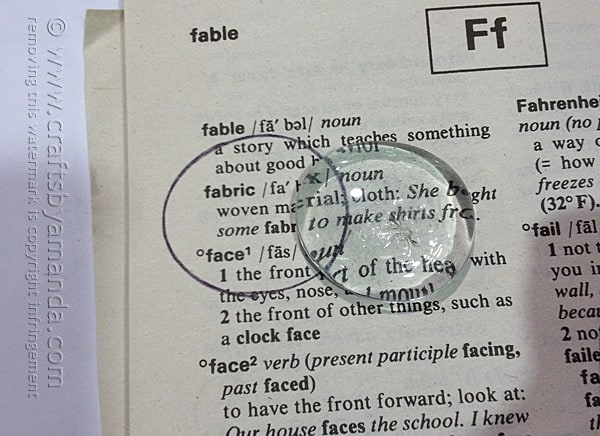
Start out by identifying the word you want to use. Place your glass marble over the top of the word and trace it with a pen.
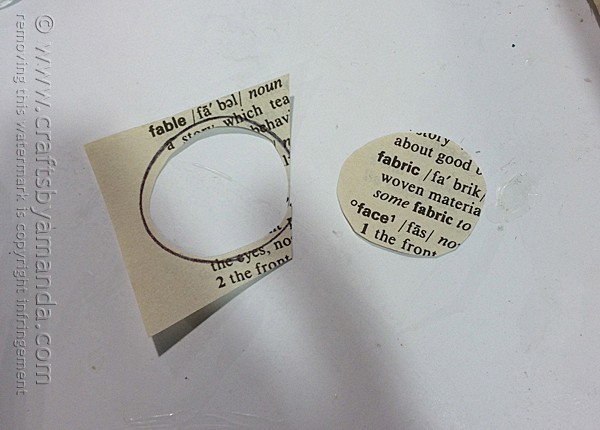
Cut the circle out, but cut inside the circle by about 1/8-inch. You want the paper to be small enough to fit on the back without any paper overlapping or sticking out the sides.
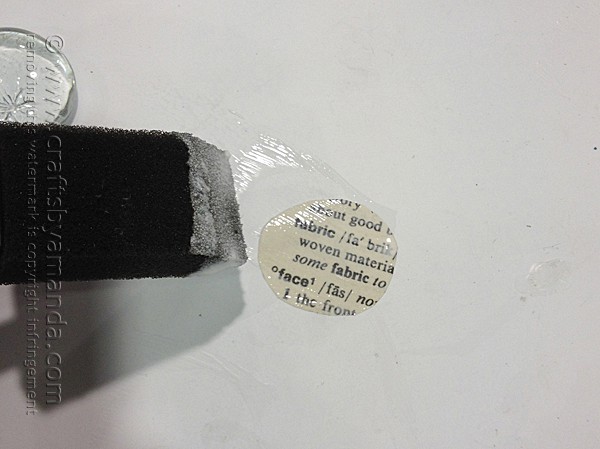
Use a sponge applicator to add a thin layer of decoupage medium to the front side of the paper (the side with your word).

Place the marble on top of the paper and press it down. You will have a short window of time where you can reposition the paper, so get it where you want it, then turn the marble upside down. Paint a thin layer of decoupage medium onto the back. Let that dry for a couple of minutes.
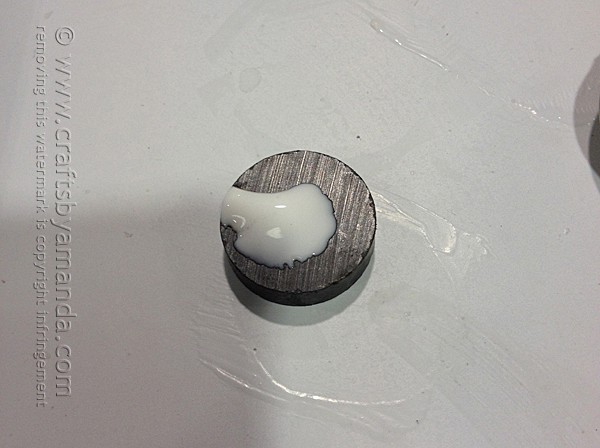
Add a “dollop” of decoupage medium to the back of your magnet.
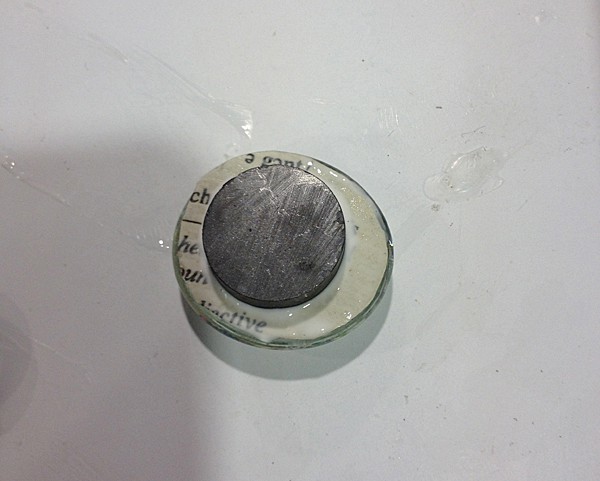
Place the magnet on the back of the marble and press it in place. Let it dry for about thirty minutes and you can hang it!
Ideas for Guys and More
I actually did have a few men sit down at the table. One struck me and made me realize that this was actually a great gift for men. His name was Jacob and he and his wife graced my table for about 20 minutes or so. They were full of energy and wit and I just loved them. They own Sweet Stamp Shop and I encourage you to have a look at their great designs. Turns out, Jacob chose the word “accountant” for his magnet. That’s his profession. Made complete sense and I knew these were perfect for guys. Here are a few suggestions, for guys and otherwise, I’m sure you’ll have plenty of ideas of your own!
Ideas for Professions
CPA/Finance: accountant, money, finance, numbers, calculate, taxes, fiscal, balance
Mechanic: tools, wrench, pliers, car, automobile, engine, transmission, grease, oil
Carpenter: hammer, nail, lumber, drywall, build, construct, house, wall, craftsman
Lawyer: legal, court, judge, plea, law, defense, prosecute, justice, ethics
Doctor: stethoscope, health, cure, humanitarian, scalpel, surgery, medical
Pilot: airplane, flight, jet, airport, fly, sky, clouds, travel, destination
Ideas for Sports Fans
Football: stadium, pigskin, leather, football, jersey, helmet, lineman, quarterback
Basketball: court, dribble, basketball, traveling, basket, hoop, tall, jump
Baseball: bat, baseball, glove, base, pitcher, bleachers, field, spring, cap
Hockey: hockey, puck, stick, ice, goalie, rink, winter, goal, helmet, fight
Holiday Ideas
Valentine’s Day: valentine, heart, love, sweet, caring, like, chocolate, cupid
Mother’s Day: mom, love, maternal, mother, mommy, child, caring, parent, compassion
Father’s Day: dad, daddy, father, hero, mentor, provider, caring, parent
Dictionary Magnets with Crafty Words
Supplies
- Round flat glass marbles can be found in the floral department, aka vase filler
- Dictionary
- Americana Decou-page I used matte finish
- Scissors
- Pen
- 3/4- inch round magnets
Instructions
- Go through the dictionary and find a word you would like to use. Place your glass marble over the top of the word and trace it with a pen.
- Cut the circle out, but cut inside the circle by about 1/8-inch. You want the paper to be small enough to fit on the back without any paper overlapping or sticking out the sides.
- Use a sponge applicator to add a thin layer of decoupage medium to the front side of the paper (the side with your word).
- Place the marble on top of the paper and press it down. You will have a short window of time where you can reposition the paper, so get it where you want it, then turn the marble upside down. Paint a thin layer of decoupage medium onto the back. Let that dry for a couple of minutes.
- Add a "dollop" of decoupage medium to the back of your magnet. Place the magnet on the back of the marble and press it in place. Let it dry for about thirty minutes and you can hang it!
Expert Tips & FAQs
I am a DecoArt Core Blogger. I was compensated for this post, but have always loved DecoArt products! Therefore, all opinions expressed here are 100% my own.
- Paper Plate Tropical Fish Craft - July 19, 2024
- Tropical Paper Flowers - July 16, 2024
- DIY Mosquito Repellent Candles - July 9, 2024


[email protected] says
So beautiful 😍 and u explained it very nicely….thank u🌻
Paula says
I’m in the process of building my ancestral tree (on paper). Now I’m going to build my ancestral tree using these marbles using their faces or a part of their handwriting, or their birth and death dates. I’ll have the tree on my refrigerator and it will be like having dinner all together every day.
Judy says
I typed words from the computer such as PRAY LOVE FAITH to fit the size of the marble. Worked great for me!
Beth Hargett says
I love the idea of these dictionary magnets!! I’m going to get the supplies tomorrow and my grandson and I are going to make these for his teacher gift! Thank you so much for sharing this! #BestIdeaEver
Amanda Formaro says
Thanks Beth! These are one of my favorites and I think probably the most universal and versatile gifts ever! ;)
Debbie R. says
I’m curious about how these hold up over time. Decoupage medium doesn’t sound strong enough for keeping the magnets attached as it is usually 50% water and 50% glue.
Amanda Formaro says
Actually a true decoupage medium is not just water and glue, only homemade versions are :) Decoupage medium is a more complex mixture, making it a reliable glue as well as a sealer. These particular magnets are a year old now and I still use them everyday. They are hanging right here in my office. I have other magnets I have made over the years using Mod Podge and other decoupage mediums and have never had a problem with them. :)
Share says
I absolutely love all of your ideas and the way you explain them makes it easy to try! Would you have suggestions for an 8yo, 3rd grade boy to make crafts for market? we participate in Tampa Kids Market which are located in large Tampa Markets throughout the bay area. Kids apply, come up with a product, make, talk about, and sell at their own vendor tables (no fees!) My son came up with a neat bookmark idea because he loves to read and his little siblings love to grab bookmarks from their spots! Anyway he makes loops of ribbon with embellishment similar to Pandora charms… Lately he’s been trying to come up with other ideas. Id like to be able to show him several that are simple enough for him to add his own touches, and fun as he loves helping other children at the markets make crafts at his table too!
The Teacher Treasury says
I want to do this!!! How creative =)
Amanda Formaro says
Hope you have fun!
Juls says
I love these! I’ll definitely be giving them a try, so good I had to share on My Favourite Friday online finds! http://julshiddengems.blogspot.ie/2014/02/my-favourite-friday-online-finds.html
Juls x
Amanda Formaro says
Thanks so much for the feature Juls!
Angie | Big Bear's Wife says
These are so great! I love the “gift” word ideas!
Amanda Formaro says
Thanks Angie! I have lots swirling around in my head LOL
HawaiianLibrarian says
OMGosh this is a fabulous actvity for the older elementary and teen students at the library. Mahalo for sharing.
Amanda Formaro says
Thank you HawaiianLibrarian!
Shaina says
I love the idea of using a dictionary for this craft. Now I want to make all the magnets.
Amanda Formaro says
Thanks Shaina, definitely fun!