Bees are fascinating little creatures and they are extremely important to our ecosystem. The coming of summer means there will be bees, and if you have little ones around it’s important to teach them respect for these beautiful flying insects.

Make a Spinning Bee Craft
Warmer weather means that kids will be spending a lot more time outdoors. This is the perfect time of year to talk to kids about bees and how important they are. Did you know that about one-third of the food we eat each day relies mostly on pollination from bees?
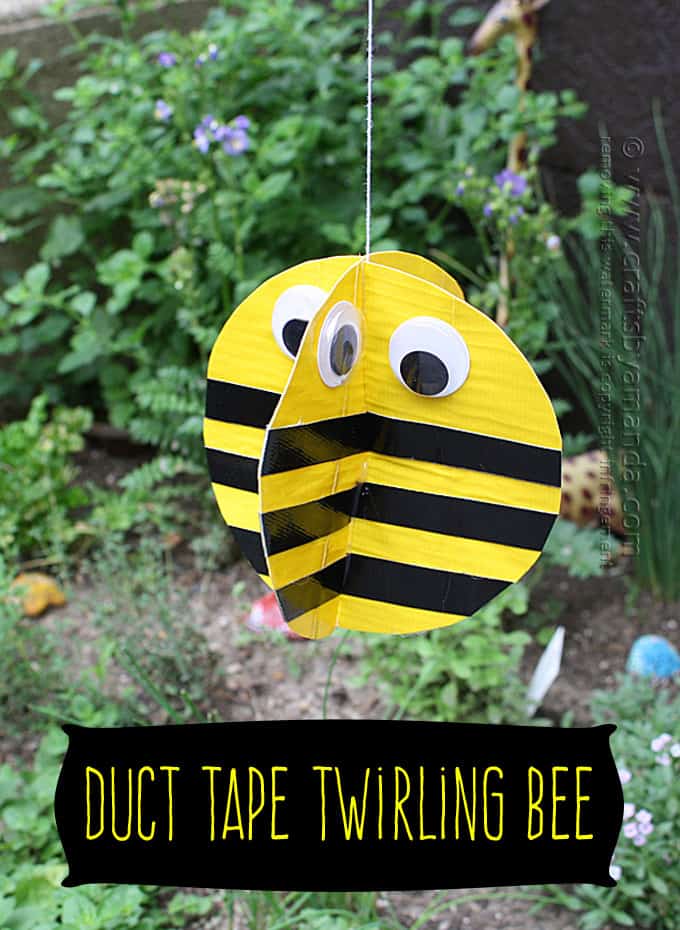
So let’s celebrate the bee by using some duct tape and a little string to make this fun whirling, twirling bee craft for your garden. Check out the short video above for a quick demo of what we’re making today!
Related: Try our twirling paper monsters for a fun monster birthday or Halloween, or these Twirling Lovebugs for a Valentine’s themed craft!
As always, a full printable supply list and instructions are at the end of this post.
How To Make This Twirling Bee Craft
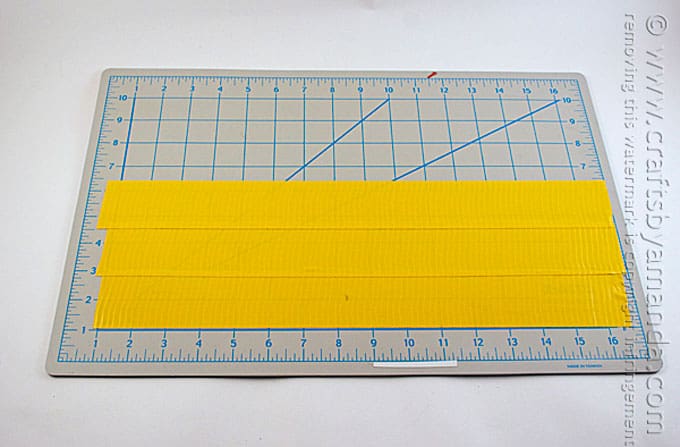
- Make a sheet of duct tape “fabric”. Measure and cut a strip of yellow tape on the cutting mat (for one bee you will need the sheet to measure 11-inches).
- Measure and cut a second piece the same length, overlapping it slightly over the first strip.
- Repeat one more time for a third strip.
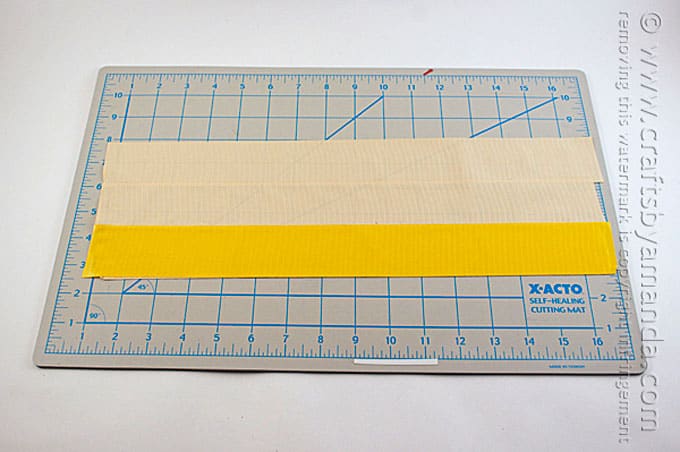
- Carefully lift the sheet of tape off the mat and turn it upside down so that the sticky side is facing up.
- Measure and cut a strip of tape and place it onto the bottom of the sheet, sticky side to sticky side.
- Continue with two more strips until you have a double sided sheet.
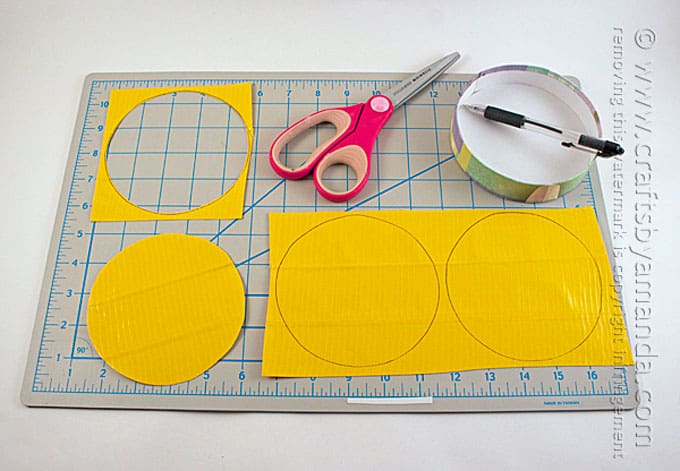
- Trace around your round object onto the tape sheet to get two circles.
- Use non-stick scissors to cut out the circles.
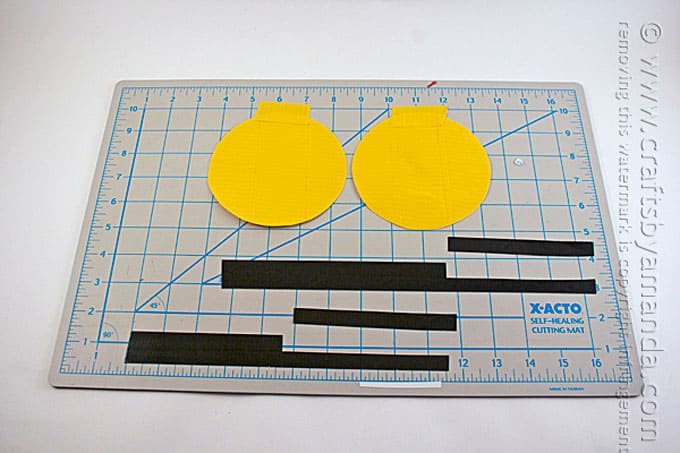
- Use two small pieces of tape to stick the circles, side by side, to the mat.
- Measure out a couple long strips of black electrical tape and use a craft knife to cut those strips in half lengthwise.
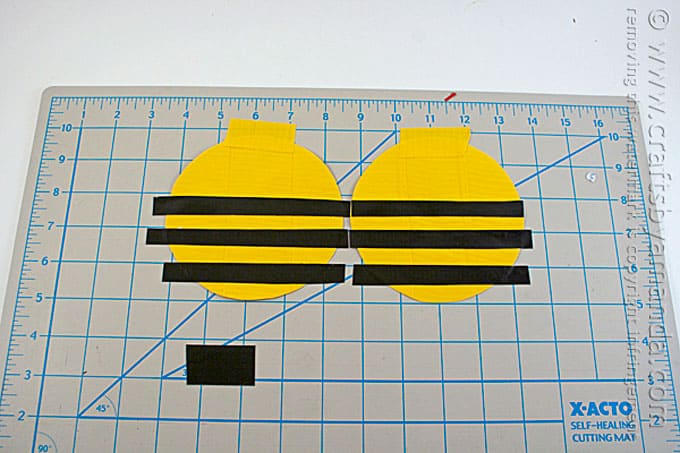
- Place strips of black tape across the bottom of each circle.
- Place a second strip above that and a third above that, leaving an equal amount of yellow tape showing between each strip.
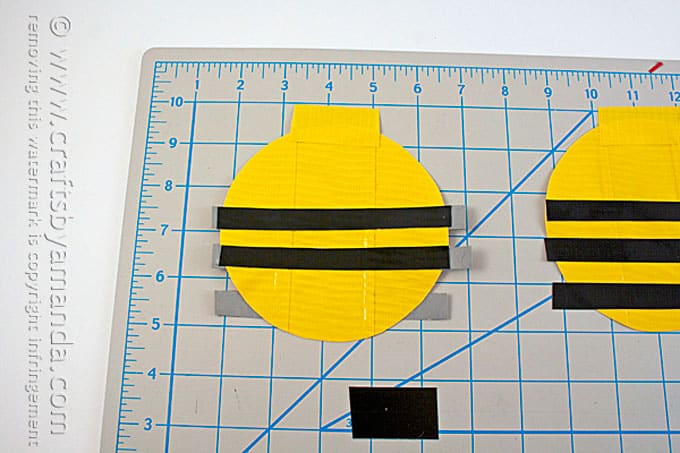
- Turn each circle over.
- Add black strips to the back.
- Use non-stick scissors to trim off the excess black tape around the circle.
- Repeat for other circle.

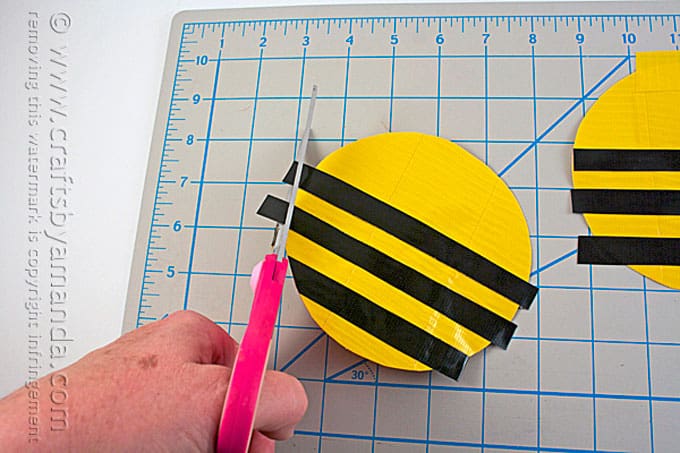
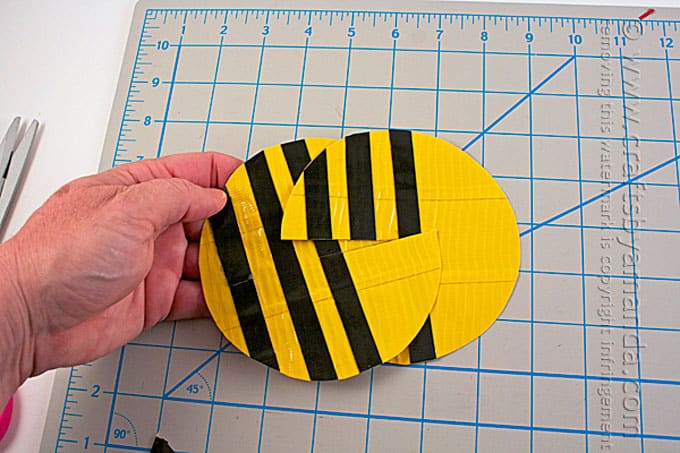
- In order for the bee’s stripes to line up properly when assembled, you will need to start off with the stripes opposite of each other.
- Place one circle with the stripes at the bottom, and turn the second one around so that the stripes are on top.
- Place one on top of the other.
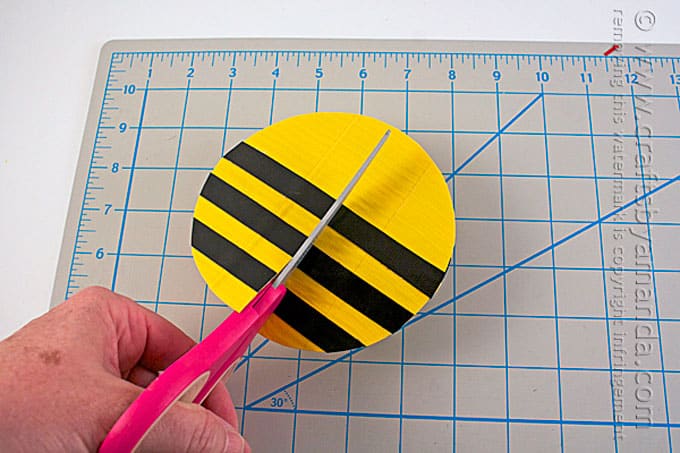
- Hold them together.
- Cut a slit through both circles until you reach the center of the circle.
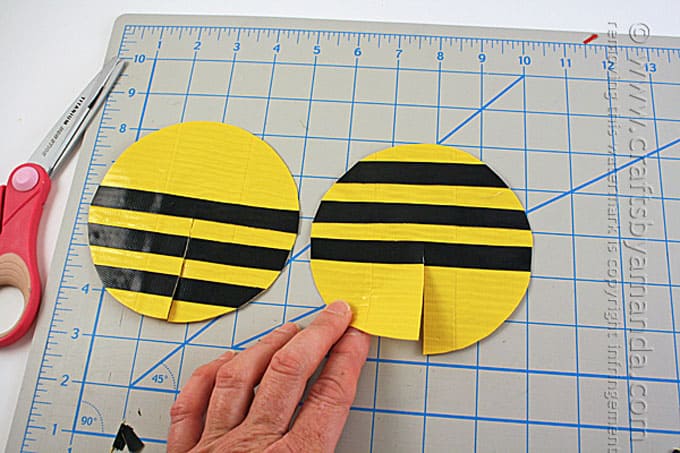
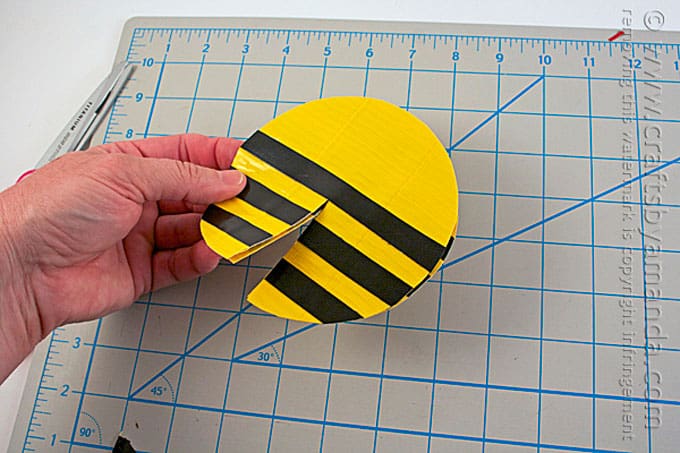
- When separated you will see that one has a cut through the solid yellow area and the other’s cut is through the stripes.
- This is important for the stripes to line up.
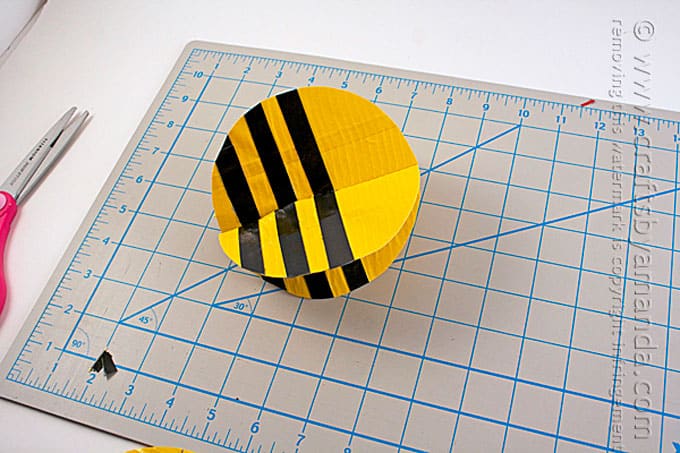
- Next, connect the two pieces by intersecting the slits.
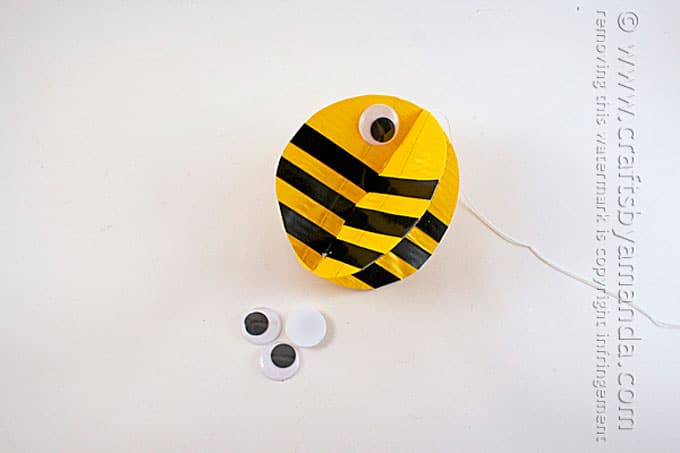
- Run a thin line of hot glue where the slits intersect to connect them together.
- Cut a piece of string and glue it in with the slits.
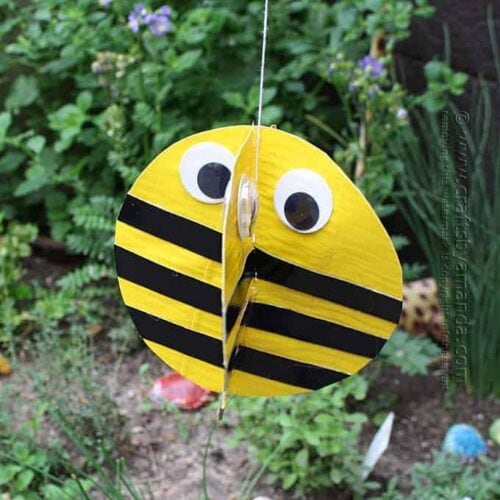
- Glue one googly eye to each yellow section.

All that’s left to do is hang the bee outside and let the breeze twirl it! Hope you enjoy this project, have fun!
More craft ideas
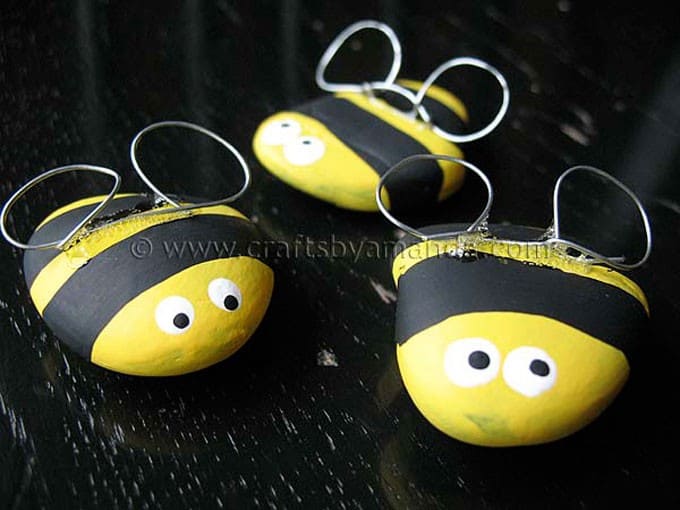
If you liked this bee craft, you might also want to try my Rock Bees!
Or if the twirling is what you find fun, try my Twirling Ladybugs too!

Duct Tape Twirling Bee
Supplies
- Yellow duct tape
- Black electrical tape
- String
- 8 large googly eyes
- Tools: cutting mat non-stick scissors, craft knife, hot glue gun, pen
Instructions
- You will also need something round, approximately 4 1/2" in diameter. I used the lid from a paper mache gift box, but a small paint can will work, or a large oatmeal container.
- Make a sheet of duct tape "fabric". Measure and cut a strip of yellow tape on the cutting mat (for one bee you will need the sheet to measure 11-inches). Measure and cut a second piece the same length, overlapping it slightly over the first strip. Repeat one more time for a third strip.
- Carefully lift the sheet of tape off the mat and turn it upside down so that the sticky side is facing up. Measure and cut a strip of tape and place it onto the bottom of the sheet, sticky side to sticky side. Continue with two more strips until you have a double sided sheet.
- Trace around your round object onto the tape sheet to get two circles.use scissors to cut out the circles.
- Use two small pieces of tape to stick the circles, side by side, to the mat. Measure out a couple long strips of black electrical tape and use a craft knife to cut those strips in half lengthwise.
- Place strips of black tape across the bottom of each circle. Place a second strip above that and a third above that, leaving an equal amount of yellow tape showing between each strip.
- Turn each circle over and add black strips to the back.
- Use scissors to trim off the excess black tape around the circle.
- In order for the bee's stripes to line up properly when assembled, you will need to start off with the stripes opposite of each other. Place one circle with the stripes at the bottom, and turn the second one around so that the stripes are on top. Place one on top of the other.
- Hold them together and cut a slit through both circles until you reach the center of the circle.
- When separated you will see that one has a cut through the solid yellow area and the other's cut is through the stripes.
- Next, connect the two pieces by intersecting the slits.
- Run a thin line of hot glue where the slits intersect to connect them together. Cut a piece of string and glue it in with the slits. Glue one googly eye to each yellow section.
- All that's left to do is hang the bee outside and let the breeze twirl it!
Video
This post originally appeared here on May 14, 2015.
- Swirling Twirling Ladybugs - July 21, 2026
- Drip Tie Dye Backpack - July 17, 2026
- Mini Coastal Clay Houses - July 14, 2026


Marilyn Caro says
Cute and great idea
Have a great day!
Marilyn❤
Michelle says
What a cute idea and a brilliant way to celebrate nature
Melanie (The Party Suite at Bellenza) says
This is so cute! Would make fun party decor at a bee themed birthday!
Nina Lewis says
This little bee is so cute!! You are so talented and creative! I’m so glad that you share all of your wonderful ideas.
Cindy Ware says
These are so clever! I’m going to make these even though I’m a ‘grown up’. 2 of my great grandkids think they are too old to do kid stuff, one is only 3-1/2 months. The only ones that would enjoy doing this live 8 hours away, lol