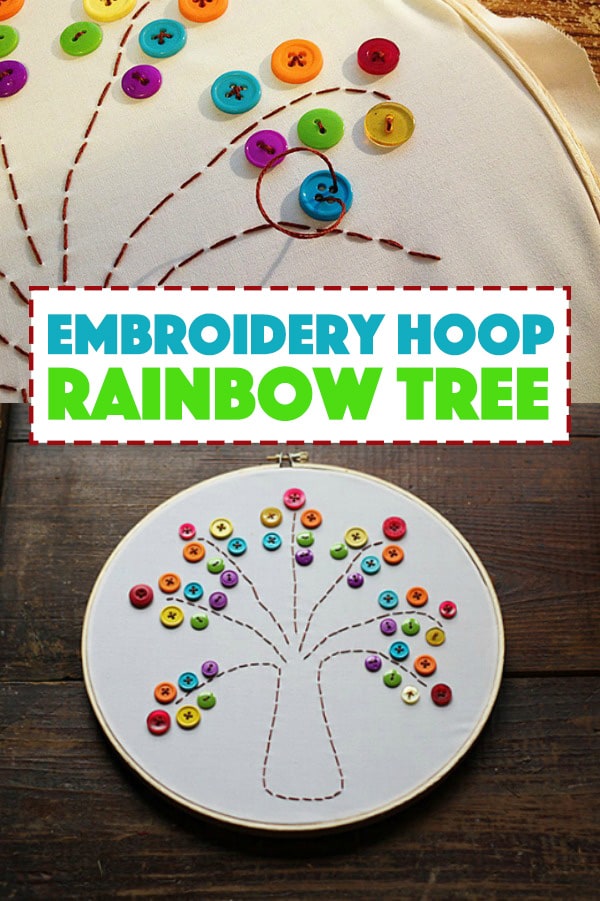
This embroidery hoop rainbow button tree is a great project to teach your kids the basics of sewing while creating a fun homemade art piece to hang on their wall!
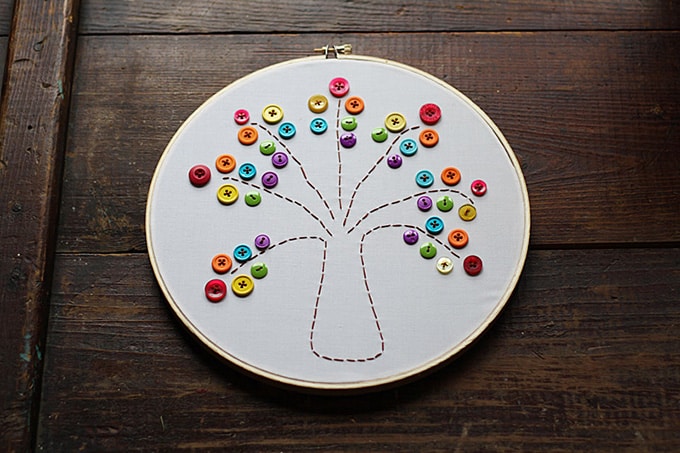
Embroidery Hoop Rainbow Tree
With spring on the horizon (I hope! We are still buried in snow and haven’t seen the ground since November!), I thought it would be a good time to share one of my favorite projects I’ve made for Kix Cereal thus far.
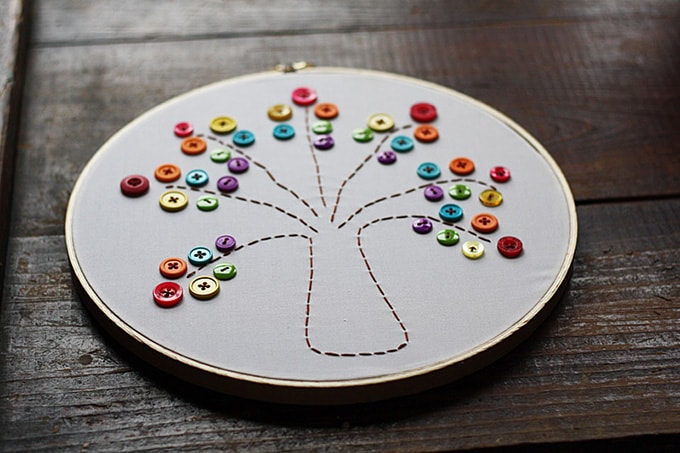
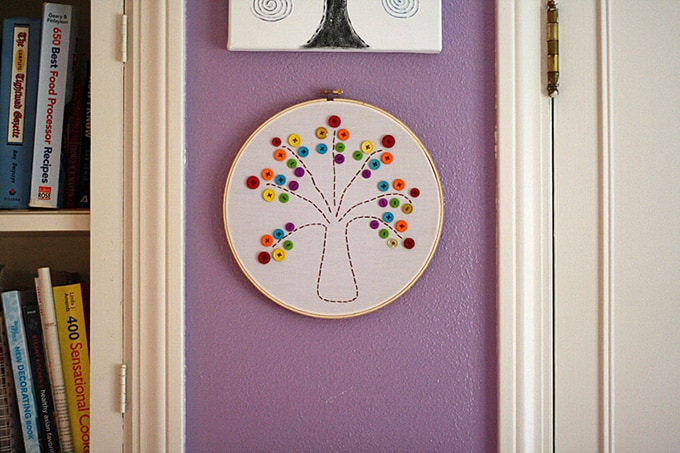
This rainbow tree is made using a recycled bed sheet, an embroidery hoop, buttons, and embroidery floss. It’s a great project for kids learning to use a needle and thread and makes for a wonderful piece of wall art. I have this rainbow tree hanging in my office so I can see it every day. I love it that much!
What you’ll need to make this rainbow tree
- 10-inch round embroidery hoop
- White cotton fabric (I used an old sheet)
- Brown embroidery floss
- Embroidery needle
- Buttons (7 of each color): red, orange, yellow, green, blue and purple
- Stick pins
- Hot glue gun
- Thimble
- Rainbow tree pattern
Parental supervision for this project is advised due to the use of embroidery needles, stick pins, and a hot glue gun.
How to make an Embroidery Hoop Rainbow Tree
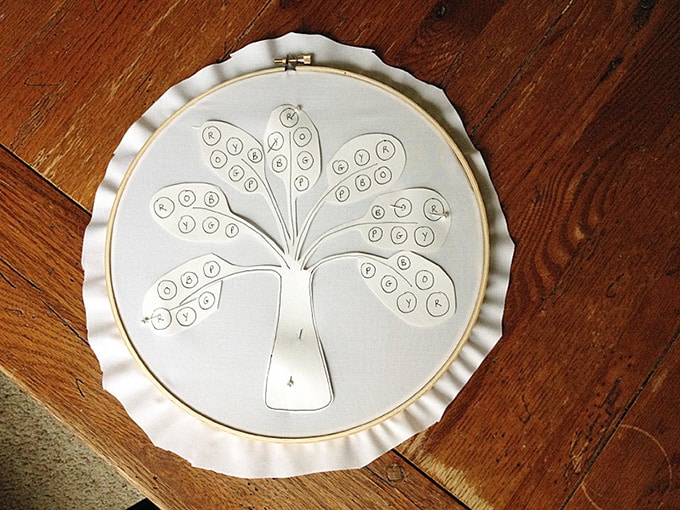
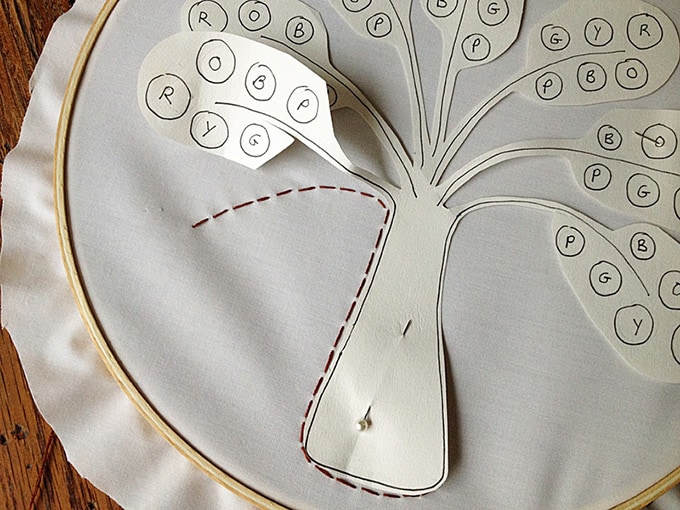
Place the fabric inside the embroidery hoop and pull it tight. Print out the pattern. Use scissors to cut around the shape of the tree trunk and the branches. Use stick pins to attach the pattern to the fabric in the embroidery hoop.
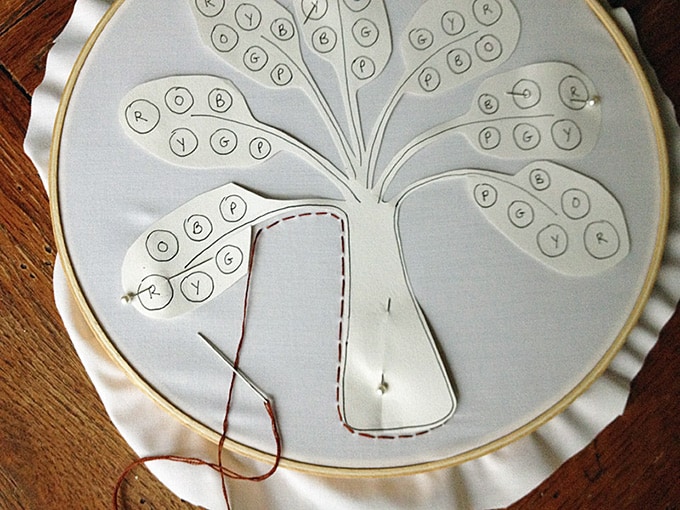
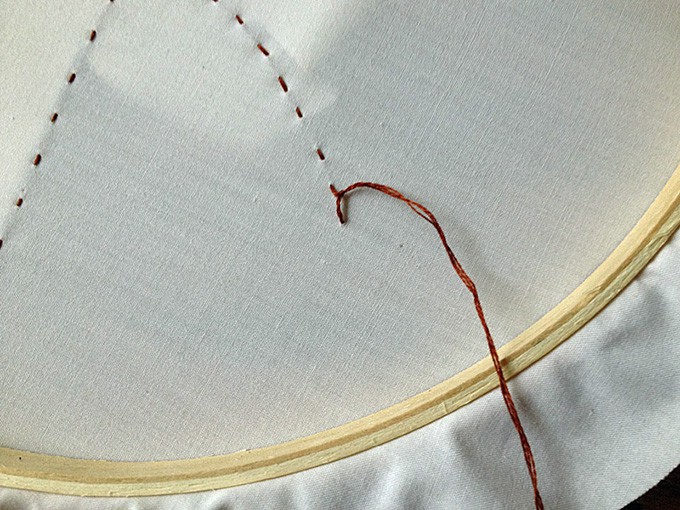
Separate the brown embroidery floss in half so that you have three threads. Thread the needle with the floss and put on your thimble. Begin sewing a running stitch around the outline of the tree trunk and up to the first branch (on left).
Carefully lift and move the branch section of the pattern out of your way to finish the branch stitch.
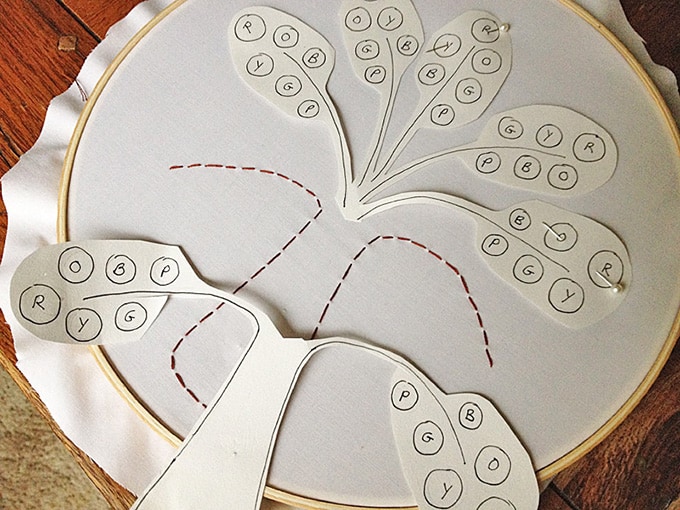
Snip and tie off the stitch in the back. Begin a new thread to finish the trunk and to make the first branch (on right).
Carefully cut off the bottom of the pattern so that you have room to stitch the remaining branches. Don’t throw that piece of the pattern away just yet though! You will need it for the placement of your buttons.
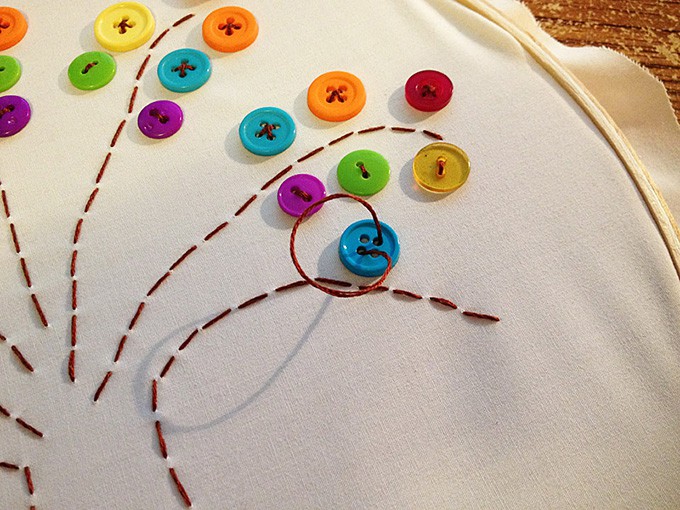
Once all of your branches are stitched, Begin sewing on the buttons. The pattern provides you with placement for each one so that they mirror the placement of the colors of the rainbow. You can certainly sew whatever colors you like!
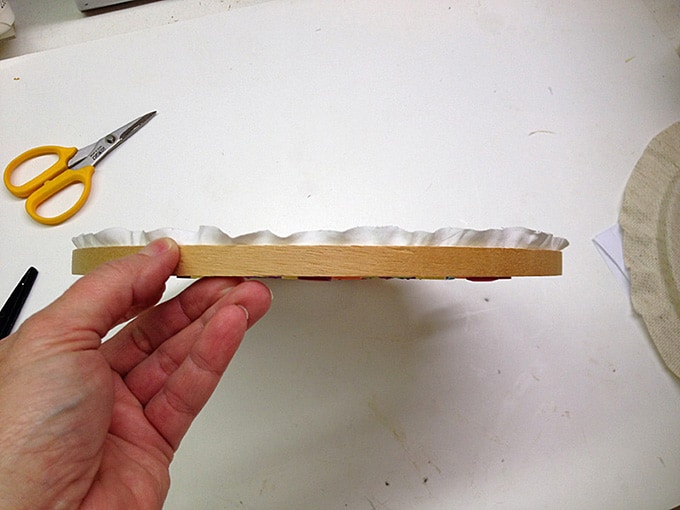
Once all of your buttons have been added, pull the fabric tight and make sure it looks the way that you want. Trim the excess fabric around the edge of the embroidery hoop. Hot glue the excess to the inside edge of the hoop to hide it from view.
Now you have a colorful decor piece to hang on the wall!
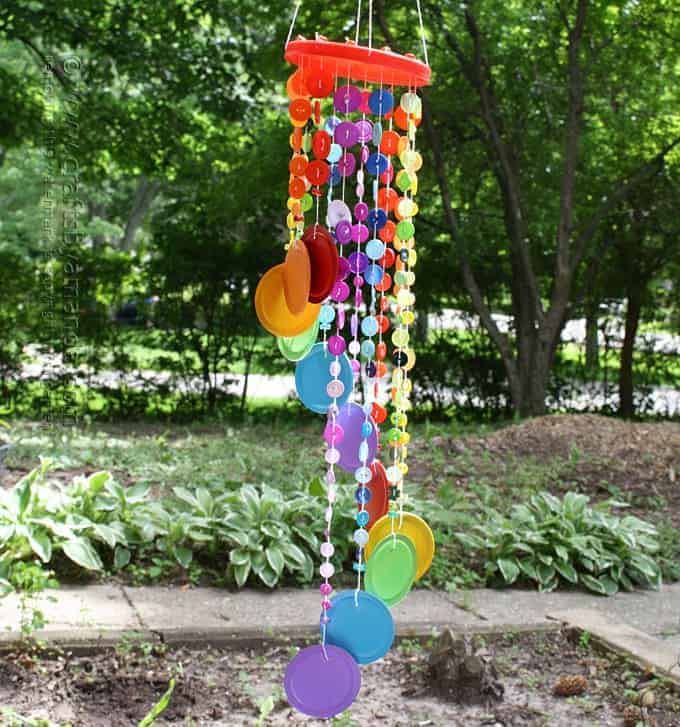
We can’t forget to mention this rainbow button wind chime made from recycled can lids and buttons! If you purchase a large pack of buttons for this rainbow tree project, be sure to save them for this colorful wind chime craft!
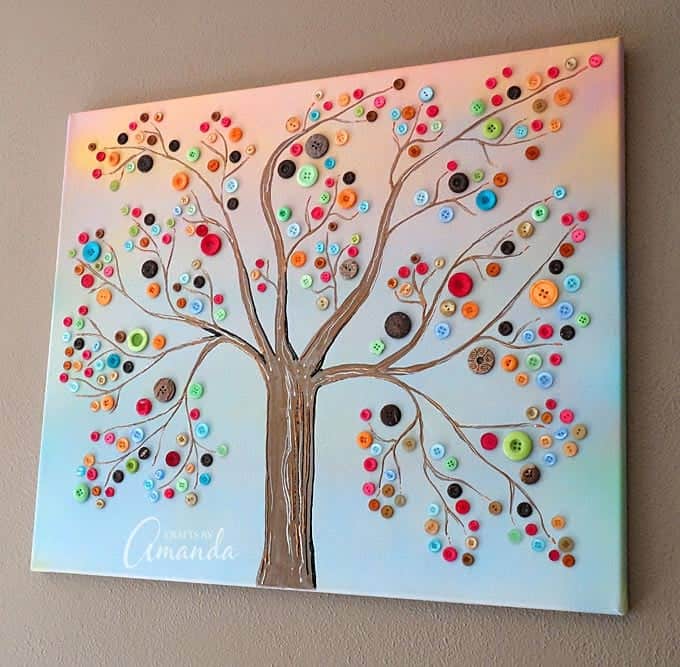
And lastly, similar to this embroidery hoop rainbow tree is this vibrant button tree on canvas! This project quickly became one of the most popular crafts on the blog.
The possibilities truly are endless with buttons! Be sure to check out my book, Button Mania for more fun button crafts!
I first created this craft for Kix Cereal, you can find the original post on it here.
This post was originally published here on Jan 19, 2014.
- Watercolor Luminaries - February 11, 2025
- Free Valentine Printables: Cards, toppers, and tags - February 4, 2025
- Valentine Hugs - January 31, 2025


Jayne says
I;m anxious to make one for myself. Then I’ll make one for each of my sisters for their birthday gift.
Beth says
Can you tell me what size buttons you used?
Amanda Formaro says
Hi Beth. Some are 3/8″ and some are 1/2″
Mabel Watson says
So cute!!
Jen says
I really really like this – there’s something so pretty about it. I wonder how this would translate into making this with an art class full of kids… maybe I should just keep it for myself :)
I love your ideas – thanks so much for posting them for everyone!