

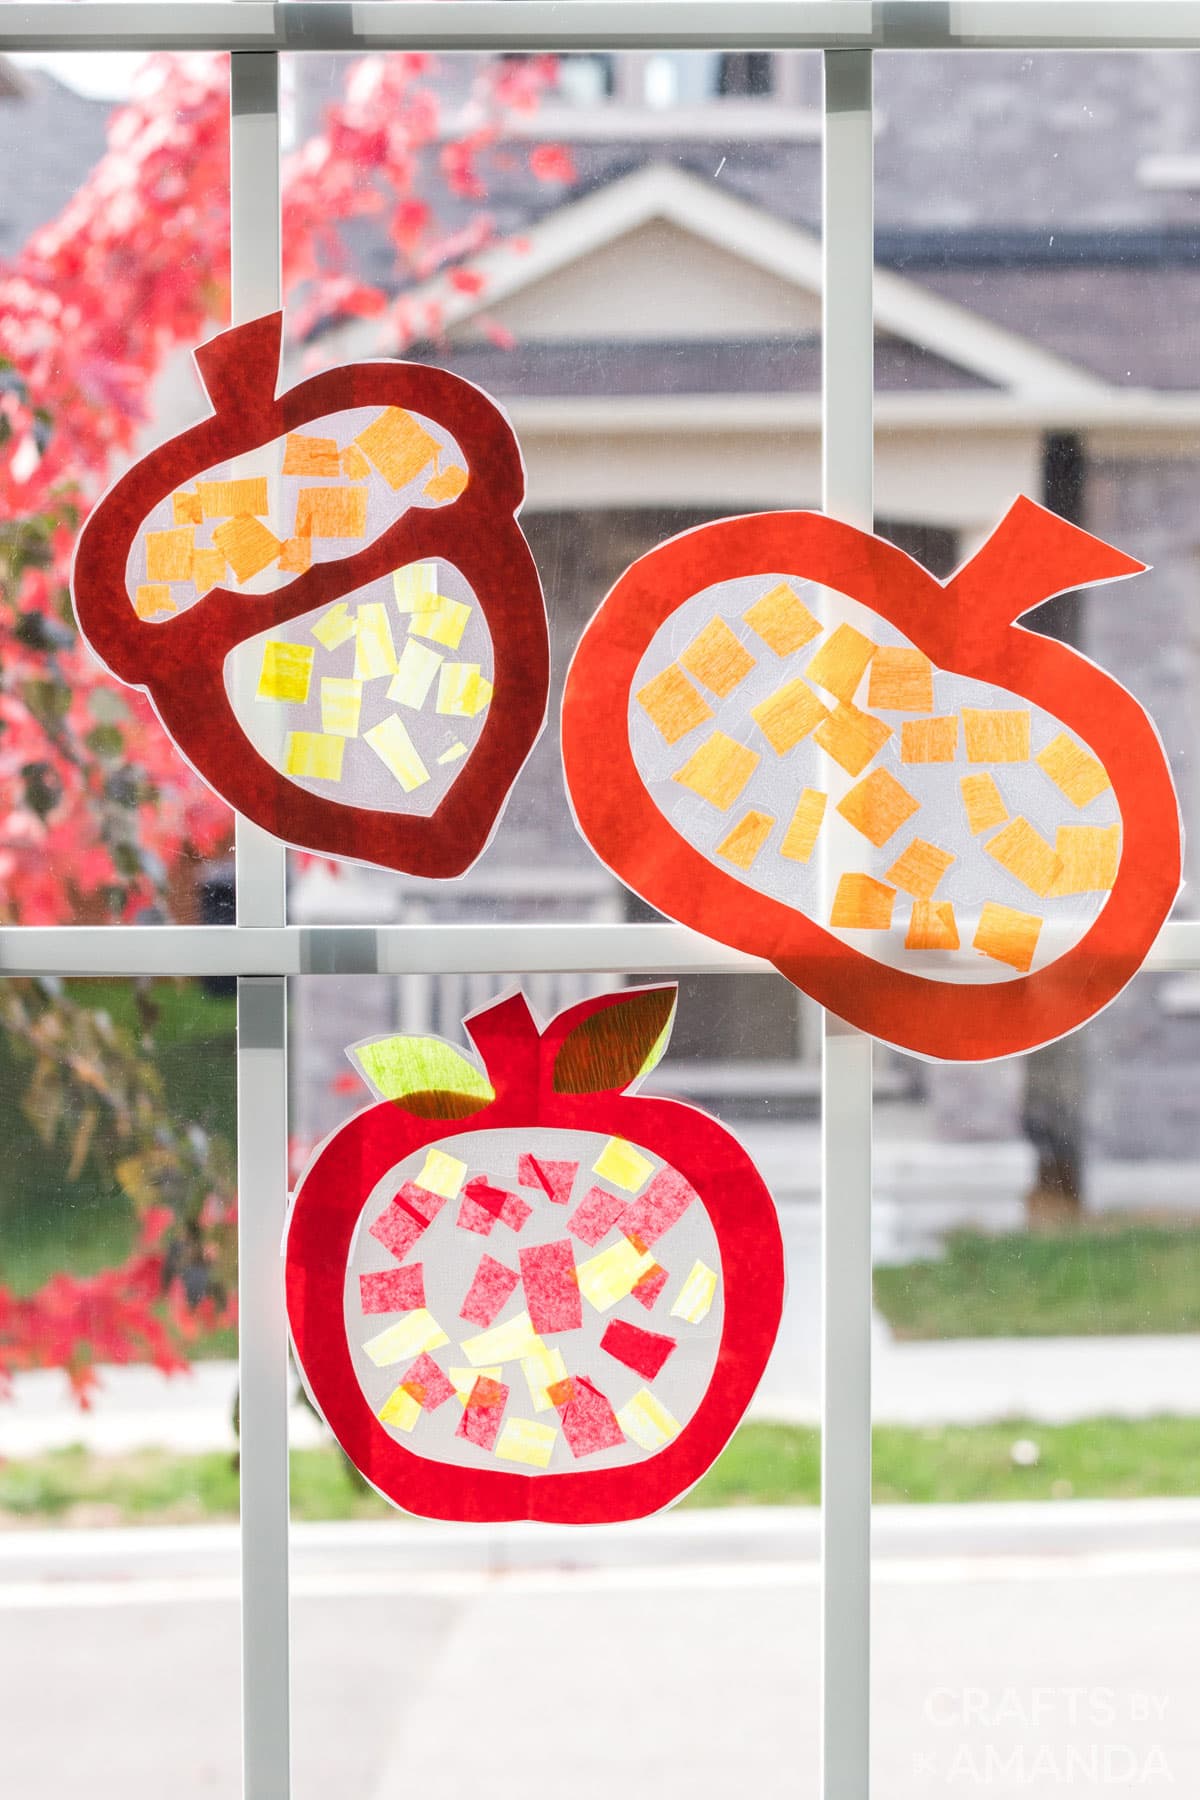
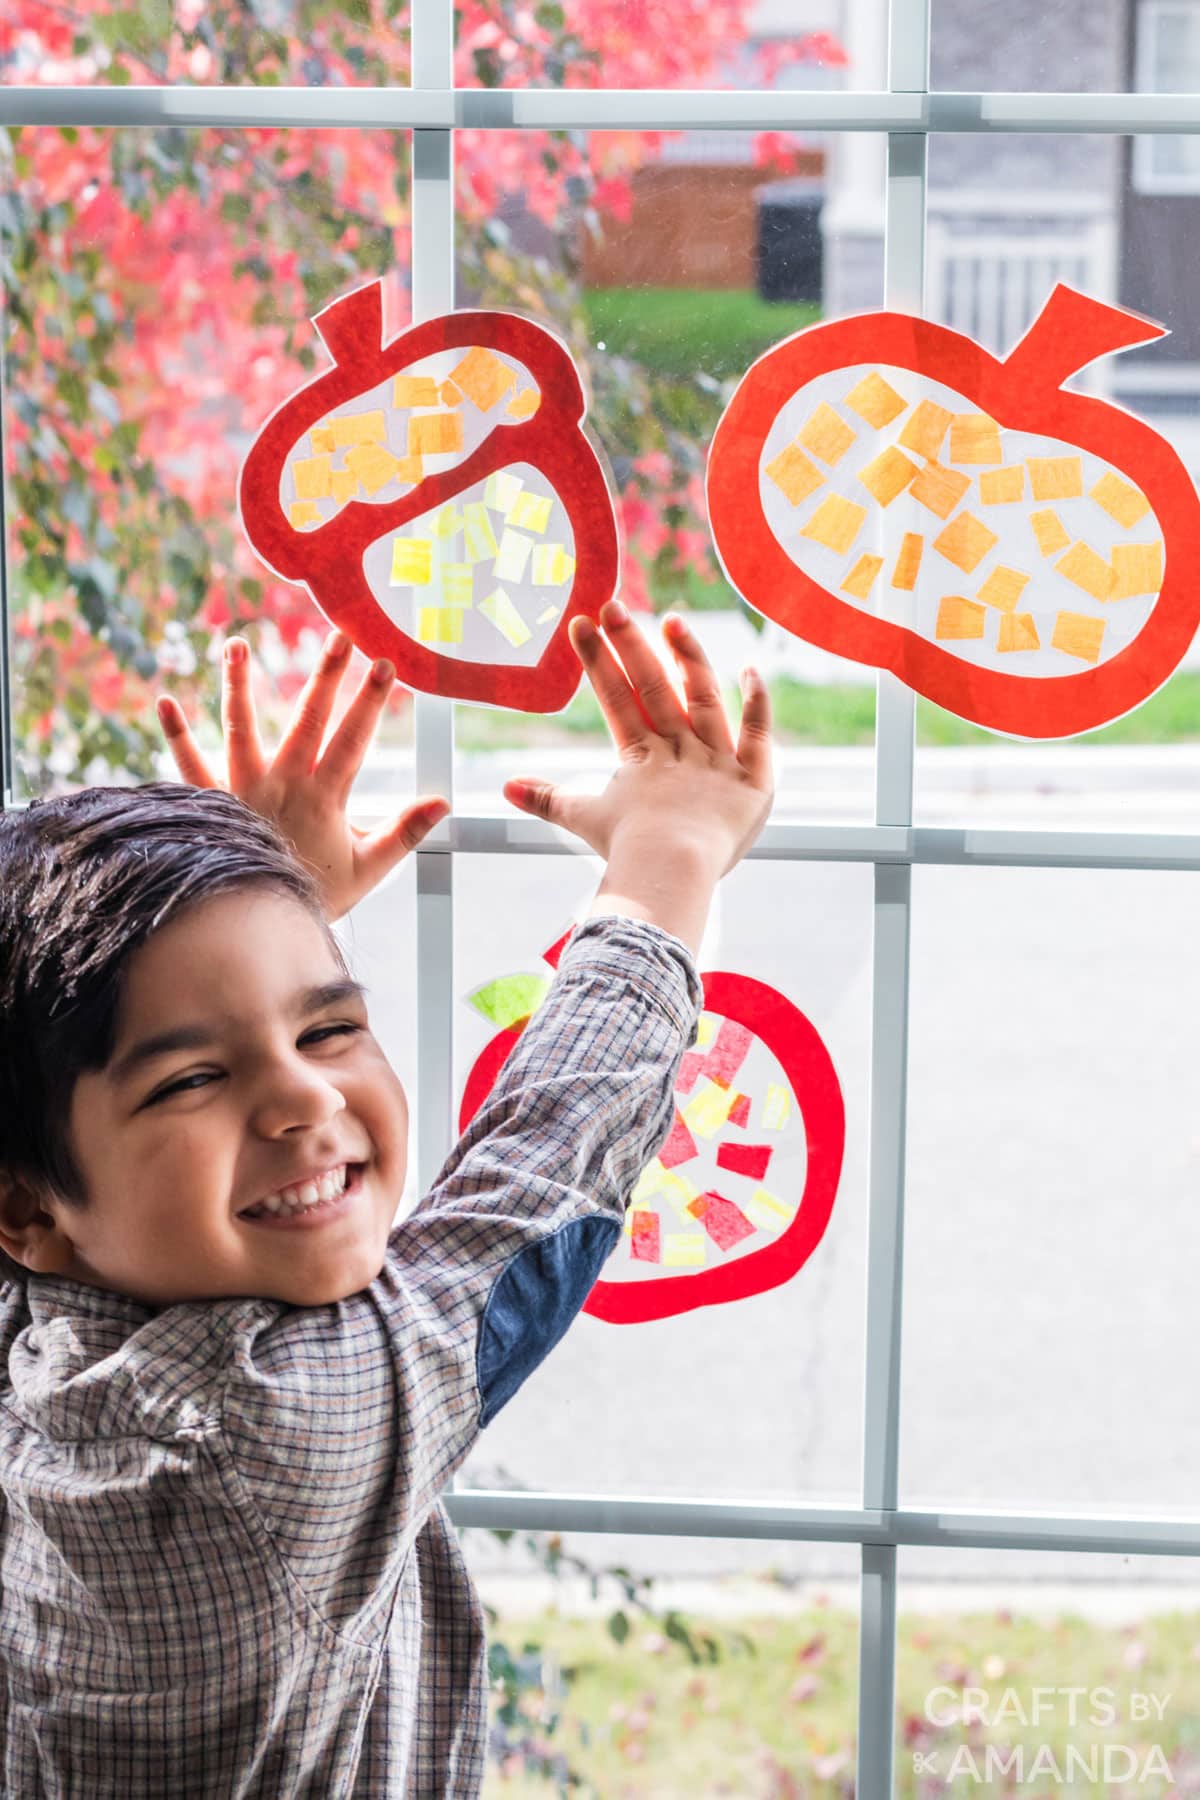
These fall suncatchers are a great way for kids to help decorate, especially with Halloween and Thanksgiving right around the corner!
Why this project works
There are lots of changes in this season that you can see and feel. The leaves change colors, the air gets cooler and the days are shorter. Apples are ready to be picked along with pumpkins and other fall fruits.
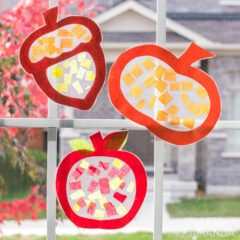
When you aren’t busy outside on a fall scavenger hunt, the kids can make several fall suncatchers to decorate windows and to brighten the shorter days. I’ve made a pumpkin, apple, and an acorn. The steps in this tutorial are the same for all of them, only the shape is different.
If kids are interested in learning more about Fall and the change of seasons, have them check out the National Park Service’s website at https://www.nps.gov. It has lots of information and photos of our National Parks during all the seasons, including Fall!
Helpful Project Information
- Age Level: 5 and up
- Mess Factor: minimal
- Time to Complete: 30 minutes
- Cost estimate: 50 cents using supplies I had on hand
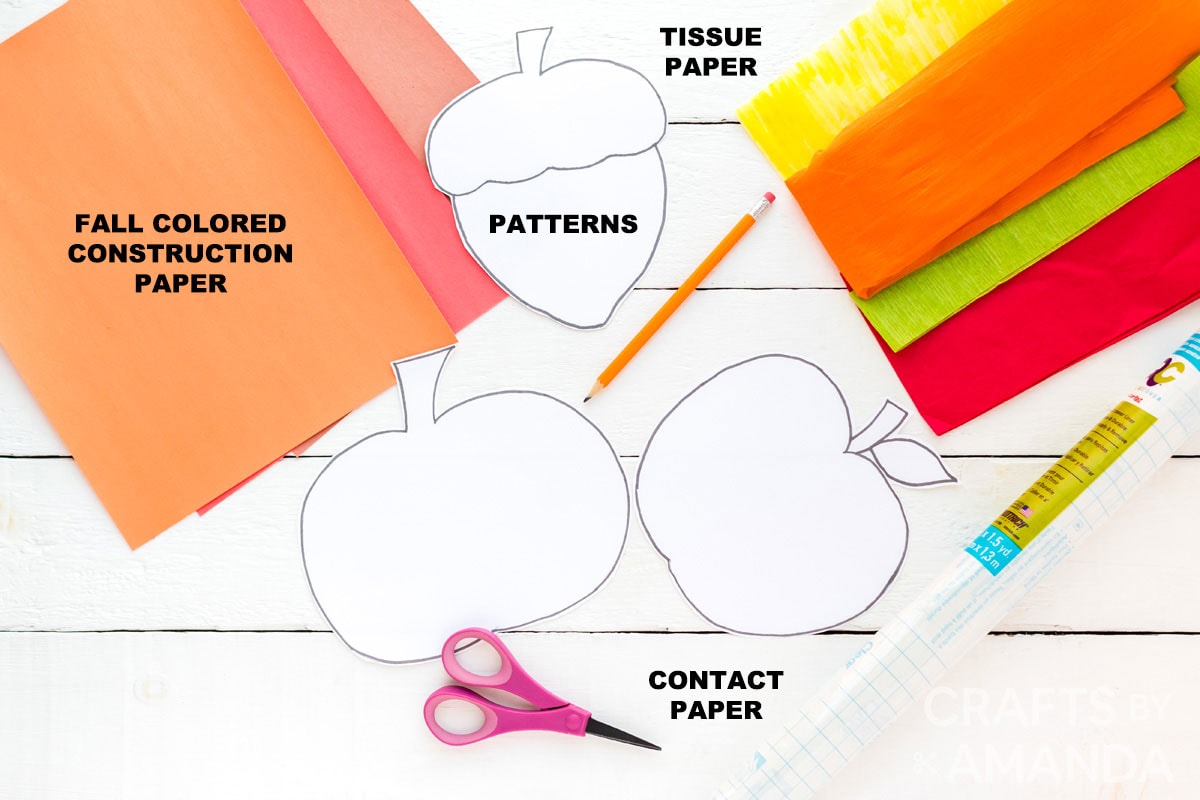
Craft supplies needed to make 1 of each
How to Make Fall Suncatchers
These step by step photos and instructions are here to help you visualize how to make this project. Please scroll down to simply print out the instructions!
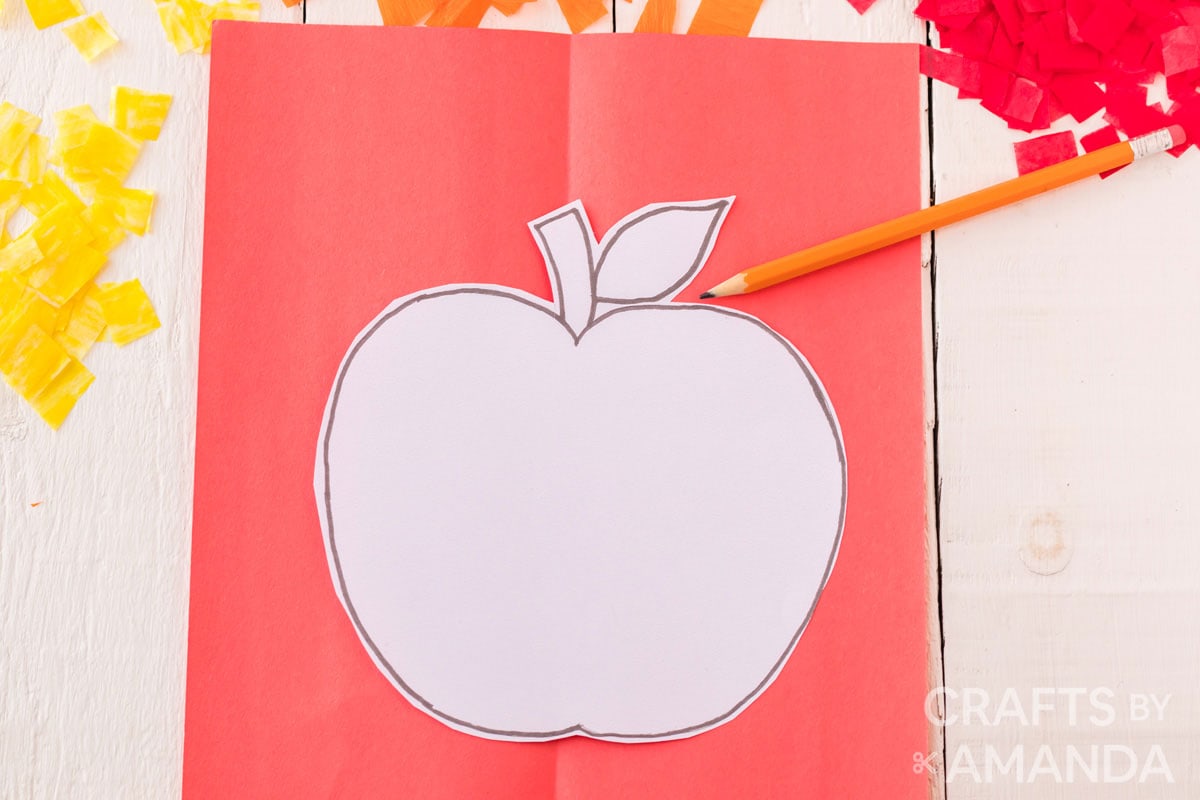
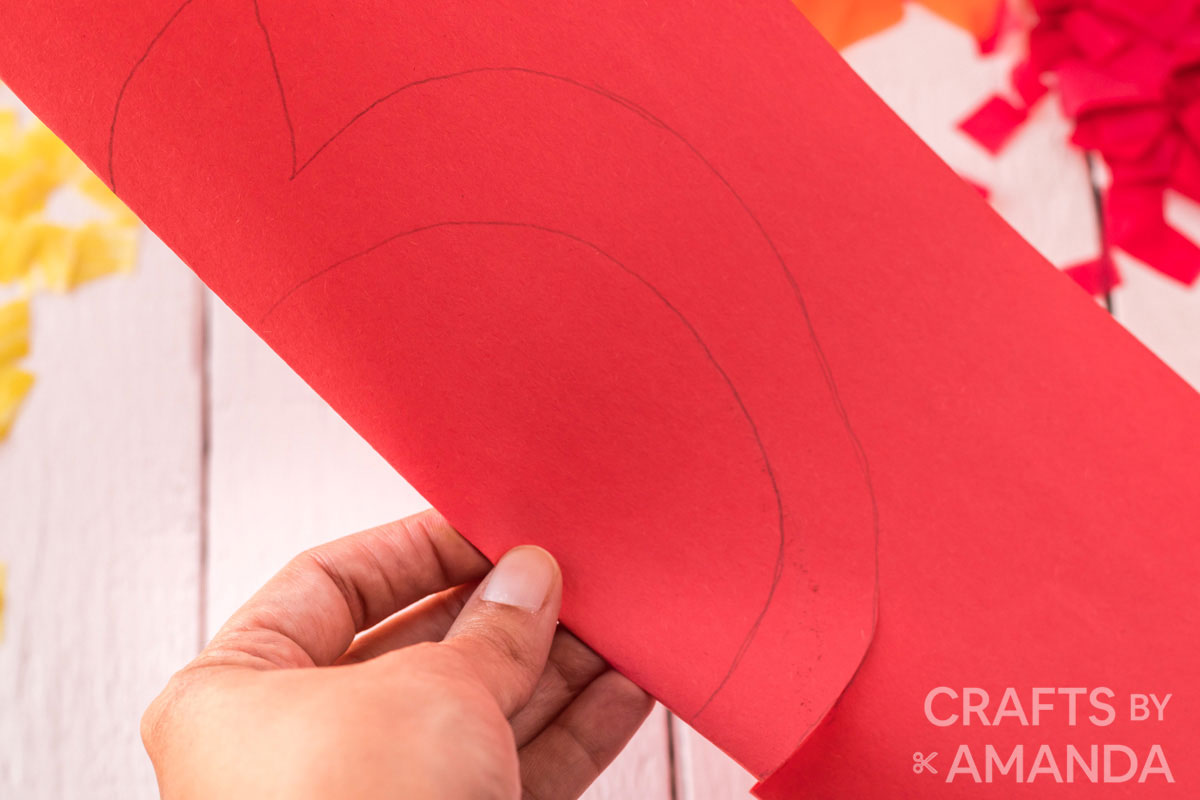
- Fold the piece of the construction paper in half on the vertical side, then unfold it.
- Use a pencil to draw the shape of your choice, using the fold as the center line of your shape. OR simply print off our templates for the Acorn, Apple, and Pumpkin and cut them out.
- Refold the paper and about 1” in from the edge of your drawing, start to cut the shape, using your drawing as a guide. Then keeping it folded, cut out your shape along your drawing.
- Lay 1 contact paper piece sticky side up on a flat work surface and carefully lay your shape onto the sticky side.

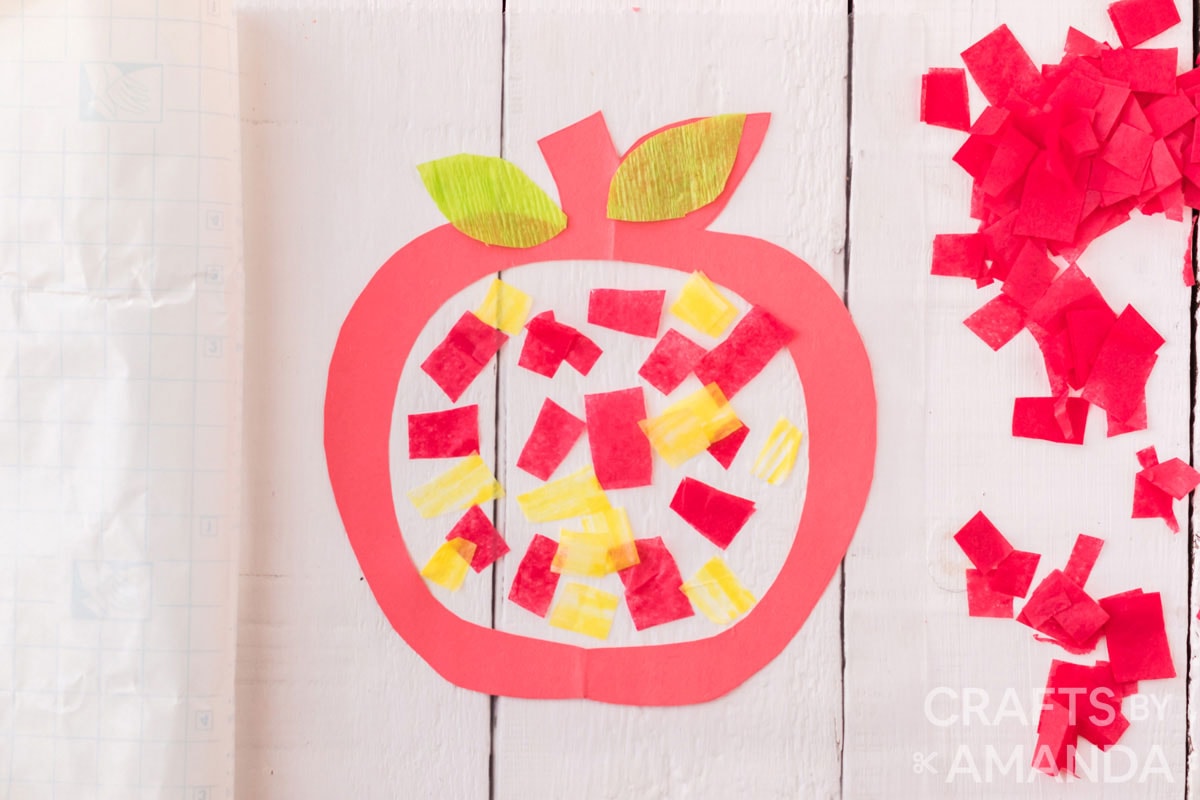
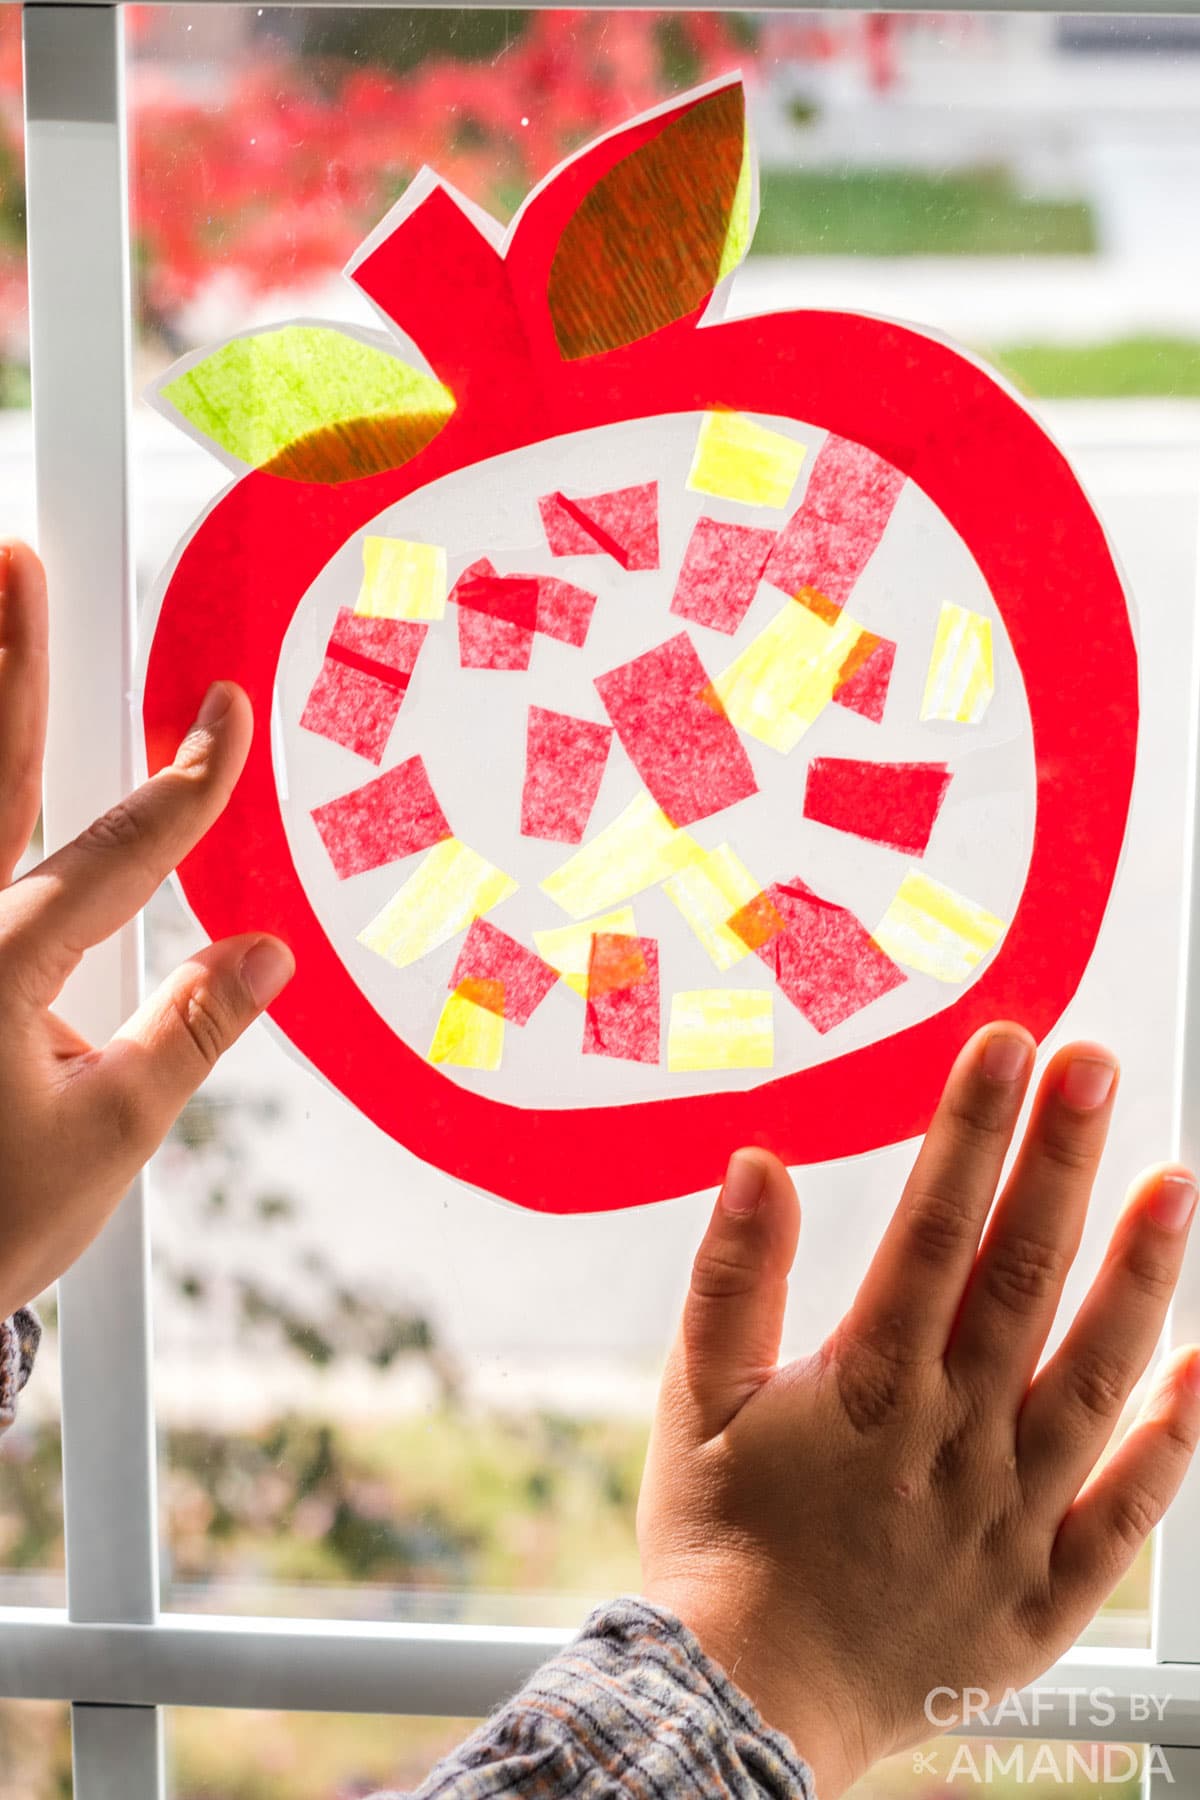
- Tear or cut the tissue paper into tiny pieces and press onto the contact paper. I added some leaves onto the apple, and if you’d like a more Halloween feel to the pumpkin, make it into a Jack O lantern face!
- When the tissue paper design is complete, lay the 2nd piece of contact paper (sticky side down) onto the tissue paper/construction paper shape.
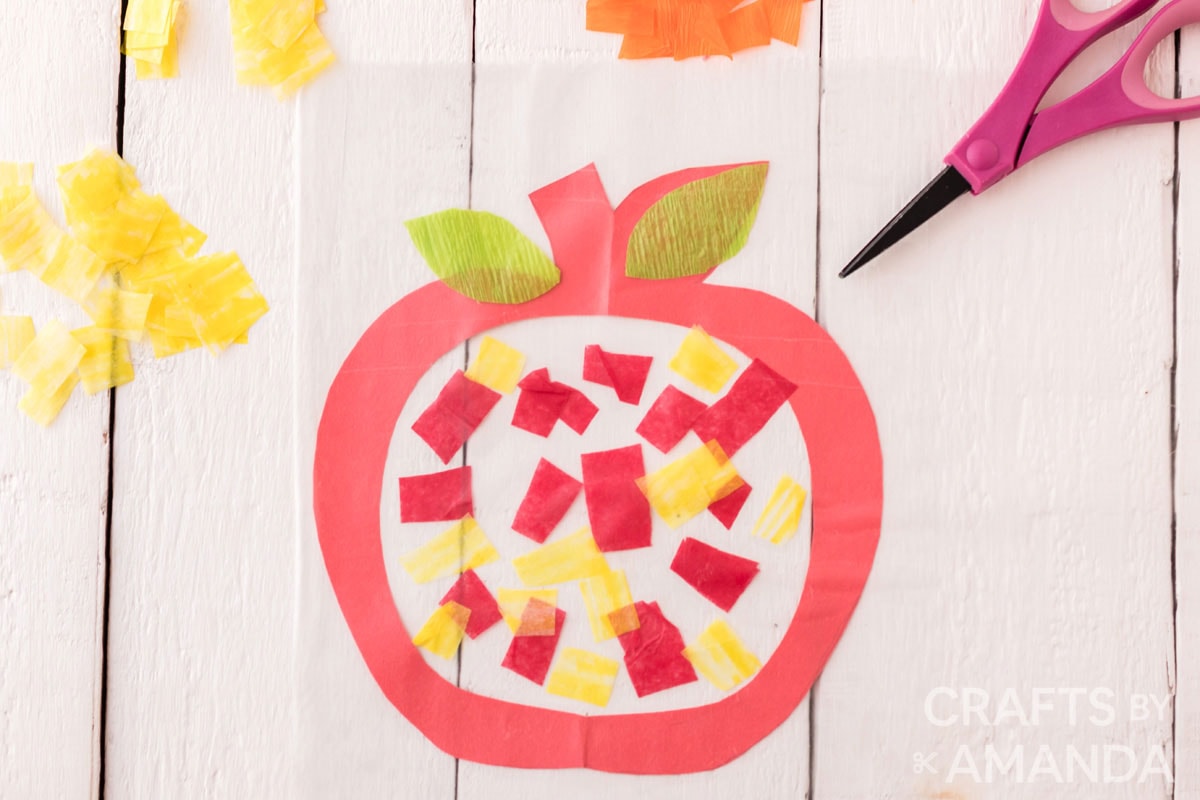
- Cut out around the apple/acorn/pumpkin following its shape. Add some rolled clear tape to 1 side and affix to a window.
Helpful Crafting Tips
- If kids want to work on their scissor cutting skills, have them cut the tissue paper instead of tearing it.
- Young kids may need help with the drawing and cutting as well as the contact paper steps. You can prep steps 1-4 ahead of time if you prefer.
- If you are cutting an apple or pumpkin, unfold your cut shape and carefully cut the around the stem shape (so it is solid). If you are cutting an acorn, while the paper is folded, cutout the “cap” of the acorn first, then the bottom part of the acorn. Then unfold and cut around the stem.
More Fall Crafts
- Pinecone Owls
- Paper Bag Scarecrow
- Fall Leaf Finger Puppets
- Coffee Can Scarecrow
- Deco Mesh Pumpkin Wreath
I love to create and share my projects with you! I know it’s hard to remember to come back and search, so I’ve made it easy for you with my weekly newsletter! You can subscribe for free and I’ll send you fun crafts every week right to your email.
Fall Suncatchers
Supplies
- 1 piece 9×12” construction paper Red (apple), Orange (pumpkin), Brown (acorn)
- Colored tissue paper orange, yellow, red, green, brown
- 2 pieces contact paper each approximately 9×12”
- Apple template
- Pumpkin template
- Acorn template
Craft tools
- Ruler
- Tape
Instructions
- Fold the piece of the construction paper in half on the vertical side, then unfold it.
- Use a pencil to draw the shape of your choice on plain paper, using the fold as the center line of your shape. OR simply print off our templates and cut the shapes out.
- Refold the paper and about 1” in from the edge of your drawing (or cut out template), start to cut the shape, using your drawing or template as a guide.
- Then keeping it folded, cut out your shape along your drawing.
- Lay 1 contact paper piece sticky side up on a flat work surface and carefully lay your shape onto the sticky side.
- Tear or cut the paper into tiny pieces and press onto the contact paper. I added some leaves onto the apple!
- When the tissue paper design is complete, lay the 2nd piece of contact paper (sticky side down) onto the tissue paper/construction paper shape.
- Cut out around the apple/acorn/pumpkin following its shape. Add some rolled clear tape to 1 side and affix to a window.
Expert Tips & FAQs
This post originally appeared here on October 18, 2020.
- Star Suncatchers - June 19, 2026
- DIY Garden Stepping Stones - May 22, 2026
- How to Make Bath Bombs - May 5, 2026


MMIIAA says
Hi! I love to make sun-catchers, they always make my huge room look amazing
Joan says
I LOVE these – we used to make these when I was a toddler! Contact paper hadn’t been invented yet and we used waxed paper, put the scraps of color paper in between two layers and had our Moms iron them together. Then we cut them into shapes and hung them on the windows! Such a great new way to do this!!!!!! Thanks!