• Home
  • About
    • About Crafts by Amanda
    • Visit Our Recipe Site
  • Work With Us
  • Join
    • Free Newsletters
    • Join our Facebook craft group
↑
  • Tutorials
    • Tutorial Index
    • Adult Crafts
    • Crafts for Kids
    • Crafts for Seniors
    • Recycled Crafts
    • Seasonal Crafts
    • Holiday Crafts
    • Free Printables
    • Craft Collections
  • Adult Crafts
    • Bath & Body
    • Beach Crafts
    • Clay Pot Crafts
    • Crafts for Seniors
    • Decoupage Crafts for Adults
    • DIY Gift ideas
    • Garden Crafts
    • Home Decor Projects
    • Kitchen Crafts
    • Light Bulb Crafts
    • Luminary Crafts
    • Mason Jar Crafts
    • Needlework
    • Photo Display Ideas
    • Recycled Crafts for Adults
    • Wearable Crafts for Adults
  • Crafts for Kids
    • Animal Crafts for Kids
    • Back to School Crafts
    • Beach Crafts for Kids
    • Camp Crafts
    • Cardboard Tube Crafts for Kids
    • Decoupage Crafts for Kids
    • Easy Crafts for Kids
    • Nature Crafts for Kids
    • Other Kid’s Crafts
    • Paper Plate Crafts for Kids
    • Recycled Crafts for Kids
    • Slimes, Doughs, & Clay
    • Wearable Crafts for Kids
  • Holiday Crafts
    • 4th of July Crafts
    • Christmas Crafts
    • DIY Gift ideas
    • Earth Day Crafts
    • Easter Crafts
    • Father’s Day Crafts
    • Halloween Crafts
    • Memorial Day Crafts
    • Mother’s Day Crafts
    • New Year’s
    • Other Holidays
    • Patriot Day Crafts
    • St. Patrick’s Day Crafts
    • Thanksgiving Crafts
    • Valentine’s Day Crafts
  • Seasonal Crafts
    • Winter Crafts
    • Spring Crafts
    • Summer Crafts
    • Fall Crafts
  • Skip to primary navigation
  • Skip to main content
  • Skip to primary sidebar
  • Skip to footer

Crafts by Amanda

crafts for adults and kid's crafts

  • Tutorials
    • Tutorial Index
    • Adult Crafts
    • Crafts for Kids
    • Crafts for Seniors
    • Recycled Crafts
    • Seasonal Crafts
    • Holiday Crafts
    • Free Printables
    • Craft Collections
  • Adult Crafts
    • Bath & Body
    • Beach Crafts
    • Clay Pot Crafts
    • Crafts for Seniors
    • Decoupage Crafts for Adults
    • DIY Gift ideas
    • Garden Crafts
    • Home Decor Projects
    • Kitchen Crafts
    • Light Bulb Crafts
    • Luminary Crafts
    • Mason Jar Crafts
    • Needlework
    • Photo Display Ideas
    • Recycled Crafts for Adults
    • Wearable Crafts for Adults
  • Crafts for Kids
    • Animal Crafts for Kids
    • Back to School Crafts
    • Beach Crafts for Kids
    • Camp Crafts
    • Cardboard Tube Crafts for Kids
    • Decoupage Crafts for Kids
    • Easy Crafts for Kids
    • Nature Crafts for Kids
    • Other Kid’s Crafts
    • Paper Plate Crafts for Kids
    • Recycled Crafts for Kids
    • Slimes, Doughs, & Clay
    • Wearable Crafts for Kids
  • Holiday Crafts
    • 4th of July Crafts
    • Christmas Crafts
    • DIY Gift ideas
    • Earth Day Crafts
    • Easter Crafts
    • Father’s Day Crafts
    • Halloween Crafts
    • Memorial Day Crafts
    • Mother’s Day Crafts
    • New Year’s
    • Other Holidays
    • Patriot Day Crafts
    • St. Patrick’s Day Crafts
    • Thanksgiving Crafts
    • Valentine’s Day Crafts
  • Seasonal Crafts
    • Winter Crafts
    • Spring Crafts
    • Summer Crafts
    • Fall Crafts
Craft Tutorials | Adult Crafts | Garden Crafts | DIY Garden Stepping Stones
Garden Crafts

DIY Garden Stepping Stones

Author by Ann Kollegger on May 23, 2023 Updated on May 23, 2023

5 from 10 votes
Garden stones are a great way to use pretty tiles and embellishments you may have around the house and create a unique piece of outdoor artwork at the same time!
Jump to Project
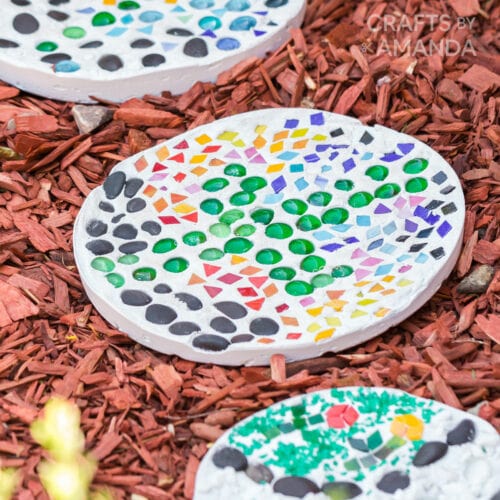
stepping stones in red mulch
439 shares
  • Share
  • Tweet
  • Flipboard
  • Email

A sunny summer day is perfect for creating DIY garden stepping stones! Kids will love creating their own designs and these flat stones can decorate a garden, walkway, or anywhere outside that needs a little love or personalization.
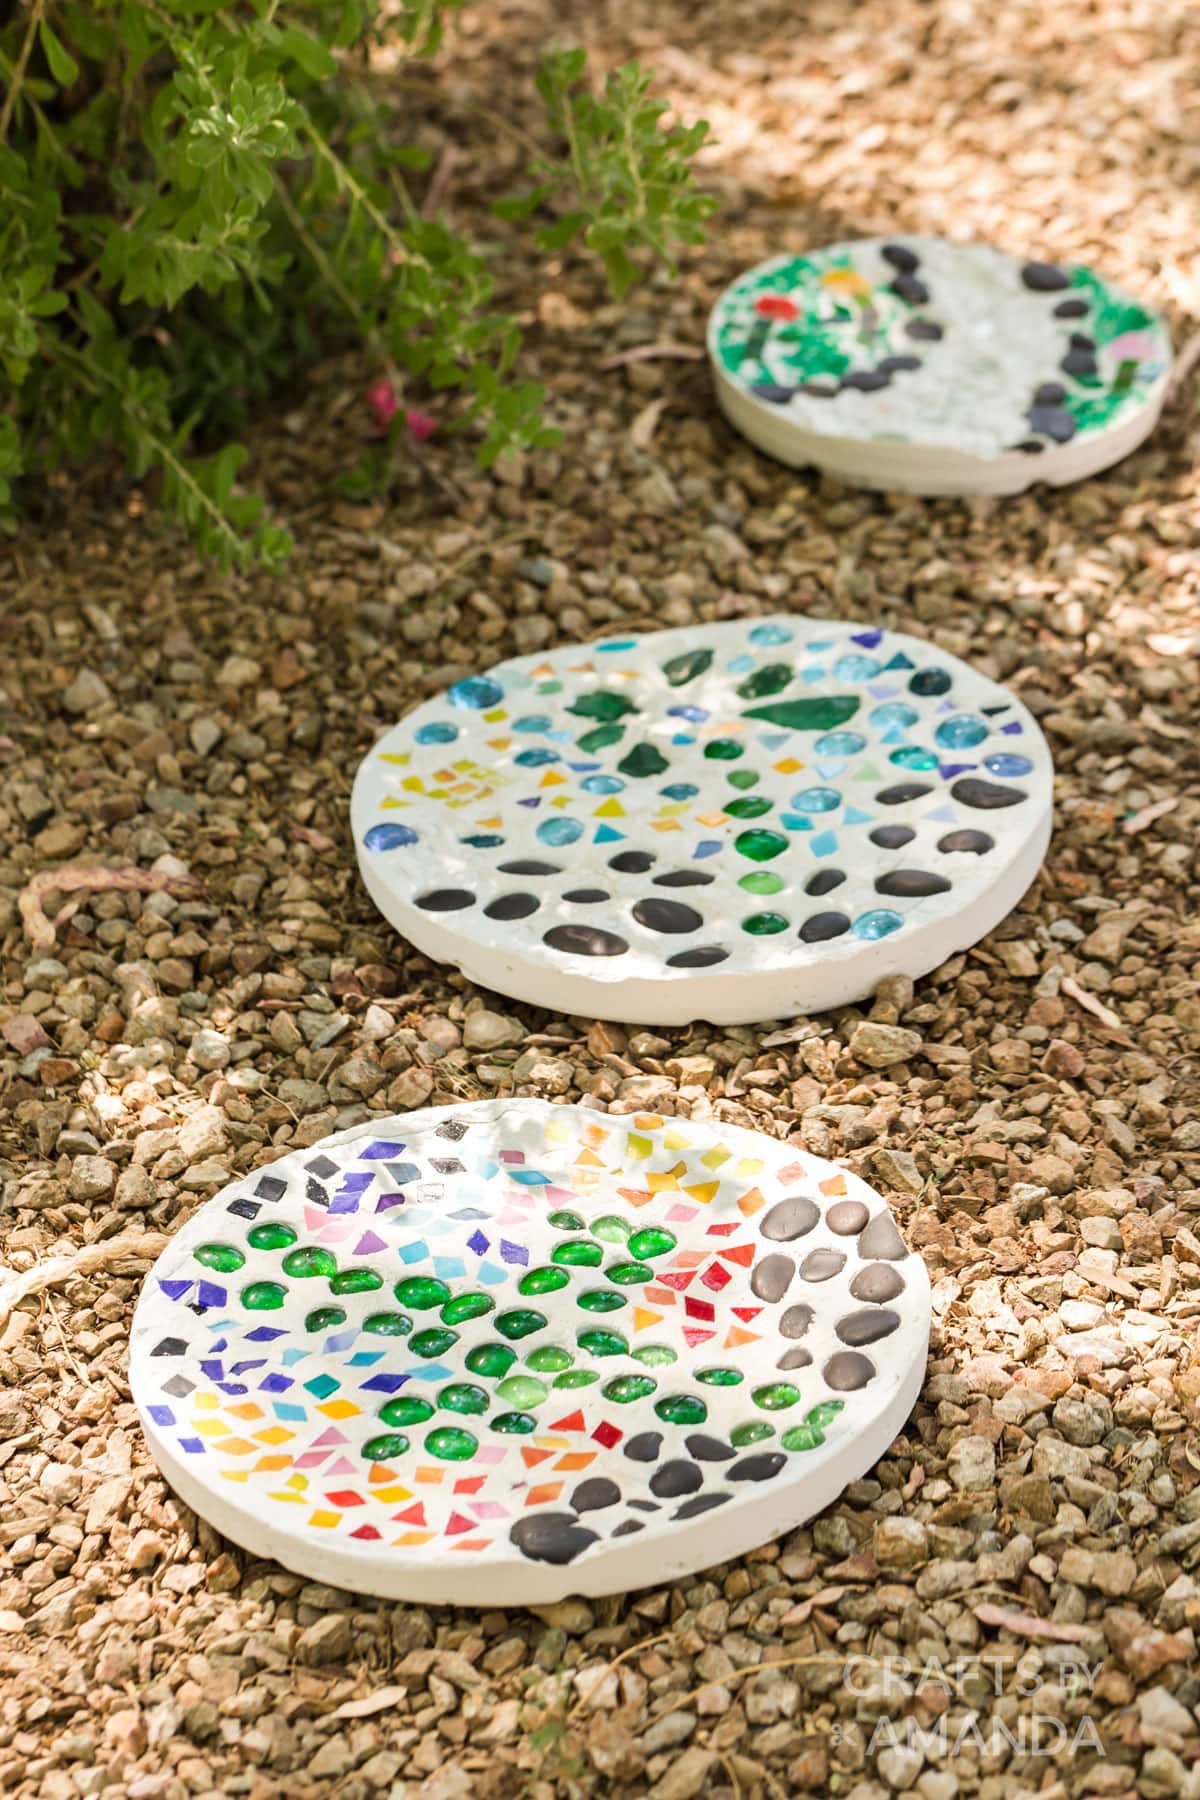
3 DIY stepping stones in the yard


Why this tutorial works

This project is an easy introduction to mosaics, which means it’s a great craft for kids or for anyone who is new to this process. That’s why you’ll find this listed in our adult craft projects as well.

In mosaics, you use tiny tiles or embellishments to create a design, usually on a wooden base, which then gets grouted and sealed.

Our stone projects are created using the “direct” method of placing tiles or embellishments on top of the mortar (which is in a mold) to create a design. No grout is needed as the mortar sets and holds the pieces in place.
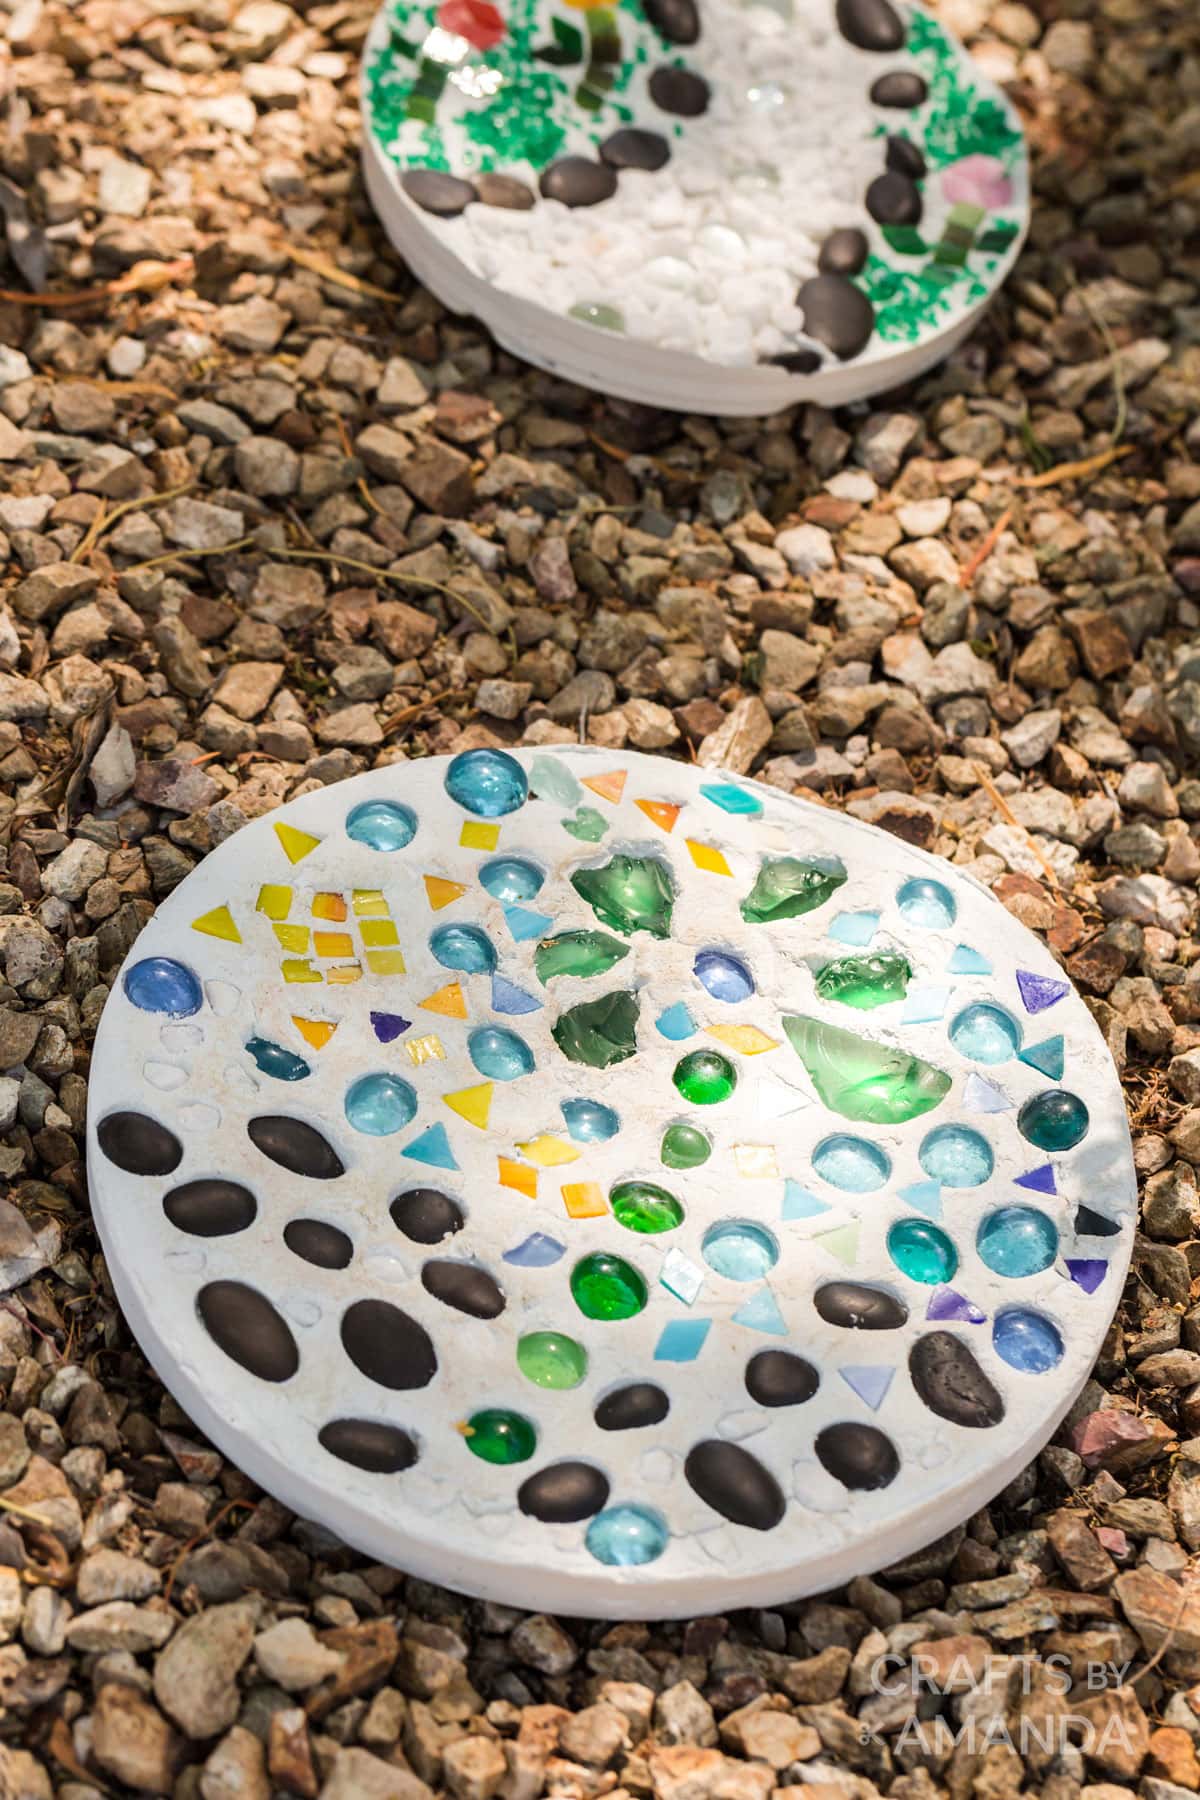
stepping stone shining in sun

The sky is the limit with these garden stones, you can decorate them in any way your heart desires. I think our DIY Pebble Art design would look absolutely adorable on these stones!

Craft supplies you will need

For embellishment ideas you can use sea glass, glass beads, small crystal pieces, glitter, buttons, or seashells.
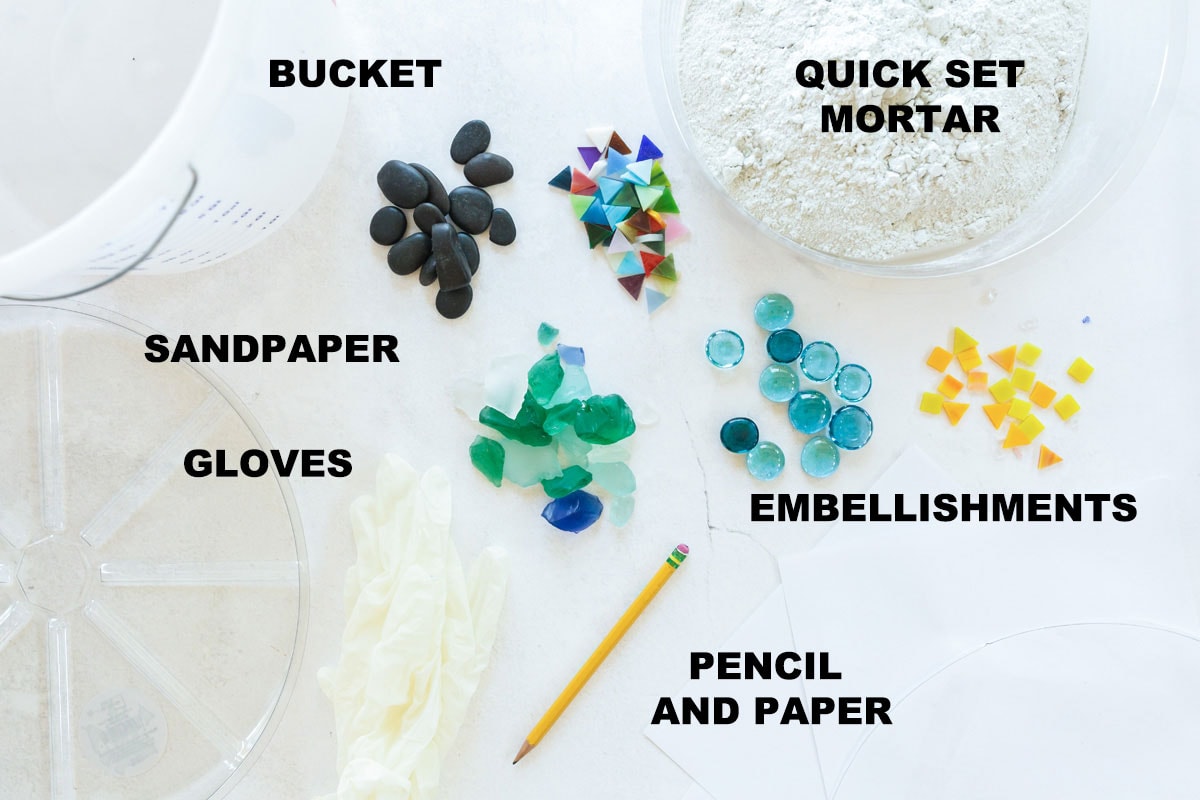
labeled supplied for making diy garden stepping stones
Get full list of supplies and directions in the printable version at the end of this post.

Craft information

  • Age Level: 5+
  • Mess Factor: Moderate
  • Time to Complete: 1 hour plus dry time of 24 hours
  • Cost estimate: 10 lbs of quick set mortar is $7.85
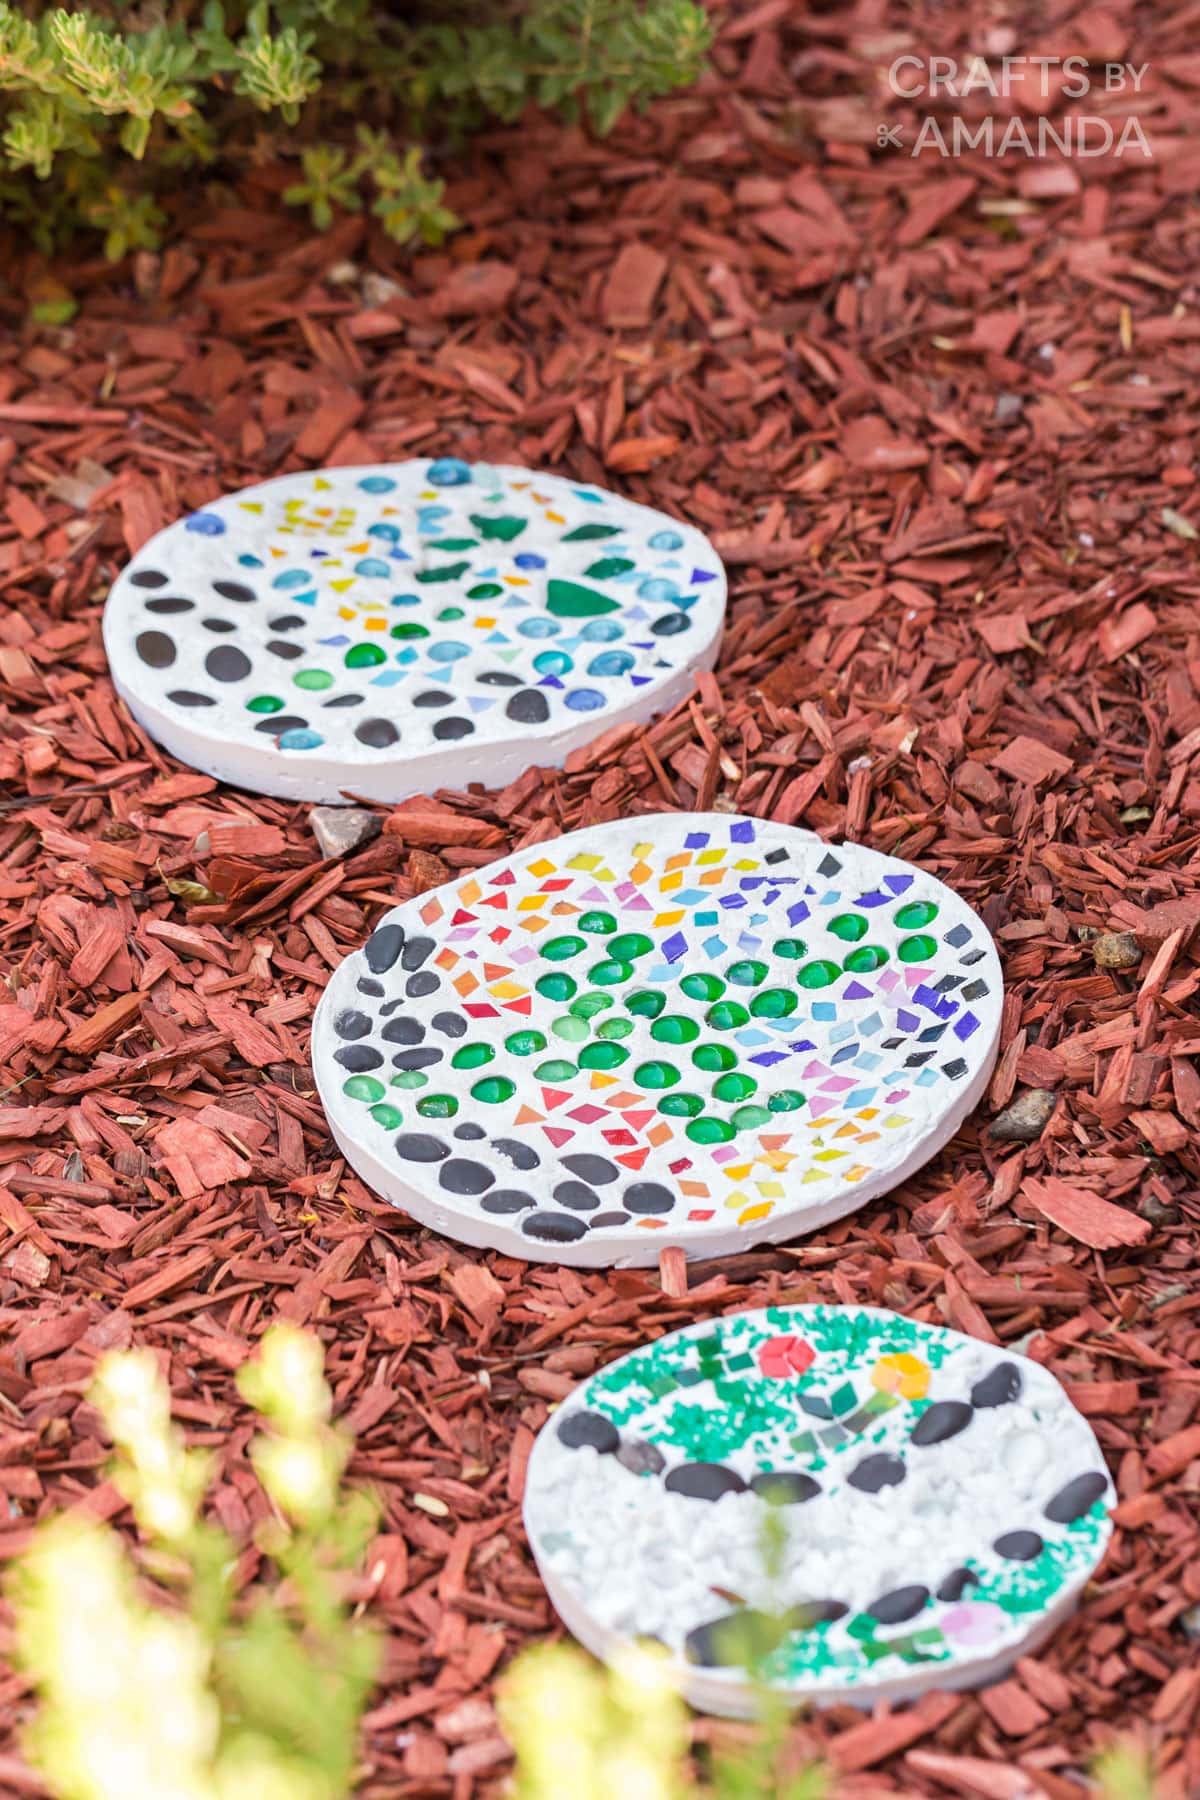
3 garden stepping stones in red mulch

How to Make DIY Garden Stepping Stones

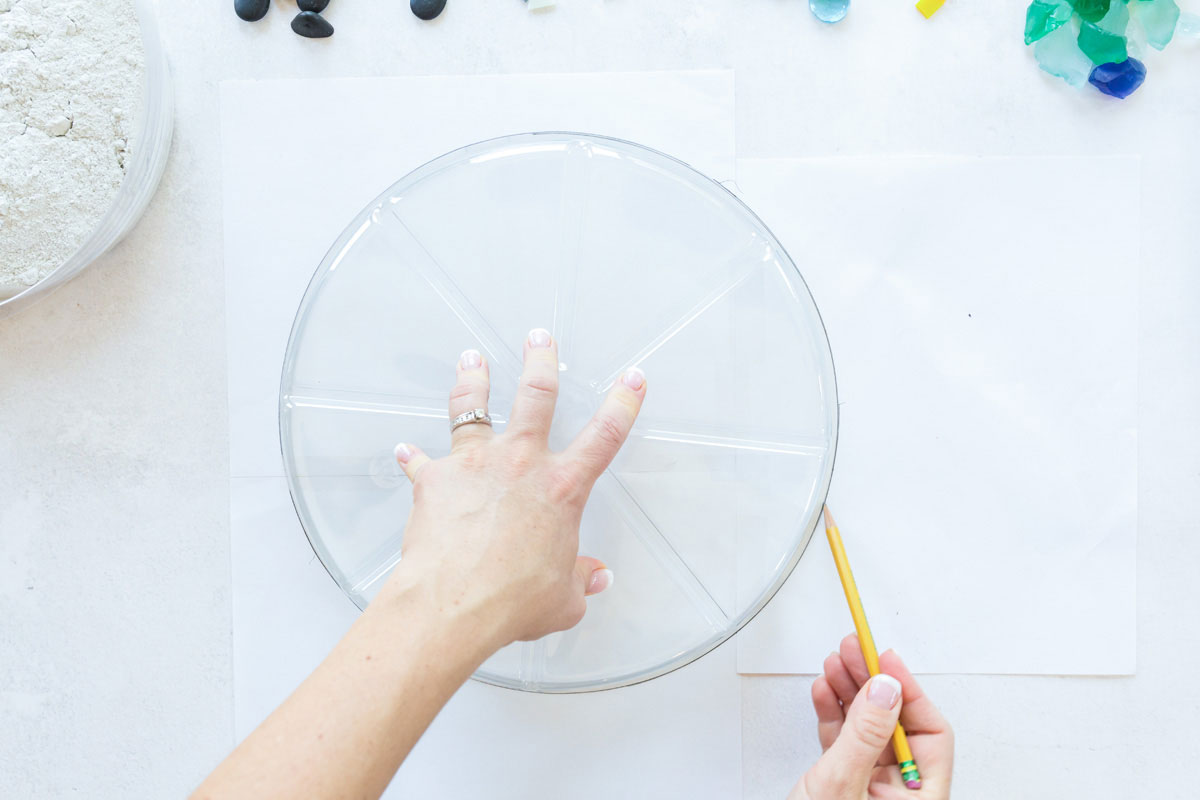
  1. Trace your mold shape (we used plastic flower pot saucers) onto the scrap paper using a pencil.
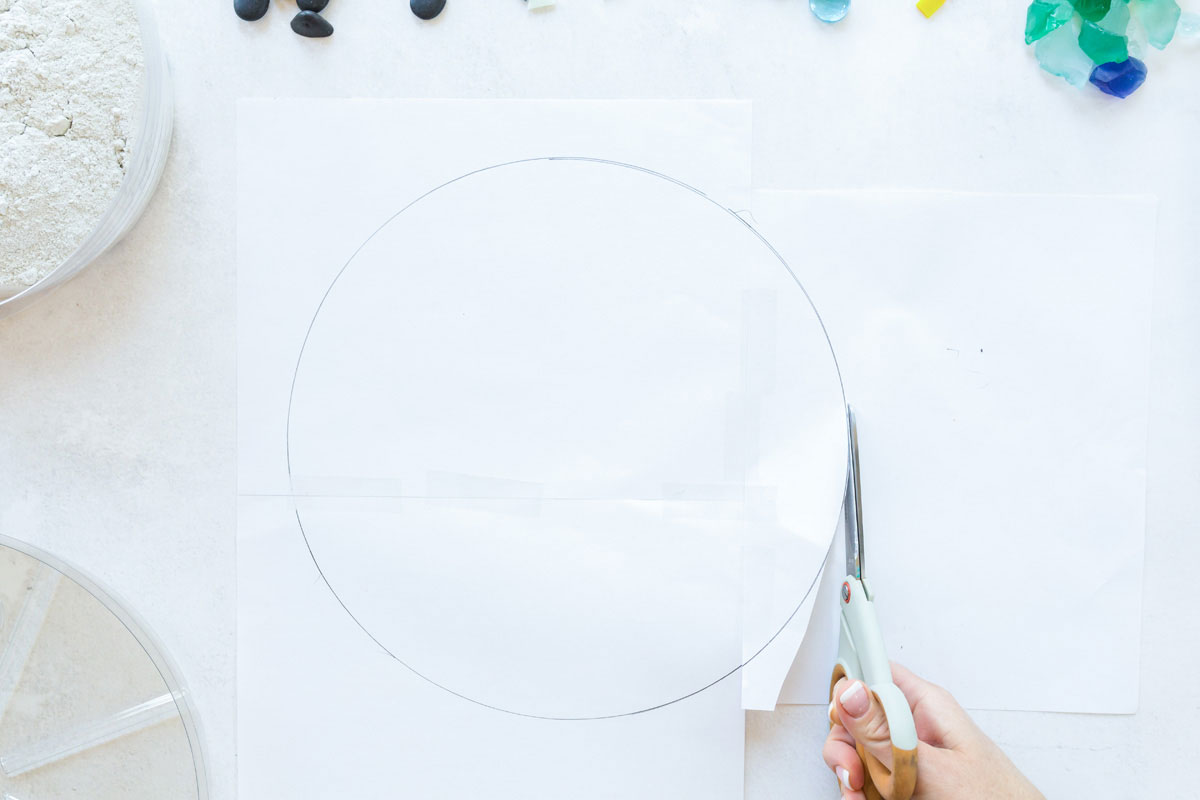
  2. Cut out the circle.
tracing around a circle with a pencil
cutting circle from paper
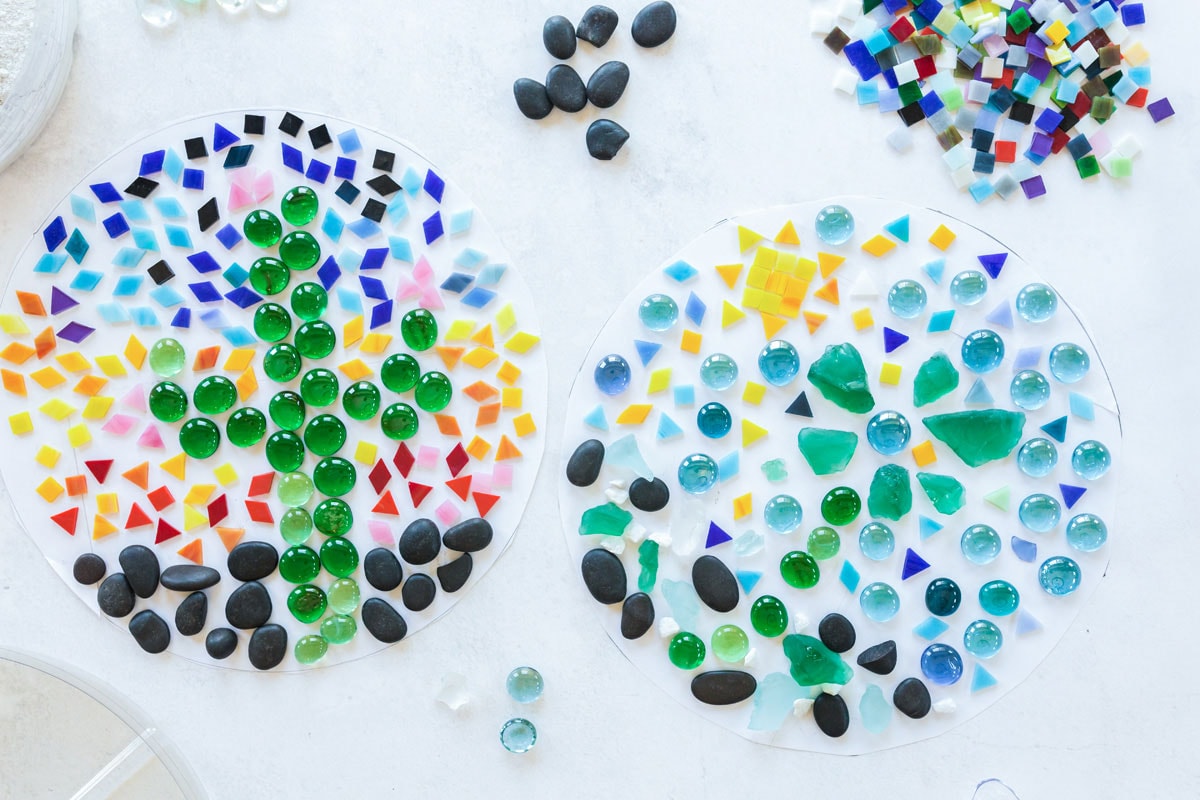
  1. Figure out your design by laying out your embellishments on the scrap paper.
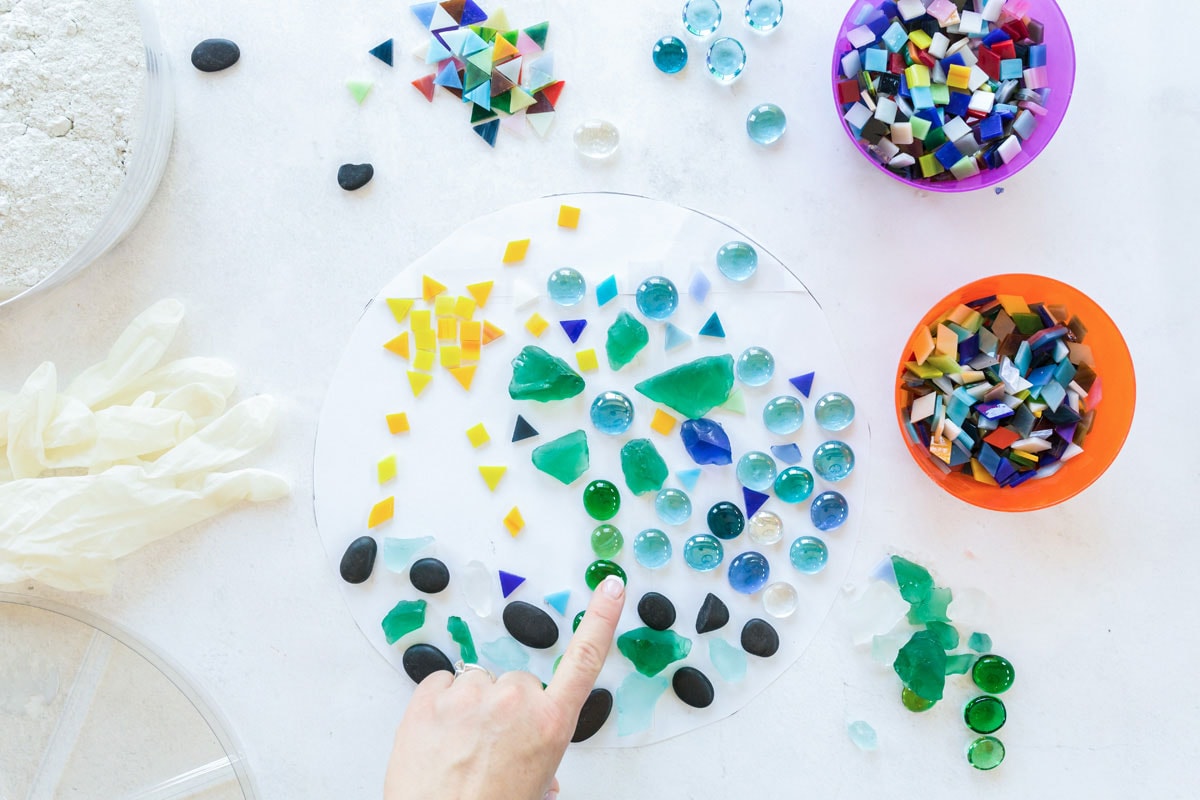
adding embellishments to paper circle
designs for stepping stones
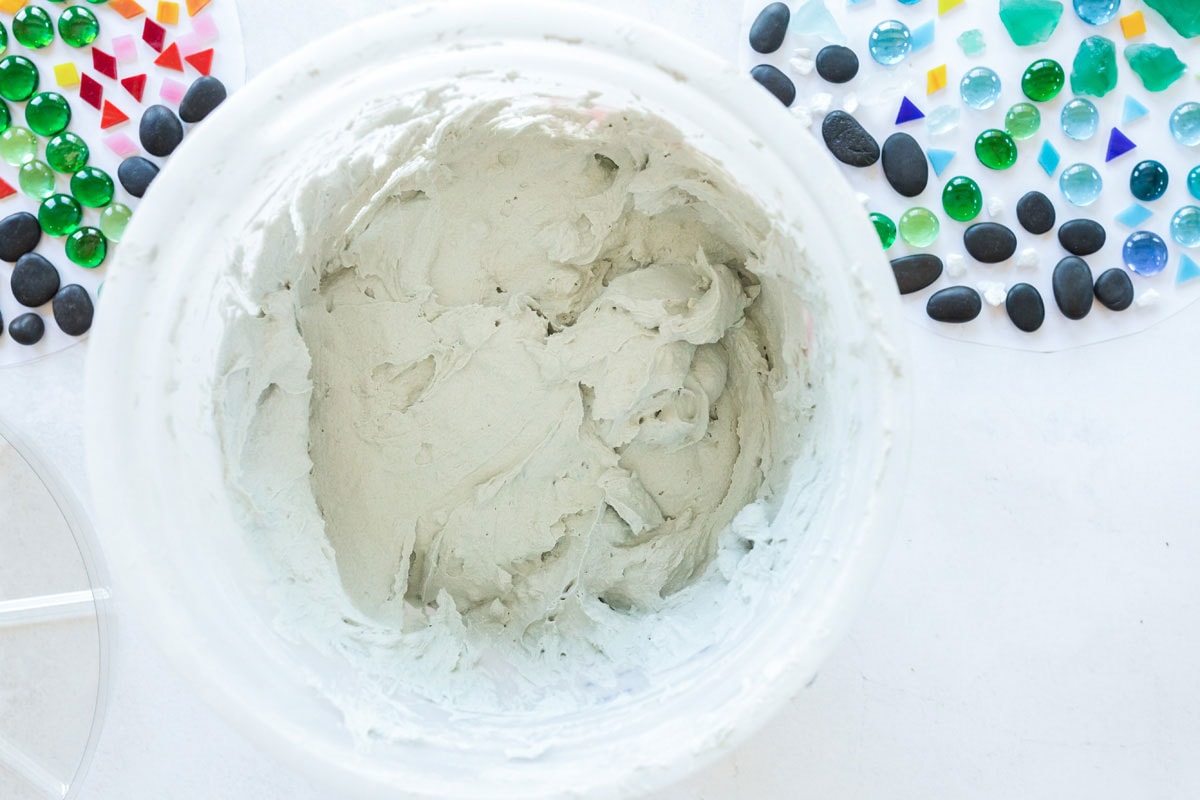
  1. Once you have finalized your design, mix up the mortar following the manufacturer’s directions and pour about 1- 1 1/2″ into the mold. Tap the side of the mold to get any air bubbles out. Let the mortar “set” in the mold long enough so you can gently push your embellishments into the material. A good rule is to mix more mortar than you think you need so that each mold can be filled to 1 or 1 1/2″ high.
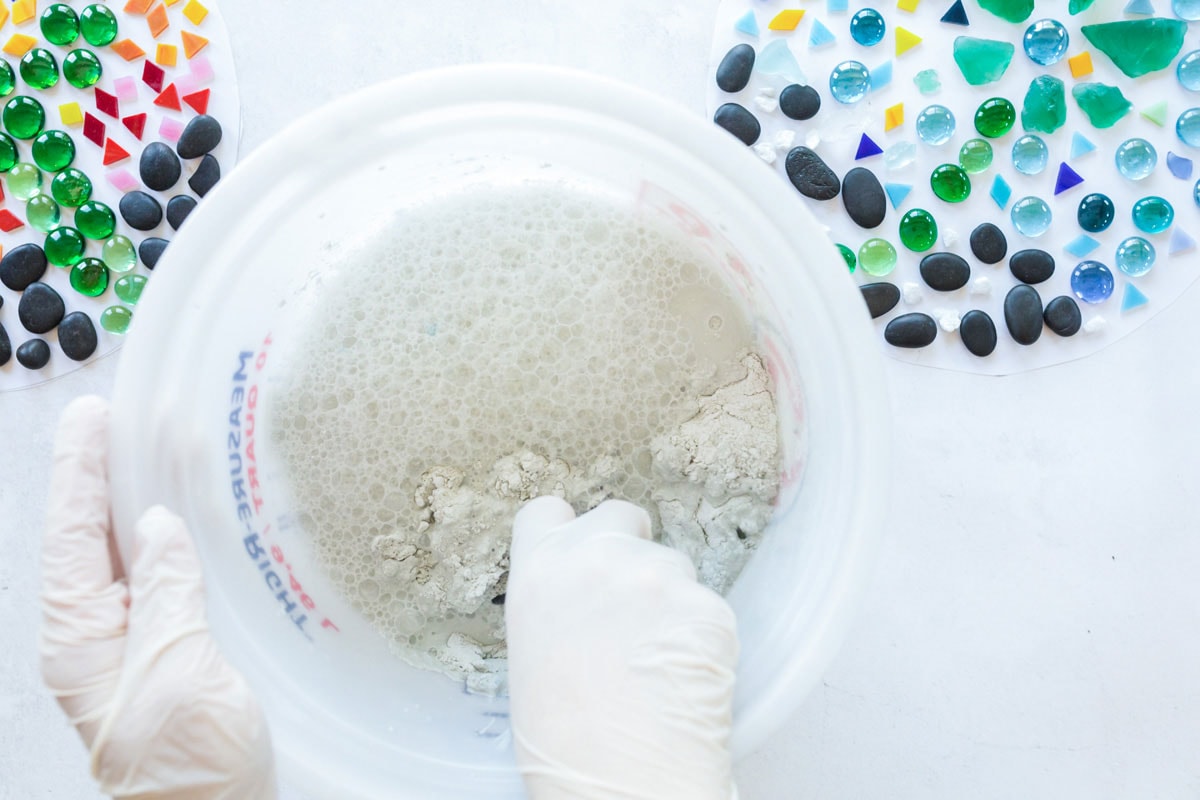
mixing mortar in a bucket
mixed mortar in a bucket
  1. Add your embellishments to the mortar by taking them off the scrap paper, following the design you made, and gently pressing the pieces into the “material”. Some mortars set more quickly than others so be sure to check all your mixing directions so you know that ahead of time.

Note: You can also “draw” designs into the mortar as it sets – use your pencil! Test first in a corner and leave at least a 1″ border around the edges. Drawing too close to the edge can cause cracking.
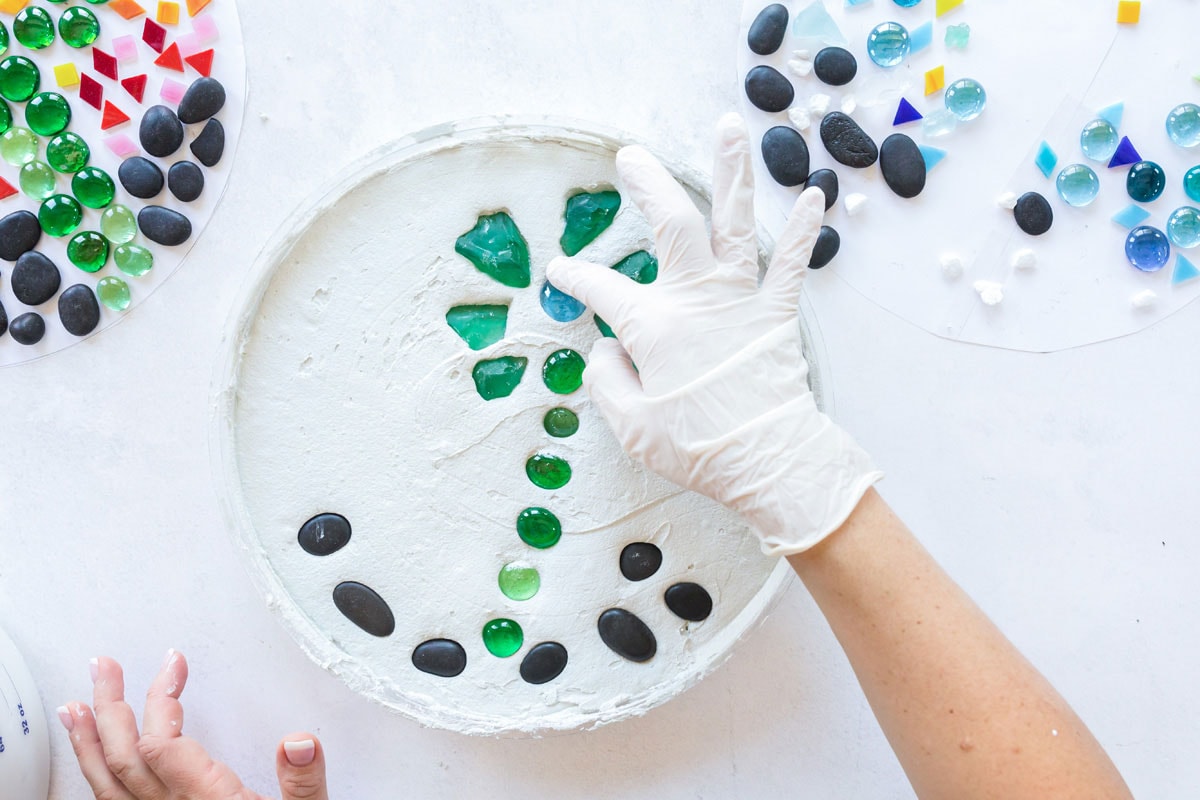
adding embellishments to mortar
  1. Once all your embellishments are placed, let the entire piece dry thoroughly in a warm dry place. 24 hours is a safe bet although some may be dry before then.
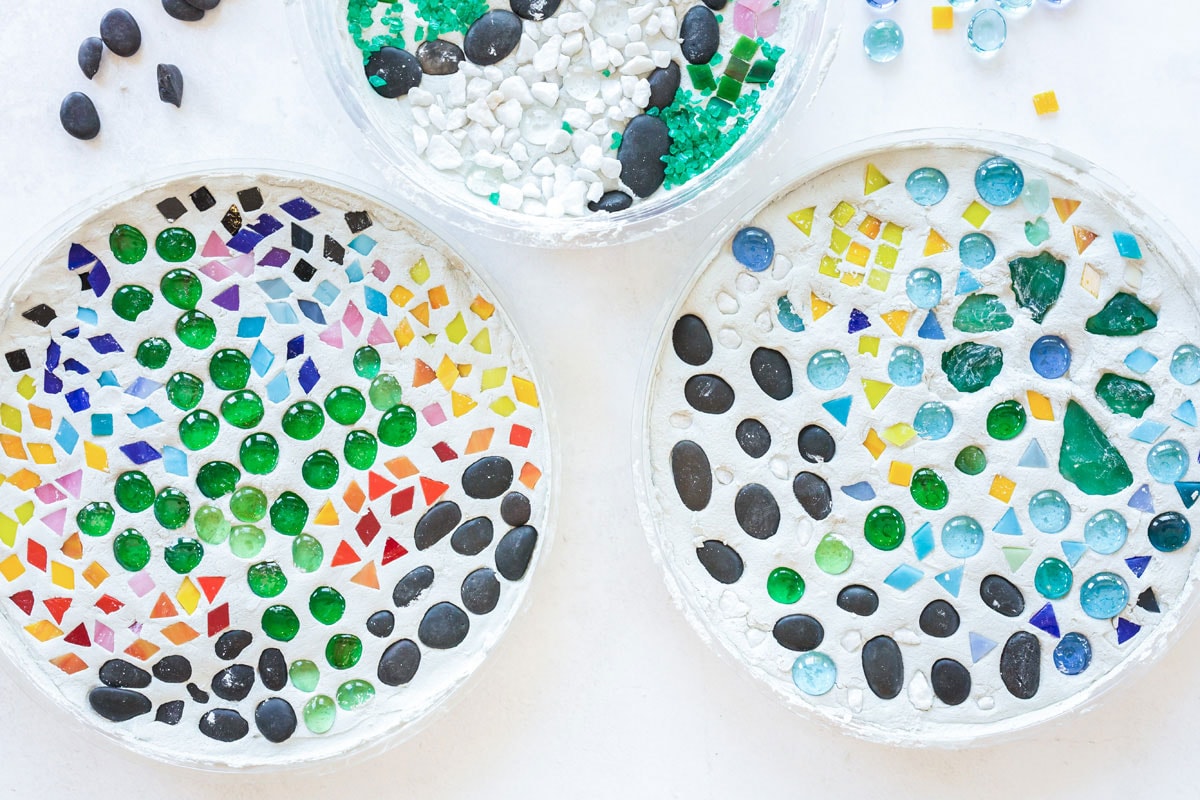
designs in mortar
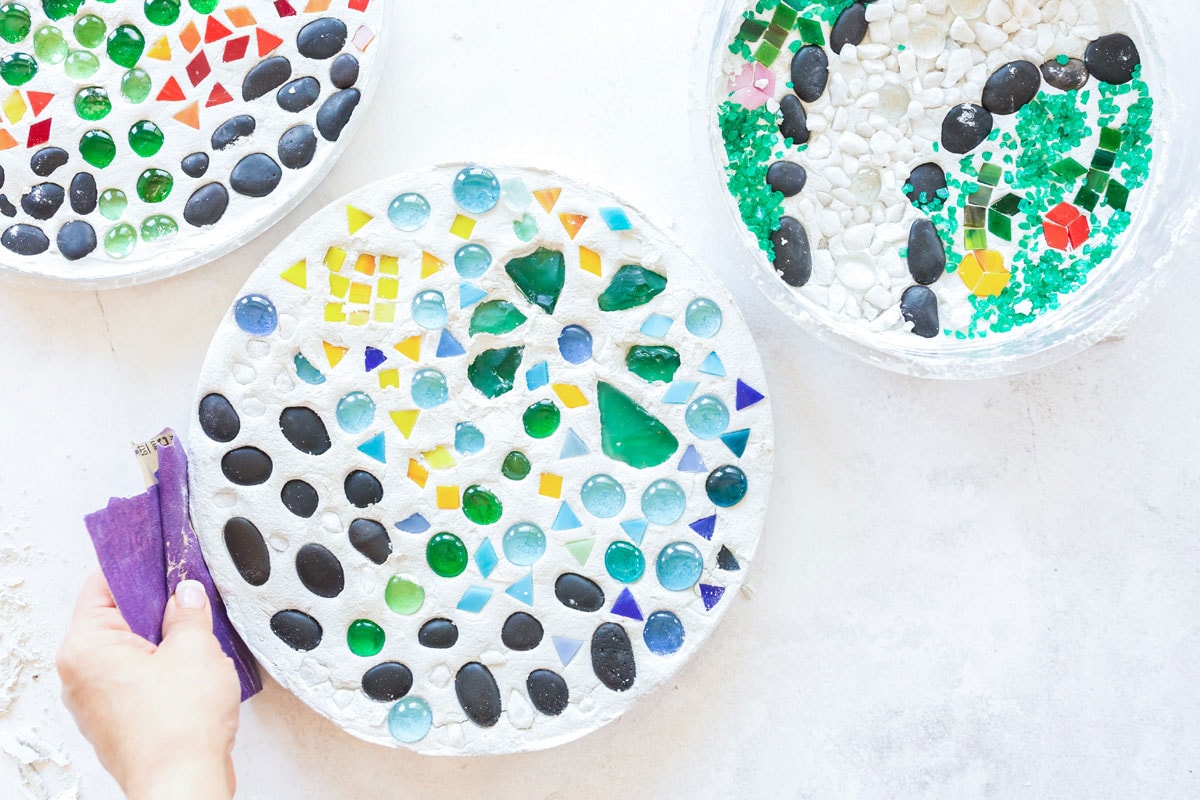
  1. Once dry, carefully pop the stones out of the molds and if needed, use a little sandpaper (do this outside) to take any rough edges off.
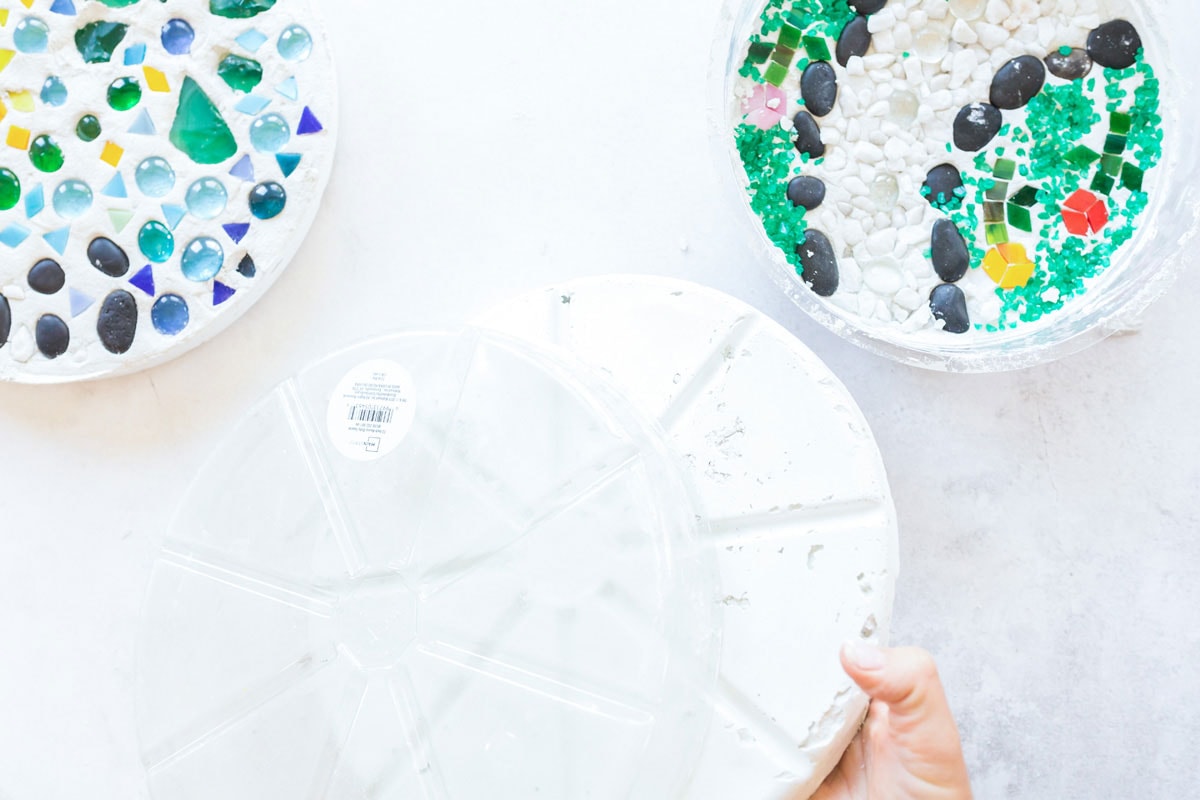
removing stone from mold
sanding edges of garden stones
  1. This step is optional as the concrete will hold up fine outside. But if you like you can coat your stones with a layer of Outdoor formula Mod Podge.

Expert Craft Tips

  • Use your phone to take a picture after arranging your designs in step #2. That way you can refer back to the photo in addition to using the template. This is helpful if you have any mishaps, like accidentally bumping the template and moving your designs.
  • DO NOT wash any mortar down your sink! Scrape unused mortar into a plastic bag and throw away. Use a hose or a bucket of water outside to wash hands and tools.
  • If you are working with young kids, you should premix the mortar. Follow the manufacturer’s mixing directions.
  • You can make a bunch of stones from a 10-pound container of quick set mortar, making this a great group project (like summer camp or scouts, or even with the elderly!).
  • Use embellishments you have on hand and look in your recycle bin for plastic containers you can use as molds.
  • If anyone has sensitive skin, I’d recommend wearing plastic gloves as the mortar may dry skin.
  • Use your imagination! An old plastic ice cube tray would make 12 perfect stepping stones in a fairy garden (I’d only pour these to 1/2″ thick due to their size)!
  • Save molds to use again to make more stones! Do not use molds again for making/storing food.

Garden stones are a great way to use pretty tiles and embellishments you may have around the house to create a unique piece of outdoor artwork! Sprinkle a little glitter on the top of the design while the mortar is still setting for extra sparkle!

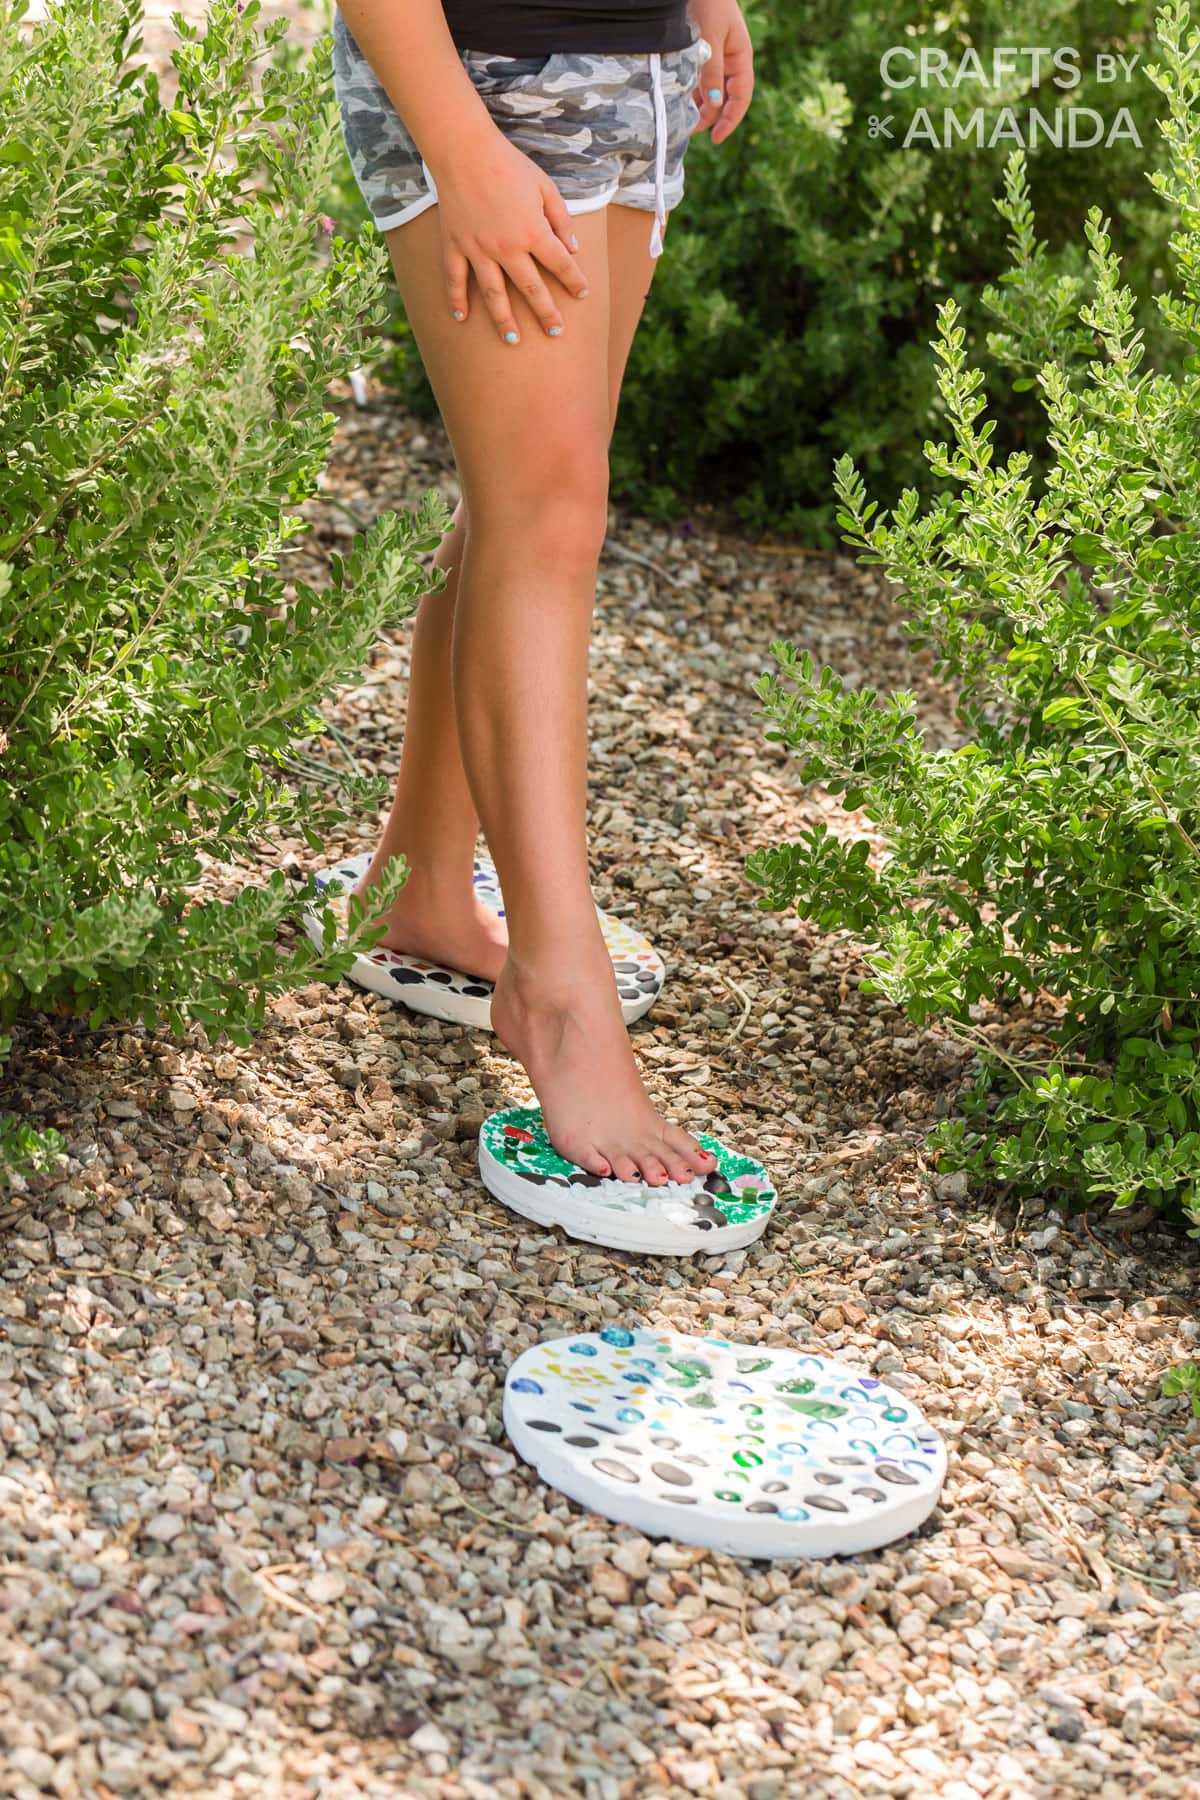
girl walking on garden stepping stones she made

More Garden Crafts

  • Watering Can That Pours Crystals
  • Beaded Garden Sparkler
  • Cheese Grater Owl
  • Beaded Decorative Garden Stakes
  • Clay Pot Lighthouse
  • Clay Pots Toadstools
stepping stones in red mulch
Print Project
5 from 10 votes

DIY Garden Stepping Stones

Garden stones are a great way to use pretty tiles and embellishments you may have around the house and create a unique piece of outdoor artwork at the same time!
Crafting Time1 hour hr
1 day d
Total Time1 day d 1 hour hr
Age Group: Adult Crafts, Kids Crafts
Project Type: Summer

Supplies

  • Quick set Mortar
  • Mold for Stone shape old pie tin, round plastic container, plastic flower pot saucers, something that is strong but flexible
  • Embellishments for stone design: shells tile pieces, sea glass, beads, small stones, glitter, buttons
  • Outdoor Mod Podge sealer optional

Craft tools

  • Pencils
  • Scrap paper
  • Bucket or plastic bowl for mixing mortar
  • Plastic spoon
  • Covered work surface
  • Fine Grit Sandpaper

Instructions

  • Trace your mold shape on the scrap paper using the pencil.
    tracing around a circle with a pencil
  • Figure out your design by laying out your embellishments on the scrap paper
    designs for stepping stones
  • Once you have finalized your design, mix up the mortar following the manufacturer’s directions. Tap the side of the mold to get any air bubbles out. Let the mortar “set” in the mold long enough so you can gently push your embellishments into the material. I’d mix up enough material so you have about a 1- 1 1/2” thick stone.
    mixing mortar in a bucket
  • Add your embellishments to the mortar by taking them off the scrap paper, following the design you made, and gently pressing the pieces into the “material”. Some mortars set more quickly than others so be sure to check all your mixing directions so you know that ahead of time.
Note: You can also “draw” designs into the mortar as it sets – use your pencil! Test first in a corner and leave at least a 1" border around the edges. Drawing too close to the edge can cause cracking.
    adding embellishments to mortar
  • Once all your embellishments are placed, let the entire piece dry thoroughly in a warm dry place. 24 hours is a safe bet although some may be dry before then.
    designs in mortar
  • Once dry, carefully pop the stones out of the molds and if needed, use a little sandpaper (do this outside) to take any rough edges off.
    removing stone from mold
  • This step is optional as the concrete will hold up fine outside. But if you like you can coat your stones with a layer of Outdoor formula Mod Podge.

Expert Tips & FAQs

  • Use your phone to take a picture after arranging your designs in step #2. That way you can refer back to the photo in addition to using the template. This is helpful if you have any mishaps, like accidentally bumping the template and moving your designs.
  • DO NOT wash any mortar down your sink! Scrape unused mortar into a plastic bag and throw away. Use a hose or a bucket of water outside to wash hands and tools.
  • If you are working with young kids, you should premix the mortar. Follow the manufacturer’s mixing directions.
  • You can make a bunch of stones from a 10 pound container of quick set mortar, making this a great group project (like summer camp or scouts, or even with the elderly!).
  • Use embellishments you have on hand and look in your recycle bin for plastic containers you can use as molds.
  • If anyone has sensitive skin, I’d recommend wearing plastic gloves as the mortar may dry skin.
  • Use your imagination! An old plastic ice cube tray would make 12 perfect stepping stones in a fairy garden (I’d only pour these to 1/2″ thick due to their size)!
  • Save molds to use again to make more stones! Do not use molds again for making/storing food.

This post originally appeared here on July 20, 2022.

  • Author
  • Recent Posts
Ann Kollegger
Ann Pianta Kollegger has designed craft products, greeting cards and other products which have been sold nationwide. Her most valuable creative moments have been with her own kids and with the patients she worked with at a local children’s hospital.
Latest posts by Ann Kollegger (see all)
  • Fingerprint Flower Pot - April 18, 2025
  • Handprint Easter Lily - March 28, 2025
  • Craft Stick Leprechaun Hat - February 28, 2025
439 shares
  • Share
  • Tweet
  • Flipboard
  • Email

Filed Under: Camp Crafts, DIY Gift ideas, Garden Crafts, Summer Crafts Tagged With: fairy garden, garden decor, garden stones

About Ann Kollegger

Ann Pianta Kollegger has designed craft products, greeting cards and other products which have been sold nationwide. Her most valuable creative moments have been with her own kids and with the patients she worked with at a local children’s hospital.

Reader Interactions

Free CraftsBy email every week

Latest crafts straight to your inbox!

Comments

  1. Janet Keicher says

    June 13, 2024 at 3:45 pm

    I want to try this with our grandkids this summer. If I wanted to make, say, 8 9-inch stepping stones, how much quick setting mortar would I need to mix? Do you know the cement to water ratio for that amount?

    Reply
  2. Amy Loesser says

    April 16, 2024 at 5:37 am

    These are pretty but I ordered the quick set mortar that you gave the link for and it did not turn out white like yours. It is a dark gray which is not nearly as pretty! Is there something you did different to make it white?

    Reply
  3. Debby says

    December 19, 2022 at 7:30 am

    I can’t wait to make these there’s so many pretty things to put in there and it will definitely sparkle up the yard, thank you so much 😁

    Reply
  4. Linda Rosser says

    July 22, 2020 at 11:47 pm

    Can’t wait to make these beautiful stepping stones. So many embelishments to choose from. Love the coloful mosaic look. Thanks.😁

    Reply
    • Amanda Formaro says

      July 23, 2020 at 6:44 am

      Thank you Linda, hope you enjoy the project!

      Reply
5 from 10 votes (8 ratings without comment)

Leave a Reply Cancel reply

Your email address will not be published. Required fields are marked *

Rate This Project


The maximum upload file size: 640 MB. You can upload: image, video. Links to YouTube, Facebook, Twitter and other services inserted in the comment text will be automatically embedded. Drop files here

Primary Sidebar

Hi! I’m Amanda and I’m the founder and head designer of Crafts by Amanda. I have spent over 25 years creating projects to share, but it’s not just me anymore! It’s turned into a complete family affair. Come and meet the Creative Team!

Free CraftsBy email every week

Latest crafts straight to your inbox!

All Time Favorites

snowy pinecone candle jar luminaries

Winter Luminaries: Snowy Pinecone…

Make pretty winter luminaries that appear to be covered ... Go To project

Make this wonderful deco mesh pumpkin wreath to hang on your door this fall!

Deco Mesh Pumpkin Wreath…

Adorn your door this fall with a pretty deco mesh ... Go To project

Learn to make these adorable ladybug painted rocks. use special outdoor paint for this adorable garden craft so you can keep garden ladybugs all summer!

Ladybug Painted Rocks…

I'm going to show you how to make these adorable ... Go To project

Reuse those empty prescription pill bottles in all sorts of ways. From organizing to making cookies. Yes, cookies! See how to use your empty pill bottles!

20 Uses for Prescription Pill…

You've been collecting prescription pill bottles for ... Go To project

Meet the Family

Amanda

Founder and Designer

Kristen

Editorial Manager

Lindsay

Social Media Manager

As seen on:

Footer

Favorites

  • Jar Photo Frames
  • No-Sew Roman Shade
  • Paper Flowers
  • How to Make a Scrunchie
  • Mermaid Slime

About

  • Home
  • Meet the Creative Team
  • Work with Us
  • Privacy Policy
  • Accessibility
  • Contact Us

Images/text copyright Amanda Formaro 2020. To feature a post from Crafts by Amanda, you may use one photo credited and linked back directly to the project post.

Free CraftsBy email every week

Latest crafts straight to your inbox!

Copyright ©2025, Crafts by Amanda. All Rights Reserved.
Design by Pixel Me Designs

Rate This Tutorial

Your vote:


To share a photo with your comment click here!

A rating is required
A name is required
An email is required

Recipe Ratings without Comment

Something went wrong. Please try again.