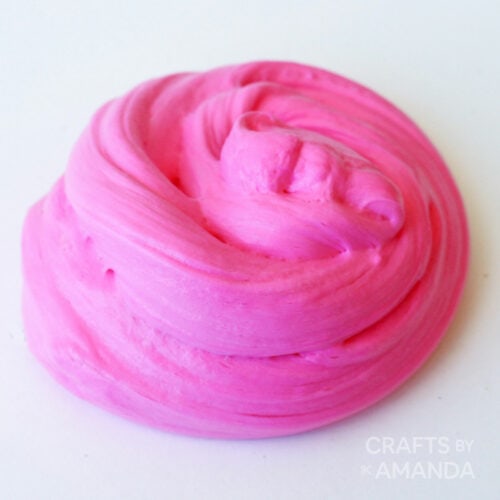
Whenever I’m making slime with kids, the first thing they always yell is, “Can we make fluffy slime?” Why fluffy slime? It’s super smooth to the touch and has a very satisfying, foamy texture that kids can’t get enough of.

Why this slime recipe is a favorite
This fluffy slime uses a lot of basic household ingredients that make it easy and fun to create. The shaving cream and foaming hand soap make it smell super good too! The consistency of this slime is really airy and light making it fun to pull and squeeze.
Not only do kids love the way the shaving cream feels in this slime, but they also love the process of squeezing it into their slime mixture. This fluffy slime recipe is so fun and will provide hours of endless sensory play and entertainment.
Unlike the Mermaid Slime I’ve made in the past, this slime is more focused on the way it feels and less on the sparkly effect. Both are equally cool in their own way!

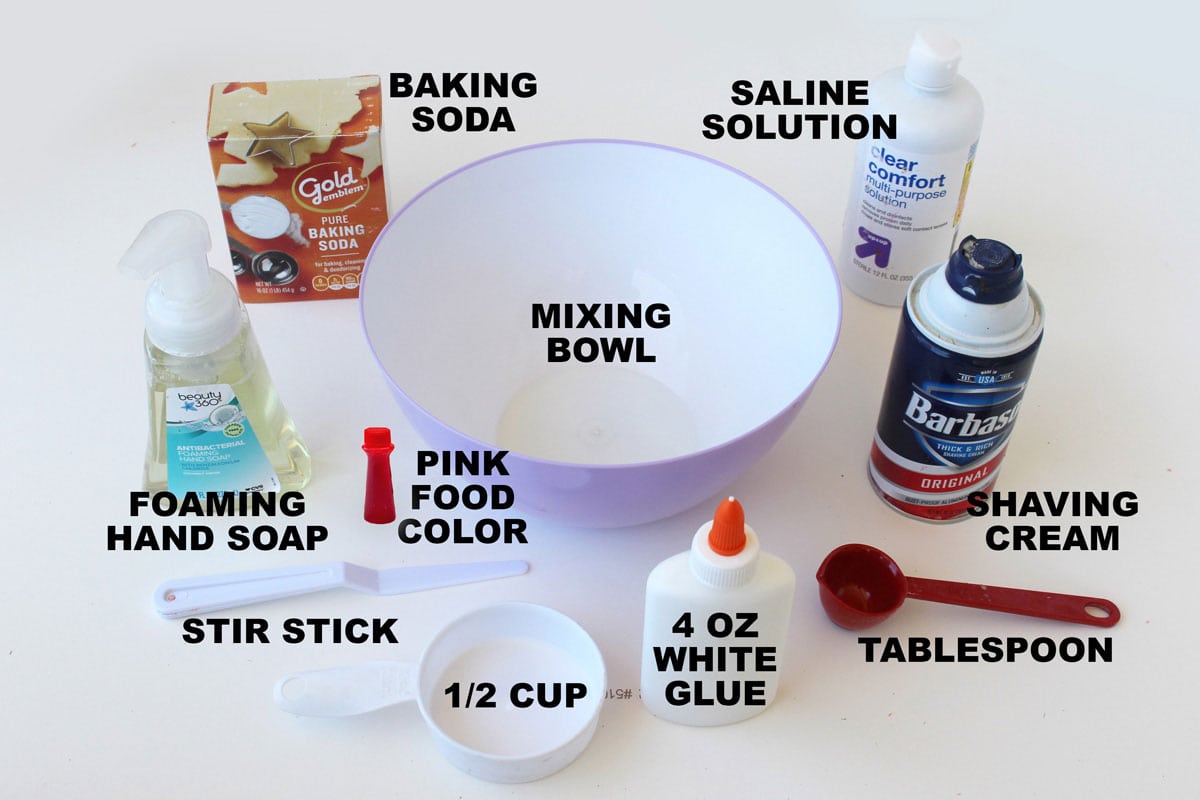
Craft supplies you will need
This slime can be created to be white like the glue you use, but we recommend adding a touch of gel or liquid coloring to add a punch of color and give kids the opportunity to make it their own.
Get full list of supplies and directions in the printable version at the end of this post.
Helpful Project Information:
- Age Level: 5 and up
- Mess Factor: Medium (water and food coloring)
- Level of Difficulty: Easy
- Time to Complete: 5 minutes
- Cost Estimate: Less than $1.00
How to Make Fluffy Slime
These step by step photos and instructions are here to help you visualize how to make this project. Please scroll down to simply print out the instructions!
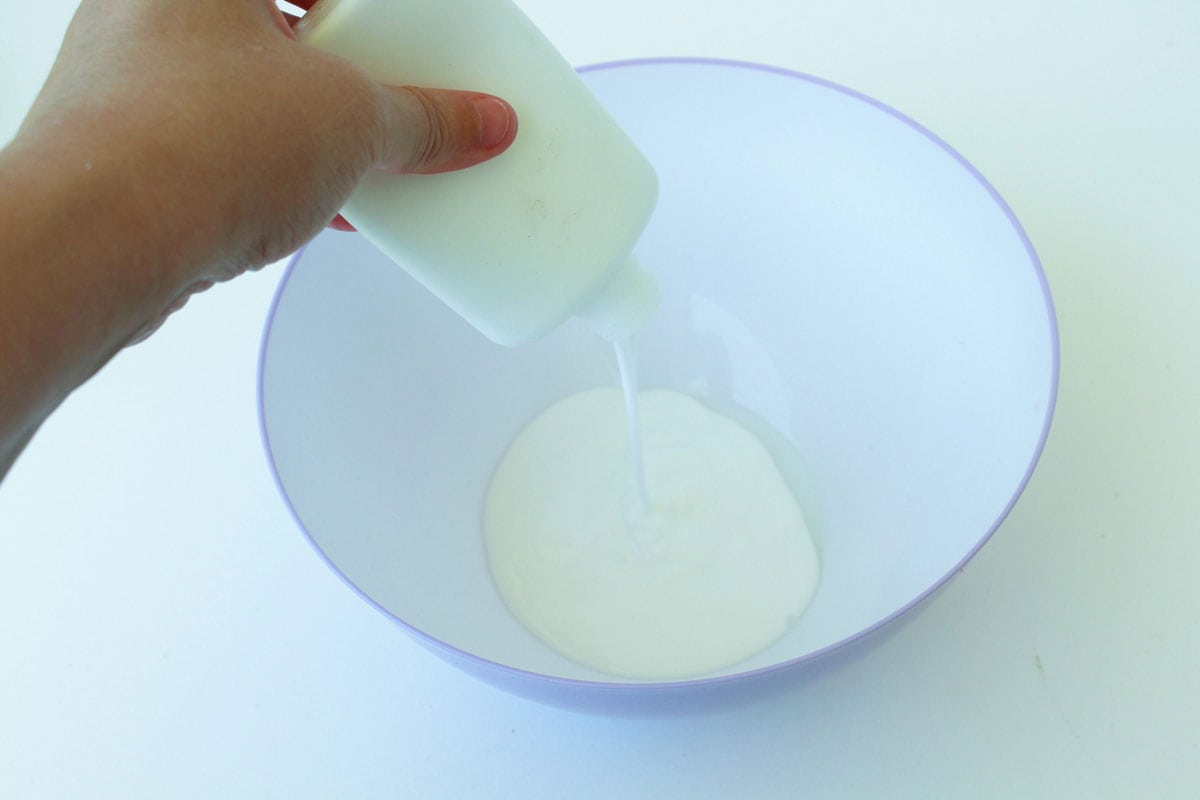
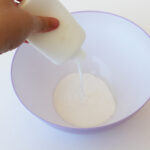
- Empty a 4 oz bottle of white glue into a plastic bowl.
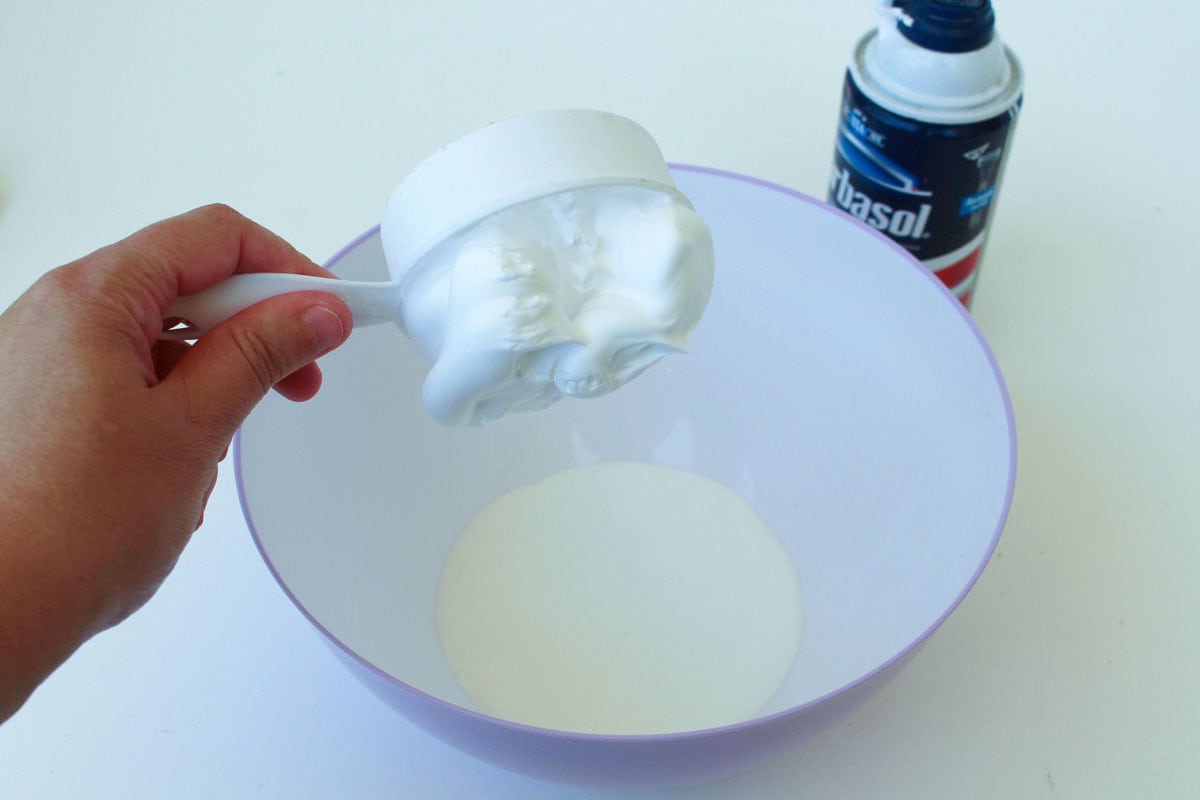
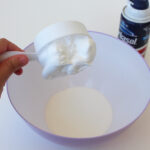
- Add in approximately 1/2 cup of shaving cream.
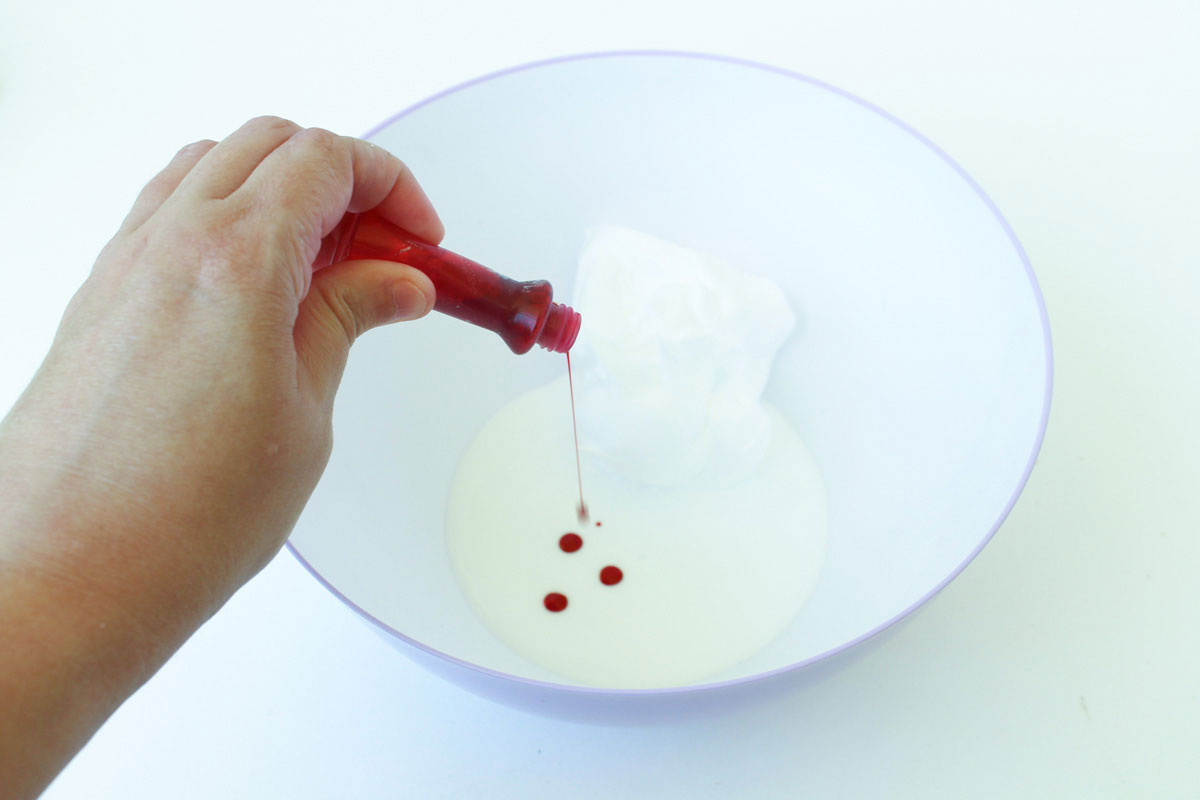
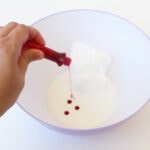
- Add in a few drops of food coloring. You can always add more if you want your slime more vibrant.
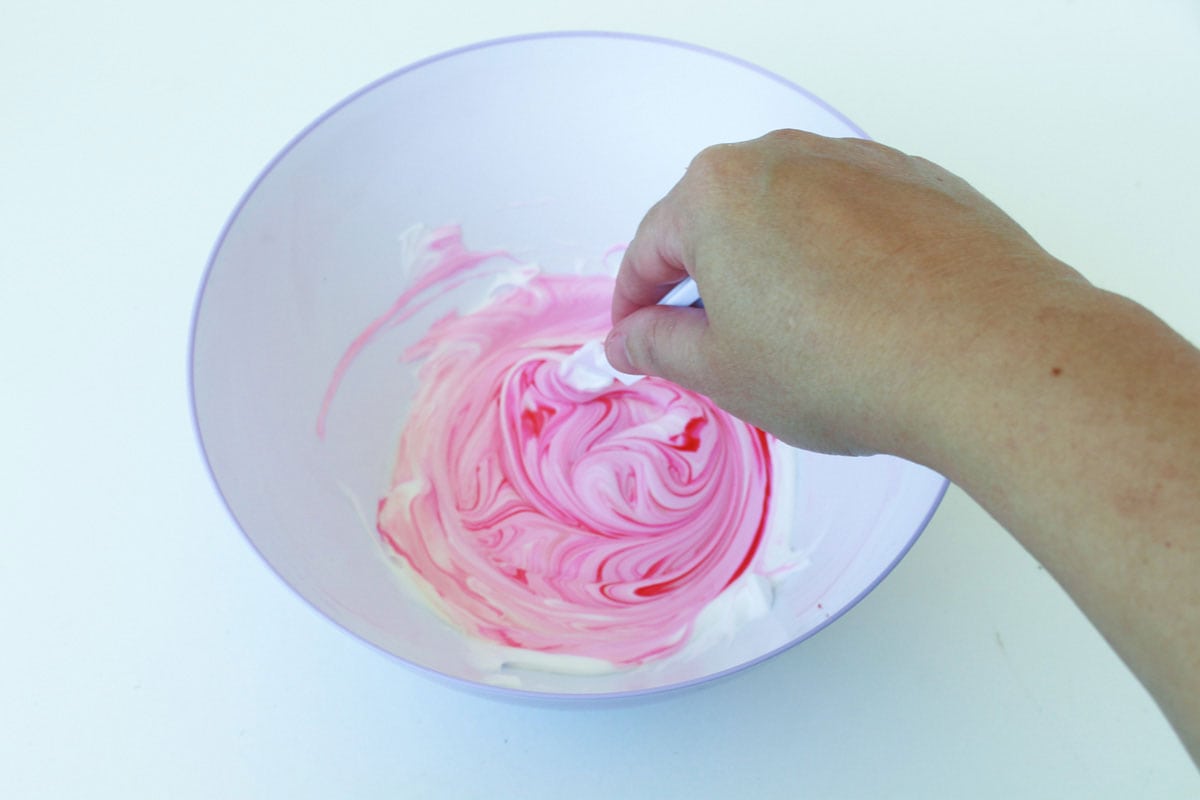
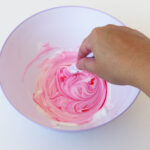
- Stir all ingredients together until thoroughly mixed.
-
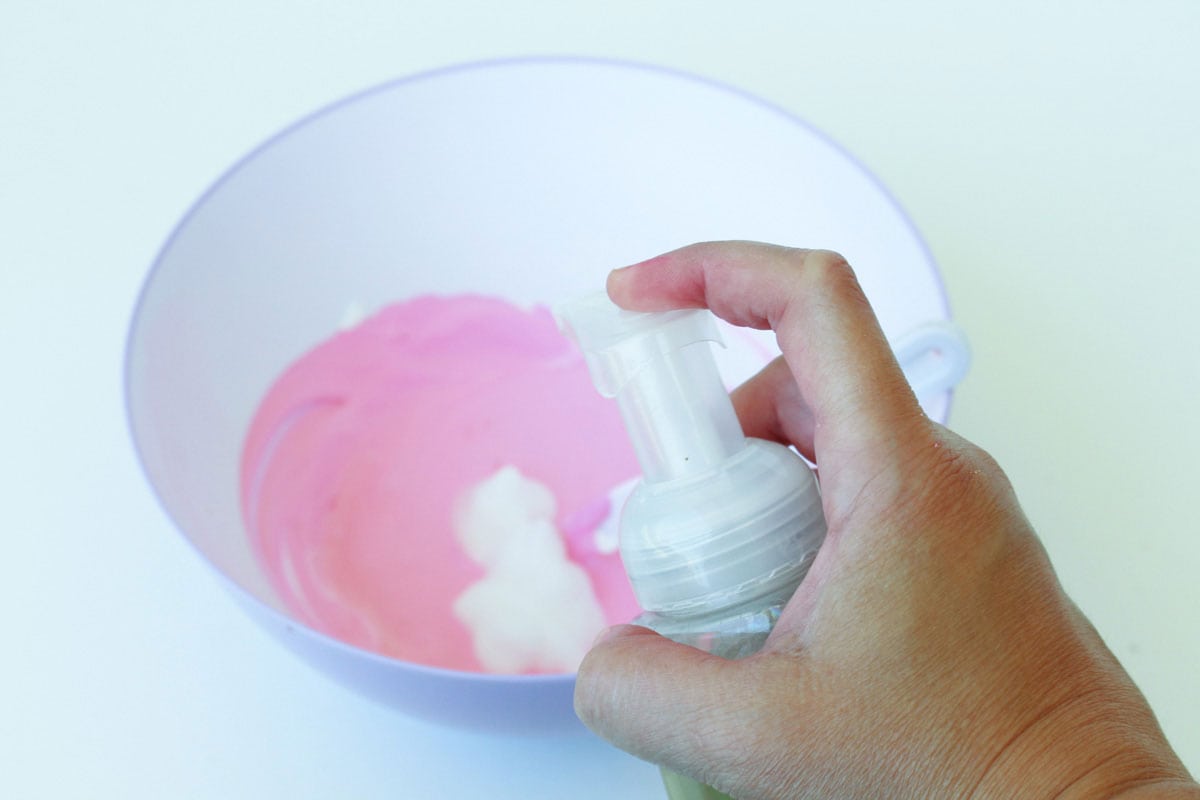
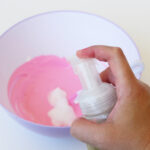
- Pump about 5 pumps of the foaming hand soap into the mixture and stir. This will fluff up the slime even more.
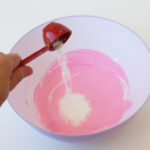
- Add in 3/4 tablespoon of baking soda.
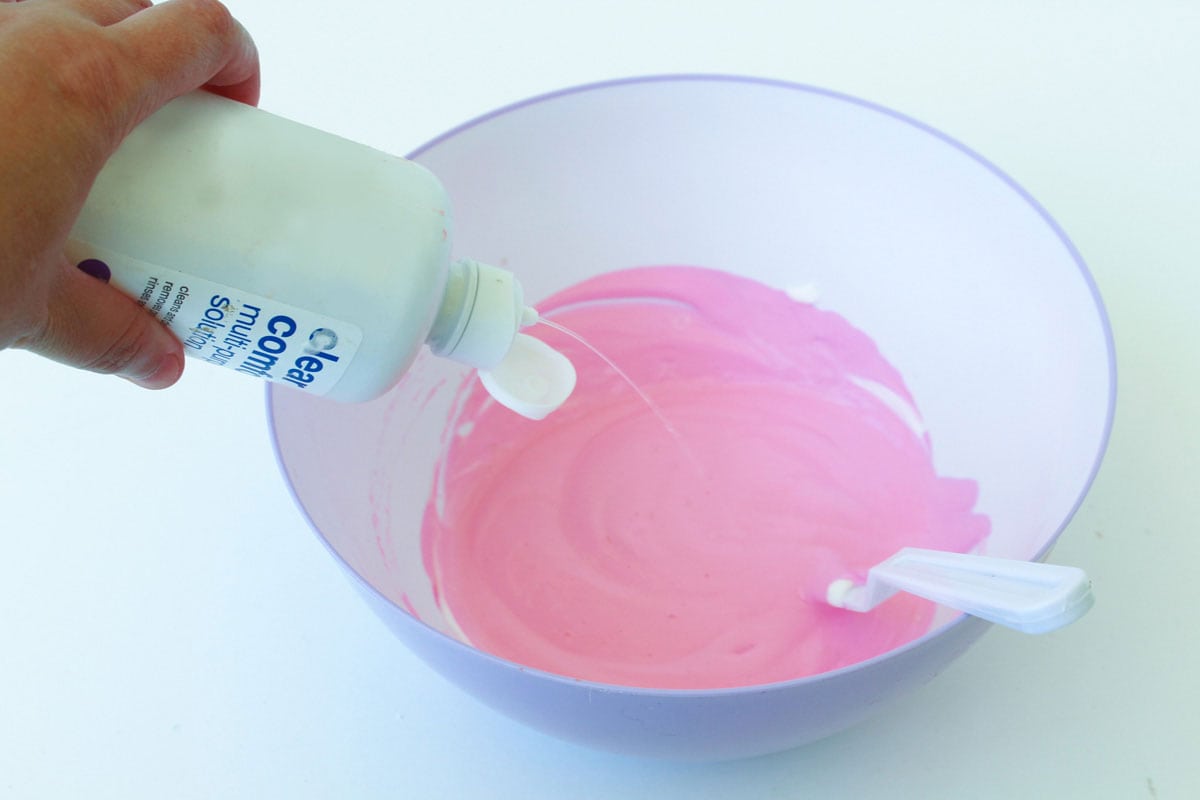
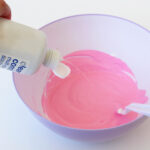
- Squeeze in a small amount of saline solution to your mixture and stir.
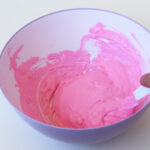
- Keep stirring and continue this process until slime starts to pull away from sides of the plastic bowl. Once it starts to pull away from bowl, take it out and start kneading with your hands. You’ve been forewarned… slime may be sticky at this point, but stay with it. The more you knead slime, the less sticky it is.

Expert Tips & FAQs
- If after the final step it is still too sticky, slowly squeeze in more solution. Stir or knead the slime until it is less sticky and easy to pull. If you add too much saline solution it will break down the slime and change the texture, possibly resulting in a mushy effect.
- Spend extra time kneading and manipulating sticky slime with your hands before adding more saline solution. Getting the right consistency is a scientific process, so take your time and don’t hastily throw in ingredients.
- It’s best to use bowls and mixing supplies that you will throw away or save just for slime projects.
- Play around with different scents of foaming soaps and shaving creams to compliment your slime.
- When crafting with a large group, purchase value packs or a gallon of glue to keep costs down.
This tutorial results in some super fun and fluffy slime – the kids will want to play with it all afternoon long! Once you are finished playing with it, make sure to seal it in an airtight plastic container so it won’t dry out! Happy slime making!

More Slime Recipes
- Patriotic Slime
- St. Patrick’s Day Slime
- Mermaid Slime
- Homemade Floam
- Halloween Slime
- Oobleck
- Valentine Slime
I love to create and share my projects with you! I know it’s hard to remember to come back and search, so I’ve made it easy for you with my weekly newsletter! You can subscribe for free and I’ll send you fun crafts and delicious recipes every week right to your email.

How To Make Fluffy Slime
Supplies
- 4 oz white school glue
- 3/4 tbsp baking soda
- 1/2 cup shaving cream
- 2-4 squirts saline solution
- 2-3 drops food coloring
- 5 pumps liquid hand soap
Craft tools
- Plastic Tablespoon
- 1/2 cup measuring cup
- Stir stick or spoon
- Mixing bowl
Instructions
- Empty a 4 oz bottle of white Glue into a plastic bowl.

- Add in approximately 1/2 cup of shaving cream.
- Add in a few drops of food coloring. You can always add more if you want your slime more vibrant.
- Stir all ingredients together until thoroughly mixed.
- Pump about 5 pumps of the foaming hand soap into the mixture and stir. This will fluff up the slime even more.
- Add in 3/4 tablespoon of baking soda.
- Squeeze in a small amount of saline solution to your mixture and stir
- Keep stirring and continue this process until slime starts to pull away from sides of the plastic bowl. Once it starts to pull away from bowl, take it out and start kneading with your hands. You've been forewarned... slime may be sticky at this point, but stay with it. The more you knead slime, the less sticky it is. If it is still too sticky, slowly squeeze in more solution. Stir or knead the slime until it is less sticky and easy to pull. If you add too much saline solution it will break down the slime and change the texture, possibly resulting in a mushy effect.
Expert Tips & FAQs
- If after the final step it is still too sticky, slowly squeeze in more solution. Stir or knead the slime until it is less sticky and easy to pull. If you add too much saline solution it will break down the slime and change the texture, possibly resulting in a mushy effect.
- Spend extra time kneading and manipulating sticky slime with your hands before adding more saline solution. Getting the right consistency is a scientific process, so take your time and don't hastily throw in ingredients.
- It’s best to use bowls and mixing supplies that you will throw away or save just for slime projects.
- Play around with different scents of foaming soaps and shaving creams to compliment your slime.
- When crafting with a large group, purchase value packs or a gallon of glue to keep costs down.
- How to Make Patriotic Slime - June 30, 2026
- St. Patrick’s Day Slime - February 27, 2026
- How to Paint Glass - September 25, 2020


Amii-may surman says
it works amazingly!!!!!!!!
aylien says
we didnt even finish the slime yet but its so fluffy and it worked soooooooooooooooooooooooooooooooooooooooooooooooooooooooooooooooooooooooooooooooooooooooooooooooooooooooooooooooooooooooooooooooooooooooooooooooooooooooooooooooooooooooooooooooooooooooooooooooooooooooooooooooooooooooooooooooooooooooooooooooooooooooooooooooooooooooooooooooooooooooooooooooooooooooooooooooooooooooooooooooooooooooooooooooooooooooooooooooooooooooooooooooooooooooooooooooooooooo good
Jaden says
I love the pink slime I made it wasn’t fluffy but I made slime it was amazingThank you for the ingredients I added bike and strawberries and I have a container and I’m gonna put like her Crayola the art it’s gonna be sweet berry pie
Terri Thompson says
This sounds like a great project to do with my grandchildren!! Thanks d:-)