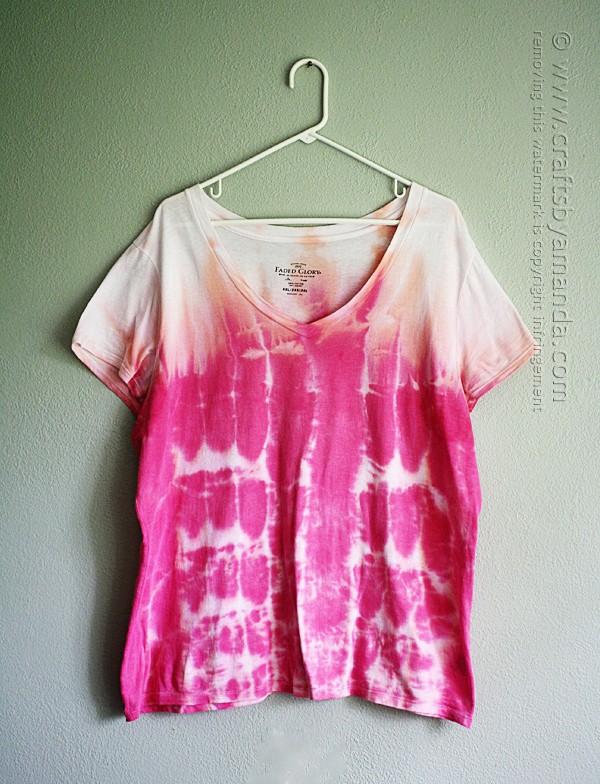
I really love creating my own designer shirts, but I tend to steer away from traditional tie dye designs. Instead, I like to experiment with various different ways to make a piece unique. A great example of this is my Shibori tie dye shirt.
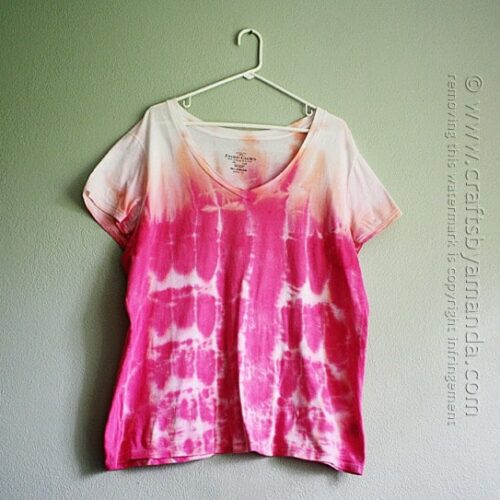
And to be completely honest, this particular top was a total experiment. I wasn’t really sure how it would turn out and knew that the results could have gone either way. When I was removing the rubber bands I thought for sure I was going to be disappointed. But the more rubber bands I removed, the more I realized just how much I was going to love it!
I originally intended to create a red and white stripe on the bottom half of the shirt with blue at the top for a patriotic play on two types of dying methods. But after sitting for six hours there had been quite a bit of seepage into the upper portion. I was a little worried I would have to scrap this project and start over. While removing the rubber bands I noticed that there wasn’t any white where the rubber band had been. That tells me that my bands weren’t tight enough or perhaps I used too much dye.
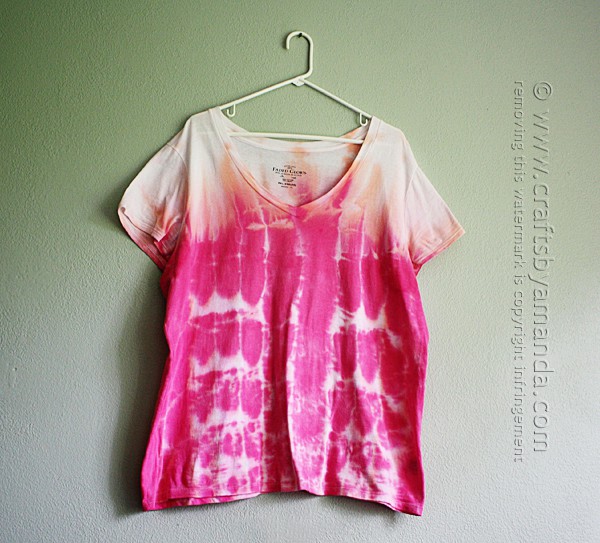
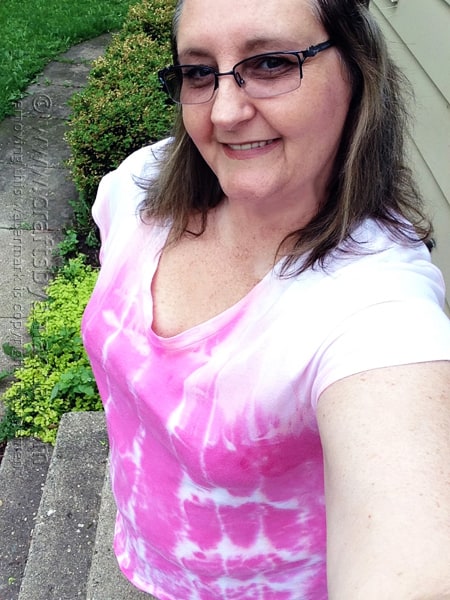
Luckily, it all worked out in the end and I actually love the way it turned out. In fact, I wore it quite a bit this summer!
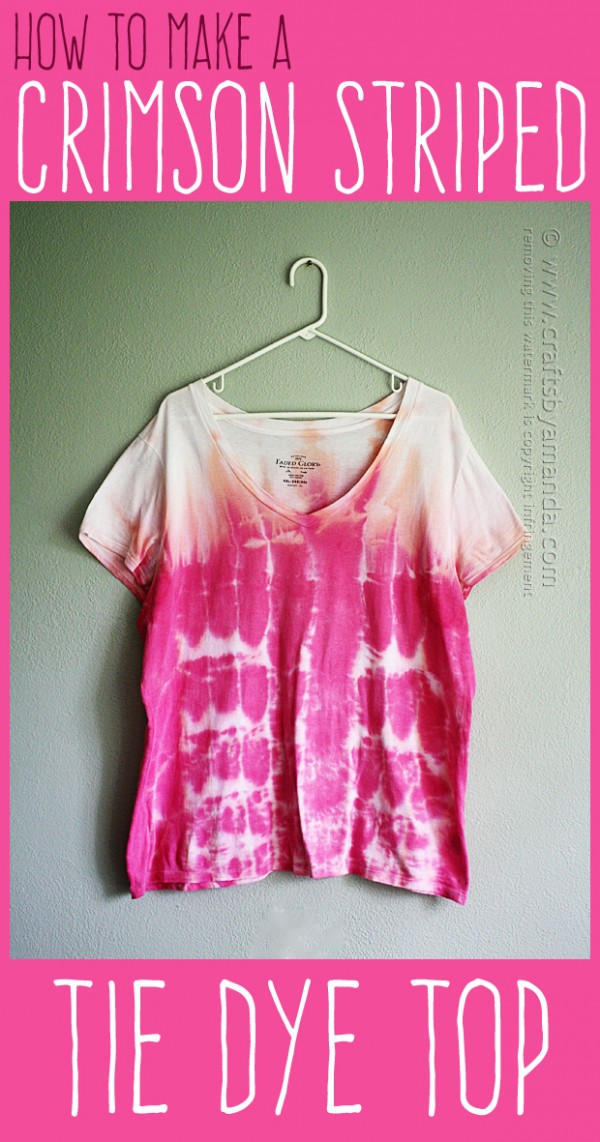
Crimson Striped Tie Dye Top
Want to experiment with a similar method yourself? Here are the steps that I took.
affilate
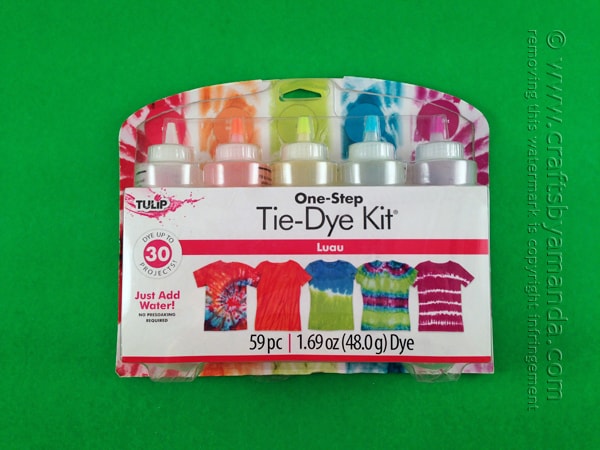
- White top
- Red dye

- Rubber bands (included in kit linked above)
- Plastic wrap
- masking tape
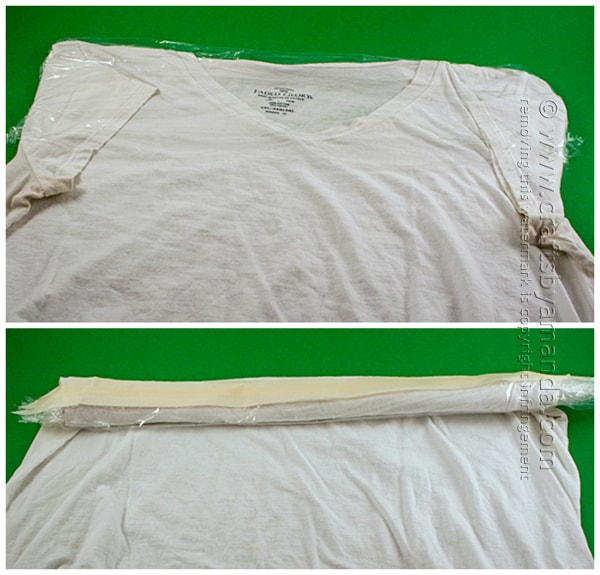
Lay shirt on work surface and cover the upper portion with a sheet of plastic wrap. Fold the top portion down toward you and lay plastic wrap on the back of the shirt as well. Roll the upper portion of the shirt and encase it in more plastic wrap, closing the ends with masking tape.
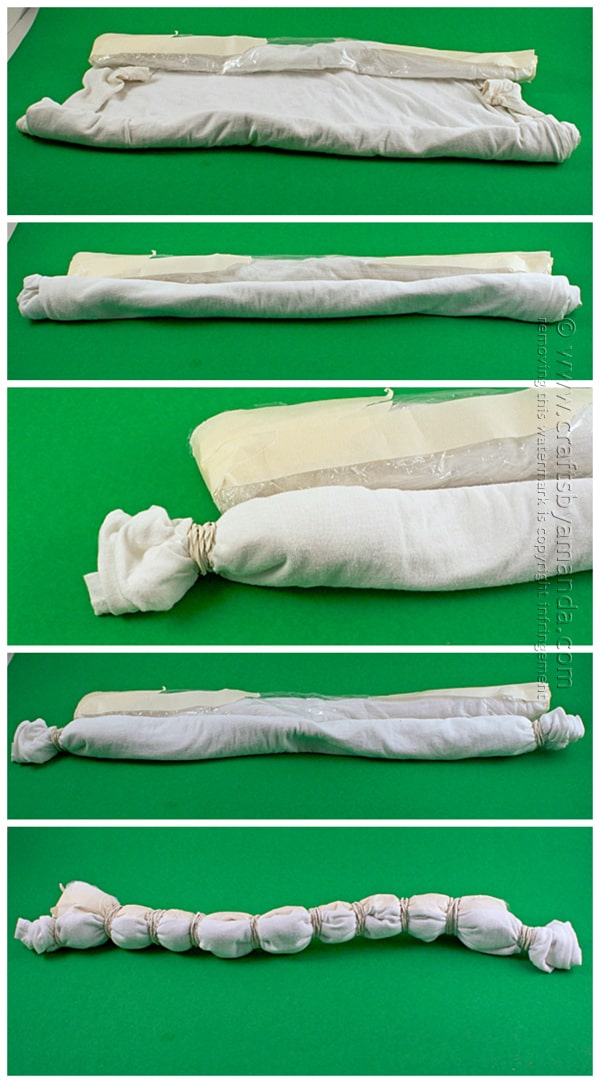
Roll the bottom portion of the shirt up toward the top rolled portion. When they are touching, begin rubber banding, first at the two wider ends, then wrap rubber bands every couple of inches around both portions of the shirt. I wrapped my bands three times. Tighter wraps will results in more white in your stripes.
Turn on the faucet and run the bottom portion of the shirt under the water to dampen it. Squeeze out the excess water.
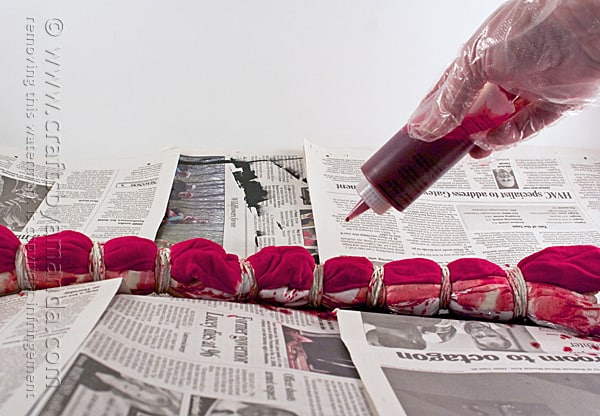
Cover your work surface with a plastic tablecloth and then with newspapers. Saturate the bottom portion of the shirt with red dye. Avoid the top portion, though as the shirt sits, there will be some seepage which is what creates the fun ombre effect!
Wrap the shirt in plastic wrap and allow to sit for six hours.
Remove the outer layer of plastic wrap. Rinse as much dye out as you can before removing rubber bands and remaining plastic wrap. Once you have removed those, rinse thoroughly then hand wash with a teaspoon of liquid laundry detergent. Rinse it well and wring out as much excess water as you can.
Dry your shirt in the dryer or hang it to dry.
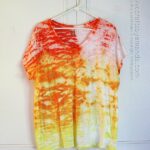
More tie dye and tee ideas
Love to create your own shirts? Here’s a few ideas you might like.
 |
 |
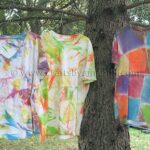 Fabric Painted Tie Dye Shirts Fabric Painted Tie Dye Shirts |
 |

How to Tie Dye Cool Stripes
Supplies
- White top
- Red dye
- Rubber bands
- Plastic wrap
- masking tape
Instructions
- Lay shirt on work surface and cover the upper portion with a sheet of plastic wrap. Fold the top portion down toward you and lay plastic wrap on the back of the shirt as well. Roll the upper portion of the shirt and encase it in more plastic wrap, closing the ends with masking tape.
- Roll the bottom portion of the shirt up toward the top rolled portion. When they are touching, begin rubber banding, first at the two wider ends, then wrap rubber bands every couple of inches around both portions of the shirt. I wrapped my bands three times. Tighter wraps will results in more white in your stripes.
- Turn on the faucet and run the bottom portion of the shirt under the water to dampen it. Squeeze out the excess water.
- Cover your work surface with a plastic tablecloth and then with newspapers. Saturate the bottom portion of the shirt with red dye. Avoid the top portion, though as the shirt sits, there will be some seepage which is what creates the fun ombre effect!
- Wrap the shirt in plastic wrap and allow to sit for six hours.
- Remove the outer layer of plastic wrap. Rinse as much dye out as you can before removing rubber bands and remaining plastic wrap. Once you have removed those, rinse thoroughly then hand wash with a teaspoon of liquid laundry detergent. Rinse it well and wring out as much excess water as you can.
- Dry your shirt in the dryer or hang it to dry.
- DIY Mosquito Repellent Candles - July 10, 2026
- Mason Jar Solar Lights - July 3, 2026
- Patriotic Pinwheels - June 23, 2026


Leave a Reply