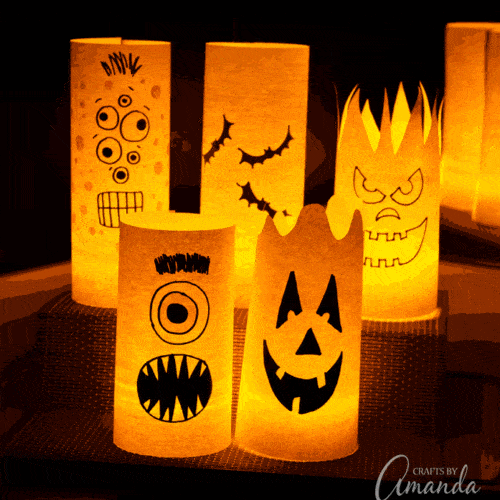
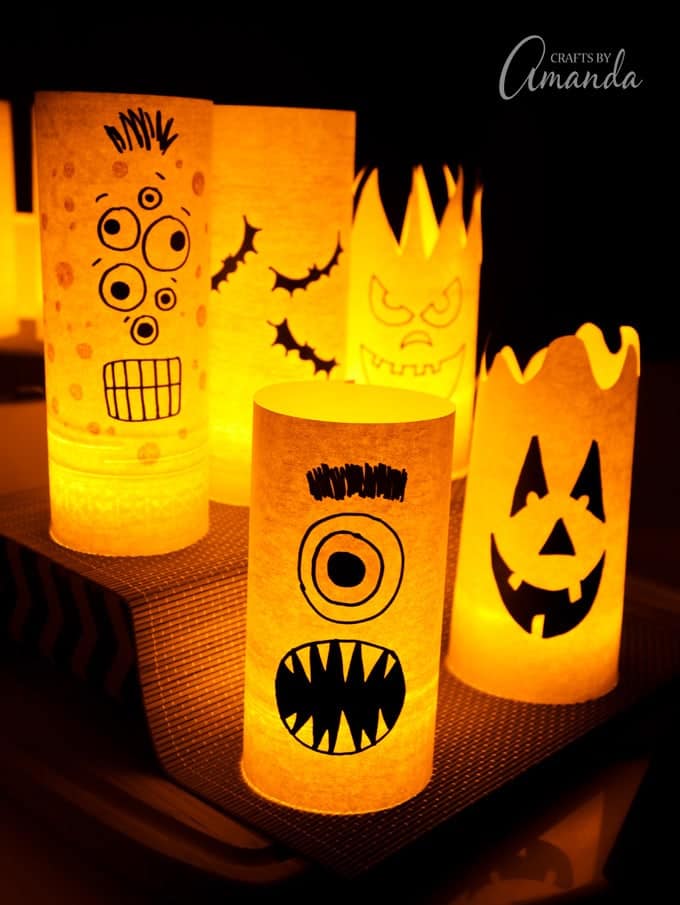
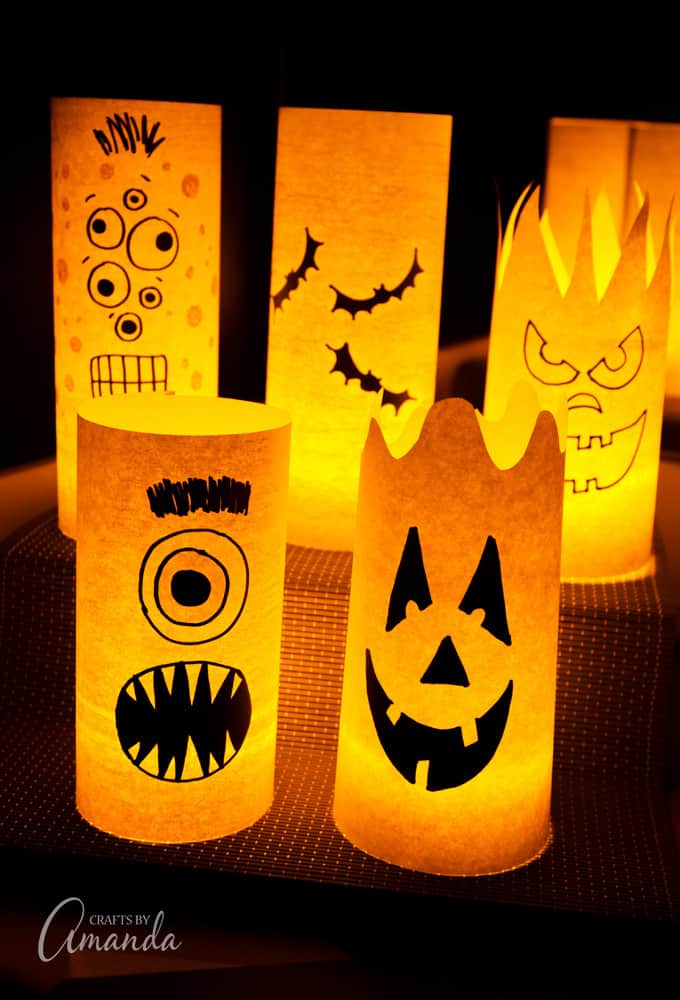
Halloween decorations don’t have to be difficult, and kids love to join in the fun. By day they are colorful shelf or window decorations, but by night they are spooky paper Halloween luminaries!
Why we love this craft
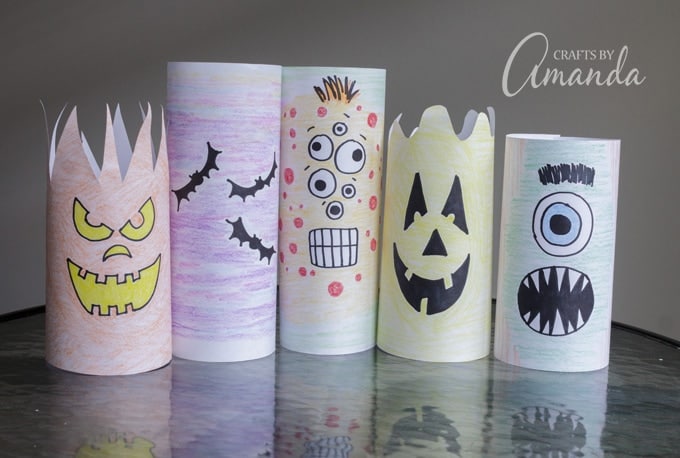
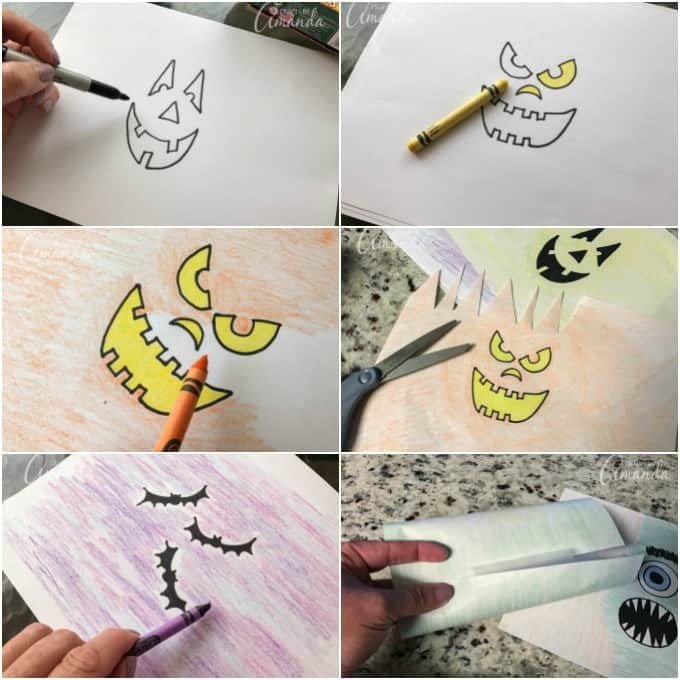
Cute huh?! These paper luminaries are one of the simplest of the easy crafts for kids on this blog. All you have to do is print out my drawings, color them in, and tape them into a cylinder. And seriously, I won’t tell if you decide to pick up the crayons or colored pencils and color along with the kids!
Your kids may love making these fun twirling paper monsters as well! Hang them up and watch them twirl in the wind.
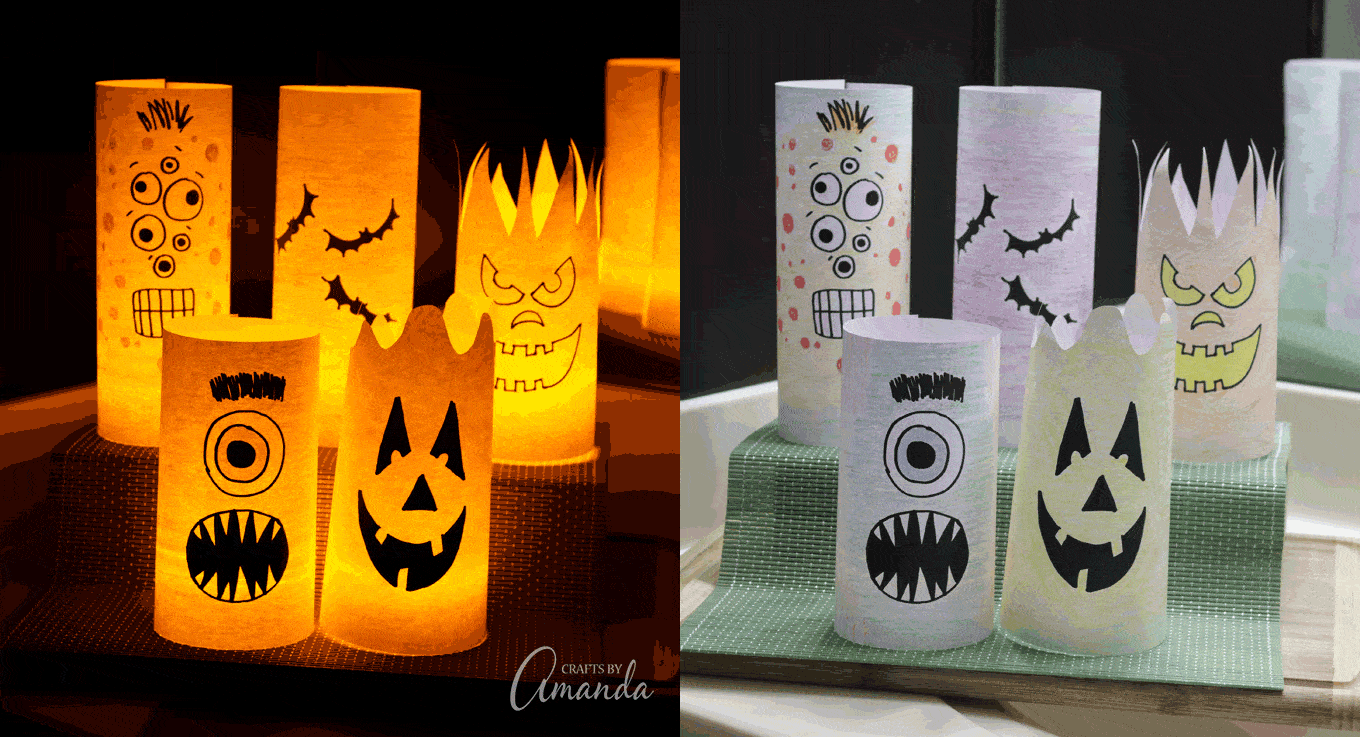
Of course, if the kids (or you) prefer, you can draw your own designs too! If you decide to do that with your paper luminaries, be sure to use a black marker for the main design. As you can see from the animation above, the color from the crayons is lost when the lights go off. The only crayon color still visible is red.
During the day these paper Halloween designs are all colorful and cute, but by night they light up the place! So as I said, these printable luminaries are pretty simple really. And it’s a great way to spend an hour or so coloring and creating.
How To Make Paper Halloween Luminaries
Find the full printable instructions and supply list at the end of this post.
- Print each pattern on white paper.
- Color in with crayons or colored pencils.
- Roll paper into cylinder and tape closed.
- Turn on tea light and place inside glass jar.
- Place paper luminary over the jar.
- Turn out the lights!
TIP: If you draw your own designs, use an 8.5″ x 11″ sheet of printer paper placed horizontally. Draw your design in the center. Remember you will roll the paper into a cylinder and if your design is too wide the whole thing won’t be seen at the front of your luminary.
I hope you have fun with this project!
More Halloween Ideas
- Halloween Wine Glass Candle Holders
- Glowing Jack O Lantern Jars
- Salt Dough Haunted Houses
- Fall Napkin Luminaries
- Halloween Terrarium
- Monster Paper Bag Puppets
- Black Cat Pumpkins
- Clay Halloween Village
I love to create and share my projects with you! I know it’s hard to remember to come back and search, so I’ve made it easy for you with my weekly newsletter! You can subscribe for free and I’ll send you fun crafts every week right to your email.
Paper Halloween Luminaries
Supplies
For each luminary:
- Sheet of 8.5" x 11" white paper
- Crayons or colored pencils
- Clear tape
- Battery operated tea lights
- Glass jars
- Black Sharpie optional - if drawing your own designs
- Paper Halloween Luminary Patterns
Instructions
- Print each pattern on white paper.
- Color in with crayons or pencils.
- Roll paper into cylinder and tape closed.
- Turn on tea light and place inside glass jar.
- Place paper luminary over the jar.
- Turn out the lights!
Expert Tips & FAQs
This post was originally published here on August 29, 2017
- Watercolor Luminaries - February 11, 2025
- Free Valentine Printables: Cards, toppers, and tags - February 4, 2025
- Valentine Hugs - January 31, 2025


Deb says
My 5 yr old grandson had fun this weekend making these luminaries. Thank you for sharing the patterns and instructions. WE colored them together. He was delighted to show his parents what he made.
Amanda Formaro says
How fun! I’m so glad he had a fun time making these :) Thanks for sharing, Deb!
Nina Lewis says
These are so cute!! I’m going to make them with my grandkids at our Halloween party! Thanks so much for sharing all of your creativity!
Diego Lopes says
Lovely! These Halloween lights are awesome, they’re easy to make and they look great.
Amanda Formaro says
Thanks so much!