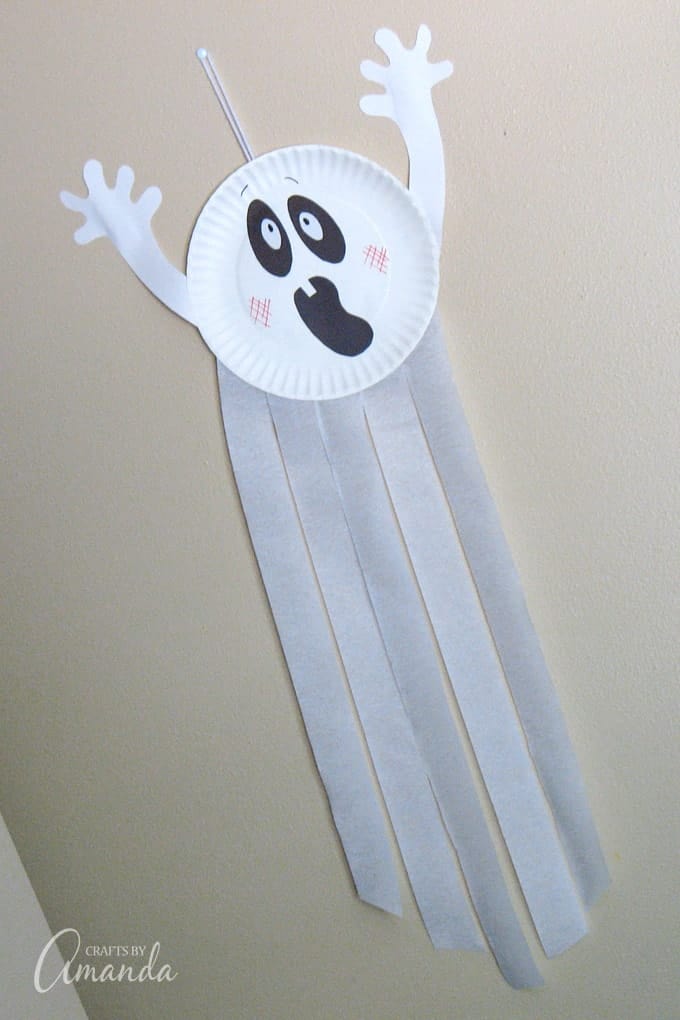
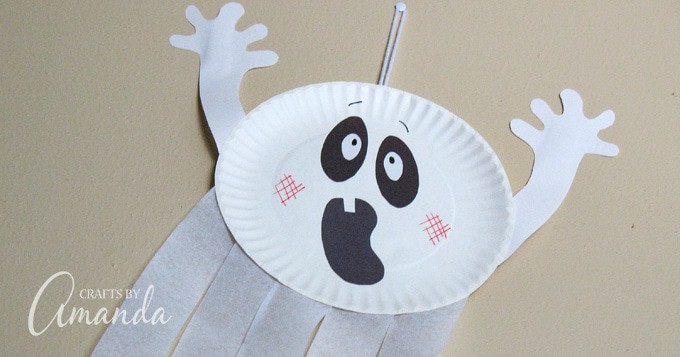
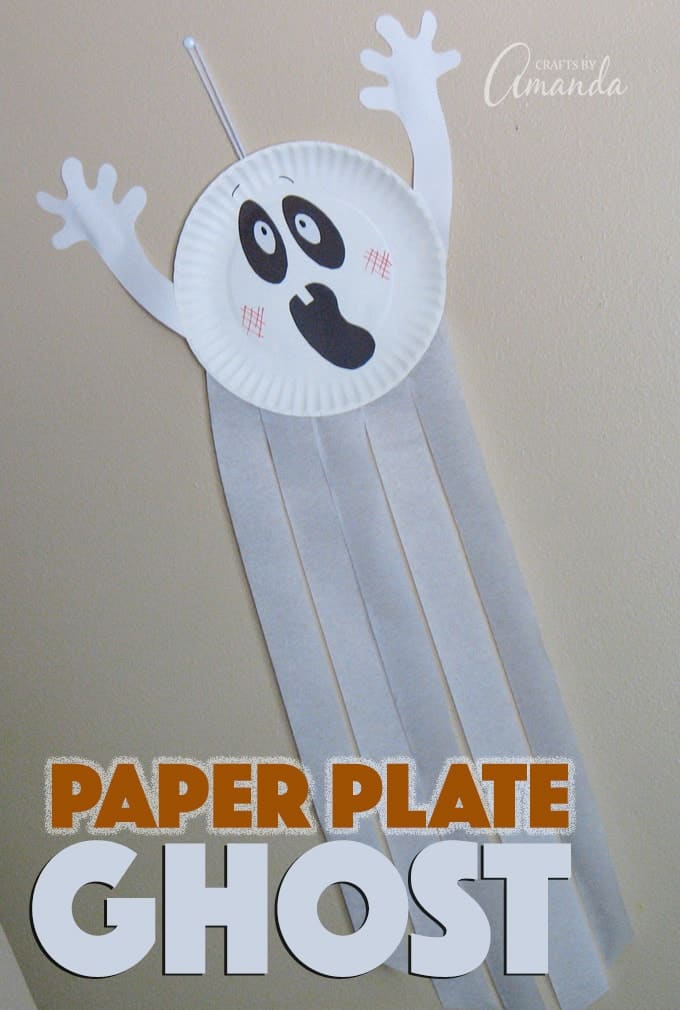
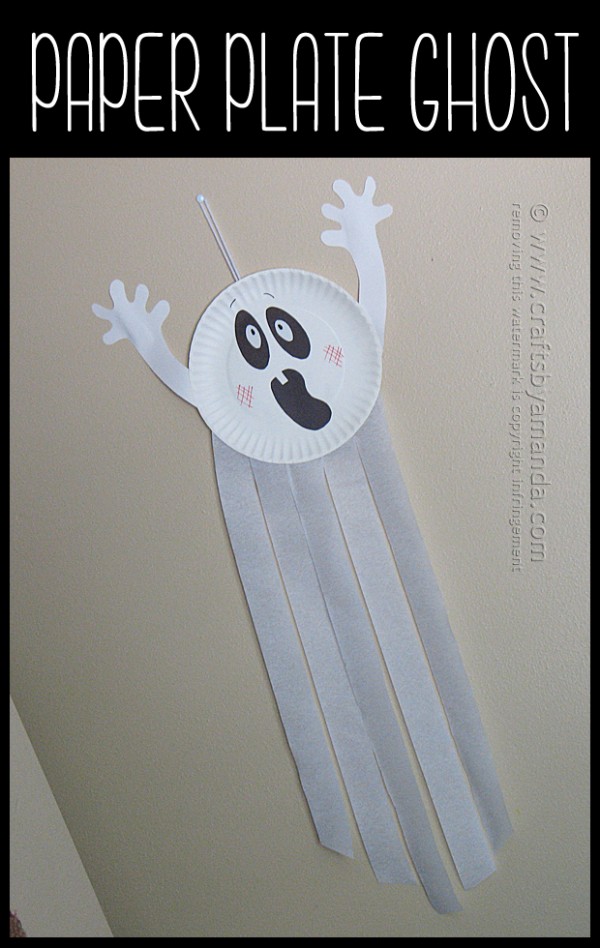
Turn an ordinary paper plate into this adorable paper plate ghost with the kids! A fun Halloween craft to make and use to decorate for your pumpkin painting party or kid-friendly Halloween party!
Paper Plate Ghost
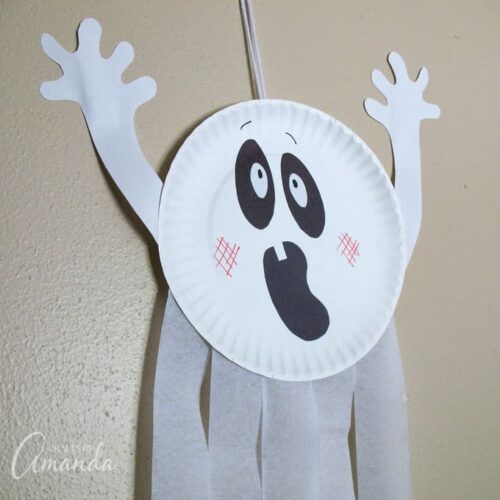
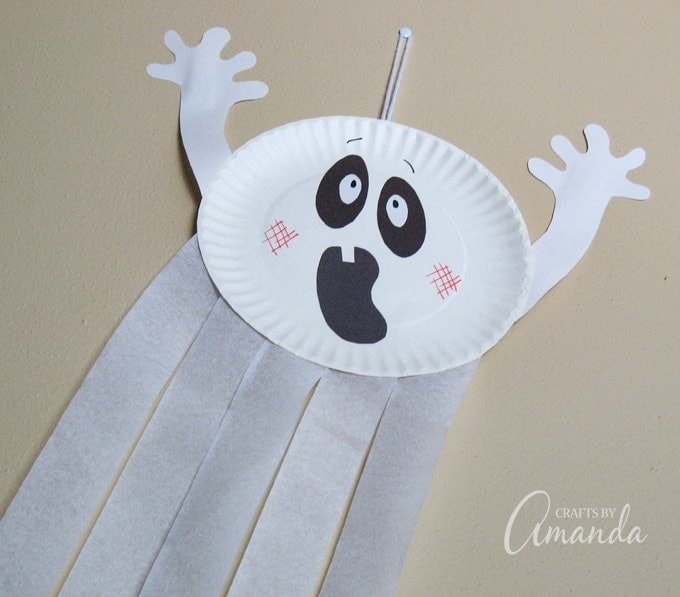
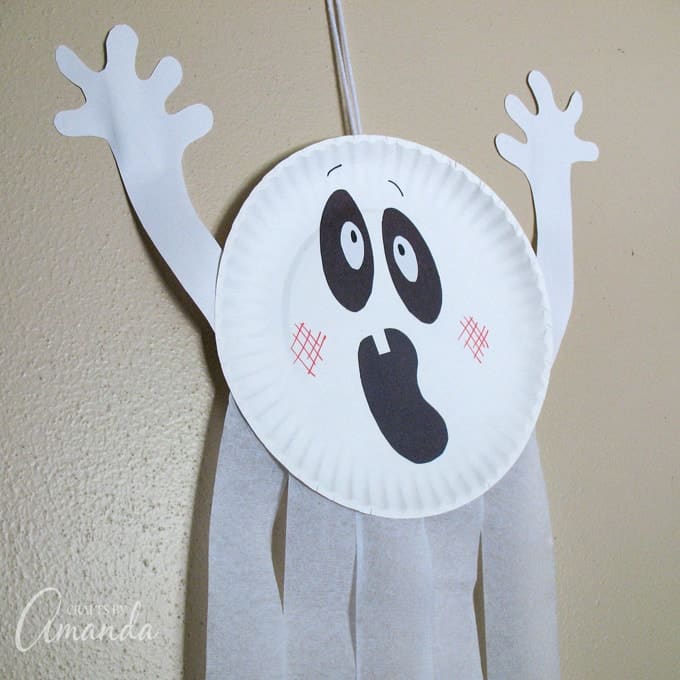
This cute ghost makes a great door decoration for Halloween, or great for decorating the classroom or school hallway! Make it even easier by simply drawing on the facial features with crayons or markers. If you prefer the use the pattern, it’s been provided below.
This can be simplified by having kids draw the face on with black crayons or markers. Simple filled in circles work great for eyes and mouth.
Try different facial patterns yourself by drawing mouths with teeth, smiley faces, or whatever you like. Instead of crepe paper, try lengths of yarn for the body.
What you’ll need to make a paper plate ghost
- 9” paper plate
- Black construction paper
- White construction paper
- Black and pink markers
- Glue stick
- Scissors
- White crepe paper streamers
- 12” piece of white yarn
- Tape
- Pattern
From the pattern, cut two large ovals from black paper and two small ovals from white paper. Use glue stick to attach the white ovals to the black ovals.
Use a black marker to add pupils to the white ovals.
Using the pattern cut two arms from white paper and the mouth from black paper. Glue the facial features to the front of the paper plate. Glue the arms to the back of the paper plate.
Cut crepe paper into five strips, 24 inches long each. Glue crepe paper to the back of the paper plate so that they hang down from the bottom.
Add cheeks with pink marker and eyebrows with the black marker. Fold yarn in half and tape the open ends to the back of the plate for the hanger.
I made this paper plate ghost for Kaboose several years ago. It never made it in the transfer from Kaboose to Spoonful, and now that Spoonful is closing I didn’t want it lost forever, so I’m posting the instructions here. After all, it’s one of my favorite ghost crafts yet!
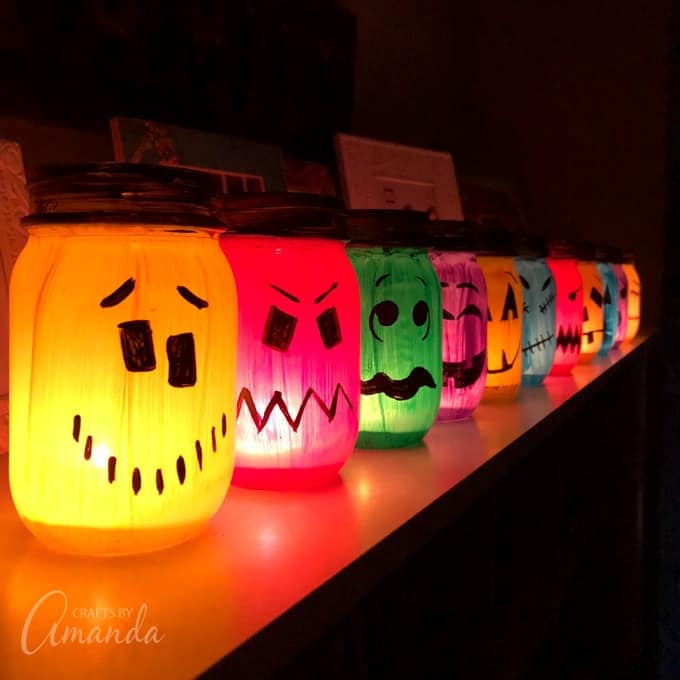
Looking for more fun Halloween craft ideas? These Halloween painted jar luminaries are super easy to make and look great on your front porch lit up!
These twirling ghosts are super fun and make a cute decoration for a Halloween party.
Check out all of my paper plate crafts!
Paper Plate Ghost
Supplies
- 9 ” paper plate
- Black construction paper
- White construction paper
- Black and pink markers
- Glue stick
- Scissors
- White crepe paper streamers
- 12 ” piece of white yarn
- Tape
- Pattern
Instructions
- From the pattern, cut two large ovals from black paper and two small ovals from white paper.
- Use glue stick to attach the white ovals to the black ovals. Use a black marker to add pupils to the white ovals.
- Using the pattern cut two arms from white paper and the mouth from black paper.
- Glue the facial features to the front of the paper plate. Glue the arms to the back of the paper plate.
- Cut crepe paper into five strips, 24 inches long each. Glue crepe paper to the back of the paper plate so that they hang down from the bottom.
- Add cheeks with pink marker and eyebrows with the black marker.
- Fold yarn in half and tape the open ends to the back of the plate for the hanger.
This post was originally published on this blog on Sep 27. 2014.
- Watercolor Luminaries - February 11, 2025
- Free Valentine Printables: Cards, toppers, and tags - February 4, 2025
- Valentine Hugs - January 31, 2025




Maria says
This was an adorable project to do with my 4 yr old my granddaughter. Thank you for the pattern, she loves cutting things out and gluing.
Coolncreative17 says
I like this idea. it’s amazing what you can turn a simple paper plate into. I will be posting a Halloween craft on my new website all-hearts.org shortly.
Kathy Kampa says
Our students will be making these at their Halloween party in English class. We teach children in Tokyo!
Amanda Formaro says
So fun, thanks Kathy!
Sandy says
I love the paper plate ghost! Going to try it with my first graders. Thank you!
Amanda Formaro says
Hope you have fun Sandy!