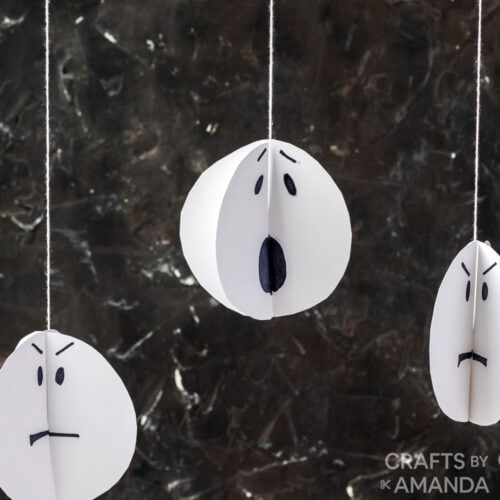
If you’re looking for an easy craft for kids that’s perfect for Halloween, you should definitely make some of my twirling paper ghosts! Hang a bunch from the ceiling or above your Halloween party food table.

Why this project works
This project can be completed in less than 20 minutes and kids can do everything!
These darling little twirling ghosts make awesome homemade Halloween decorations.

Helpful Project Information:
- Age Level: 5 and up
- Mess Factor: Low
- Level of Difficulty: Medium (cutting)
- Time to Complete: less than 30 minutes
- Cost Estimate: Approximately $0.10 each
Craft supplies you will need
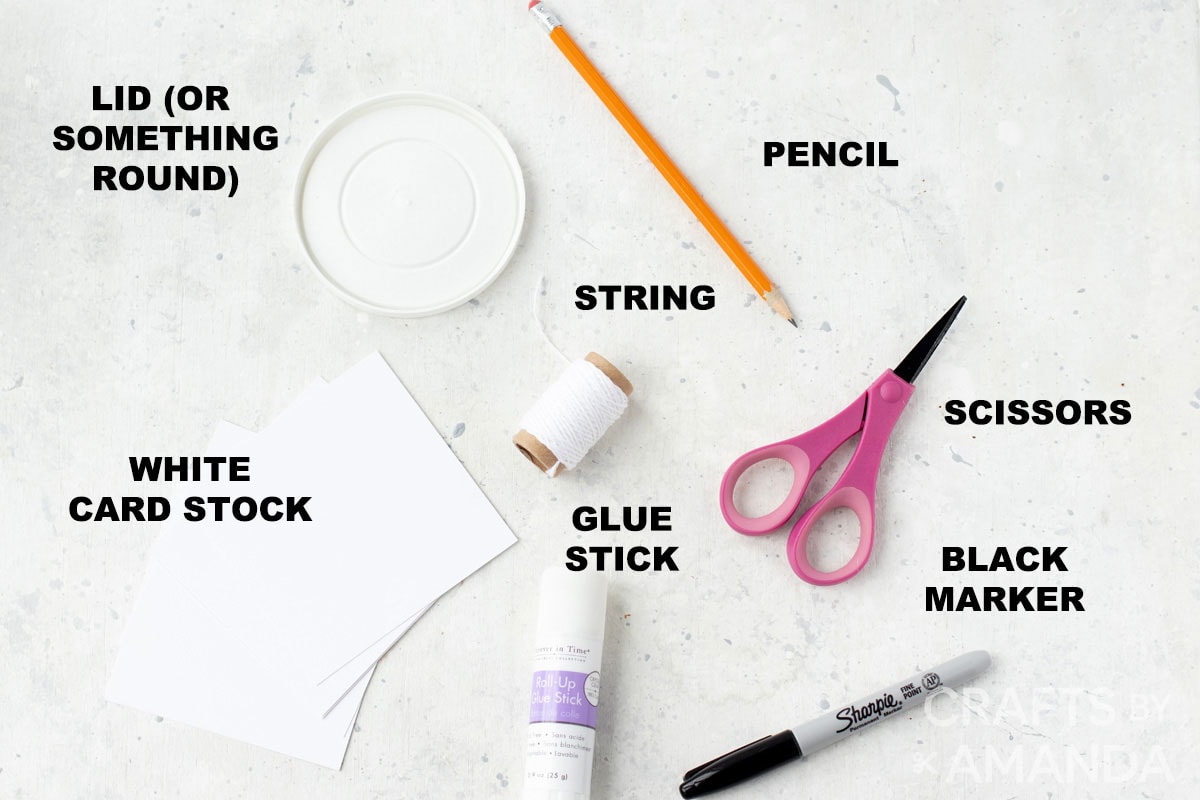
Get full list of supplies and directions in the printable version at the end of this post.
How to Make Twirling Paper Ghosts
These step by step photos and instructions are here to help you visualize how to make this project. Please scroll down to simply print out the instructions!
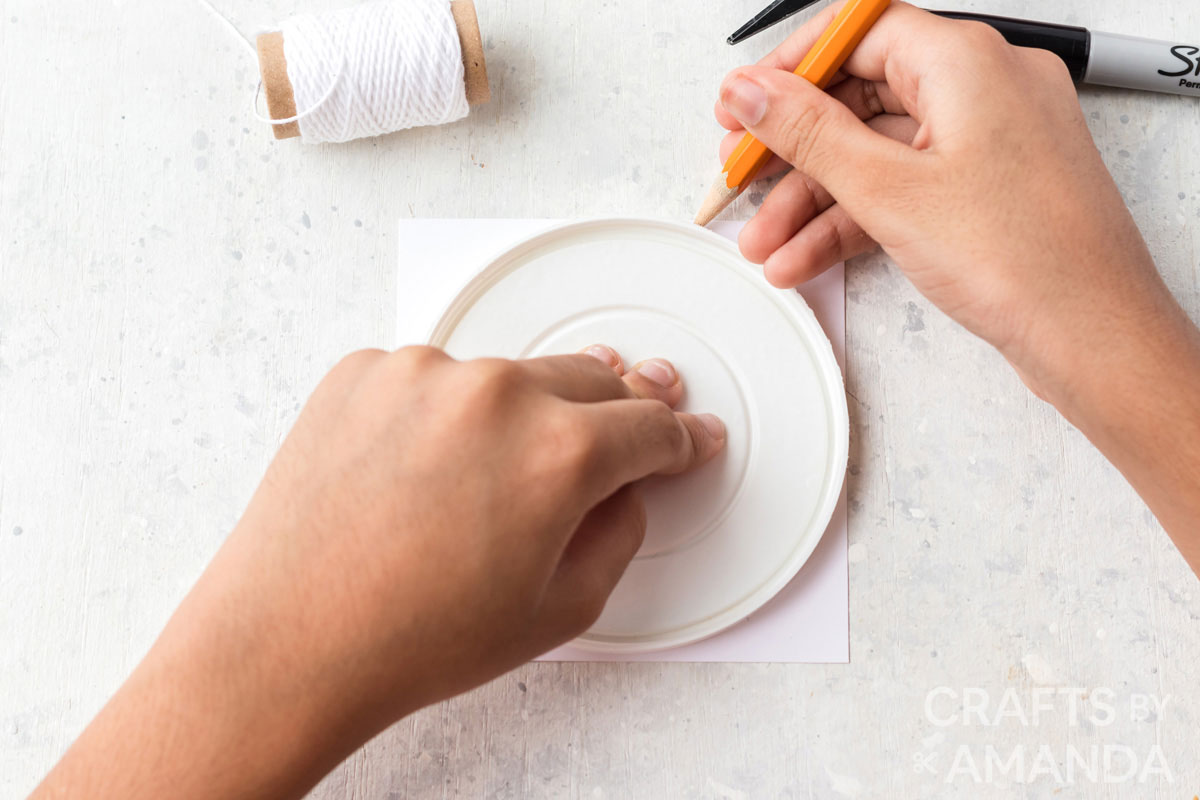
- You will need two paper circles for each ghost. Trace a 4-5″ diameter circle onto white card stock paper.
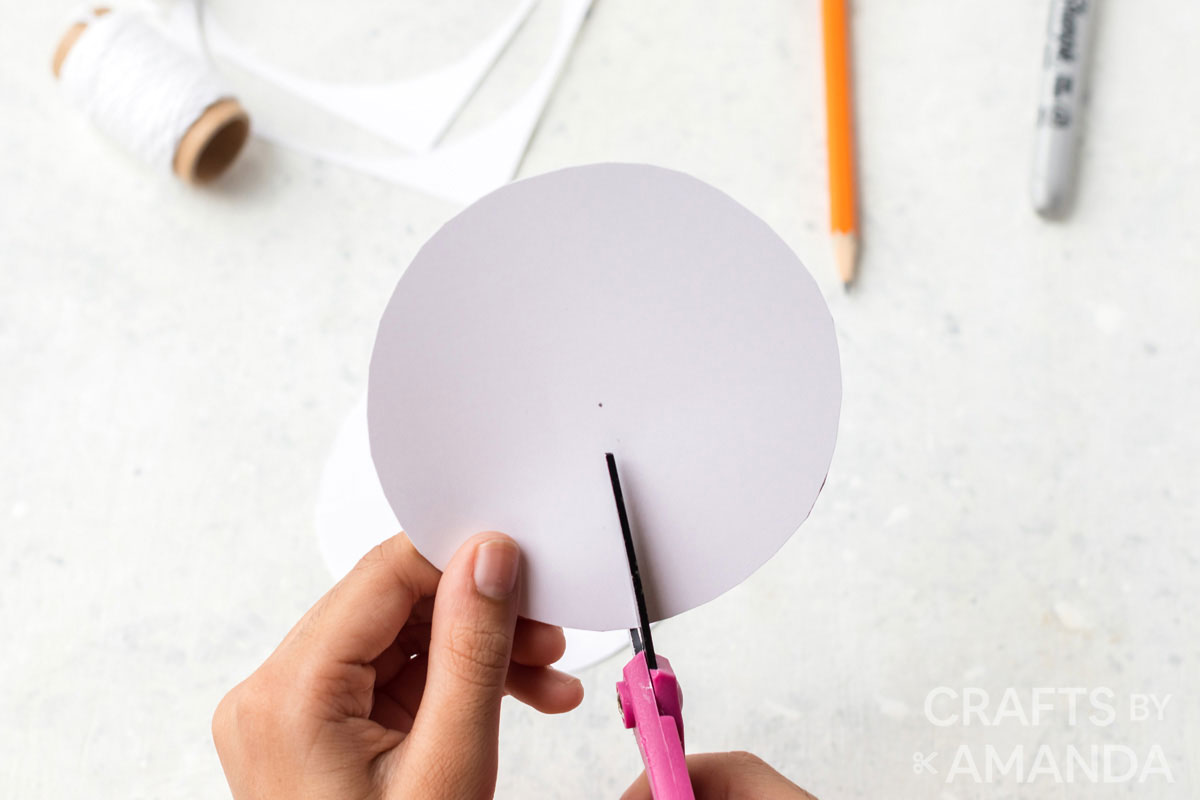
- Holding the stacked paper together, cut the circles out of the paper.
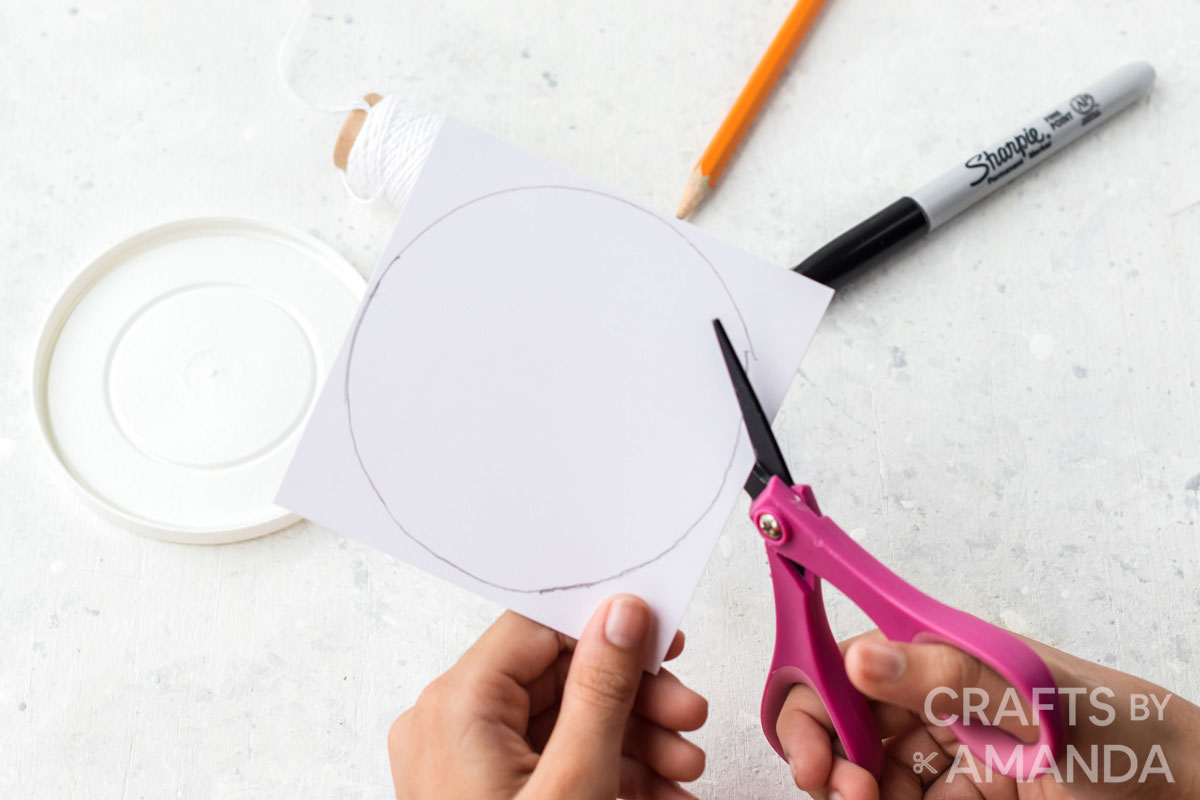
- Still holding the two circles together, cut a slit from one edge of the circle up into the middle of the circle.
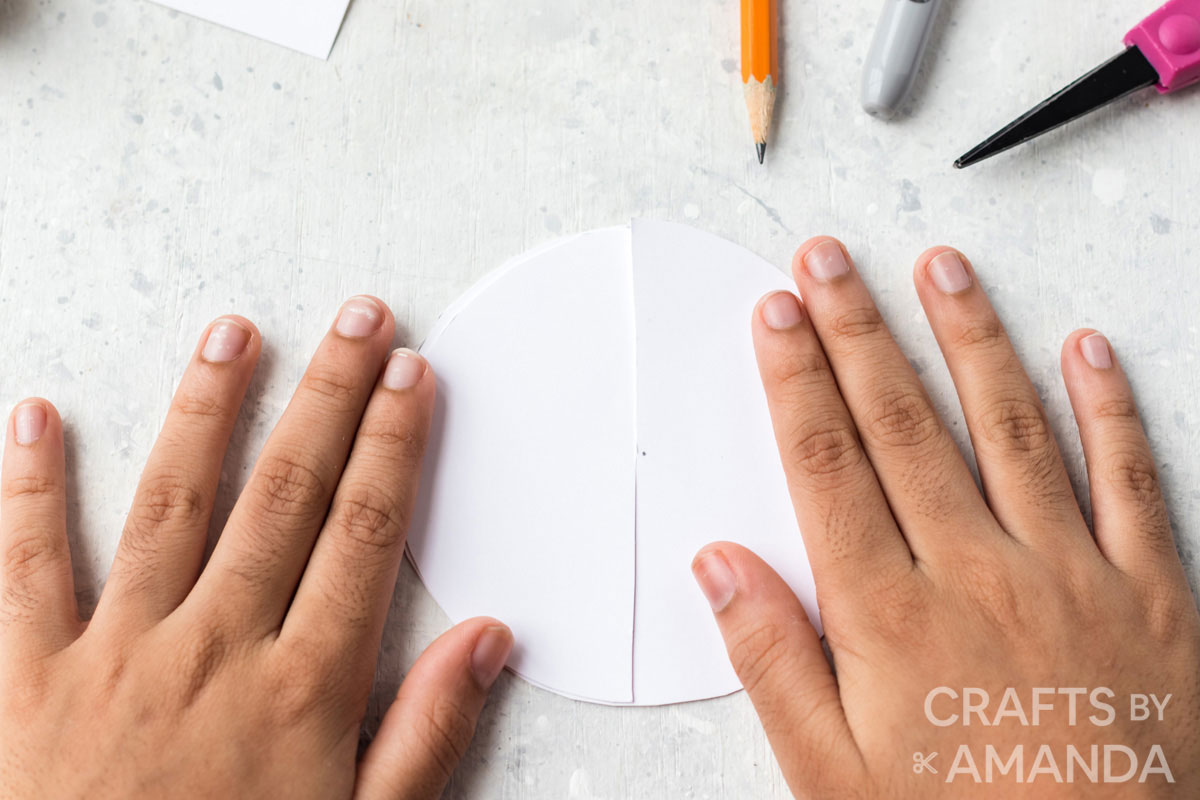
- Take the two circles and line up the slits. Insert them into each other.
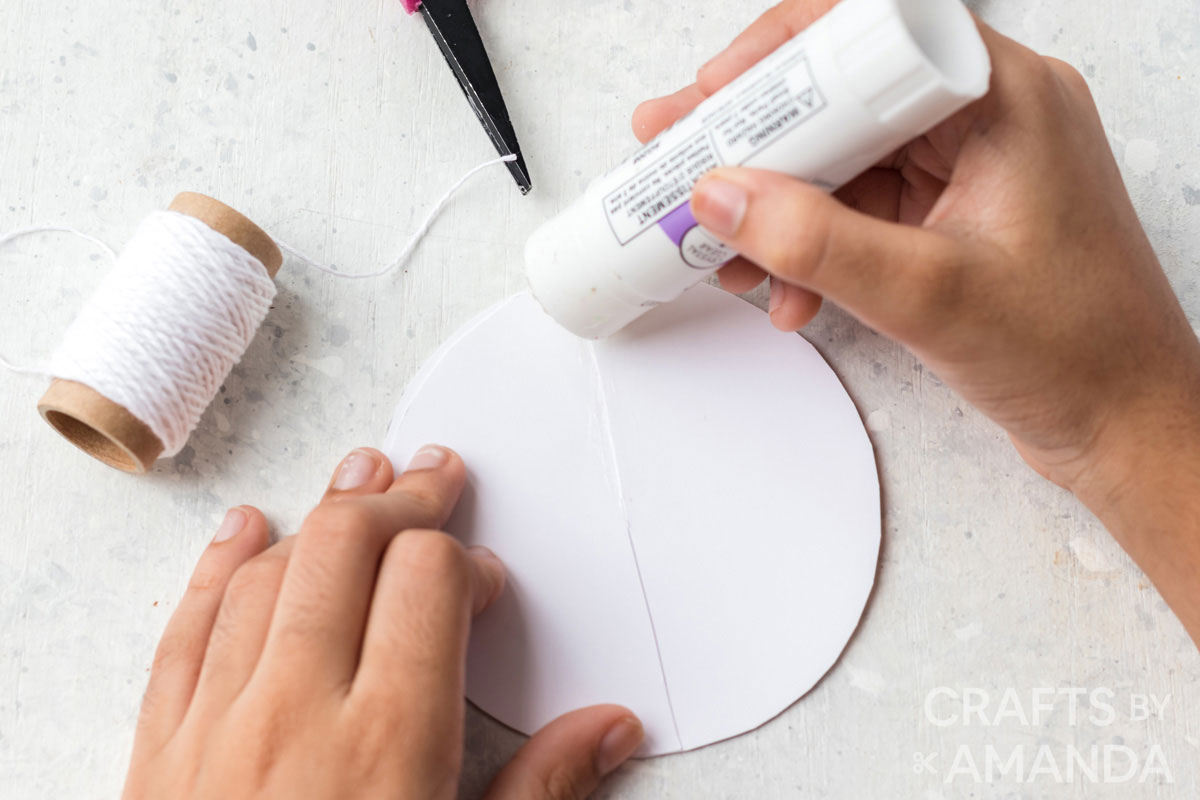
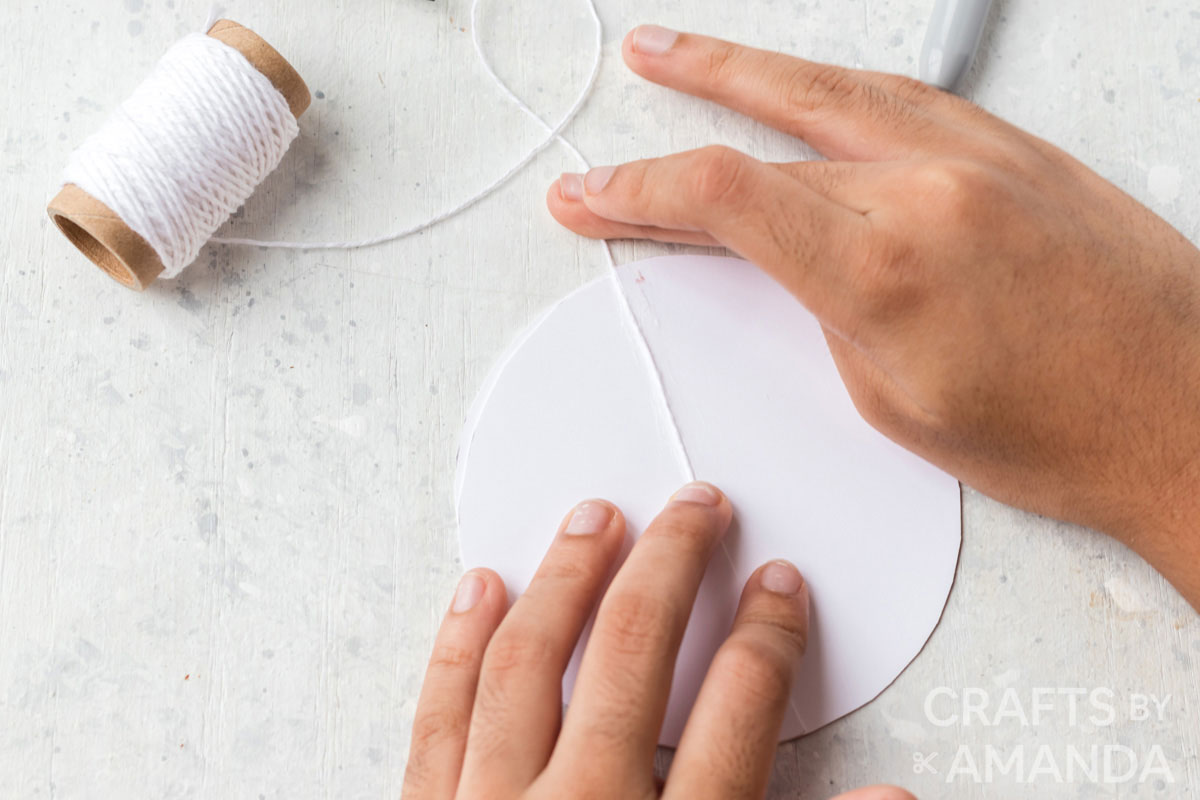
- Use a glue stick to add a line of where the slits intersect to connect them together. Cut a piece of string and glue it in with the slits.
- Lay the circle flat and draw the face on.
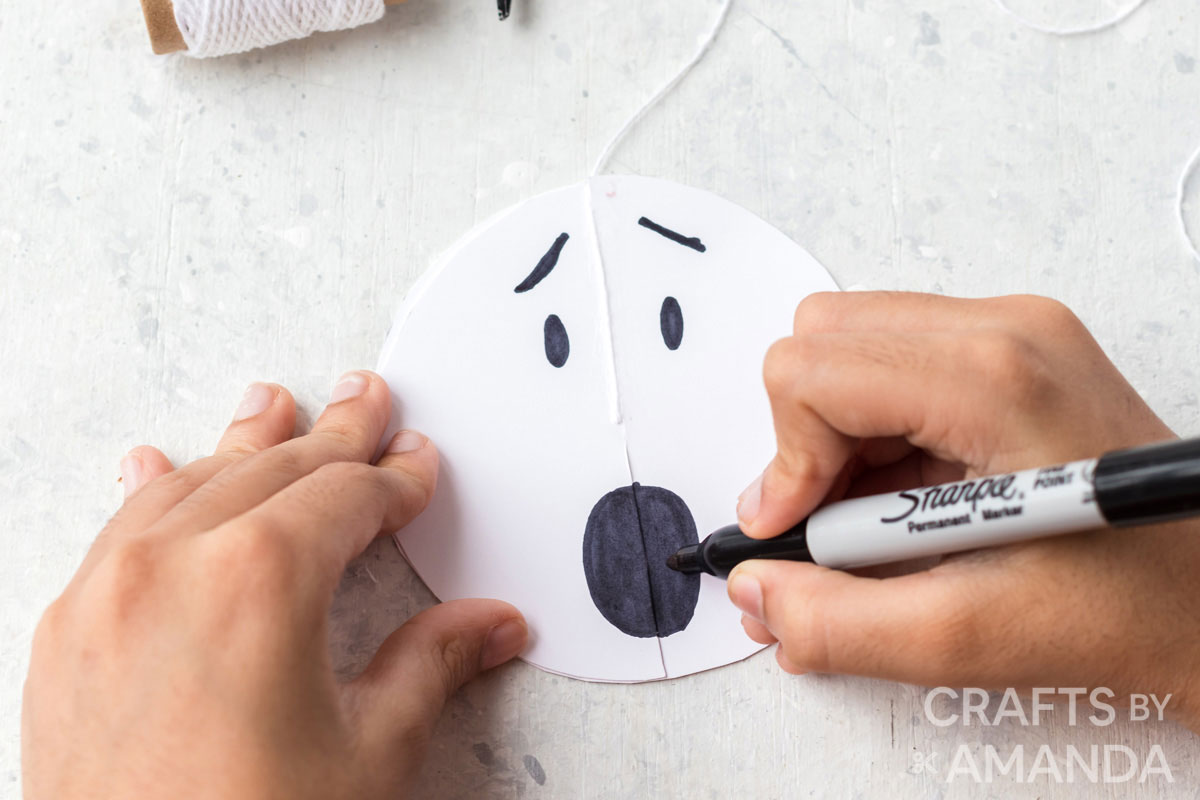
- Fold one of the circle sides over and draw the face on that side as well. Be sure to look through the paper and line of the facial features with the one before it. This will ensure that your faces line up together when they twirl.
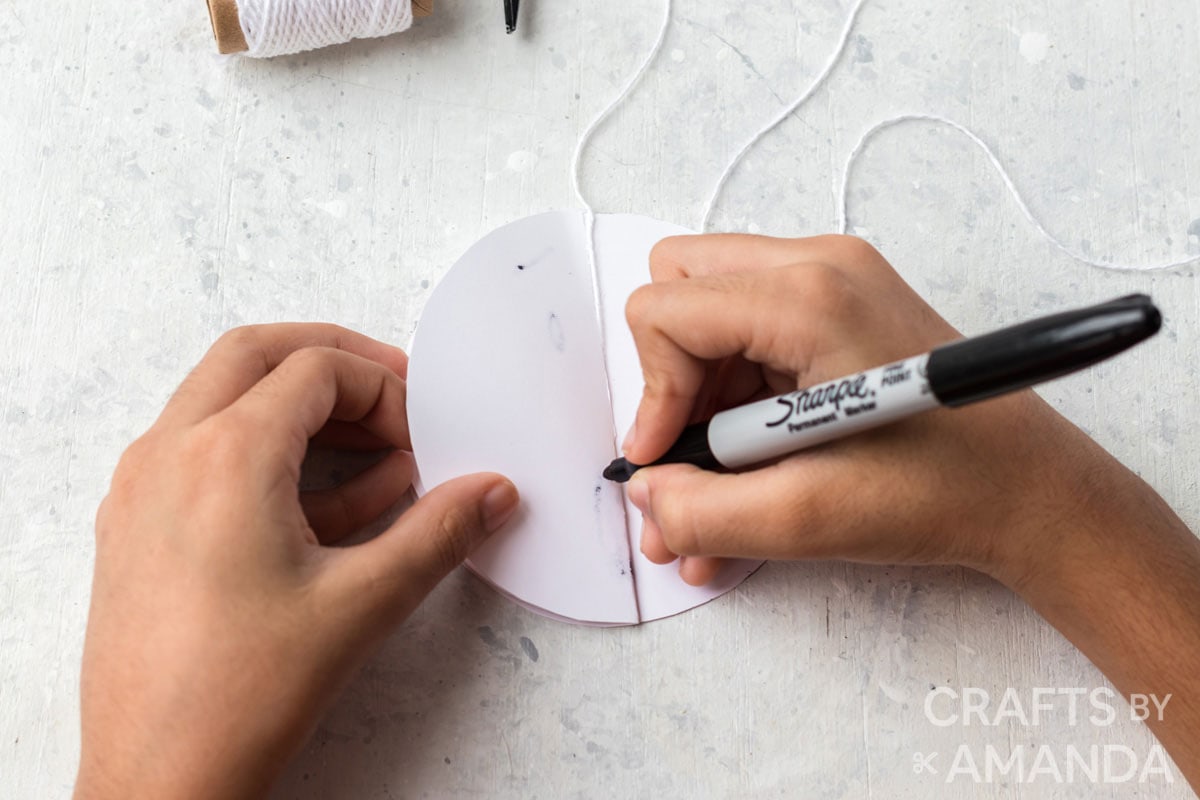
You will draw faces on every section. There are 4 sections.

Crafting Tips
- If you would like to use these outside, you can cover the paper in clear shipping tape, or use white craft foam instead of paper.
- Card stock is much studier than construction paper, but construction paper costs less.
Now you can hang all of your twirling ghosts! I hope you enjoyed this project.

More Twirling Projects
Make sure you print out our “You’ve Been Booed” and Halloween Bingo activities!
More Ghost Crafts
I love to create and share my projects with you! I know it’s hard to remember to come back and search, so I’ve made it easy for you with my weekly newsletter! You can subscribe for free and I’ll send you fun crafts and delicious recipes every week right to your email.

Twirling Paper Ghosts
Supplies
- White card stock or construction paper
- Black marker
- Glue stick
- String
Craft tools
Instructions
- You will need two paper circles for each ghost. Trace a 4-5" diameter circle onto white paper.
- Holding the stacked paper together, cut the circles out of the paper.
- Still holding the two circles together, cut a slit from one edge of the circle up into the middle of the circle.
- Take the two circles and line up the slits. Insert them into each other.
- Use a glue stick to add a line of where the slits intersect to connect them together. Cut a piece of string and glue it in with the slits.
- Lay the circle flat and draw the face on.
- Fold one of the circle sides over and draw the face on that side as well. Be sure to look through the paper and line of the facial features with the one before it. This will ensure that your faces line up together when they twirl.
- You will draw faces on every section. There are 4 sections.
Expert Tips & FAQs
- If you would like to use these outside, you can cover the paper in clear shipping tape, or use white craft foam instead of paper.
- Card stock is much studier than construction paper, but construction paper costs less.
- Tie Dye Beach Towels - July 24, 2026
- Swirling Twirling Ladybugs - July 21, 2026
- Drip Tie Dye Backpack - July 17, 2026


Leave a Reply