A personalized gift is always treasured more than something you purchase from the store. So if you are able to make something yourself all the better. Do you have one of those neighbors that always comes to your rescue? The kind I mean is the one that always an egg or a cup of sugar when you run out, or is more than happy to take care of your dog when you go out of town? I have such a neighbor and love the entire family dearly.
They are a large family, a family of 10, though 2 are grown and 1 in her first year of college. There are 5 kids at home and 5 dogs, so it’s always a bustling household, always someone there. I can’t imagine what my dear friend Kristen will do when all of her children are grown and move out. Collapse on the couch from sheer exhaustion maybe? Perhaps! At any rate, I wanted to give something back and I had the perfect frame for it.
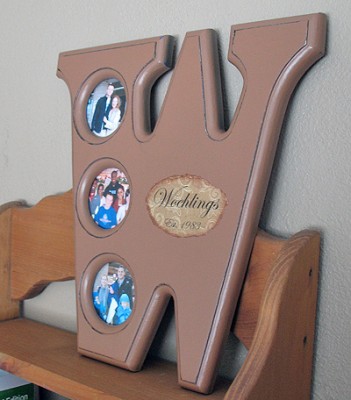
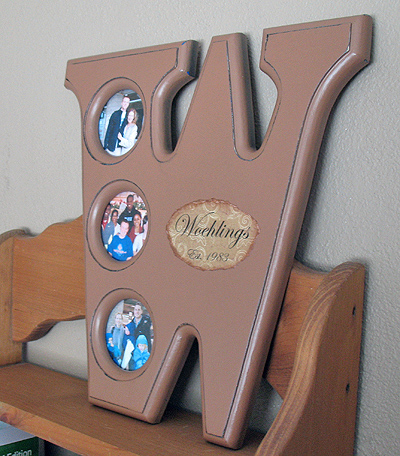
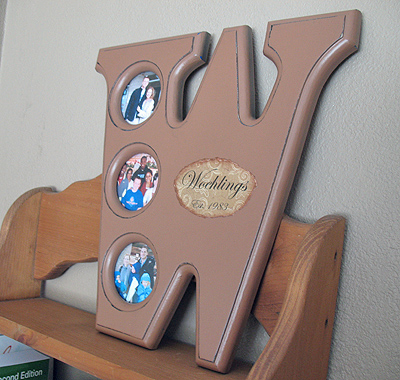
You might remember this “J” shaped tie dye frame I made for my daughter’s friend, Jordan. This unique frame was one of three my daughter found at a thrift store for a whopping 75 cents each. :) There were only three, a J, W and F. Totally perfect. The J for Jordan, the F for my last name, and the W for my good friends, The Woehlings.

I asked one of their older children to gather some photos for me and give me an idea of what color to make the frame, then I set to work.
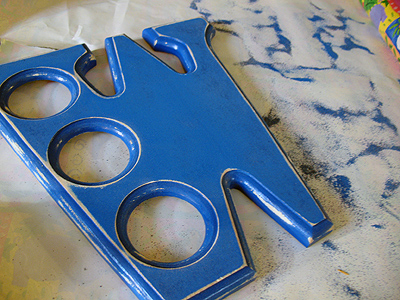
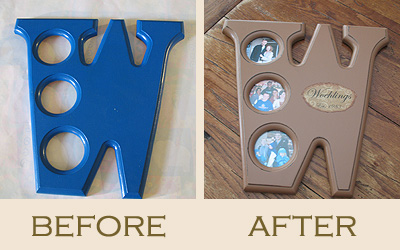
I started by sanding off the shiny finish on the blue paint with a power sander. I made sure to sand down to the bare wood around all the edges. I knew that I wanted black to show on the edges, not blue, so I was sure to get rid of that.
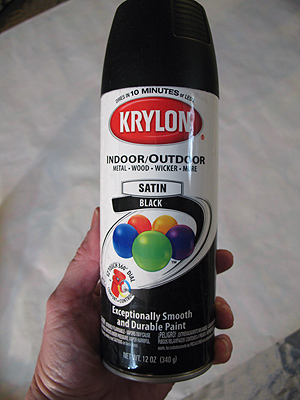
I used a soft paintbrush to dust off the frame, then did three thin coats of satin black spray paint.
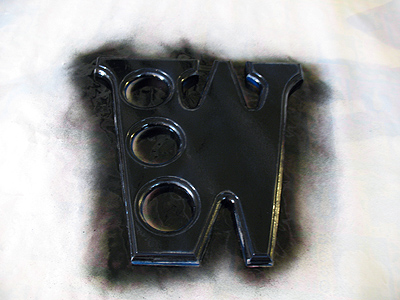
I allowed it to dry for 20 minutes between each coat.
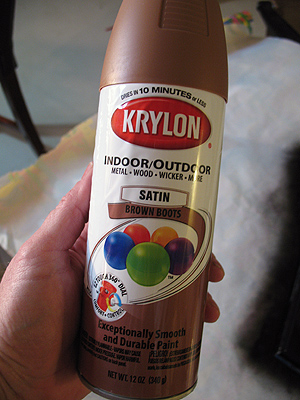
For the top coat I used satin finish “brown boots” by Krylon.
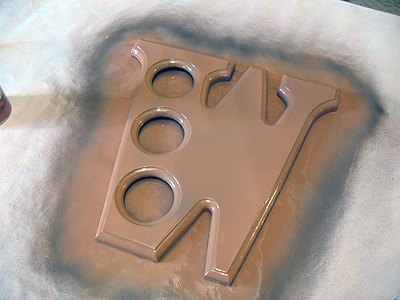
First a thin coat…
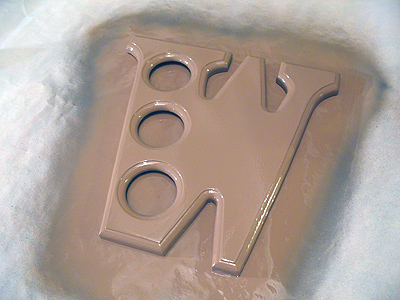
Then 20 minutes later another.
NOT PICTURED: The next day when everything was good and dry, I used the sander to lightly remove the brown from all the edges, exposing the black underneath.
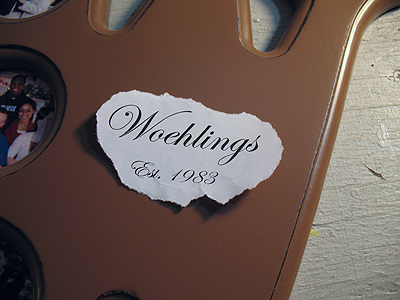
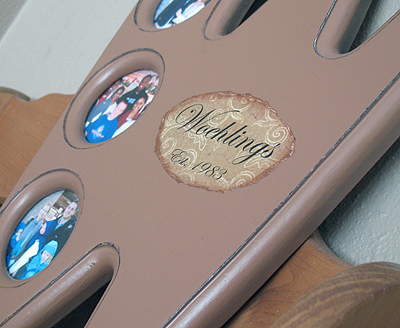
I fully intended to do the lettering with vinyl. However, I seemed to have messed up my cutting blade on my Silhouette :( so am waiting for tech support to help me out. I needed a different idea. So I typed their last name and year of marriage into Word and printed it onto white paper to figure out the size and placement. Instead of cutting it out I decided to tear around the personalization.
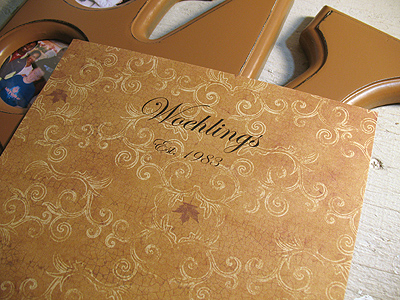
Once I had the size correct I printed it on scrapbook paper…
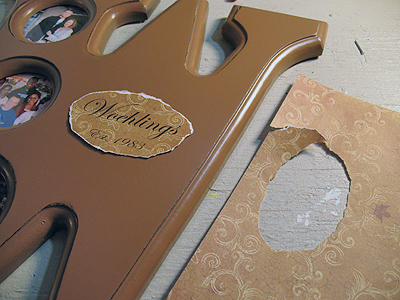
Then tore around the words and checked once more for placement and size.
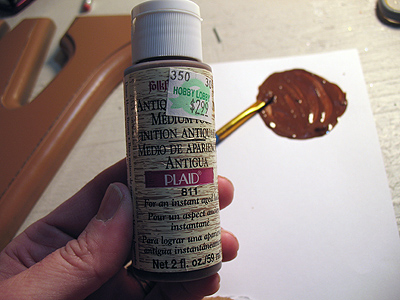
Next I used some antiquing gel mixed with a little water…
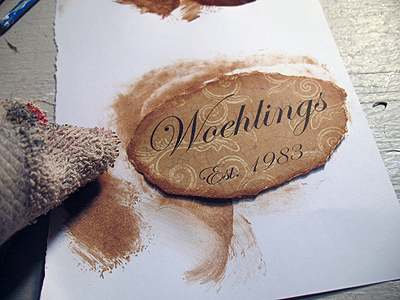
To give it that worn, old look, I used a dry rag dipped in the gel, then dabbed off all the excess. Then I rubbed it into the edges of the scrapbook paper.
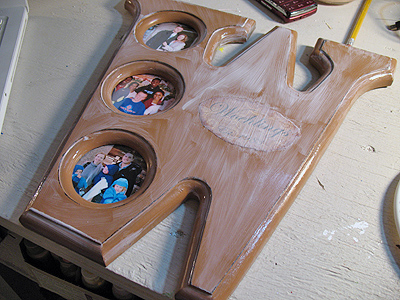
I used good ole Mod Podge to attach the name plaque to the frame, then added a coat of Mod Podge over everything.
In my haste I did end up with some brush marks, so I used a fine sandpaper to soften it up and then sprayed it with a matte sealer spray.
Personalized Monogram Frame
Supplies
- Monogram Frame
- power sander/sandpaper
- Krylon Satin Black Spray Paint
- soft paintbrush
- Karolyn Brown Boots Spray Paint
- Scrapbook Paper
- Antiquing Gel
- Water
- Rag
- Mod Podge
Instructions
- I started by sanding off the shiny finish on the blue paint with a power sander. I made sure to sand down to the bare wood around all the edges. I knew that I wanted black to show on the edges, not blue, so I was sure to get rid of that.
- I used a soft paintbrush to dust off the frame, then did three thin coats of satin black spray paint.
- I allowed it to dry for 20 minutes between each coat.
- For the top coat I used satin finish “brown boots” by Krylon.
- First a thin coat…
- First a thin coat…
- The next day when everything was good and dry, I used the sander to lightly remove the brown from all the edges, exposing the black underneath.
- I typed their last name and year of marriage into Word and printed it onto white paper to figure out the size and placement. Instead of cutting it out I decided to tear around the personalization.
- Once I had the size correct I printed it on scrapbook paper…
- Then tore around the words and checked once more for placement and size.
- Next I used some antiquing gel mixed with a little water…
- To give it that worn, old look, I used a dry rag dipped in the gel, then dabbed off all the excess. Then I rubbed it into the edges of the scrapbook paper.
- I used good ole Mod Podge to attach the name plaque to the frame, then added a coat of Mod Podge over everything.

- Swirling Twirling Ladybugs - July 21, 2026
- Drip Tie Dye Backpack - July 17, 2026
- Mini Coastal Clay Houses - July 14, 2026


Kendra says
I love your monogrammed picture frame!
TidyMom says
I love how that turned out Amanda!! just beautiful!!
Thanks for linking up and Happy New New
maggy, red ted art says
Wow the effort you put into getting the details perfect is inspirational.. I would have been cutting corners left right and centre! Looks great!
Thanks for linking up!!
Maggy
Carrie @ Dittle Dattle says
You are so right! Personalize and homemade are the best gifts!!!
I would be honored to have you add it to my blog party
Amaze Me Monday Blog Party
PinkBlingCrafter says
Amanda, I love this gift idea!!! Great job!!!
Happy New Year!!!
Hugs,
Norma
Jenn Erickson says
Congratulations on being a DIY Club Resident Blogger! As a fan of the DIY Club and former monthly contest winner, I was excited to see that a whole new batch of talented ladies had joined the crew and I wanted to come by and give my regards, follow, and to enjoy your creativity! This is a lovely project, Amanda! What a beautiful way to showcase your family!
Maria Gridley says
Amanda, you did such a lovely job re-doing this frame! I love how you used decorative paper instead of vinyl! I dont have a craft cutter (though I really want one!) so that idea is so great! LOVE it! :)
abuenin says
I will be making them for my family and give as anniversary gifts! Thanks fir all your great ideas.
Ambrosia says
That turned out great! I love the antiqued look around the name!