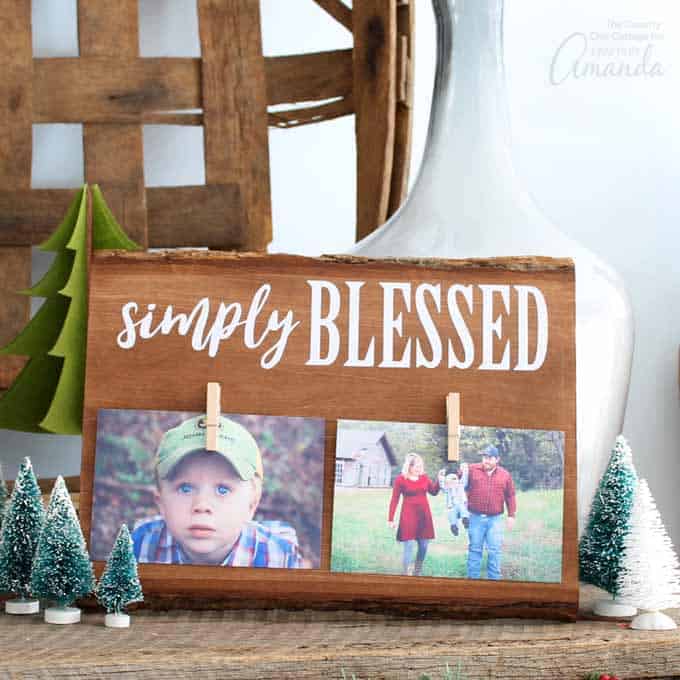
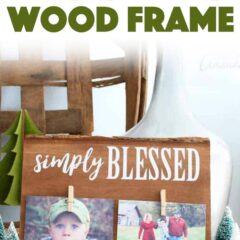
Looking for a unique DIY gift idea to give this holiday season? Try this rustic wood frame. It is great for parents, grandparents, friends, and so much more. Anyone that is simply blessed will love this wood picture frame to display their pictures.
If you’re making this project for Father’s Day, have your kids make this shirt card too!
Rustic Wood Frame
This project is actually easy to make as well. If you have an electronic cutting machine, this frame can be made in under an hour and your gift recipient will love the results. You might just have to make an extra one for your own home.
Related: Want more photo gift ideas? Try these baby photo frames or this photo bracelet tutorial.
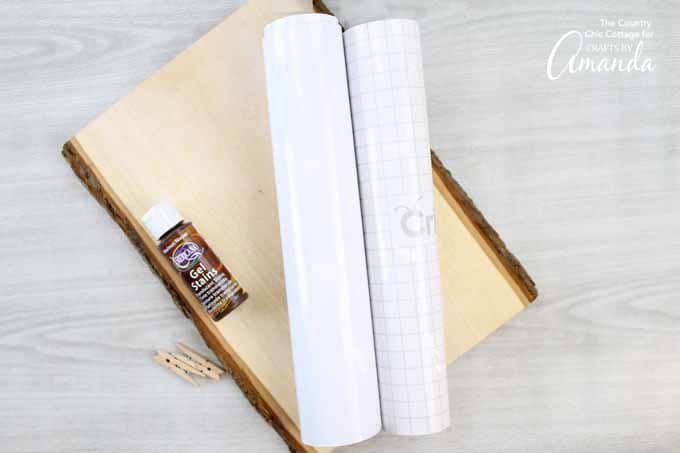
Supplies needed to make this rustic wood frame:
- Rustic board with bark edge
- Dark wood stain
- White vinyl
- Transfer tape
- Electronic cutting machine
- Clothespins
- Hot glue and glue gun
- Paintbrush
- Rag
- Weeding tools (optional)
- Pictures
- Simply Blessed file
Rustic Wood Frame Instructions:
- Start by staining the front and cut edges of your board with a dark stain. Apply stain with a paint brush. Then allow to sit a few minutes and wipe away excess with a rag.
- Allow it to dry completely before continuing.
- Upload your file to your design software that comes with your electronic cutting machine. TIP: Increase or decrease size once uploaded to fit the board you are using.
- Cut white vinyl with your software.
- Then use transfer tape to add the vinyl to the wood piece.
- Use hot glue to secure clothespins into place.
TIP: Carefully position both your vinyl and your clothespins to ensure that your pictures have plenty of room for hanging.
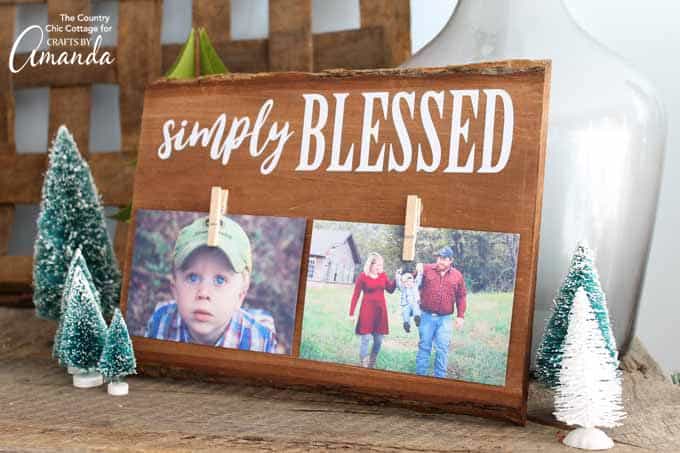
Once completed, all that is left is to wrap up this rustic wood frame for anyone on your gift giving list. A simple project that makes a big statement and will look great in any home. Add this one to your holiday crafting list and make a few as everyone is sure to want one!
More project ideas:
If you’re looking for more DIY gift ideas on a budget, you’ll definitely want to check out this DIY Peppermint Bath Salts for a relaxing soak! Or maybe these easy DIY Herbal Sachets, which are great for Mother’s Day, birthdays or for just about anyone who loves the fresh smell of dried herbs.
You can watch the video below for just how to make this picture frame.
Can’t watch the video or missed some of the steps? Try the instructions below.
Rustic Wood Frame: A DIY Gift Idea
Supplies
- Rustic board with bark edge
- Dark wood stain
- White vinyl
- Transfer tape
- Electronic cutting machine
- Clothespins
- Hot glue and glue gun
- Paint brush
- Rag
- Weeding tools optional
- Pictures
- Simply Blessed file
Instructions
- Start by staining the front and cut edges of your board with a dark stain. Apply stain with a paint brush. Then allow to sit a few minutes and wipe away excess with a rag.
- Allow to dry completely before continuing.
- Upload your file to your design software that comes with your electronic cutting machine. TIP: Increase or decrease size once uploaded to fit the board you are using.
- Cut white vinyl with your software.
- Then use transfer tape to add the vinyl to the wood piece.
- Use hot glue to secure clothespins into place.
- TIP: Carefully position both your vinyl and your clothespins to ensure that your pictures have plenty of room for hanging.
This post was originally published on this blog on Dec 18, 2017.
- Mason Jar Tissue Holder - February 18, 2025
- Scrap Wood Frames - November 15, 2024
- Clay Pot Lighthouse - July 2, 2024



Sarah says
What a great little project. It looks easy enough to make and requires pretty simple supplies. Going to have to give this s try.
Jamie H says
Thanks so much for linking up at The Pretty Pintastic Party! We love your picture holder, so we’re featuring it at the party this weekend! I hope you’ll stop by, grab a featured button, and link up some more amazing posts!
Mother of 3 says
This is so cute and I just got a brand new Cricut for Christmas… pinning this to try!
Leanne @ Healthful Pursuit says
Beautiful family! Thanks for sharing – love this!