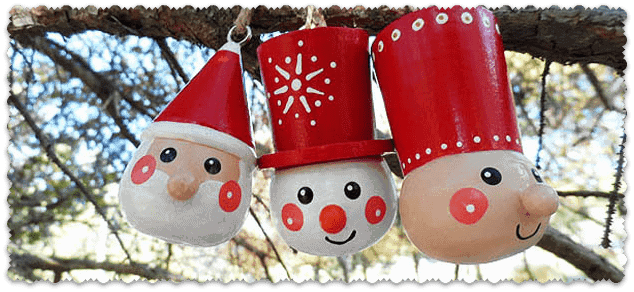
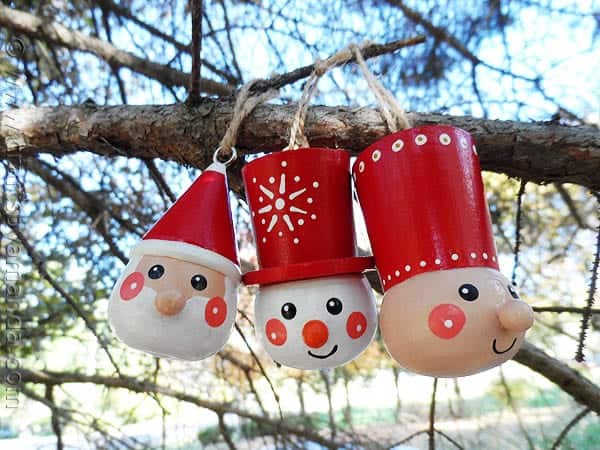
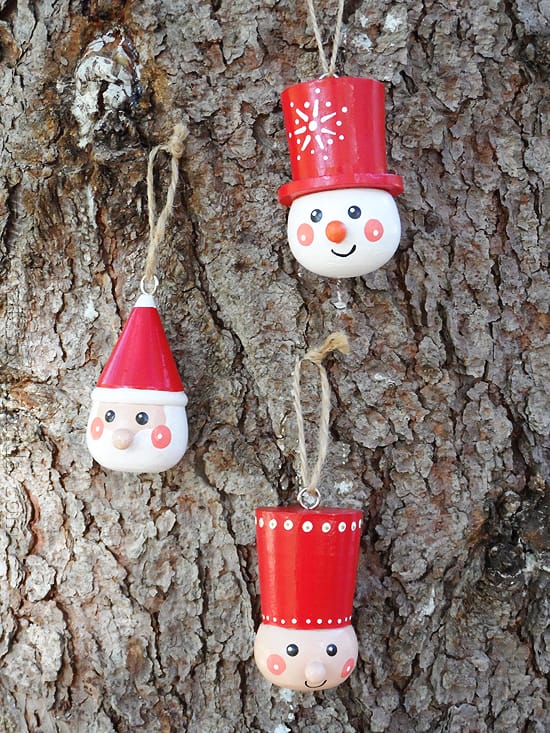
Scandinavian style is very popular at Christmas, the red and white design is quite striking. The designs are simple and clean and look wonderful against a white backdrop or hanging on a white tree.
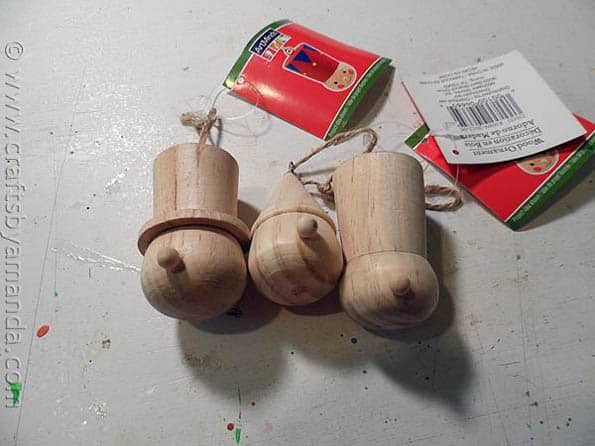
These Scandinavian inspired ornaments are made from simple wood ornaments you can buy at Michaels craft store.
I originally made these ornaments for DecoArt and used their Americana line of paints. The exact colors that I used are listed in the printable version below.
The key to Scandinavian Christmas designs is that you keep it clean and simple. There aren’t a lot of details and not really any shading to speak of, which makes them a lot easier to make!
Scandinavian Wooden Ornaments
Supplies
- ArtMinds Wood Ornaments Soldier, Snowman, Elf/Santa
- DuraClear Varnish - Matte
Americana Paints
- Berry Red
- Snow Titanium White
- Flesh Tone
- Coral Blush
- Antique Gold
- Tangelo Orange
- Lamp Ebony Black
Instructions
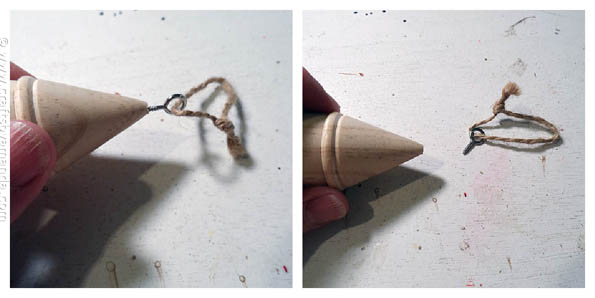
- Carefully remove hangers by unscrewing the screw eyes from the tops of each ornament. Set aside.
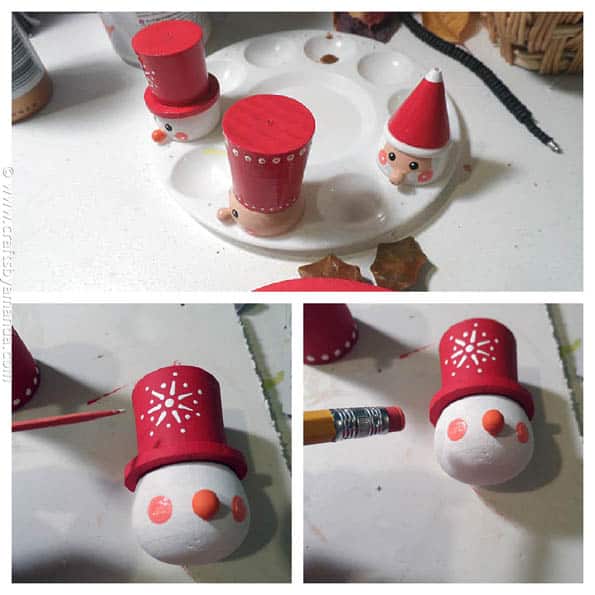
- Santa and the Soldier, paint their heads with Flesh Tone. Paint the Snowman’s head with Snow (Titanium) White.
- Paint all the hats with Berry Red.
- Paint Snowman’s nose with Tangelo Orange.
- Paint brim and top of Santa’s cap with Snow (Titanium) White.
- Paint Santa’s bear and hair using Snow (Titanium) White.
- Use a brand new pencil, the eraser end dipped in Coral Blush to dot on cheeks for each ornament.
- Use the handle end of your paintbrush dipped in Lamp (Ebony) Black to dot on eyes.
- Dip a toothpick in Snow (Titanium) White to accent the cheeks and eyes.
- For the Soldier’s hat, cut the end of a toothpick to create a thicker point. Dip that in Snow (Titanium) White and dot around the top of the hat.
- Use the other end of the toothpick to dot smaller dots around the bottom of the hat.
- Use a toothpick dipped in Antique gold to add small dots to the larger dots on the Soldier’s hat.
- Add a snowflake to the Snowman’s hat using a toothpick. One large dot in the center, draw seven lines out from the center like a flower then add a dot to the end of each line. Finally, add a dot in between each line.
- Give all ornaments 2 coats of DuraClear Varnish Matte.
- When completely dry, screw the hangers back into the ornament tops.
- Paper Plate Tropical Fish Craft - July 19, 2024
- Tropical Paper Flowers - July 16, 2024
- DIY Mosquito Repellent Candles - July 9, 2024


YVONNE says
YOU GUYS ARE SO CRAFTY, I’m LOVING IT.
Jo-Lynn says
Love these ornaments. I cannot locate them on the Michael’s website. Any hints or a link to use?
Amanda Formaro says
I found some snowmen here https://rstyle.me/n/dbfgtccbmdf They are similar but not the same. You could email that shop and see if they have others!
Debra says
I love this so much. My entire family is from Norway and our house is decorated with Scandinavia elements all year round. It always makes me smile to see all of the elements at Christmas
Angie @ Big Bear's Wife says
The snowman is my favorite!! but then again I’m totally into everything snowman right now!! Love them!
Henri says
just to cute. Hope I can find the wood to make them. Thank you. Blessings
Cookie 17 says
I love love these Amanda I have one orn. need other two,Great Job..Cookie17
Kristi says
Love these! I love simple and clean lines and these would be an adorable addition to our decor! I’m going to have to take a look at Michael’s next time I’m there.