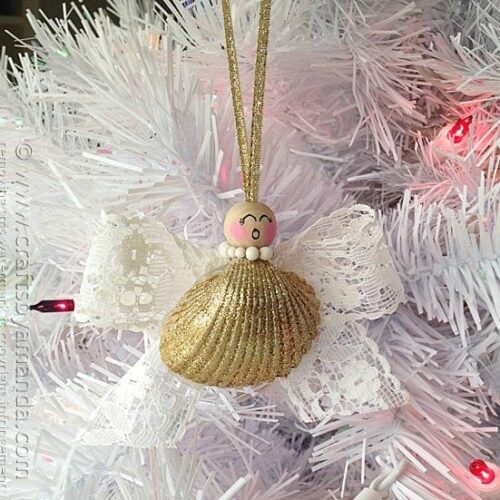
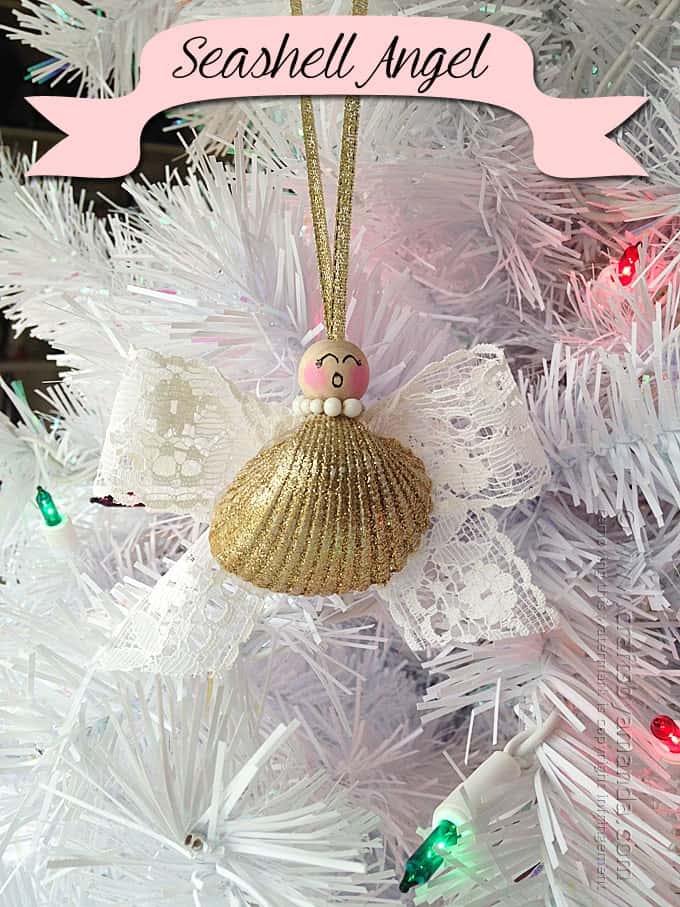
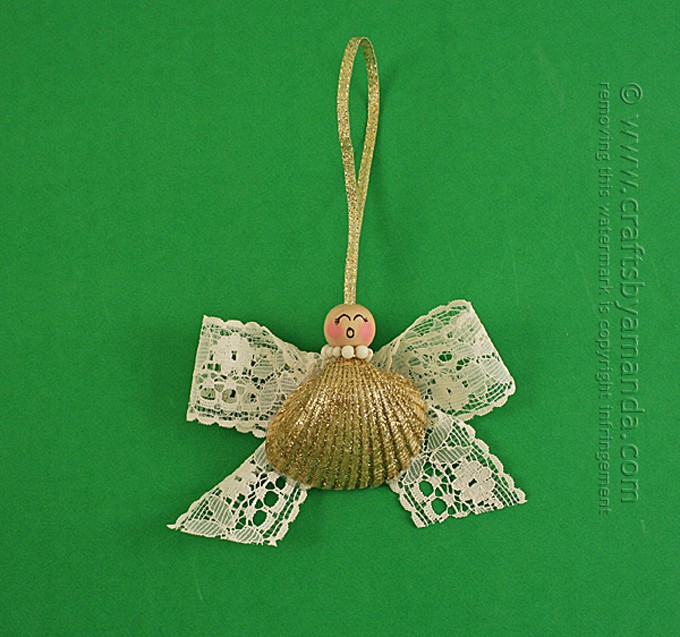
Every year I make a couple new ornaments for Christmas. This seashell angel ornament was one of those and she looks lovely hanging on the tree. This would be a fun project for older children, and younger kids with help from an adult.
If you wanted to, you could make this ornament two-sided by using two shells back to back, then adding a face on both sides of the bead. That might be fun if you were making several and hanging them from the ceiling so that as they spin.
Angel Ornament from a Seashell
Note: some links below are affiliate links. That means if you happen to buy something, a small percentage of that sale goes back into this site, which enables me to continue to bring you free tutorials such as this one. So, thanks!
As always, a full printable supply list and instructions are at the end of this post.
For this project you will need the following supplies:
- Seashell
- Lace ribbon
- Round wooden bead
- Gold ribbon
- Gold glitter
- Pink paint
- White beads
- Tools: white craft glue, scruffy paintbrush, hot glue gun, Scissors, paintbrush, extra fine point marker
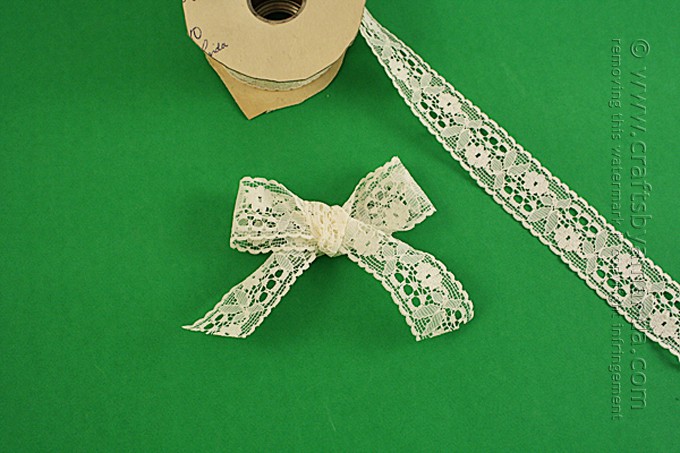
Cut a 12-inch piece of lace ribbon and tie it into a bow. Set aside.
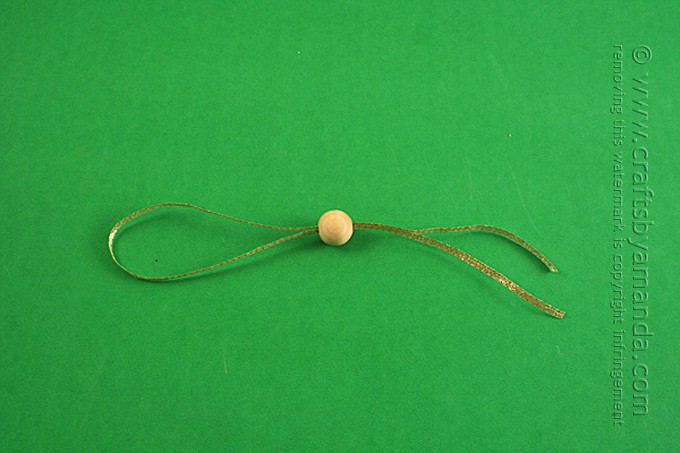
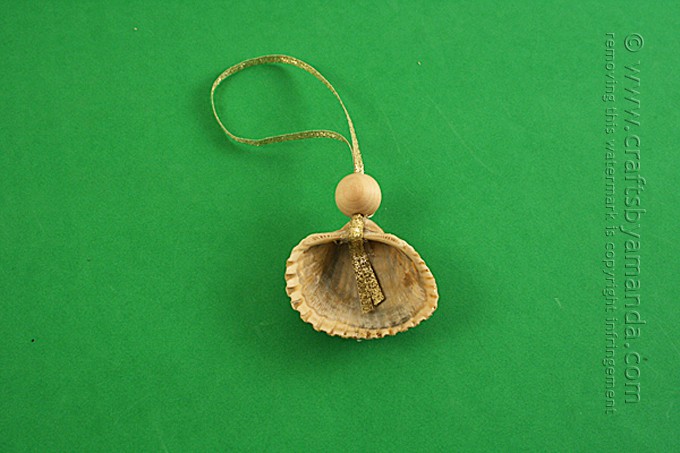
Loop the gold ribbon through the wooden bead. Add a little glue to secure the bead in place.
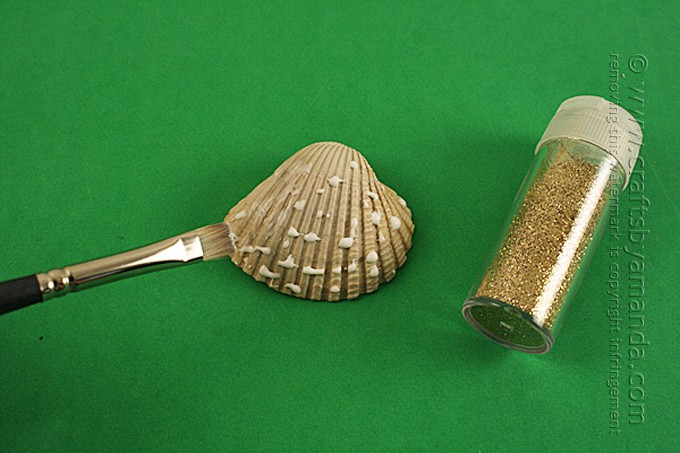
Use a paintbrush to cover the shell with white craft glue, sprinkle with gold glitter. Tap off the excess. You can use the paintbrush to brush off more glitter so that the shell shows through.
Hot glue the wooden bead to the pointed end of the shell, gluing the excess ribbon from the bead inside the shell. Glue the shell and bead to the lace bow you tied in step 1.
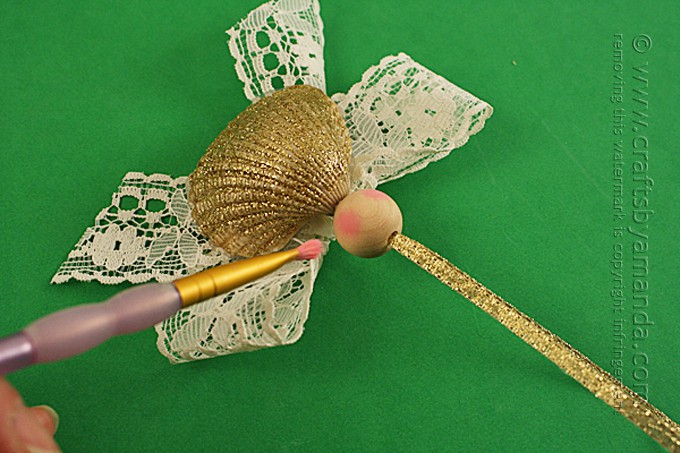
Dip scruffy paintbrush in pink paint and remove all excess paint by brushing it onto a paper towel. Bristles should be almost dry. Apply light pressure to the wooden bead to add the pink cheeks.
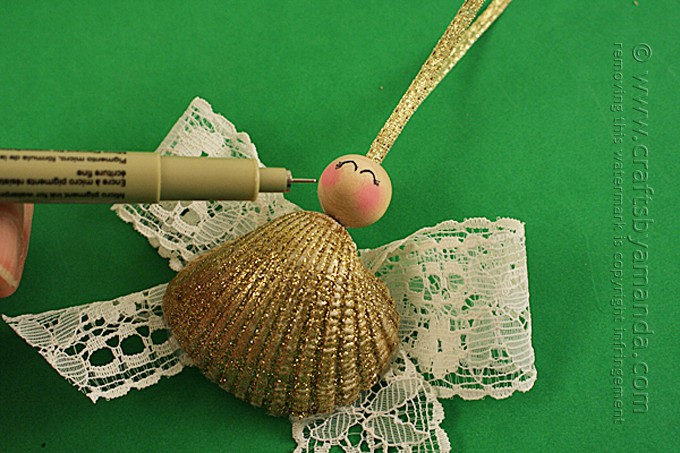
Use an extra fine point marker or pen to add the eyes and mouth.
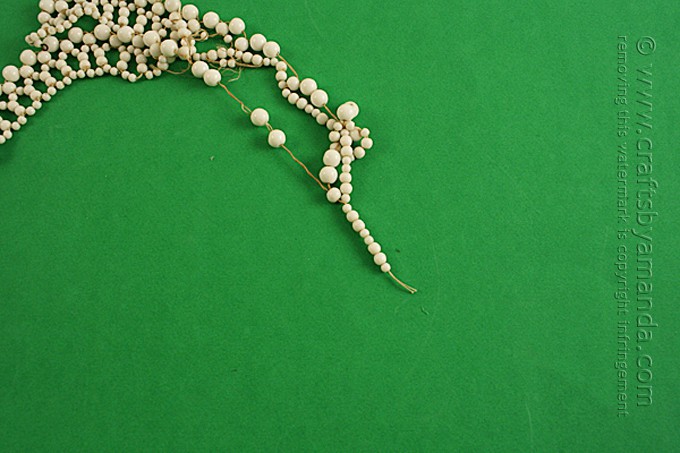
Glue white beads around the “neck” of the angel (I used a small section of a thrift store necklace).
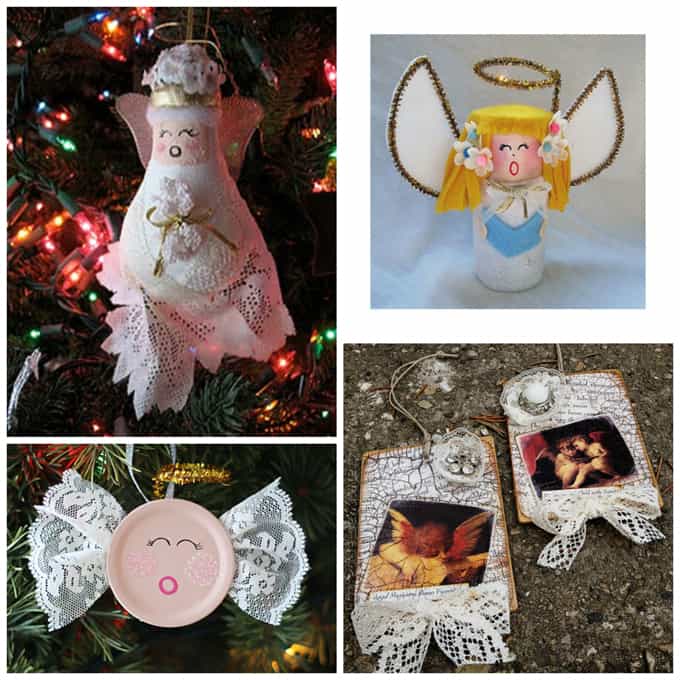
More angel crafts
- Light Bulb Angel Ornament
- Toilet Paper Roll Angel
- Canning Lid Angel Ornament
- Vintage Crackled Cherub Ornaments
Seashell Angel Ornament
Supplies
- Seashell
- Lace ribbon
- Round wooden bead
- Gold ribbon
- Gold glitter
- Pink paint
- White beads
- Tools: white craft glue scruffy paintbrush, hot glue gun, Scissors, paintbrush, extra fine point marker
Instructions
- Cut a 12-inch piece of lace ribbon and tie it into a bow. Set aside.
- Loop the gold ribbon through the wooden bead. Add a little glue to secure the bead in place.
- Use a paintbrush to cover the shell with white craft glue, sprinkle with gold glitter. Tap off the excess. You can use the paintbrush to brush off more glitter so that the shell shows through.
- Hot glue the wooden bead to the pointed end of the shell, gluing the excess ribbon from the bead inside the shell. Glue the shell and bead to the lace bow you tied in step 1.
- Dip scruffy paintbrush in pink paint and remove all excess paint by brushing it onto a paper towel. Bristles should be almost dry. Apply light pressure to the wooden bead to add the pink cheeks.
- Use an extra fine point marker or pen to add the eyes and mouth.
- Glue white beads around the “neck” of the angel (I used a small section of a thrift store necklace).
- Paper Plate Tropical Fish Craft - July 19, 2024
- Tropical Paper Flowers - July 16, 2024
- DIY Mosquito Repellent Candles - July 9, 2024



Dee says
I really want templates to make the felt angels thank you.
Margaret O'Brien says
I’m really up set over this. Wanted to get printed instructions for the Seashell Angel…………I got the original photo, and the next 18 pages were blank except for some written instructions!! Tried it a second time, and still the same !!
I looked at the tutorial photos and things were grand….but I like written directions for future use. Right now is too late to make Christmas trims.
Amanda Formaro says
Hi Margaret. Next time just hit “jump to project” at the top of the post. Then click on the print button in the printable card.