Have you ever tried rock painting? If so, you know how enjoyable it is to paint on earth’s natural canvas. And if not, these strawberry painted rocks are a great place to start!
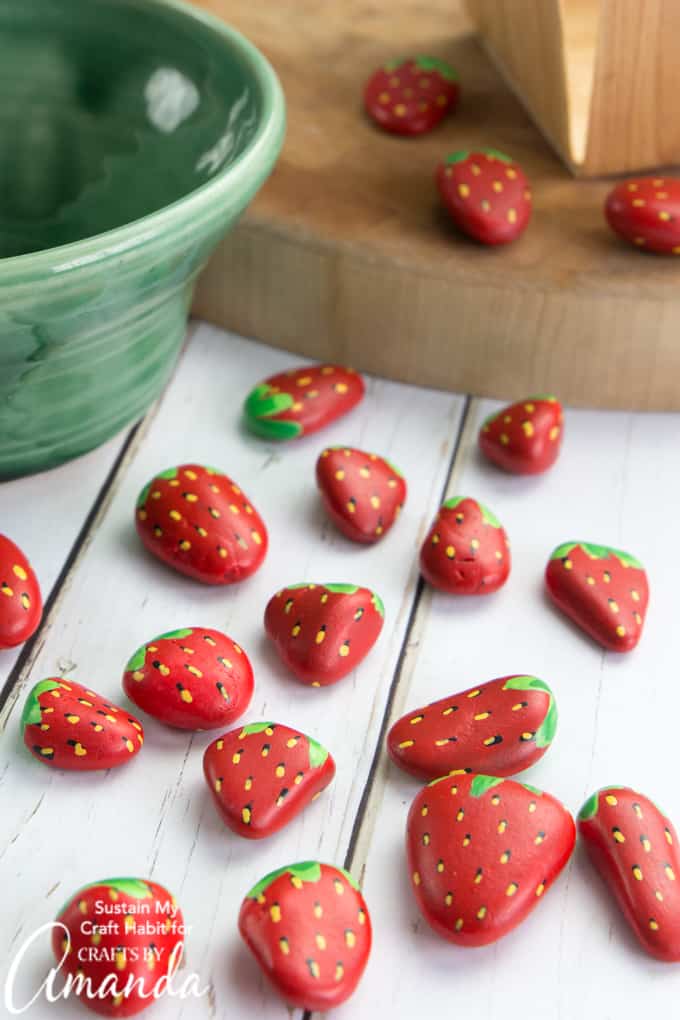
Sweet Strawberry Painted Rocks
There’s no shortage of inspiration for rock painting, from ladybug painted rocks to rock bees and grape hyacinth painted rocks, you’ll always have creative ideas for painting on rocks. These strawberry painted rocks have been on my to-do craft list for some time.
When you’re done be sure to check out more than 20 ideas for painted rocks!
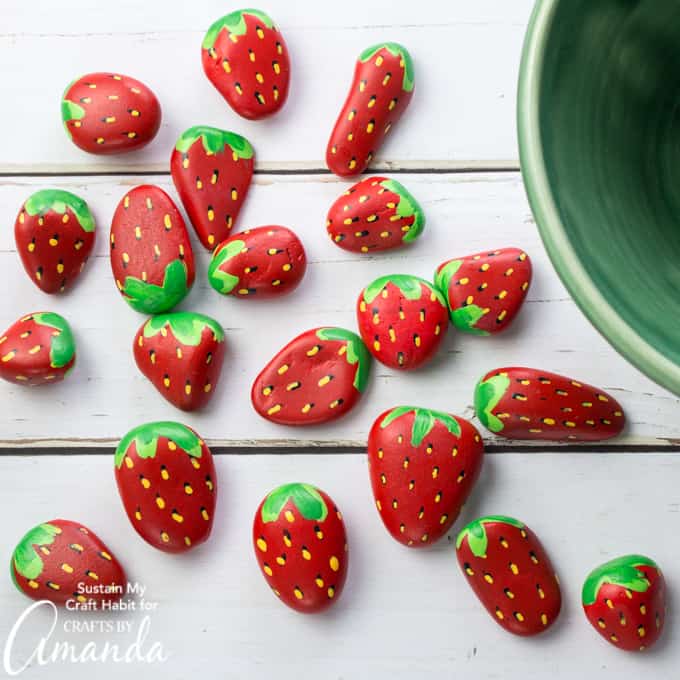
Painted rocks look adorable scattered around the garden or throughout your home. This particular acrylic paint is very durable in all types of extreme weather so you can keep them outdoors all year long without a protective top coat.
Materials Needed
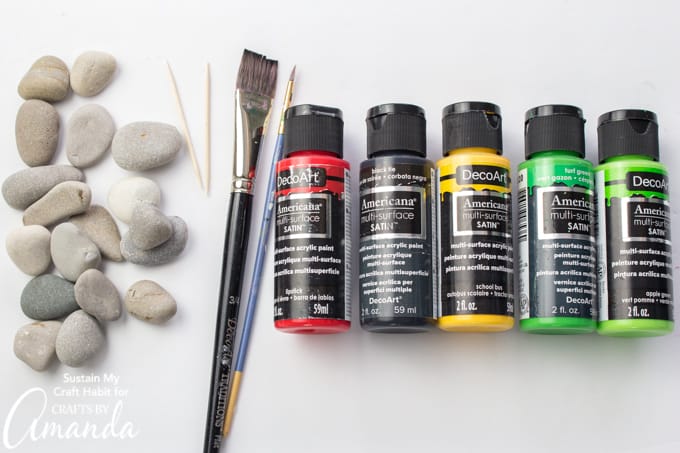
- Rocks, small, size can range from ½” to 1 ¼” (strawberries come in all different shapes and sizes after all!)
- Decoart Americana Multi-Surface Satin Acrylic Paint in colors Lipstick, Black Tie, School Bus, Apple Green and Turf Green
- Paint brushes, one flat tip brush, and one fine tip brush
- Toothpicks
How to Make Strawberry Painted Rocks
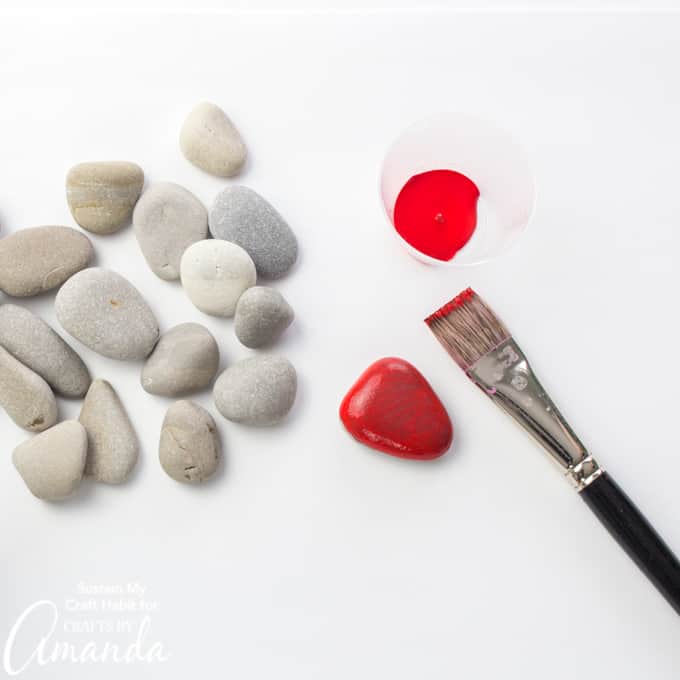
Wash and dry rocks before painting. Lay down a sheet of newspaper or wax paper to protect your surface from paint.
Using a flat tip paint brush, paint the entire surface of the rocks in Lipstick red. Leave them to dry and then repeat with another coat for full coverage. Here’s a little tip: it works best to paint one side at a time so the painted side doesn’t stick to your surface.
Using a toothpick, dip one end in Black Tie acrylic paint color and add small vertical dashes all over the red painted rock. Continue dipping the end of the toothpick in paint between each dash and be sure to maintain the same direction of the dashes on both sides. Leave to dry.
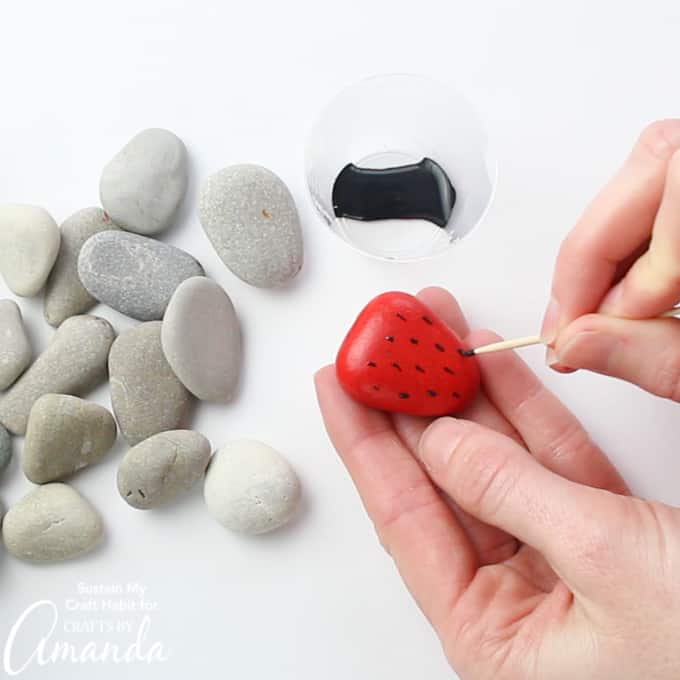
Follow up with the tooth pick dipped in School Bus yellow acrylic paint color over top of all the black dashes. Leave to dry.
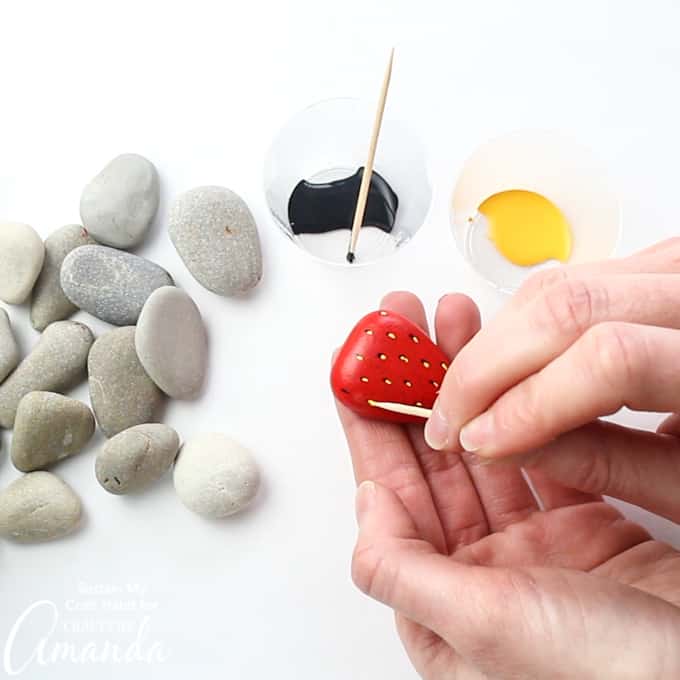
Using a fine tip paint brush, dip your brush in Apple Green acrylic paint and paint the foliage to each strawberry. It works best to paint one side at a time so the painted side doesn’t stick to your surface. Leave them to dry and then repeat with another coat if needed.
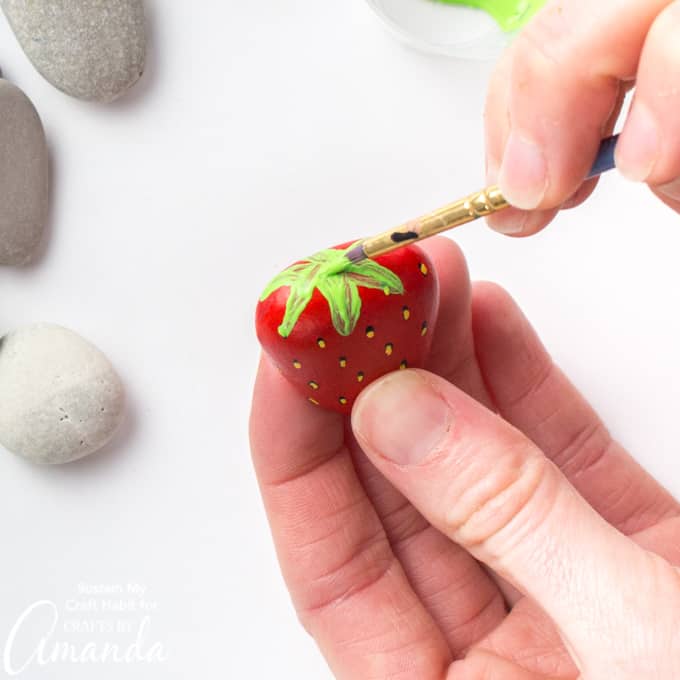
And lastly, dip your fine tip paint brush in Turf Green and paint another shade of green over parts of the Apple Green foliage. Leave to dry before using your strawberry rocks.
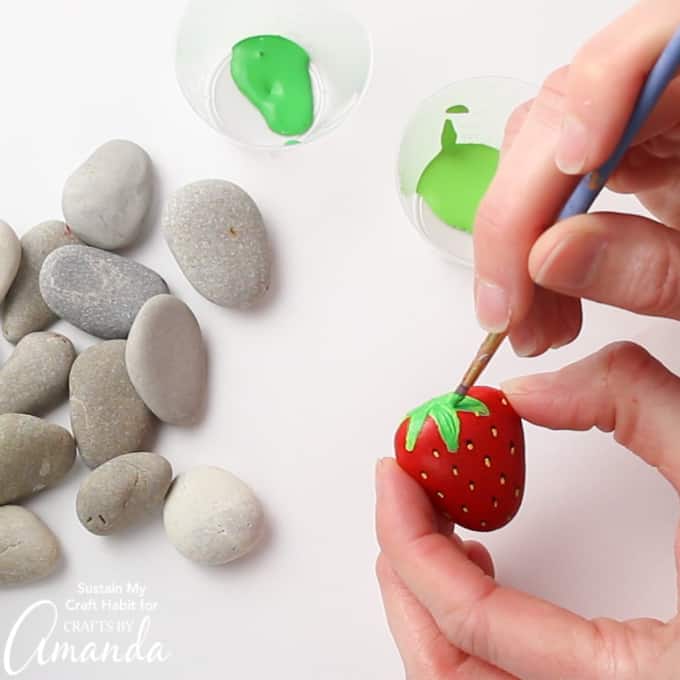
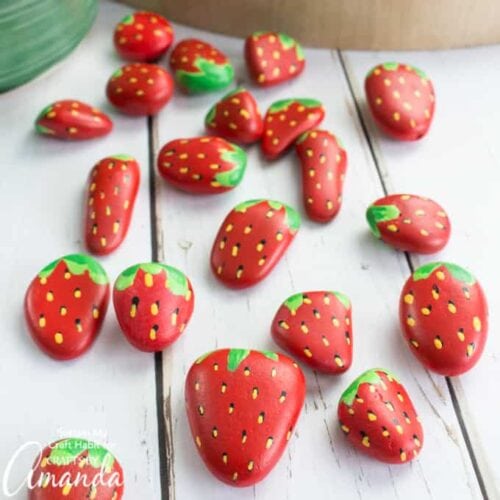
These little strawberry painted rocks look so sweet…and realistic, hopefully, nobody tries taking a bite out of one!
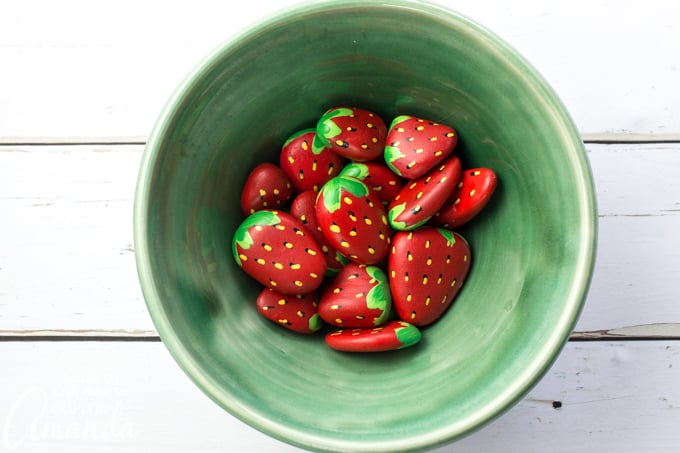
Now you have cute strawberry painted rocks to lay throughout your garden, or to hide in public places for others to find and enjoy!
More Painted Rock Crafts
Strawberry Painted Rocks
Supplies
- Rocks, small sized ranging 1/2″ to 1 1/4″ long
- Paint brush, flat tip and fine tip
- Toothpick
Decoart Americana Multi Surface Satin Acrylic Paint Colors
- Lipstick
- Black Tie
- School Bus
- Turf Green
- Apple Green
Instructions
- Paint the entire surface of the rock in Lipstick red.
- Using a toothpick, dip one end in Black Tie paint and add small vertical dashes all over.
- Repeat with smaller dashes over the black using School Bus yellow.
- Paint the foliage to the top of each strawberry in Turf Green.
- Paint another layer of foliage over top in Apple Green.
Expert Tips & FAQs
- You can use any multi-surface acrylic paint in similar colors.
This post originally appeared here on Feb 19, 2019.
- Kid-Friendly DIY Stained Glass - February 25, 2025
- Pressed Flower Resin Magnets - February 21, 2025
- Fabric Scrap Heart Garland - January 24, 2025


Kelly says
Seriously the cutest strawberry rocks around! I have featured them in our article, 6 Of The Best Kids Strawberry Crafts. You can view it here if you like, https://www.diythought.com/6-of-the-best-kids-strawberry-crafts/ Thanks :)
Rosemary says
delightful