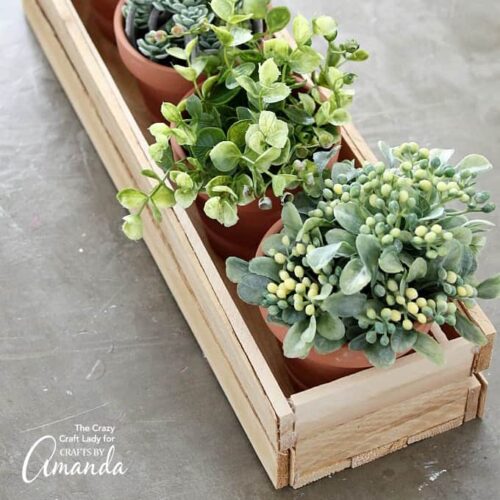
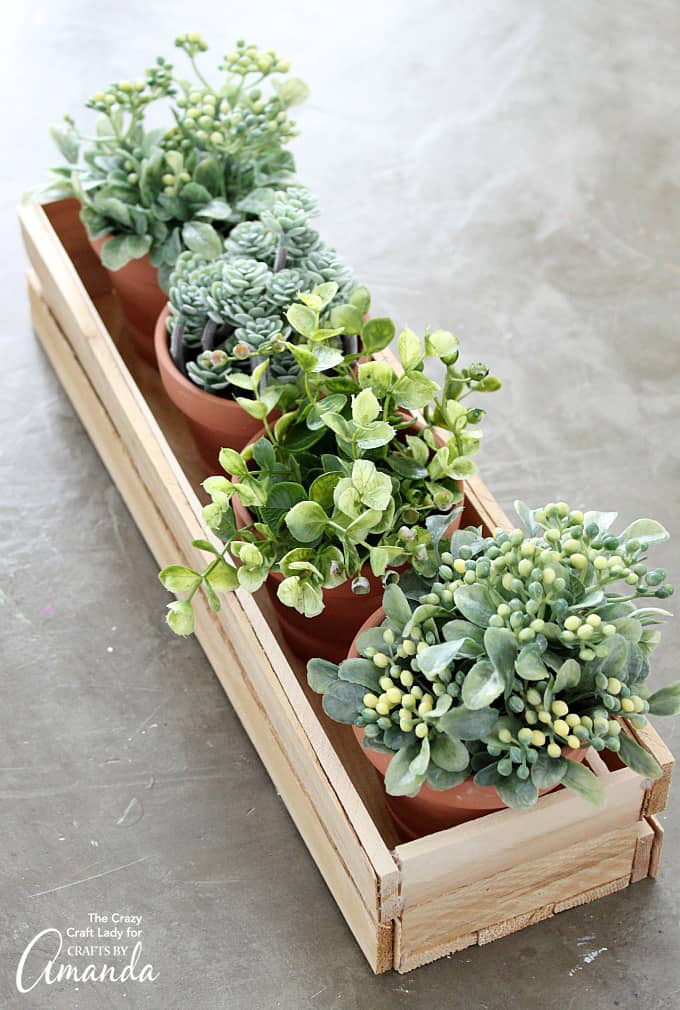
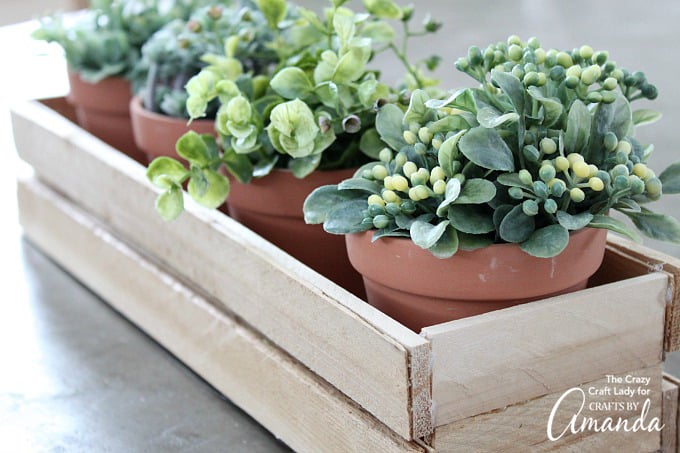
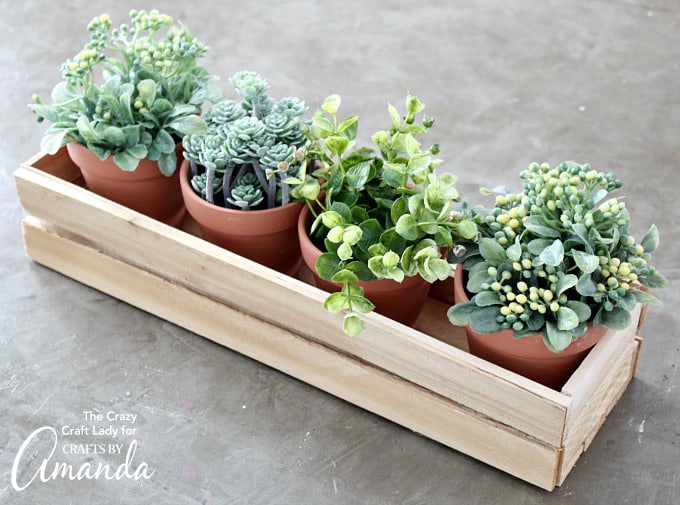
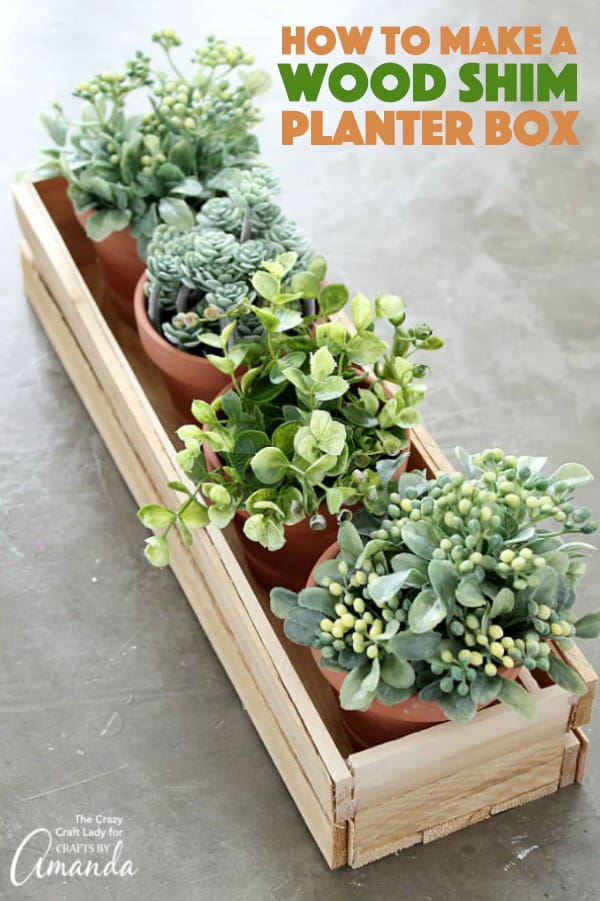
You won’t believe how easy it is to make this wooden planter box from wood shims. No power tools required! You can leave this project as bare wood, or paint it whatever color you like. Here’s how to make an easy wooden planter box for your garden, porch or stoop!
There are so many fun projects to make with wood shims, try this beautiful Wood Shim Sunburst Mirror!
Wooden Planter Box
Have you ever crafted with wood shims before? They are a versatile and inexpensive craft supply. Using wood shims is a great way to add wood to your craft projects, without needing to use power tools. They can easily be cut using an x-acto knife.
Need more creative spring planter ideas? Give upcycling a try with these easy map paper planter cans or make a unique newspaper planter bag for spring greenery.
Supplies Needed
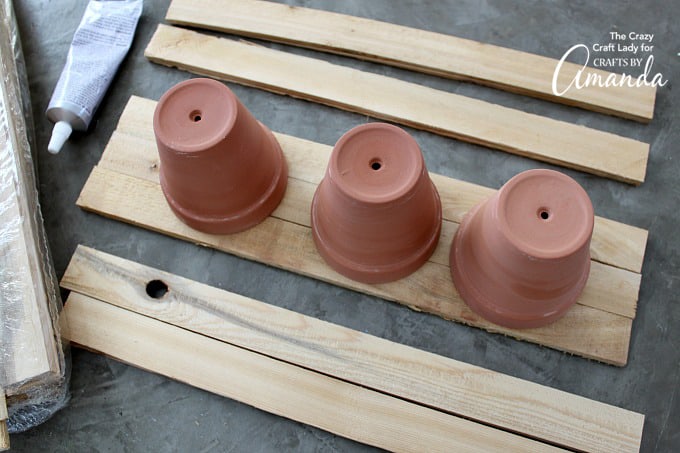
- Wood shims – they come in two sizes at your local home improvement store. Buy the long ones.
- X-Acto knife
- Glue – use both hot glue and E6000
- 4 small terracotta pots
- Faux greenery or potting soil and small plants
Tutorial: How to Make a Wood Shim Planter Box
Start by measuring your small terracotta pots. Keep in mind the width of the tops and the height of the pots, so your planter box has the right dimensions.
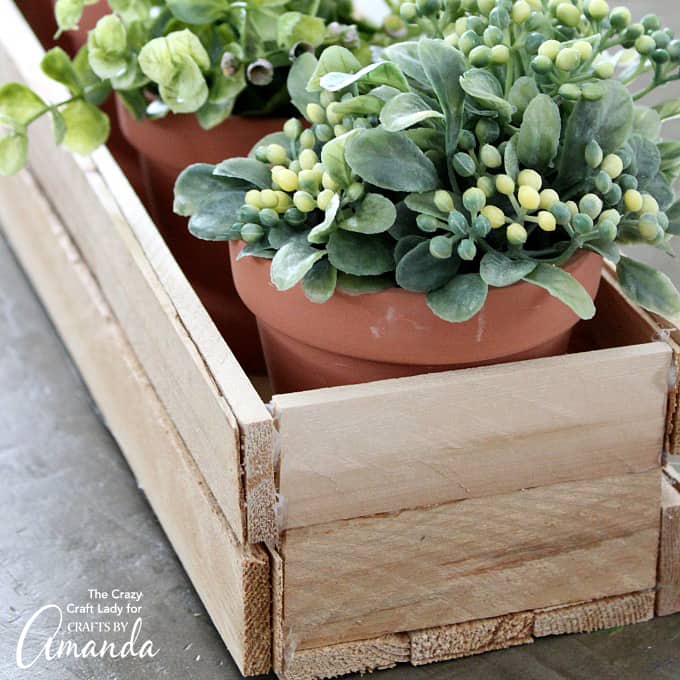
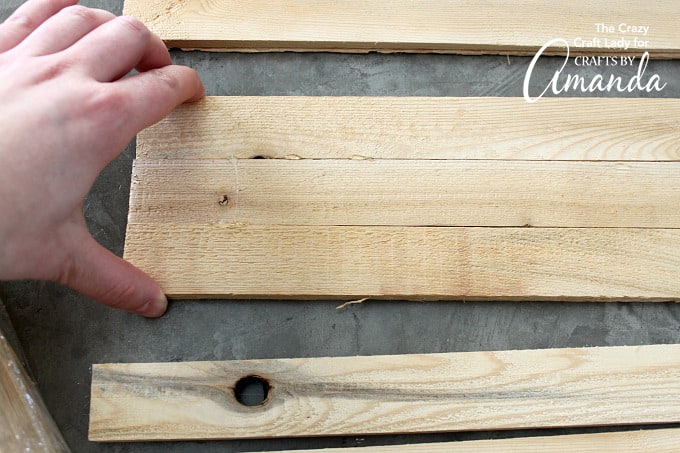
Build the base and the walls of your box. Important: This base was three wood shims wide, but I used six wood shims. Each wall was two wood shims tall, but I used four wood shims. This means that you will have to double up your wood shims.
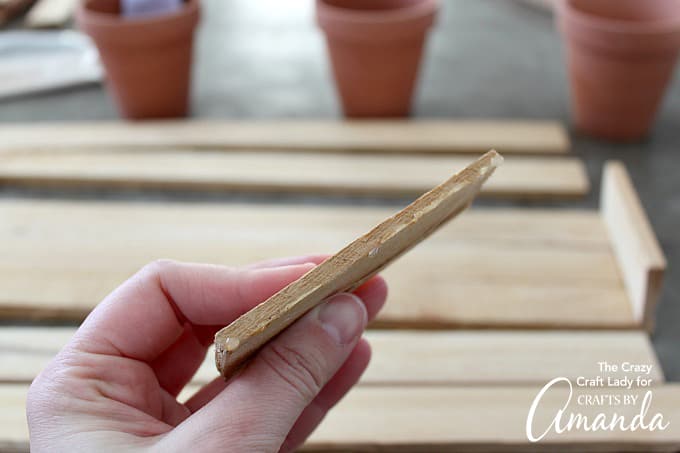
Since each wood shim has a thick and a thin end, stack two wood shims at a time. Secure two wood shims together at a time using both a dab of hot glue at each end as well as E6000. The hot glue provides instant adhesion while you work, but the E6000 will give you better, long-lasting results.
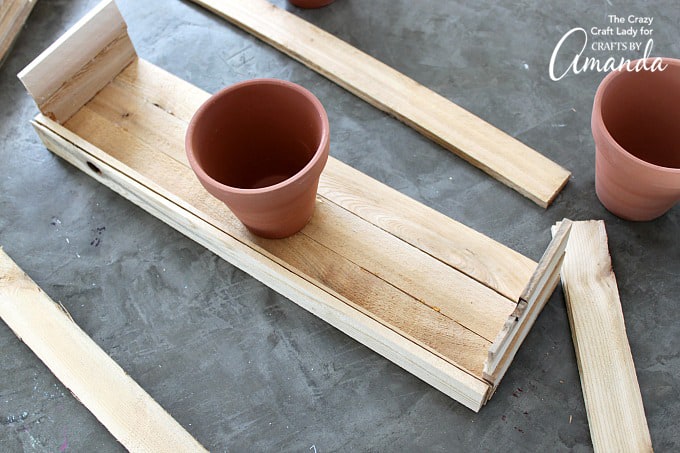
Cut down the thick end of four wood shims to serve at the short walls of the planter.
Secure all of the walls using both types of glue. Add a dab of hot glue on each end, and then fill in the middle of each wood shim with E6000.
Wait 24 hours for the E6000 to fully dry.
You can easily stain or paint your wood shim planter box, but it also looks nice unfinished.
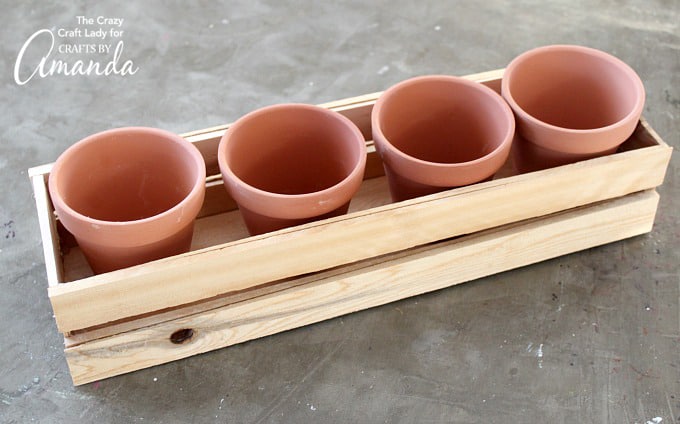
Fill the terracotta pots with faux greenery or small plants like succulents or herbs.
This wood shim planter box is a great addition to your spring decor, but also looks great year round!
Have leftover wood shims? Check out more wood shim projects like this Rustic Starfish Craft, which was made with rulers, but can very easily be made with wood shims! Or this Weathered Paint Stick Beach Flag that can also be made from wood shims.
DIY Wood Shim Planter Box
Supplies
- Wood shims – they come in two sizes at your local home improvement store. Buy the long ones.
- X-Acto knife
- Glue – use both hot glue and E6000
- 4 small terracotta pots
- Faux greenery or potting soil and small plants
Instructions
- Start by measuring your small terracotta pots. Keep in mind the width of the tops and the height of the pots, so your planter box has the right dimensions.
- Build the base and the walls of your box. Important: This base was three wood shims wide, but I used six wood shims. Each wall was two wood shims tall, but I used four wood shims. This means that you will have to double up your wood shims.
- Since each wood shim has a thick and a thin end, stack two wood shims at a time. Secure two wood shims together at a time using both a dab of hot glue at each end as well as E6000. The hot glue provides instant adhesion while you work, but the E6000 will give you better, long-lasting results.
- Cut down the thick end of four wood shims to serve at the short walls of the planter.
- Secure all of the walls using both types of glue. Add a dab of hot glue on each end, and then fill in the middle of each wood shim with E6000.
- Wait 24 hours for the E6000 to fully dry.
This post was originally published here on Feb 26, 2018.
- Black Cat Pumpkins - October 15, 2024
- Lavender Sugar Scrub - April 23, 2024
- Decoupage Wood Slice Ornaments - November 11, 2022


Leave a Reply