
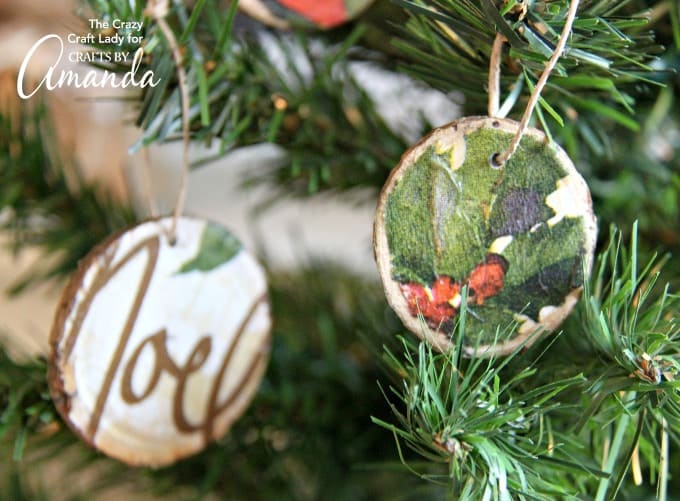
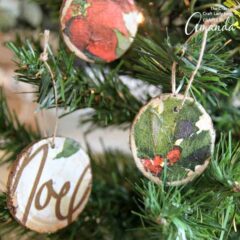
These DIY wood slice ornaments are an easy way to make your own Christmas ornaments. Use a favorite paper napkin in any pattern or color to make custom ornaments that match your Christmas decorating style.
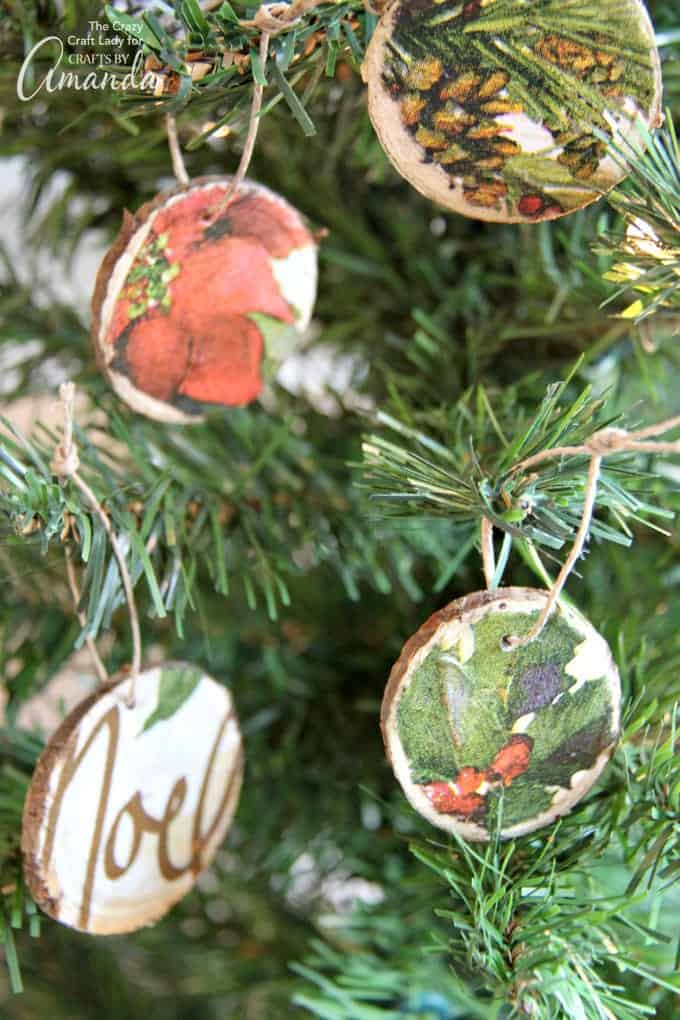
DIY Decoupage Wood Slice Ornaments
These adorable wood slice ornaments are really easy to make using paper napkins, wood slice rounds, and a bit of decoupage glue. Make them part of your yearly ornament tradition or have a Christmas ornament-making party with friends and family along with some cinnamon ornaments.
I used smaller wood rounds for this craft since these ornaments were made for a mini tree. But, feel free to use wood rounds of any size or thickness you like.

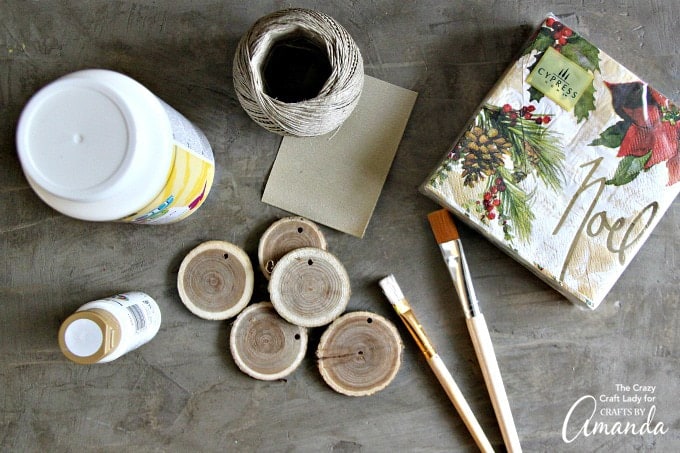
Supplies Needed to Make Decoupage Wood Slice Ornaments
- Small craft wood rounds (These are available in the unfinished wood aisle of your craft store. You can buy ornament rounds with holes pre-drilled, or else you can drill holes yourself.)
- Matte decoupage glue (like Mod Podge)
- White acrylic craft paint
- 1-inch flat paintbrush
- Decorative patterned holiday napkins (2-ply)
- Fine grit sandpaper
- Twine or ribbon
How to Make Decoupage Wood Slice Ornaments
Find the full printable instructions at the end of this post.
First, paint one side of the wood round with white acrylic paint. You can paint all the way to the wood slice edge, but I prefer to stop painting at the edge of the ring made by the bark. Let the white paint dry completely.
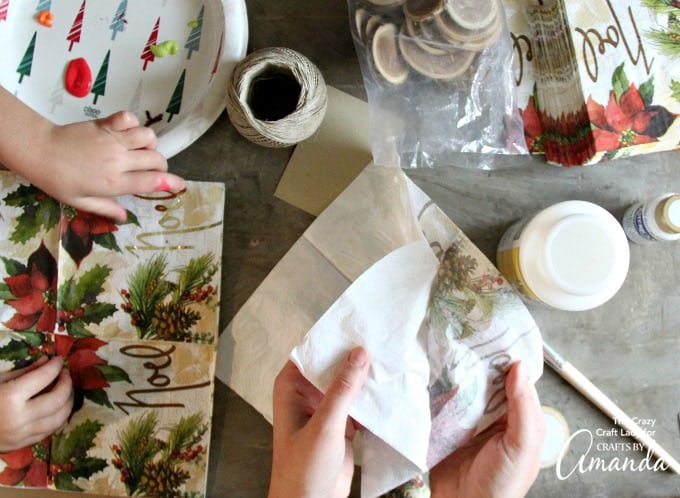
Peel apart the layers of the decorative napkin, and discard the bottom, unpatterned layer. Cut a small square of the napkin, just a bit larger than the wood round.
Apply a layer of decoupage glue over the white paint. Don’t make the layer too thin, or else the napkin paper will bubble and wrinkle. Smooth the small napkin square over the decoupage glue. Smooth out any bubbles. Let the decoupage glue dry completely.

Use sandpaper to gently remove the excess napkin paper, smoothing the edges of the wood round.

Seal the ornament with another layer of decoupage glue and let dry completely.
Add a piece of twine or ribbon to hang the wood slice ornaments. You will need to use a pointed object to make a hole through the napkin if your wood rounds already have holes drilled in them.
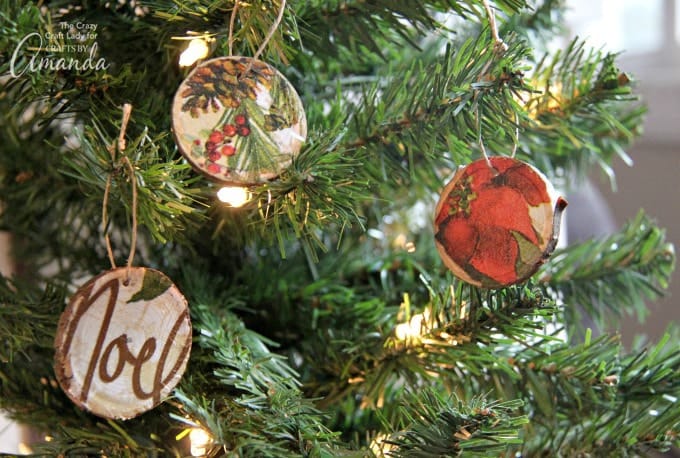
Finished Mini Wood Round Ornaments
I used these small wood rounds to make mini ornaments for a small tree that my kids like to decorate. They also got a kick out of being able to decorate a few of their own wood rounds, so feel free to get the whole family involved in this craft! If you love wood round crafts, be sure to check out these Reversible Seasonal Wood Round Crafts – perfect for transitioning between the seasons.
Unique Christmas ornaments can get expensive… quickly. By going the DIY route, you can save money for other Christmas decor and get the exact custom ornaments that you want. I love decoupaging them because your design options are only limited by the holiday napkin selection at the store.
More Ornament Crafts
- Cinnamon Ornaments
- Scrabble Tile Ornaments
- Pom Pom Ornaments
- Beach Sign Ornaments
- Twisted Paper Ornaments
For an even more kid-friendly Christmas craft, try these fun Handprint Christmas Crafts including Santa Claus, Reindeer, a Christmas tree and even a handprint wreath!
DIY Wood Slice Decoupage Ornaments – Made with Holiday Napkins
Supplies
- small craft wood rounds
- matte decoupage glue like Mod Podge
- white acrylic craft paint
- 1-inch flat paintbrush
- decorative patterned holiday napkins
- fine grit sandpaper
- twine or ribbon
Instructions
- First, paint one side of the wood round with white acrylic paint. You can paint all the way to the wood slice edge, but I prefer to stop painting at the edge of the ring made by the bark. Let the white paint dry completely.
- Peel apart the layers of the decorative napkin, and discard the bottom, unpatterned layer. Cut a small square of napkin, just a bit larger than the wood round.
- Apply a layer of decoupage glue over the white paint. Don’t make the layer too thin, or else the napkin paper will bubble and wrinkle. Smooth the small napkin square over the decoupage glue. Smooth out any bubbles. Let the decoupage glue dry completely.
- Use sandpaper to gently remove the excess napkin paper, smoothing the edges of the wood round.
- Seal the ornament with another layer of decoupage glue, and let dry completely.
- Add a piece of twine or ribbon to hang the ornament. You will need to use a pointed object to make a hole through the napkin if your wood rounds already have holes drilled in them.
Expert Tips & FAQs
- Wood slice rounds are available in the unfinished wood aisle of your craft store. You can buy ornament rounds with holes pre-drilled, or else you can drill holes yourself.

- Black Cat Pumpkins - October 24, 2025
- Lavender Sugar Scrub - April 23, 2024
- Decoupage Wood Slice Ornaments - November 11, 2022


Erica says
Is the white craft paint necessary? Could you just do it directly on the wood?
Amanda Formaro says
The paint is not necessary
Ruth says
Love this! You have great projects Amanda!
Ashlyn says
These are such great ornaments! It would be a fun craft for a party too!
Amanda Formaro says
Thanks Ashlyn, so glad you like them!