

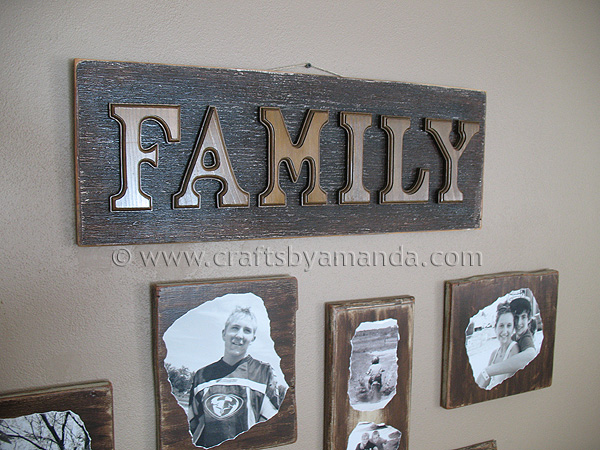
A few years ago I bought a bunch of wooden letters with a specific project in mind. We’ve since moved from that house I wanted to create the project for and the letters were still sitting here. Waiting. Waiting for me to come up with something. That’s when inspiration struck and the idea for this “family” sign was born.
You may have seen this sign already once before. It’s pictured in my tutorial for the decoupage family photo plaques I made a week or so ago.

I was inspired by an inspiration. Huh? What I mean is, I came across this really lovely Paris sign over at the blog Vintage Skye. I was inspired by her project which was inspired by these block letters from Restoration Hardware.

So mine is a knock off from a knock off, inspired by an inspiration. Sure I could have just SAID that I was inspired by the catalog project, but I wouldn’t have found it if it hadn’t been for K @ Vintage Skye. So thanks K!
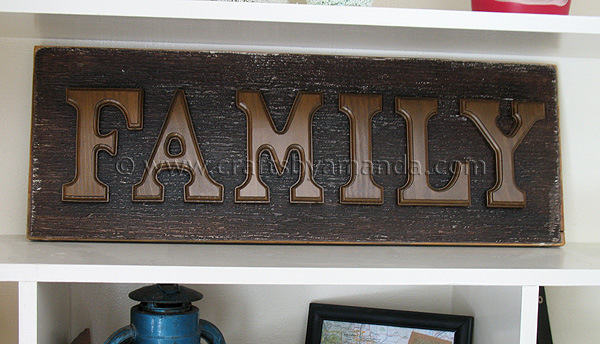
I love the way that the letters on the Restoration Hardware blocks are an old brassy looking color. It works so nicely against the dark brown background. In fact, theirs are inspired by antique typesetting blocks, funny how much inspiration in going on here! ;)

I was also looking for some texture on my sign rather than just plain wood. That’s when I remembered this cool roll of paintable textured wallpaper I bought from the clearance aisle at WalMart many moons ago.

I lined up the wooden letters on a piece of scrap wood I had. A perfect fit!

First I sanded down the board, nice and smooth with my handy dandy Ryobi sander![]() .
.
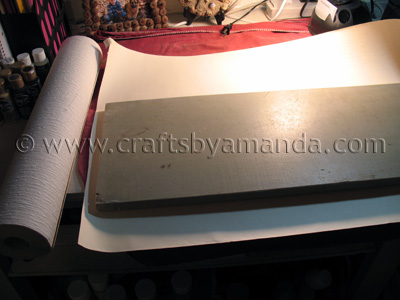
I unrolled the wallpaper, face down on the work surface and placed the board down on top of it.
Then I used a box cutter to trim the excess wallpaper.
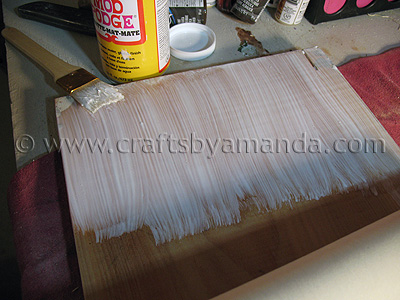
I flipped the board back over and applied some Mod Podge to about 7 or 8 inches of the wood then pressed the paper to the Mod Podge.
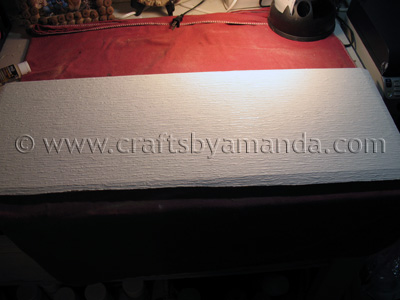
I repeated this until the wallpaper was completely in place and smoothed it all down with my hand.
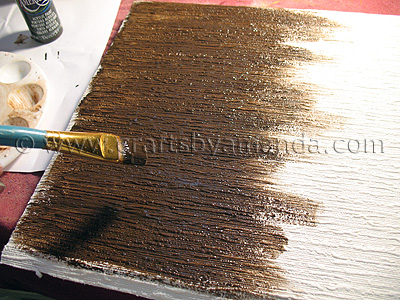
I let the board dry for a couple of hours just to be safe, then began painting the paper using Americana Traditional Burnt Umber![]() .
.
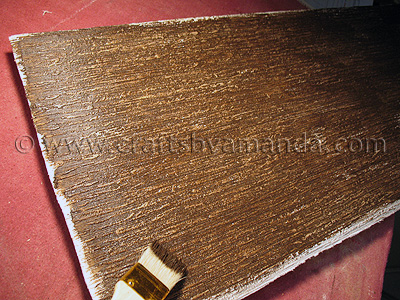
After painting, I took a large coarse brush and dry-brushed off the excess paint. I set the board aside to dry while I started on the letters.

To achieve the bronze look of the letters, I mixed Dazzling Metallics![]() (Splendid Gold) with the Burnt Umber I used on the sign and added in some staining / antiquing medium
(Splendid Gold) with the Burnt Umber I used on the sign and added in some staining / antiquing medium![]() . I used a jar to mix them since I knew I would need quite a bit to cover all the letters.
. I used a jar to mix them since I knew I would need quite a bit to cover all the letters.
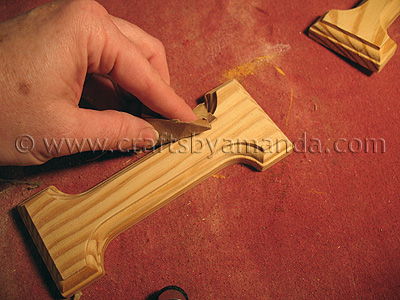
First I used a small piece of sandpaper to smooth the edges of all the letters. You’d be surprised at how many splinters they have!
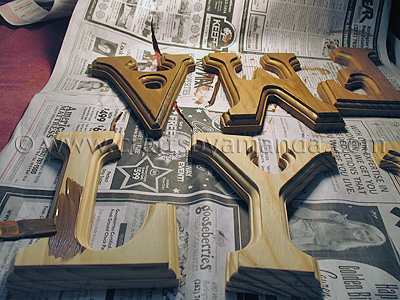
I painted each letter with a coat of this mixture then set them aside to dry.
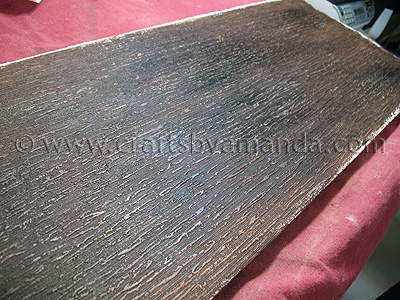
Next I mixed some burnt umber with some black and antiquing gel. Using a light dry brushing technique, I swept a large brush over certain areas of the board that I felt needed more depth.
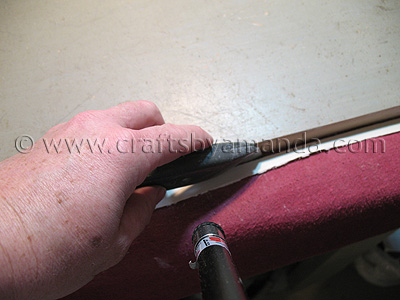
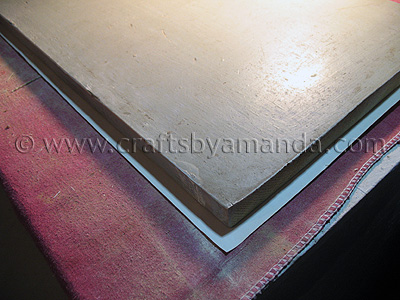
After it dried I flipped it over and trimmed off as much of the excess as possible.

I wanted about 1/4″ of the board to show all around the edge, so I trimmed back what I could with a box cutter. You can see that some of the paper would not come off.
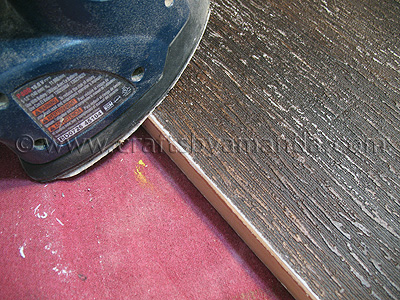
That’s where the sander comes in handy. I just sanded all the edges until I got the look I wanted.
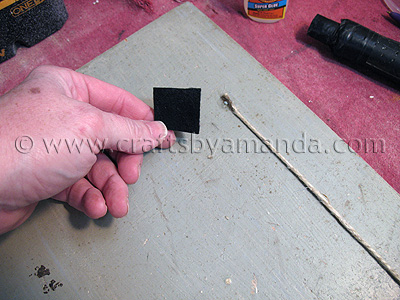
To finish off the board, I flipped it over and nailed a thick piece of twine to the back. I covered the nails with a square of felt using Gorilla Glue’s super glue![]() . The felt protects your wall from being scratched by the nail head and the super glue makes sure it’s not going anywhere!
. The felt protects your wall from being scratched by the nail head and the super glue makes sure it’s not going anywhere!

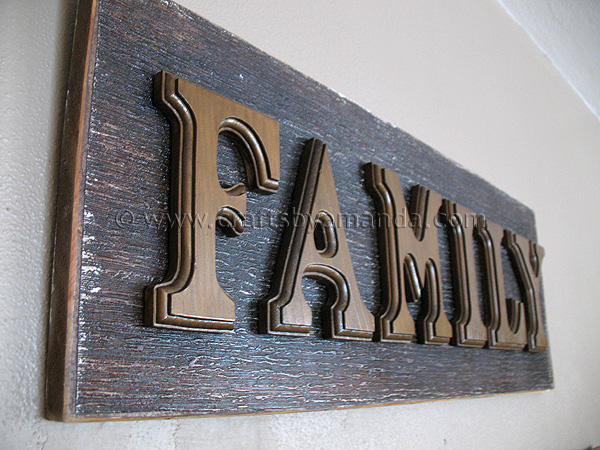
I liked the way the letters looked, but they still needed something. So I mixed 1 part black, 2 parts burnt umber and some glazing medium![]() . See the difference in the “I” and the “L”? Those letters have the glazing mixture, it added just the right touch!
. See the difference in the “I” and the “L”? Those letters have the glazing mixture, it added just the right touch!
The final steps were to use super glue to attach the letters to the sign board and once those were dry, add a couple coats of clear acrylic matte sealer![]() . All done and ready to hang!
. All done and ready to hang!
NOTE: You can see the twine hanger above my sign. That wasn’t my intent but I didn’t feel like fixing it LOL One of these days!

Like the family photos you see? You can find the tutorial for the decoupage family photo plaques here.
Wooden Letter Family Sign
Supplies
- wooden letters
- paintable textured wallpaper
- scrap wood
- Ryobi sander
- box cutter
- Mod Podge
- large coarse brush
- staining/antiquing medium
- sandpaper
- twine
- nails
- felt
- Gorilla Glue
- clear acrylic matte sealer
Paint
- Dazzling Metallics in Splendid Gold
- Americana Traditional in Burnt Umber
- black
Instructions
- I lined up the wooden letters on a piece of scrap wood I had.
- First I sanded down the board, nice and smooth with my handy dandy Ryobi sander.
- I unrolled the wallpaper, face down on the work surface and placed the board down on top of it.
- Then I used a box cutter to trim the excess wallpaper.
- I flipped the board back over and applied some Mod Podge to about 7 or 8 inches of the wood then pressed the paper to the Mod Podge.
- I repeated this until the wallpaper was completely in place and smoothed it all down with my hand.
- I let the board dry for a couple of hours just to be safe, then began painting the paper using Americana Traditional Burnt Umber.
- After painting, I took a large coarse brush and dry-brushed off the excess paint. I set the board aside to dry while I started on the letters.
- To achieve the bronze look of the letters, I mixed Dazzling Metallics (Splendid Gold) with the Burnt Umber I used on the sign and added in some staining / antiquing medium. I used a jar to mix them since I knew I would need quite a bit to cover all the letters.
- First I used a small piece of sandpaper to smooth the edges of all the letters. You’d be surprised at how many splinters they have!
- I painted each letter with a coat of this mixture then set them aside to dry.
- Next I mixed some burnt umber with some black and antiquing gel. Using a light dry brushing technique, I swept a large brush over certain areas of the board that I felt needed more depth.
- After it dried I flipped it over and trimmed off as much of the excess as possible.
- I wanted about 1/4″ of the board to show all around the edge, so I trimmed back what I could with a box cutter. You can see that some of the paper would not come off.
- That’s where the sander comes in handy. I just sanded all the edges until I got the look I wanted.
- To finish off the board, I flipped it over and nailed a thick piece of twine to the back. I covered the nails with a square of felt using Gorilla Glue’s super glue.
- I liked the way the letters looked, but they still needed something. So I mixed 1 part black, 2 parts burnt umber and some glazing medium.
- The final steps were to use super glue to attach the letters to the sign board and once those were dry, add a couple coats of clear acrylic matte sealer. All done and ready to hang!

- Tie Dye Beach Towels - July 24, 2026
- Swirling Twirling Ladybugs - July 21, 2026
- Drip Tie Dye Backpack - July 17, 2026


Creative Escapes says
Found this over at IshareCrafts – this rocks – awesome job!
Judy says
That really came out great. I host a link party that is going on right now. I would love for you to stop by and link up this post. Hope to see you there.
Lauren @ YoungNester says
I love this! Thanks for sharing!
Jenny says
Love this. I have the perfect place to hang something similar. I might have to tackle this over Spring Break.
Andrea S. says
This turned out great! I like how you have it displayed above the collage too. :) Thanks for sharing.
marla says
Amanda, how do you find the time to do all of this great stuff. I need you over to re-do my life ;)
Deeba PAB says
You are very very talented!
Kate says
Looks great! And surprisingly easy!
Katrina says
You friggin' rock, Girl. Love this. You should mass produce them to resale, too.
Nic :) says
Love it Amanda!
x
Amanda says
Wow, another amazingly detailed tutorial! I honestly don't down how you do it!
Hope you don't mind if I link back to your blog! I will be posting my attempt at your fab French Wall Art eek!
~K @ VintageSkye says
I absolutely love the twiet you put on it! The textured wallpaper background is so creative! I will put a little post about this to send anyone that comes to my blog over your way:) Thanks for the mention!
[email protected] says
wow! it looks great! you did a super job, and your tute is fabulous!
thanks!
gail