

These conversation marble magnets are a simple craft for Valentine’s Day. They take only minutes to make and are an inexpensive gift for neighbors, friends and teachers.
Why we love this project
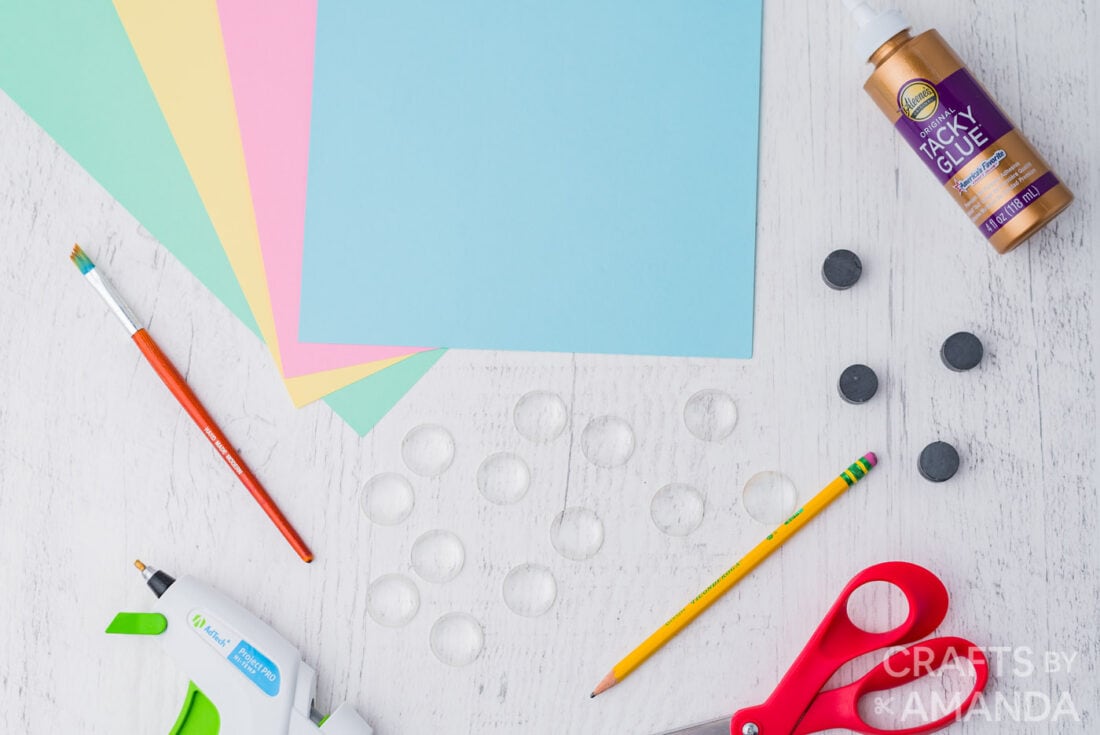
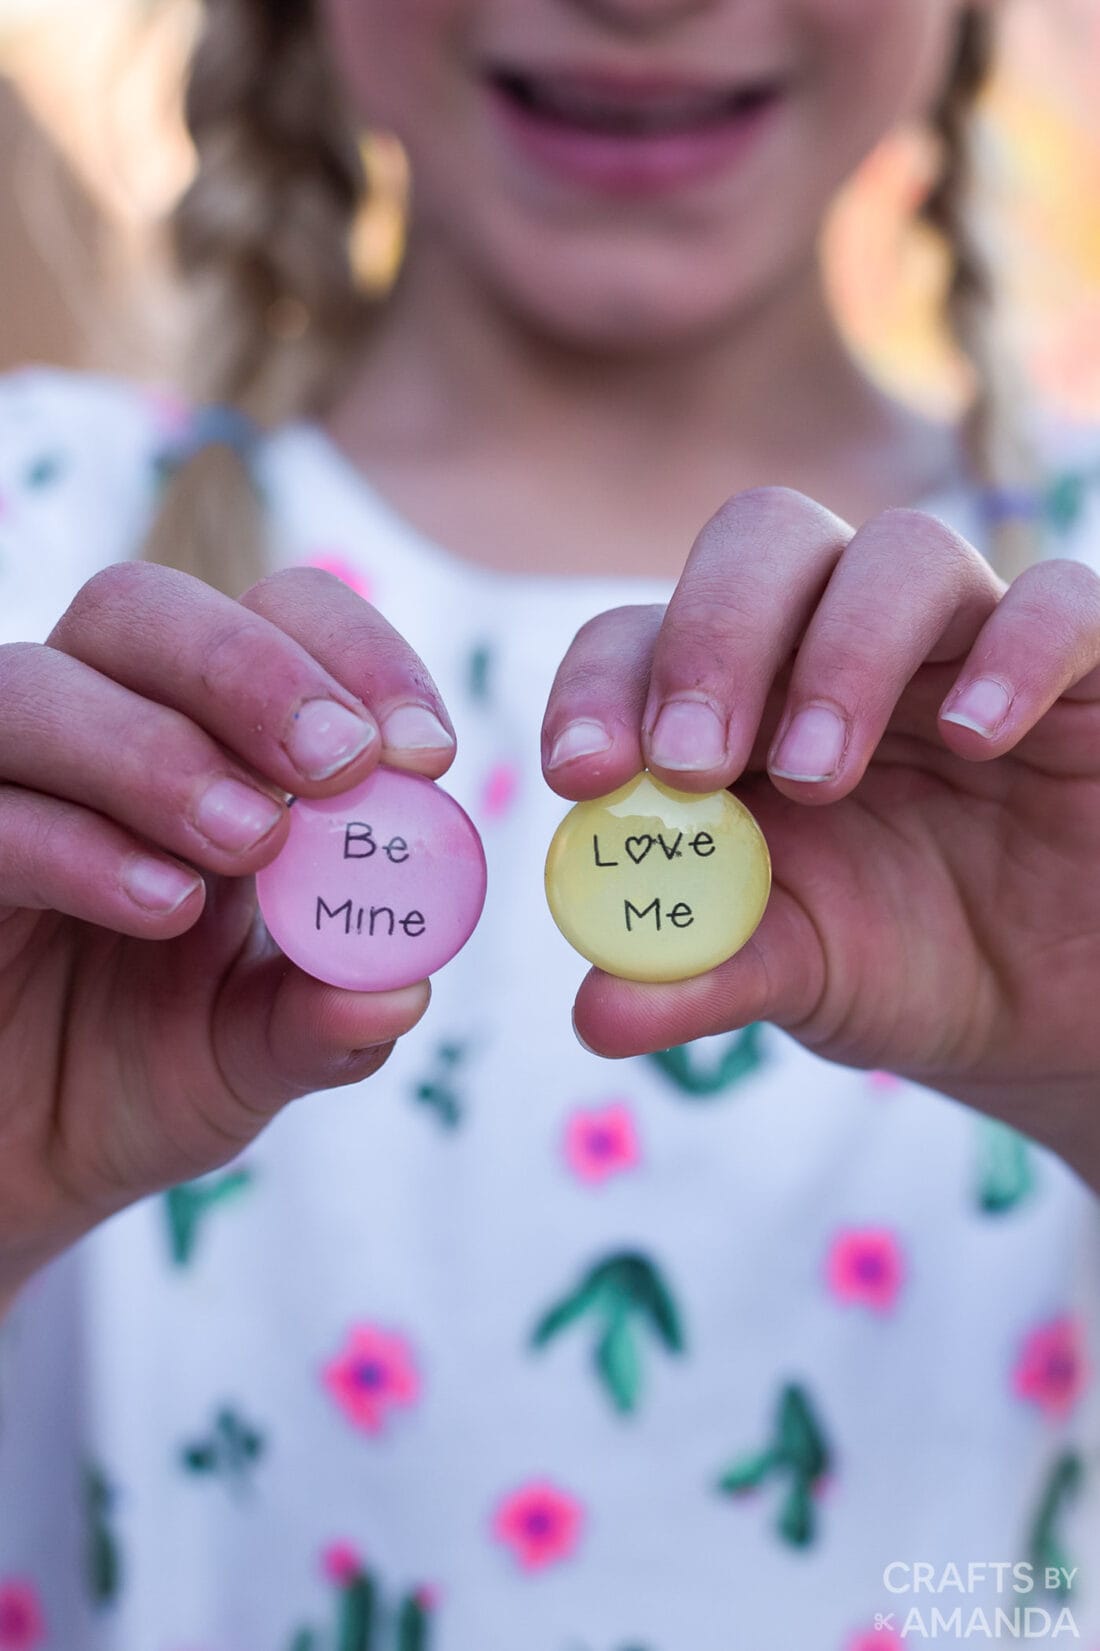
All you are going to need are some flat glass marbles, a black Sharpie and some pastel paper. These conversation marble magnets would make fun gifts for friends and family!
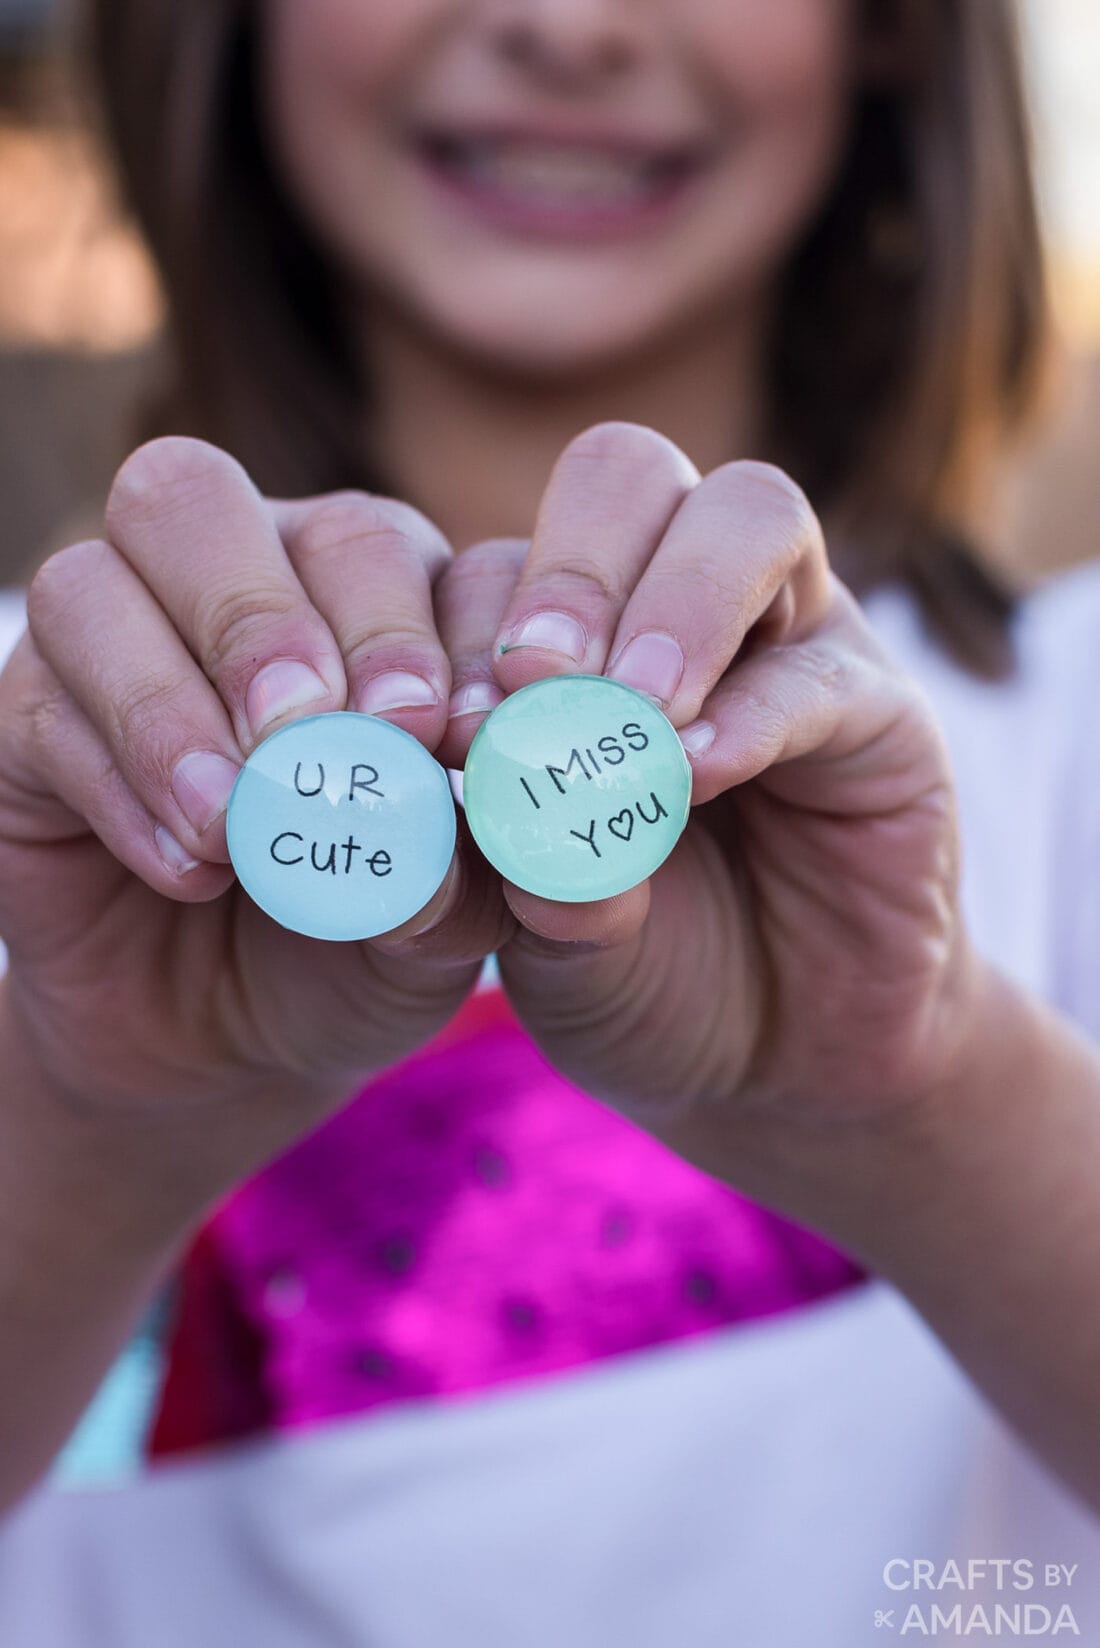
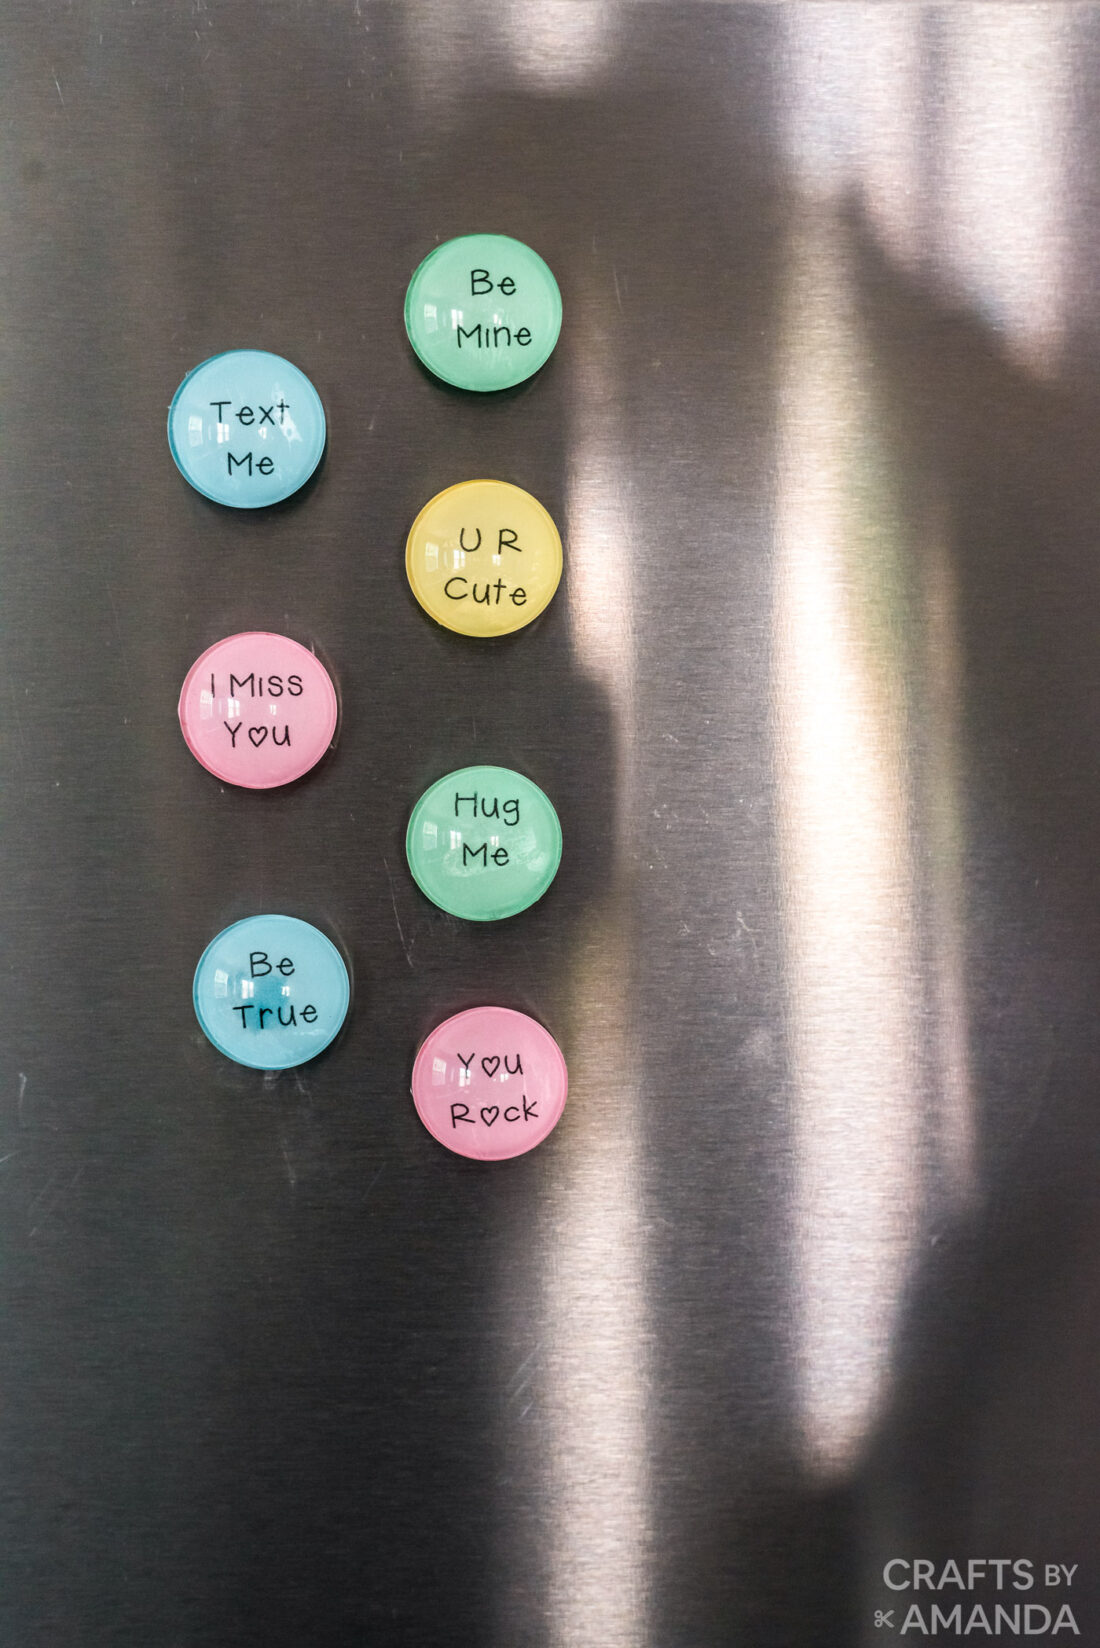
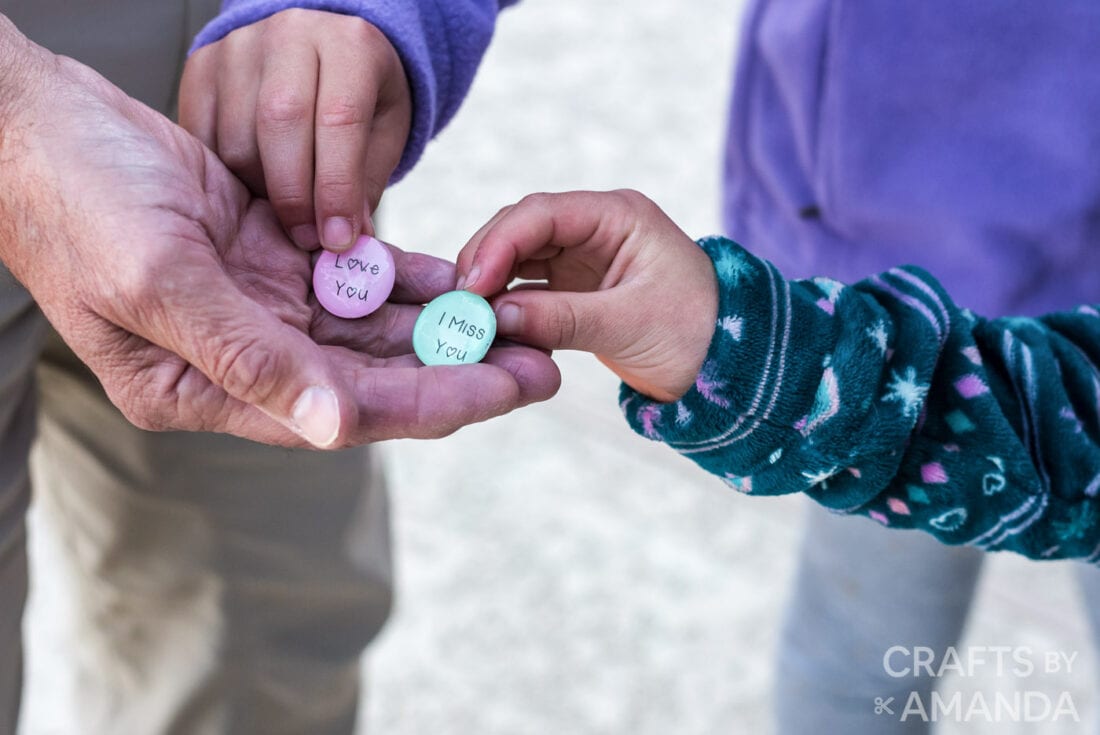
Inspired by conversation hearts, these glass gem magnets are a great Valentine’s Day project for adults and for kids. Make these magnets to send out alongside your Valentine cards so the recipient can hang them on their fridge!
Helpful Project Information:
- Age Level: 6 and up
- Mess Factor: Medium
- Level of Difficulty: Easy
- Time to Complete: Less than 30 minutes
- Cost Estimate: Less than $5.00
Craft supplies you will need
How to Make Conversation Marble Magnets
These step by step photos and instructions are here to help you visualize how to make this project. Please scroll down to simply print out the instructions!
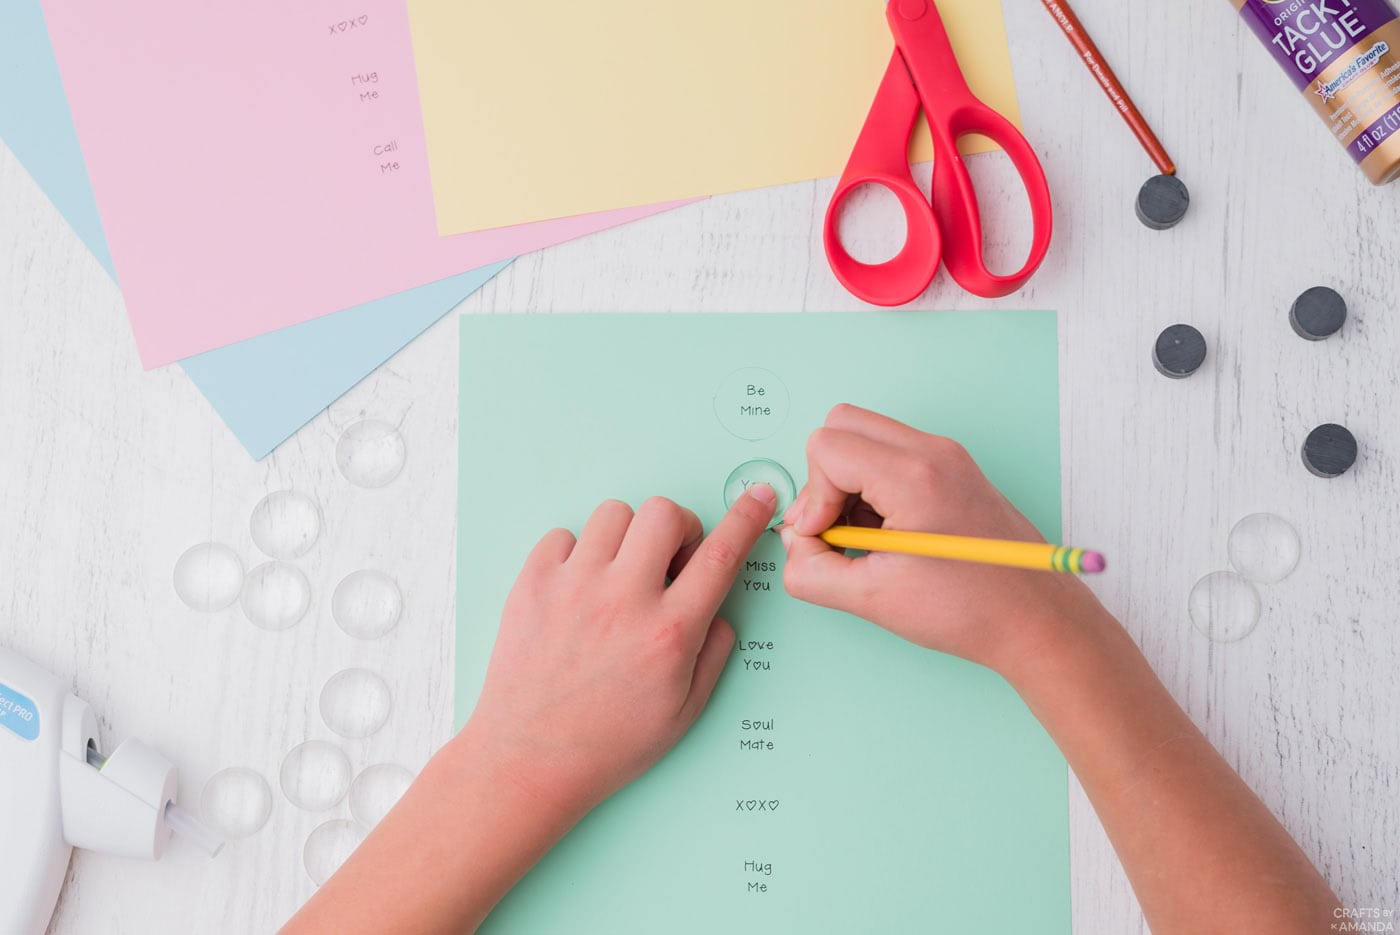
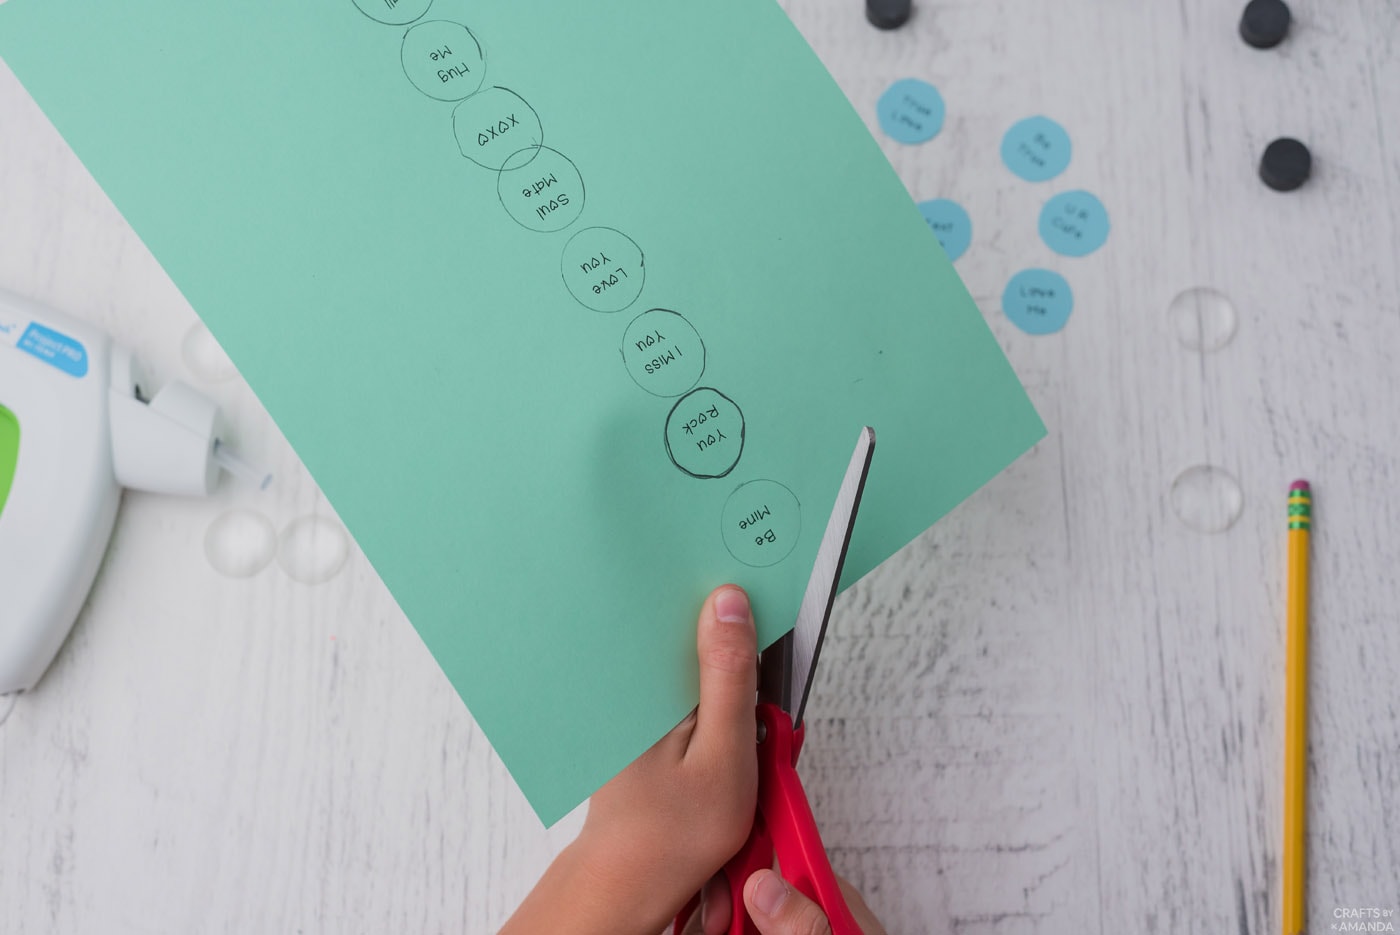
- Use a black Sharpie marker to write conversation heart sayings on pastel paper, such as hug me, kiss me, be mine, bff, etc. Or, simply print off this template.
- Place your marble over the top and trace around it lightly with a pencil.

- Cut out circles, cutting the circle a little smaller than the tracing.
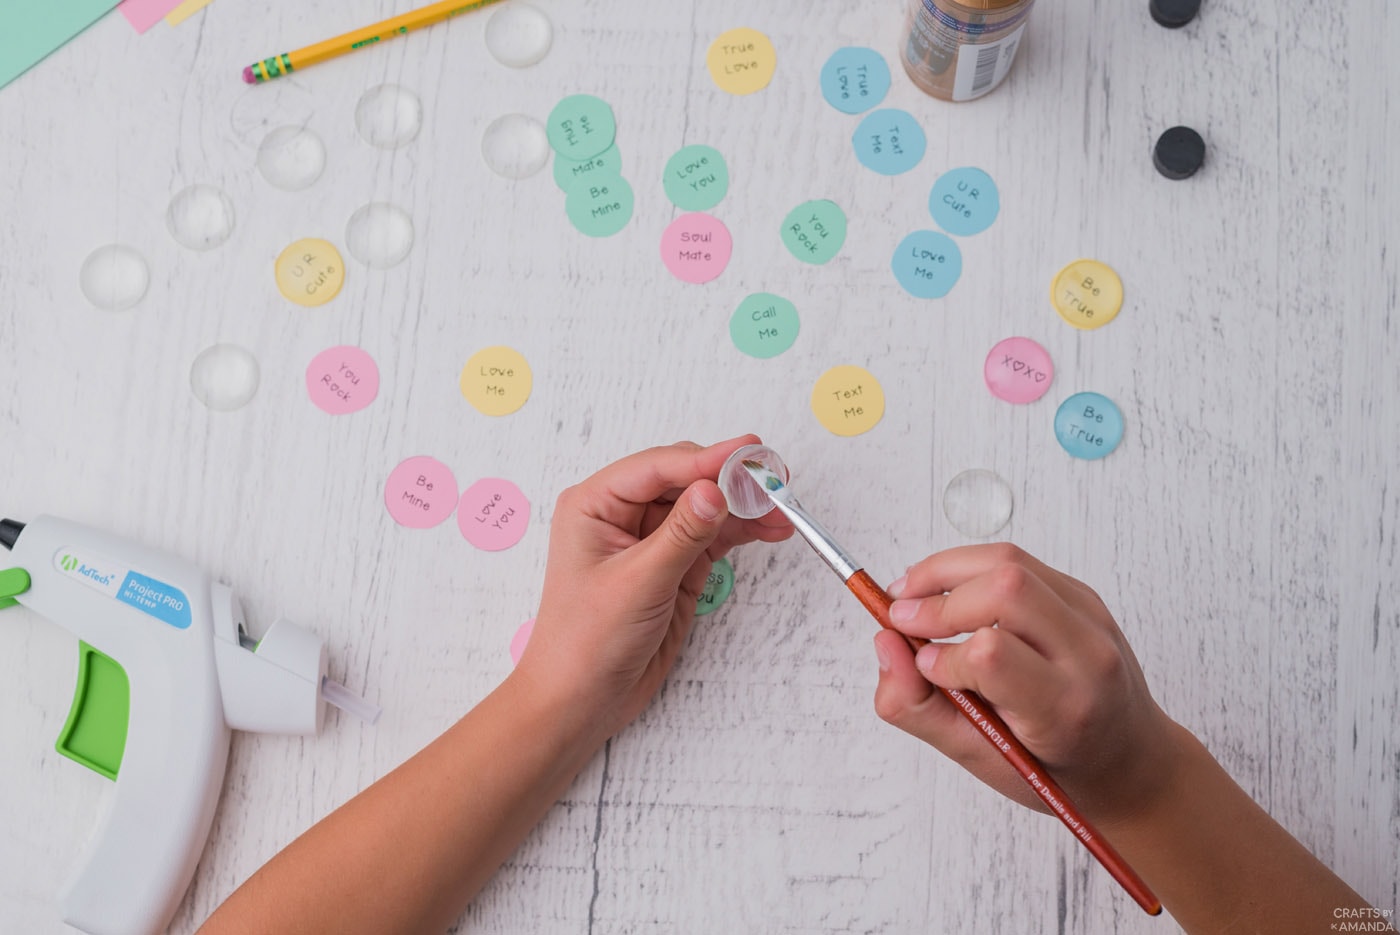
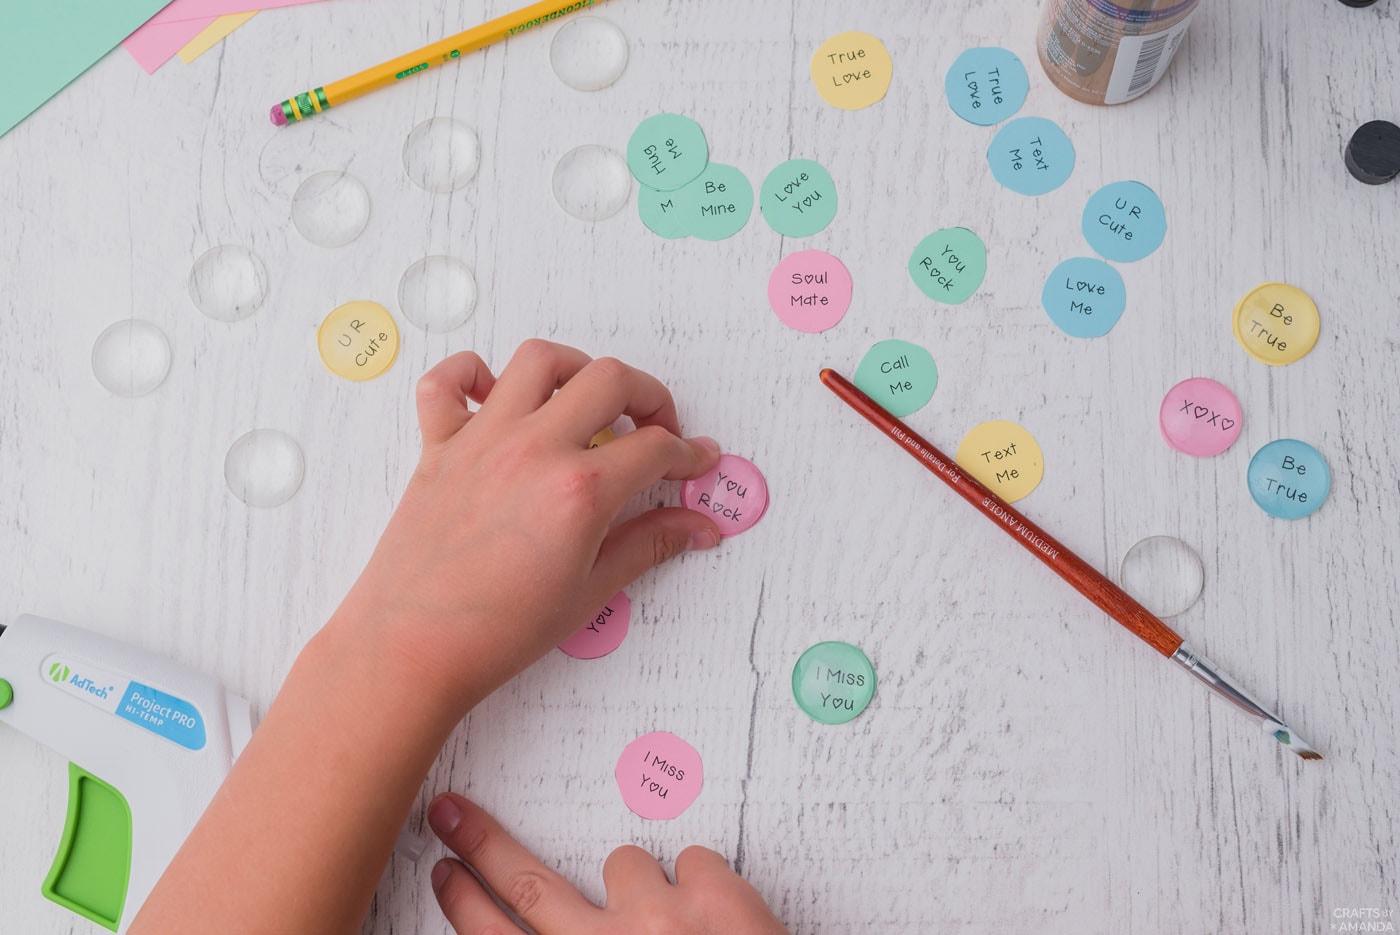
- First paint some Mod Podge onto the flat side of the marble. Put the paper circle in place and paint Mod Podge over that as well. Leave the marble round side down to dry.
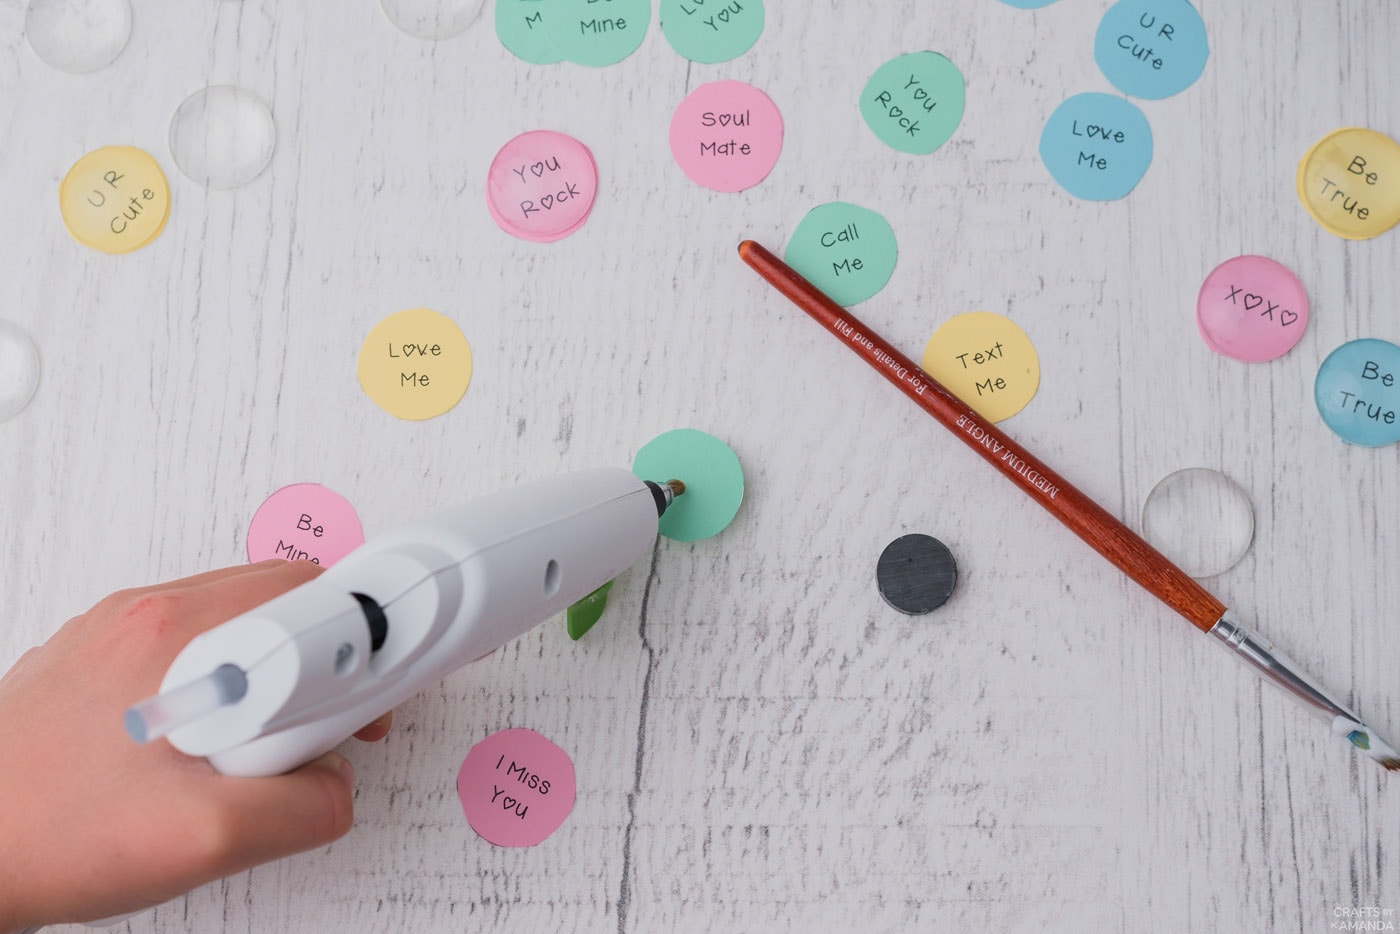
- After it has dried, attach magnets to the back of the marbles using white craft glue.


Expert Crafting Tips
- I used to recommend hot glue to attach the magnets, however, white craft glue (like Tacky Glue) holds up much better. Hot glue has a tendency to pop off if the magnet is accidentally dropped.
- Here are the magnets and marbles we used for this project which come together, however, you could easily use marbles you already have on hand and small round magnets that fit on the backside of them.
- It is best to use pastel card stock for this project, as card stock is studier and the glue will not leak through the backside. You could also use pastel or valentine themed scrapbook paper.
These conversation heart magnets aren’t just for the fridge! Kids can make these magnets and hand them out to friends to hang on the inside of their lockers as well. They’d go great inside a little goodie bag with candy and a sweet note.
More Valentine Crafts
- Scratch Off Valentine Certificates
- Polka Dot Heart Valentine Buckets
- Heart Suncatchers
- Secret Message Valentine
- Heart Photo Magnets
- Valentine Hugs
I love to create and share my projects with you! I know it’s hard to remember to come back and search, so I’ve made it easy for you with my weekly newsletter! You can subscribe for free and I’ll send you fun crafts and delicious recipes every week right to your email.
Conversation Marble Magnets for Valentine’s Day
Supplies
- Clear flat glass marbles
- Pastel card stock
- Black fine point Sharpie
- Mod Podge
- Pencil
- Small magnets
- White craft glue
- Conversation Template
Craft tools
- Paintbrush
Instructions
- Write conversation heart sayings on pastel paper, such as hug me, kiss me, be mine, bff, etc. or simply print off the conversation template provided above.
- Place marble over the top and trace marble lightly with pencil.
- Cut out circles, cutting the circle a little smaller than the tracing.
- Use Mod Podge and paintbrush to attach the paper to the back of the marble. Let dry.
- Attach magnets to the back of the marbles using hot glue.
Expert Tips & FAQs
- I used to recommend hot glue to attach the magnets, however white craft glue )like Tacky Glue) holds up much better. Hot glue has a tendency to pop off if the magnet is accidentally dropped.
- It is best to use card stock for this project as it is thicker and will not leak glue through the backside. You could also use pastel or Valentine themed scrapbook paper if you’d like.
This post originally appeared here on Dec 25, 2010 and has since been updated with new photos and tips.
- DIY Mosquito Repellent Candles - July 10, 2026
- Mason Jar Solar Lights - July 3, 2026
- Patriotic Pinwheels - June 23, 2026


Catherine Regala Gavino says
I will definitely try this.I have lots of those marbles and this is a good way to make them more decorative than the plain ones:)Thanks Ms. Amanda.
Amanda Formaro says
Have fun Catherine!
Alison says
these are sooo cute! i’m doing a craft for an activity table, and these are perfect!!!
Amanda says
How fun Alison, have a great time!
Karen Howard says
These are so cute & inexpensive.Could really write Anything on card stock-& that makes them versatile for anytime & other Holidays! Thanks.
Candice says
I can’t wait to do this with my 4 year old! We are going to do it for Christmas and cut out paper with snowflakes, santa’s head, etc for my daughter to give as Christmas presents. Thanks for the idea!
Amanda Formaro says
Thanks Candice, have fun!
Melle John says
Hello. I have used your pebble magnets idea and made some up to sell for St Clairs Hospice, which is local to me. I have them for auction on ebay, so I hope they go well. They're so cute. I've a blog where I'm making stuff and auctioning it. It's at http://www.tutstalker.blogspot.com. And I have put a link to your page. Thanks! Melle ;o)
~*~Ash~*~ says
Just found your blog from another teacher who loved this idea!
I received some of these from my room mom last year (mine were Halloween themed). I. LOVE. THEM. Seriously.
She used the super amazing heavy duty magnets that actually work- I love them so much I keep them up all year round! Probably the best practical gift I have received as a teacher. Also, her name was Amanda… I see a pattern: Amanda=cutesy, crafty amazingness.
I'm officially your newest follower! :D
http://teachinghappilyeverafter.blogspot.com/
RedTedArt says
I featured you on Love Get Crafty today!
http://www.redtedart.com/2011/02/01/love-get-crafty/
Maggy
Meg says
Amanda, I wanted to let you know I made some of these magnets & posted it on my blog! Thanks so much for the idea! I'm not sure if this is how I am supposed to "link" back, but I did put in my blog that this was your idea with your link! Thanks!
-MEG http://ourlifeatthemoment.blogspot.com/2011/01/valentinesall-year-long-craft.html
Amanda says
See, there I go assuming that everyone knows how to use Mod Podge, I will fix the instructions, sorry!
First paint some Mod Podge onto the flat side of the marble. Put the paper circle in place and paint Mod Podge over that as well. Leave the marble round side down to dry. After it has dried, then attach the magnet.
The gloss Mod Podge should have been fine. Sorry about that!
Christina Reed says
It's me again, Amanda. :) My sister and I worked on this project over the weekend. I have to say mine didn't turn out as nicely as yours. In fact, when I put my marbles on the fridge the paper fell off them. Is there a trick to using Mod Podge? This is the first time that I've used this product, so maybe I'm not using it correctly. When putting these marbles together, I applied the Mod Podge tothe marble itself then put the paper on top of it. When my paper fell off the marbles, I fixed them by putting the Mod Podge on the marble and on the back of the paper. I also, didn't realize that there are different kinds of Mod Podge besides Gloss and Matte. The Mod Podge I used for the marbles was the Gloss Mod Podge. Thanks in advance for all your help.
Amanda says
Aww thanks LaRee! That's so nice of you to say :) i understand completely about holiday overload. So I can totally see how this could have triggered your reaction :) I was sick as a dog the 2-3 before Christmas and was totally wiped out with the stomach flu. Not fun. So on Christmas Day after all the dust from wrapping paper settled, I felt like crafting. This just happened to be the project I whipped up :) No harm done, thanks for coming, and I mean that :)
LaRee says
I'm sorry about the negative comment. I was having holiday overload with all the christmas and new years etc and was really looking forward to something crafty that wasn't holiday-ish that didn't have a deadline and all that :) I really appreciate your site and this is an excellent project for anytime really.
Amanda says
Hi Christina :) I haven't used stickers, however since the stickers are most likely sticky on the plain side, you would still have to Mod Podge them on. Otherwise your design will be on the wrong side. :( Leave the backing on and Mod Podge the sticker to the back of the marble, should work just like paper.
On second thought, I wonder if the backing will be too slick for the magnet to stick to? You might want to actually peel the backing off the stickers, stick them to plain white paper, then cut them out and Mod Podge them on. The magnet will most likely adhere better to the plain paper. :)
Hope that made sense! I tend to type as the thoughts are flowing from my brain LOL :)
Christina Reed says
I thought you might have used the round magnets, so I went ahead and purchased some. They look like the above link. Thanks! I saw some really cute Valentine's Day stickers. I wonder if these would work? Have you used stickers? Thanks!
Amanda says
Hi Christina! They are just the little round black magnets you get at the craft store :) Here's a picture of what they look like, I don't know this store, just googled for images :) http://kitkraft.biz/catalog/3_4_Round_Magnets_Bulk-p-4023.html
Christina Reed says
My sister and I are planning on making these this weekend. They look so simple and so cute! What kind of magnets did you use for these?
Thanks in advance!
Kim says
i love these!!
Kerry @ SparkPicks says
These are so cute!! I did a similar thing only made mine into tacks and used paint. http://www.sparkpicks.com/?p=73 I love the Valentine's Day idea! I'm your newest follower…you have a ton of cute stuff!
Purple Froggie Clay Stuff says
Awesome! Can't wait to make a few of them myself.
New follower on GFC, Stop by and see me sometime if you get a chance.
Cindy
maggy, red ted art says
How funny, was only just "eyeing up" these fab magnets today and hey presto you appear on Kids Get Crafty!! Thank you for linking up! I do love the magnets. They look so effective ANY time of year, but definitely lovely to use them for valentines!!
Gorgeous.
Thanks again for linking up!
Maggy
Lynn says
You can post tutorials for whatever holiday you want anytime you want as far as I'm concerned. :) I like ideas anytime of the year.
I just found your blog on Craft Gossip. Consider yourself bookmarked. :)
Miranda says
I am definetly going to make these ASAP for all of my Valentines this year. Perfect little goodie without the extra calories!
Miranda
http://www.justdrinkacoke.blogspot.com
littlewondersdays says
Cute idea! You could do your own magnetic poetry set… When my oldest was learning to read, we would leave notes to each other using the set.
susies1955 says
Awesome.
The negative poster has issues. LOL. It's your blog! Love it and am following now. :)
Susie
Beth Hawks says
These are adorable. I can think of so many cute phrases for these.
Rachael@Lovely Crafty Home says
Love these!! Great for Valentine's Day :) I'm starting a new linky party on Friday and hope you will stop by!
Mod Podge Amy says
Love these – I already have people asking me for Valentine's ideas, so this is perfect. Crafting is different than buying something pre-made off of the shelf. You gotta start early. . .
Missy says
Love it! So easy and versatile. We have magnetic dry erase boards in our classrooms, and I can tailor these to my subject matter. I have always wanted to make my own magnets, but nothing hit me that was either simple enough, or not too distracting to be on my boards. Thanks!
Vivian says
Merry Christmas from http://www.closertolucy.blogspot.com/
girlichef says
So cute! What a fun idea for any time of the year. As far as I'm concerned, it's never too early to start thinking about any particular holiday or time of the year…they bite me in the arse before I know. Every. Time ;)
Holly says
This is fabulous! I need to get a jump start…I kept saying to myself "Christmas is weeks away I have time"…and the I ran out of time. Thanks for the reminder that Valentines is not far away!
Beverly @ FlamingoToes.com says
Love these magnets Amanda!! With as busy as things are around here – I love projects that are ahead of the holiday – I don't have time to do them close to the actual day. Thanks so much!!
Katrina says
What a fun idea. I love getting ideas of what to do early, even if I don't do them until February, the things I liked stick in my mind until it's time to do them.
Kathy @ Creative Home Expressions says
What a great little craft project, Amanda! I saved a picture of a Valentine piece I saw the other day online, so that I could try and do it on my own {so easy to do and not spend $30.00 like the store wanted}. I can't wait to do it and I've got other Valentine's ideas floating around my brain to try out. I think sometimes you have to start things early enough in case it doesn't work out {at least, that's how I look at it}.
Lori says
I love this! My kids and I will have time to do them this week – happily, I'm off this week, too. Thanks for a very simple but gratifying idea!
Amanda says
Hi LaRee :) There are lots of teachers, daycare providers and homeschoolers who plan their ideas well in advance. Having Valentine projects early like this are a blessing to them. It's fine if you don't want to see them, but there are always others who do. :) Thanks for stopping by!
LaRee says
way too soon to say the V word….. haven't you seen all those posts about everyone hating how valentines products are on the store shelves already?