
Teaching kids about chemical reactions doesn’t have to be limited to science class. This fun and colorful experiment shows the baking soda and vinegar reaction that happens when these two ingredients are combined.

Why this project is a hit
The best part about this little kitchen science experiment is that children can be involved from beginning to end, all you need to do is show them how.
This is a great time to talk to older kids about the chemical reaction that takes place when baking soda, a bicarbonate, and vinegar, an acetic acid, are combined.
When baking soda and vinegar come together, a gas is given off (carbon dioxide). The carbon dioxide is what creates the bubbling and fizzing.
Any child who has seen the bubbles rise in a glass of soda has experienced a similar reaction of carbon dioxide!

Craft supplies you will need
Food coloring is optional of course. But using food coloring create colorful explosions that make this baking soda and vinegar experiment so fun!
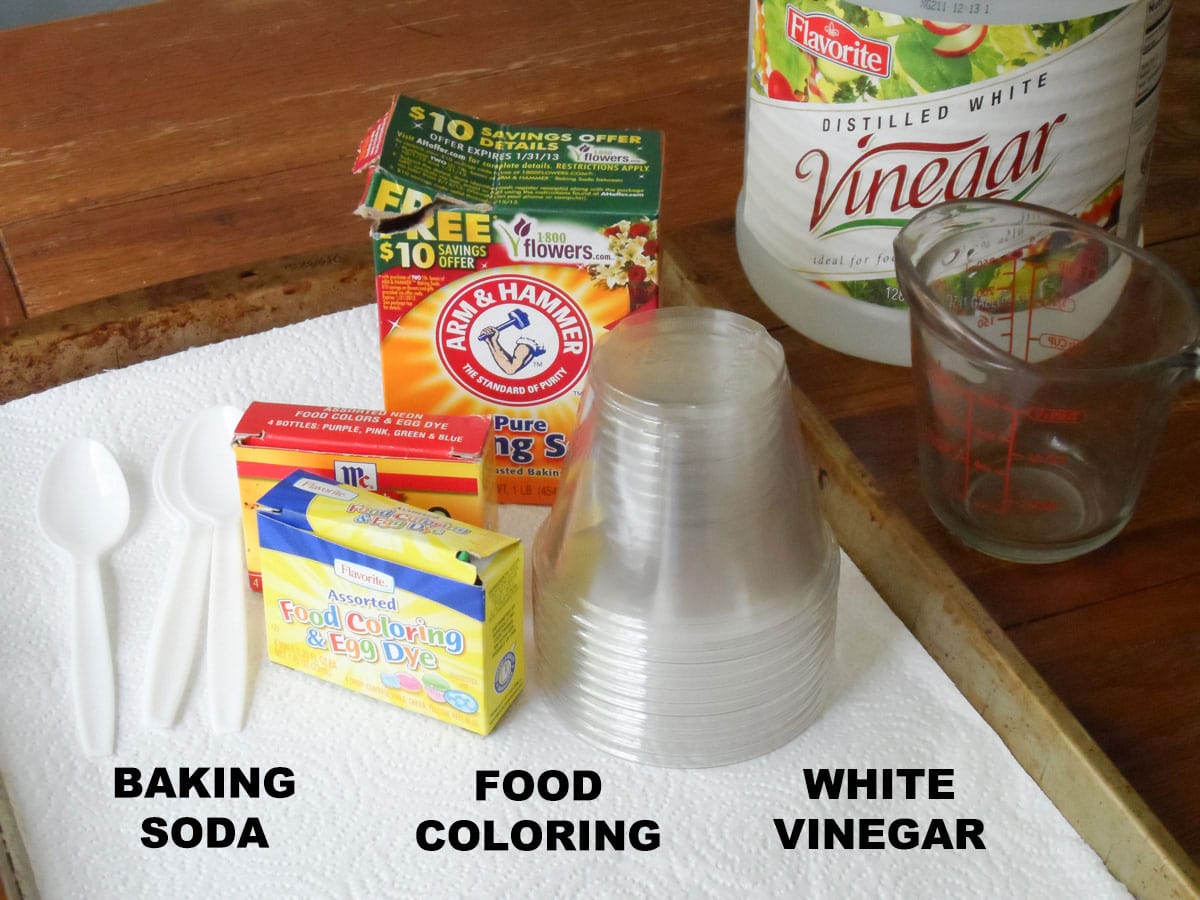
Get full list of supplies and directions in the printable version at the end of this post.
Helpful Project Information:
- Age Level: 5 and up
- Mess Factor: Medium (water and food coloring)
- Level of Difficulty: Easy
- Time to Complete: 5 minutes
- Cost Estimate: Less than $1.00
How to Create a Baking Soda and Vinegar Reaction
These step by step photos and instructions are here to help you visualize how to make this project. Please scroll down to simply print out the instructions!
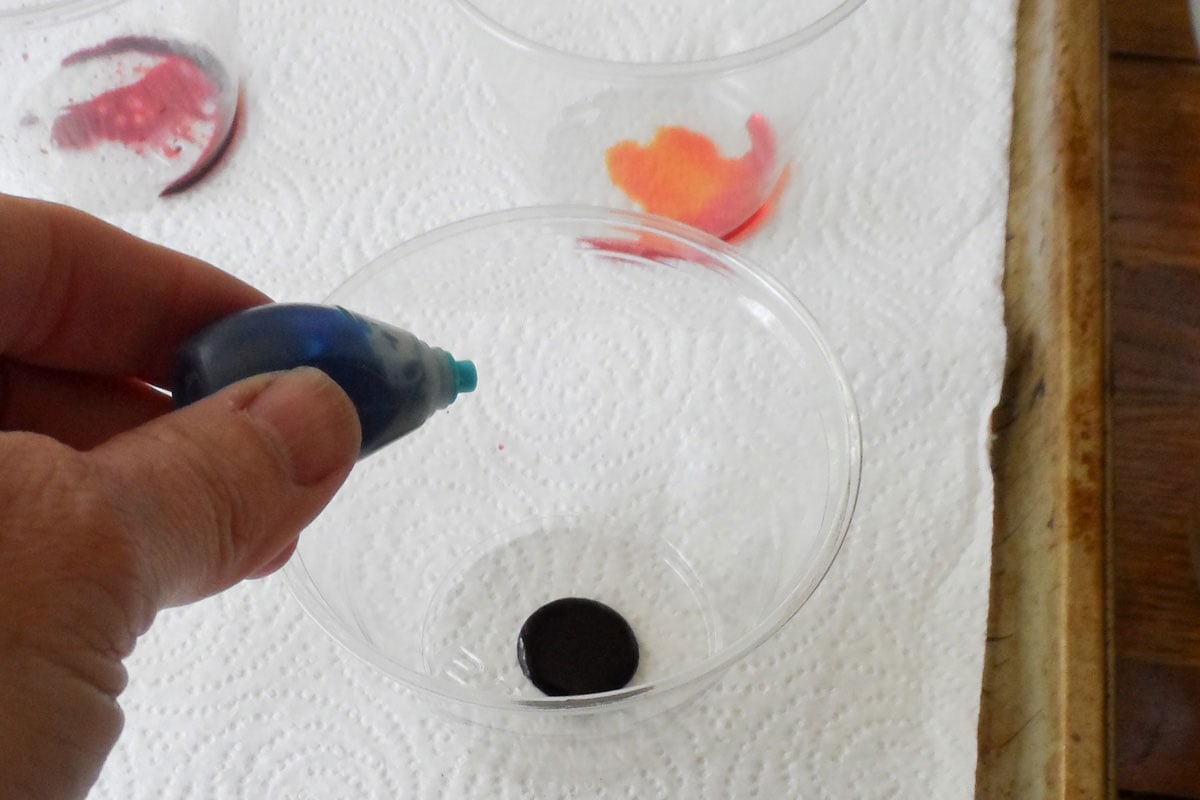
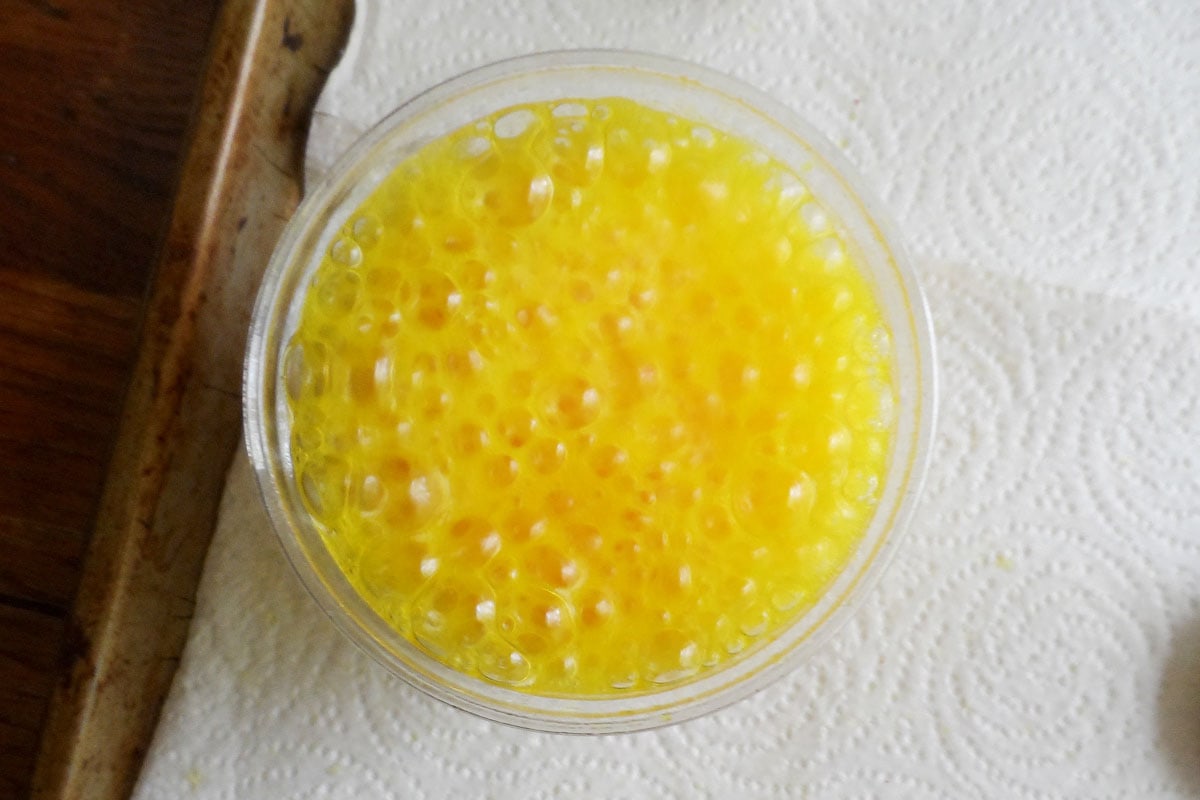
- To get started, line a baking sheet with two layers of paper towels. Place 6 plastic cups onto the sheet and add a few drops of food coloring to each cup.
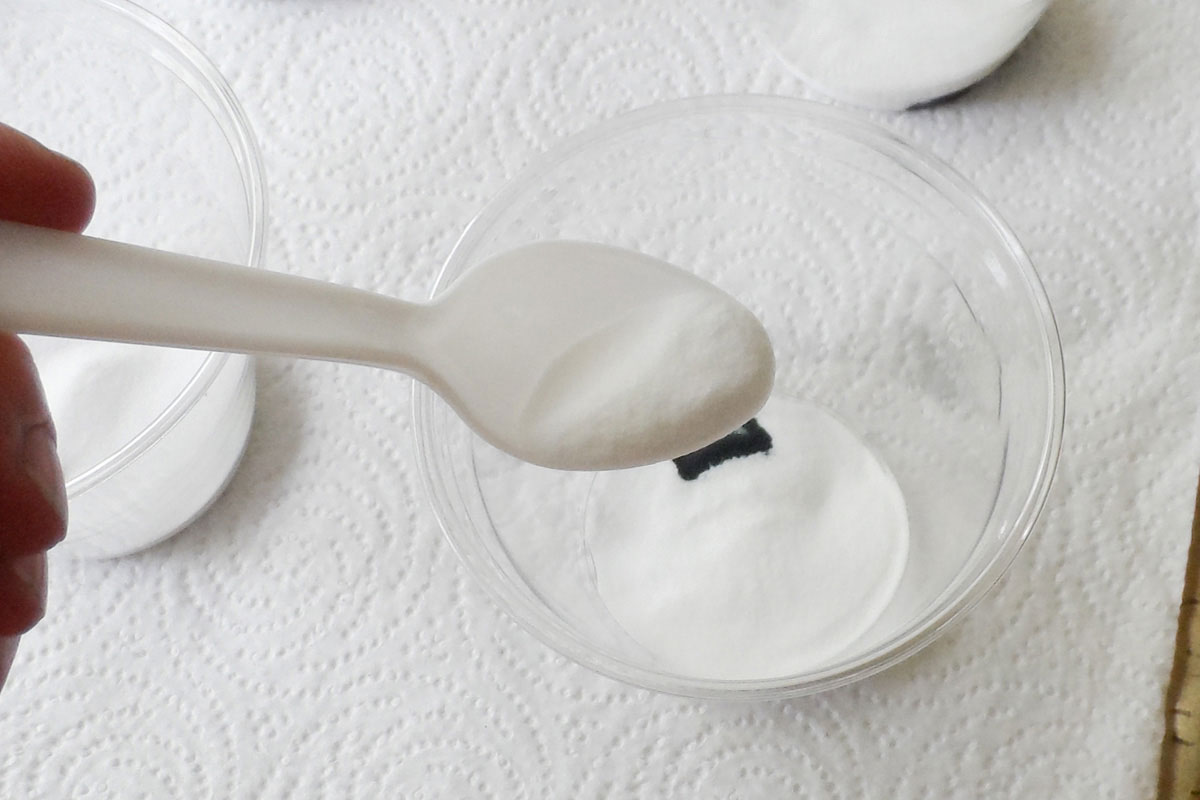
- Add two spoonfuls of baking soda to each cup.
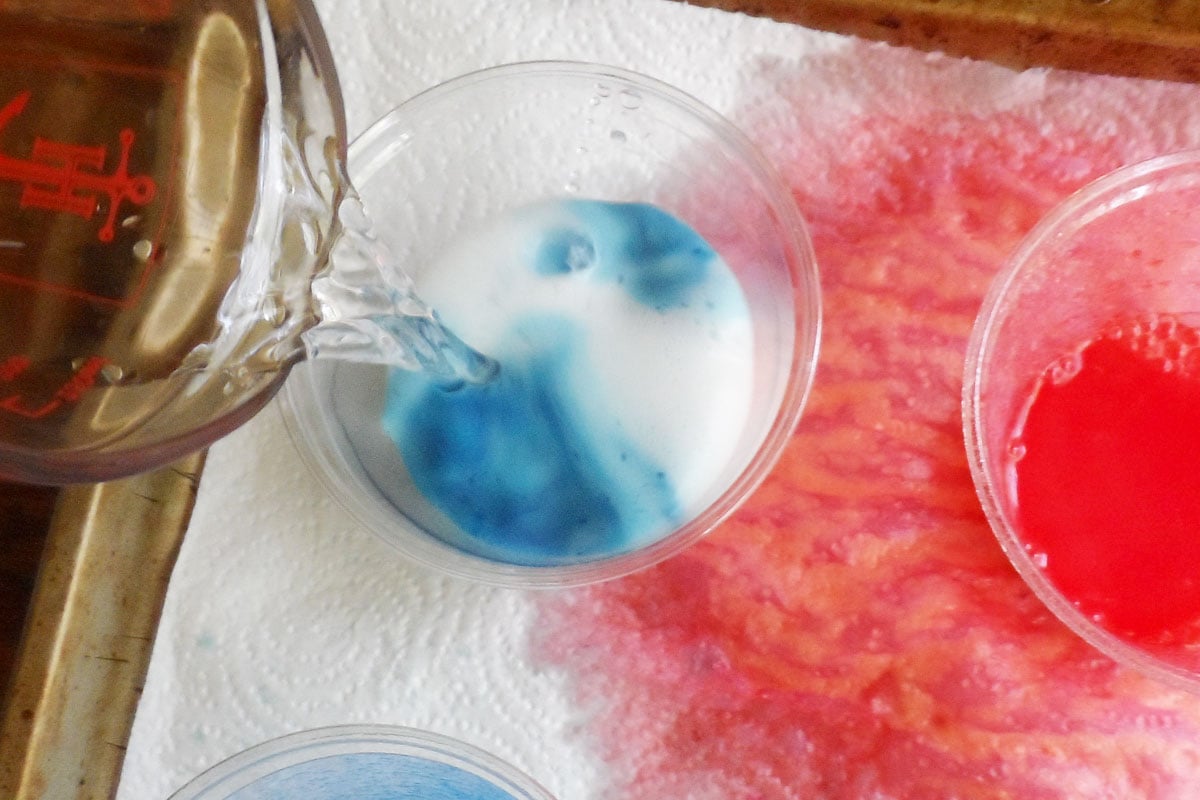
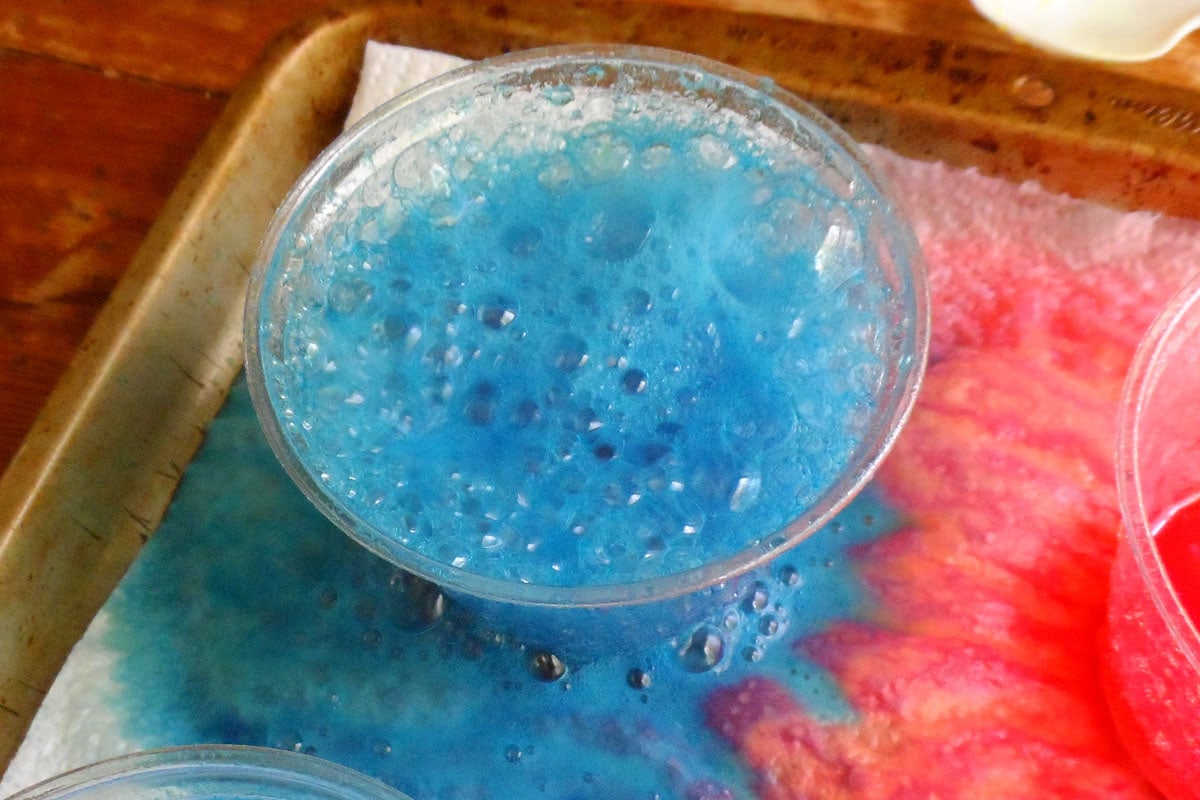
- You can vary your explosions to see how much vinegar is needed to contain the reaction inside the cup. For us, about 1/4 cup of vinegar added to a cup caused bubbles to rise just up to the rim before settling back down again.
- Adding 1/2 cup or more of vinegar caused the bubbles to fill the cup and overflow, pouring over the sides in a fun volcanic reaction!
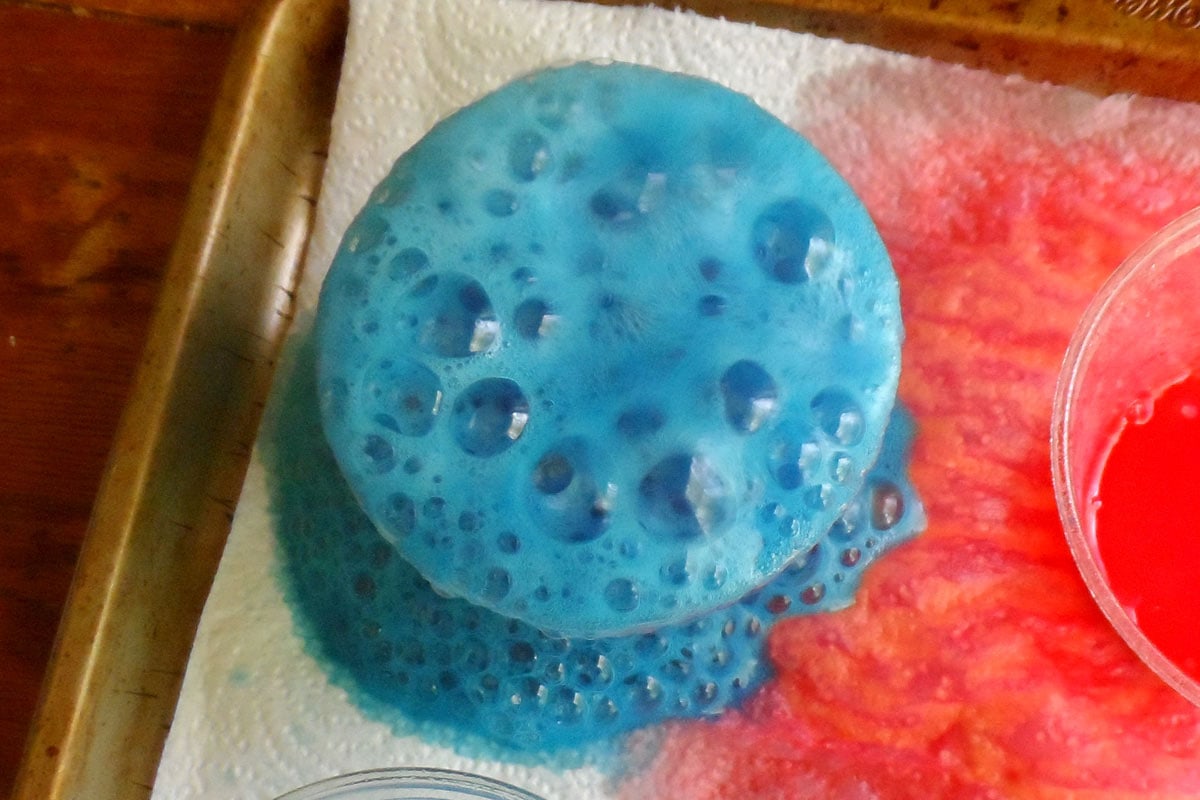
- After the bubbles subside and die back down, take your spoon and stir the contents of the cup. You should still have baking soda sitting at the bottom. You can continue to add vinegar, erupting your mini-volcanoes over and over again until the supply is gone.
- Experiment with pouring the vinegar in slowly or more rapidly to see if the reaction is different.

When the fun is over, simply lift the baking sheet and take it to the sink. Wring out your paper towels, sending your vinegar safely down the drain.
Expert Tips & FAQs
- You could do this project outside if you’re worried about the mess, but using the rimmed baking sheet lined with paper towels contains everything, so there are no spills!
- Remember to use different colors in each cup to create that beautiful rainbow of explosions.

Teaching kids about science doesn’t have to be hard. There are other fun things you can do with your kids, like this colorful milk experiment that will put smiles on their faces.
More Fun Craft Ideas
- Coffee Ground Fossils
- The Magic of Water Color Transfer
- Glow in the Dark Bowling
- Balloon Experiment for Kids
- How to Make a Rubber Band Car
- How to Make Mermaid Slime
- Fluffy Slime
- Oobleck
I love to create and share my projects with you! I know it’s hard to remember to come back and search, so I’ve made it easy for you with my weekly newsletter! You can subscribe for free and I’ll send you fun crafts and delicious recipes every week right to your email.
Baking Soda and Vinegar Reaction
Supplies
- Rimmed baking sheet
- Plastic cups
- Paper towels
- Food coloring
- White vinegar
- Baking soda
- Spoons
Instructions
- To get started, line your baking sheet with two layers of paper towels. Place 6 plastic cups onto the sheet and add a few drops of food coloring to each cup.
- Add two spoonfuls of baking soda to each cup.
- You can vary your explosions to see how much vinegar is needed to contain the reaction inside the cup. For us, about 1/4 cup of vinegar added to a cup caused bubbles to rise just up to the rim before settling back down again.
- Adding 1/2 cup or more of vinegar caused the bubbles to fill the cup and overflow, pouring over the sides in a fun volcanic reaction!
- After the bubbles subside and die back down, take your spoon and stir the contents of the cup. You should still have baking soda sitting at the bottom. You can continue to add vinegar, erupting your mini-volcanoes over and over again until the supply is gone.
- Experiment with pouring the vinegar in slowly or more rapidly to see if the reaction is different.
- When the fun is over, simply lift the baking sheet and take it to the sink. Wring out your paper towels, sending your vinegar safely down the drain.
Video
Expert Tips & FAQs
- You could do this project outside if you’re worried about mess, but using the rimmed baking sheet lined with paper towels contains everything, so there are no spills!
- Remember to use different colors in each cup to create that beautiful rainbow of explosions!
- DIY Mosquito Repellent Candles - July 10, 2026
- Mason Jar Solar Lights - July 3, 2026
- Patriotic Pinwheels - June 23, 2026


BOB says
IT WAS AWESOME FUN