
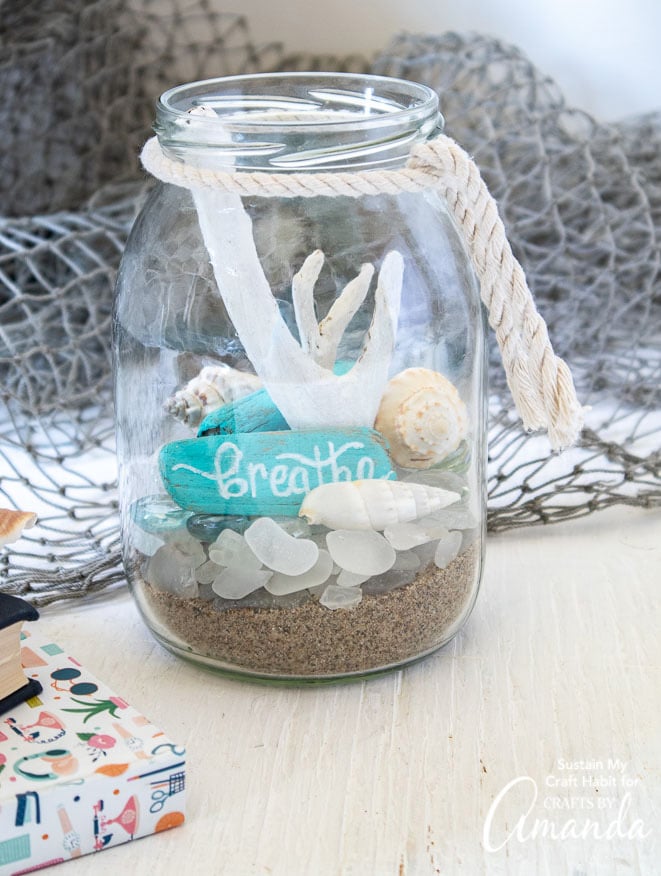
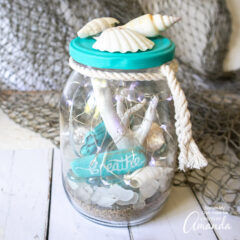
Capture relaxation in a jar with this simple DIY beach terrarium idea using beach finds and a repurposed glass jar.
Why We Love This Project
Bottle up all your beach trip memories into a sweet memory jar with this easy beach terrarium project. Repurposing glass jars into pretty and useful decor is another crafting obsession. It’s no secret that we love all things beachy at Sustain My Craft Habit, from sea glass Christmas trees to these hand-lettered DIY driftwood signs, we can’t get enough of beach-inspired crafts. Who doesn’t want to be reminded of the beach all year long?
Instead of sending jars to the curb to be recycled, be sure to hold onto them for craft purposes. You never know when inspiration will strike and you’ll want to create something new such as this upcycled large pickle jar centerpiece or this vacation photo jar.

We used some pieces of uniquely shaped driftwood that loosely resembled coral for the center of the jar. Alternatively, you can purchase decorative coral which would also look really amazing inside the jar.
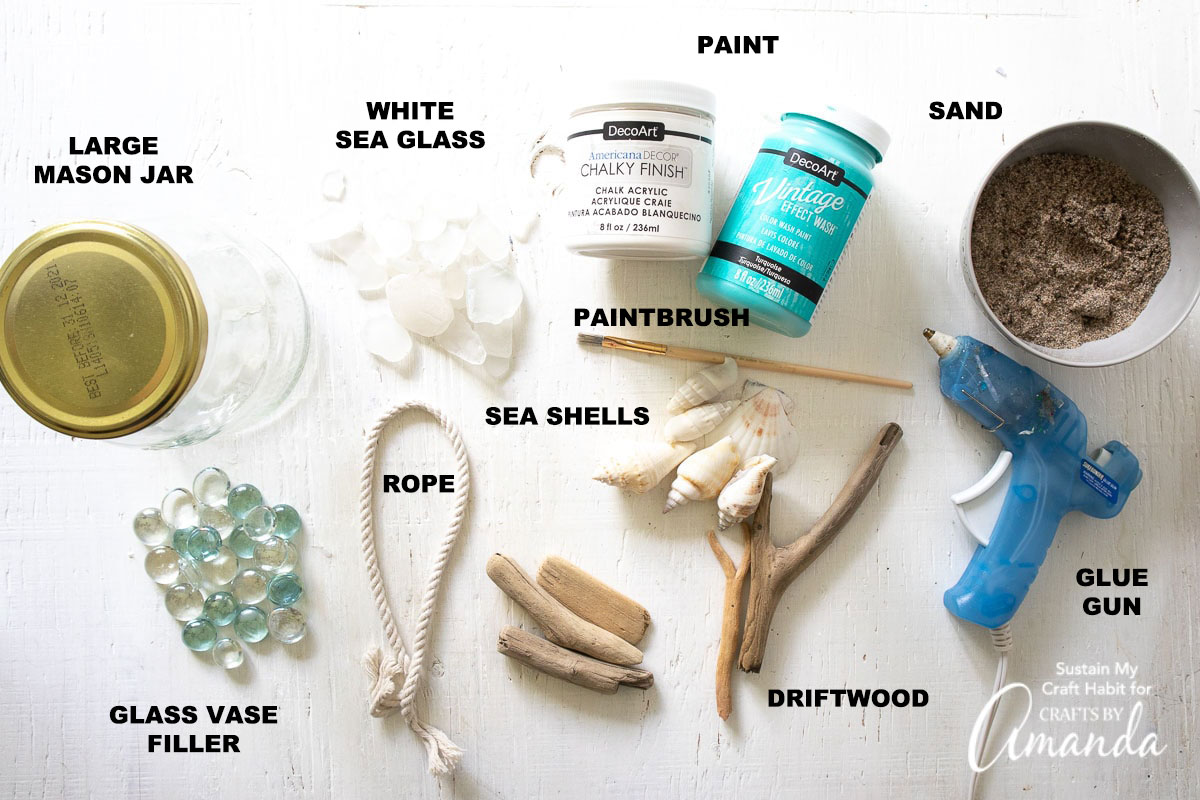
Craft Supplies You Will Need
We’ve provided a full detailed list in the printable portion of this post of the supplies we’ve used for our jar. However, feel free to use whatever supplies you’d like!
How To Make A Beach Terrarium
Preparing the Supplies:
Wash and dry the mason jar, removing all labels and glue.
RELATED: How to Choose the Best Glue for Your Craft Projects
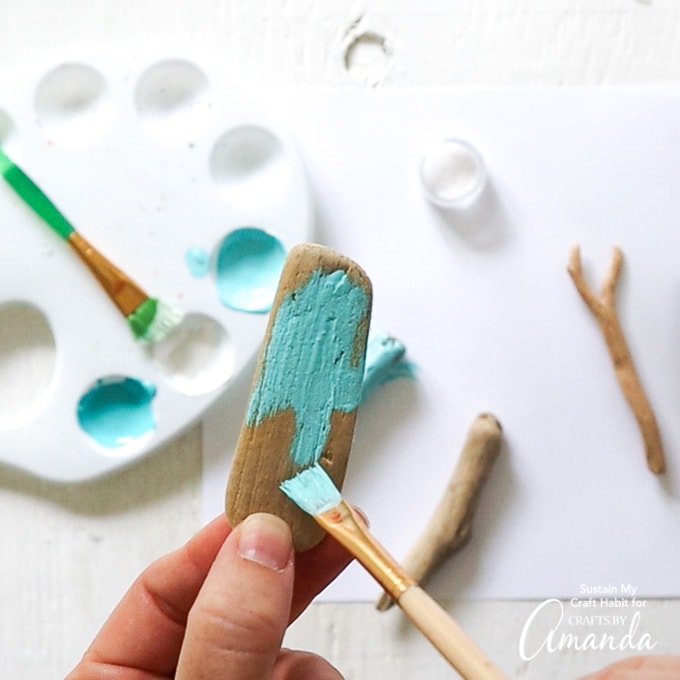
For the smaller driftwood pieces, apply a light coat of turquoise paint. We mixed equal parts of Chalky Finish in Everlasting and Vintage Effects Wash in Turquoise to soften the color. Any light turquoise acrylic paint with a matte finish will also work. Put these pieces aside to dry.
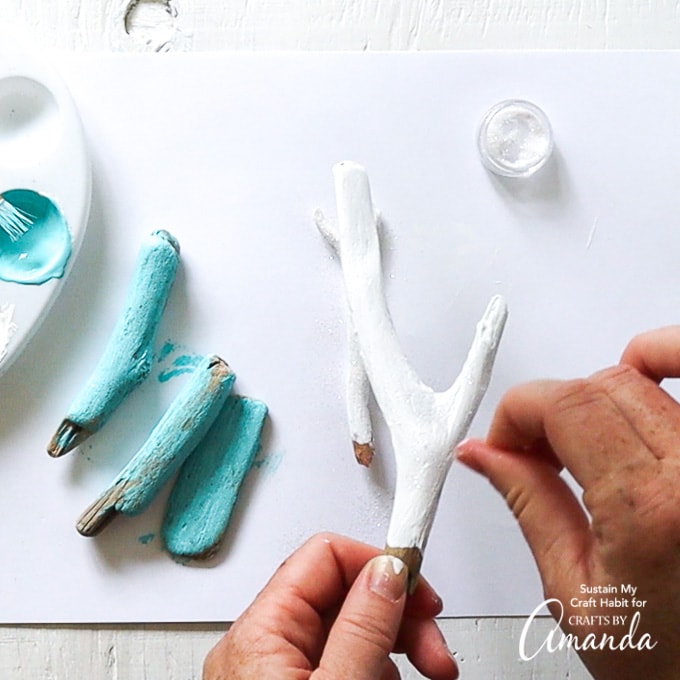
Give the tall, “coral-like” pieces of driftwood a coat of white paint. We used a Chalky Finish in Everlasting but any white acrylic paint with a matte finish will work as well.

While the paint is still wet, pour some fine glitter over top of the driftwood. Put the pieces aside to dry before placing them in the terrarium.
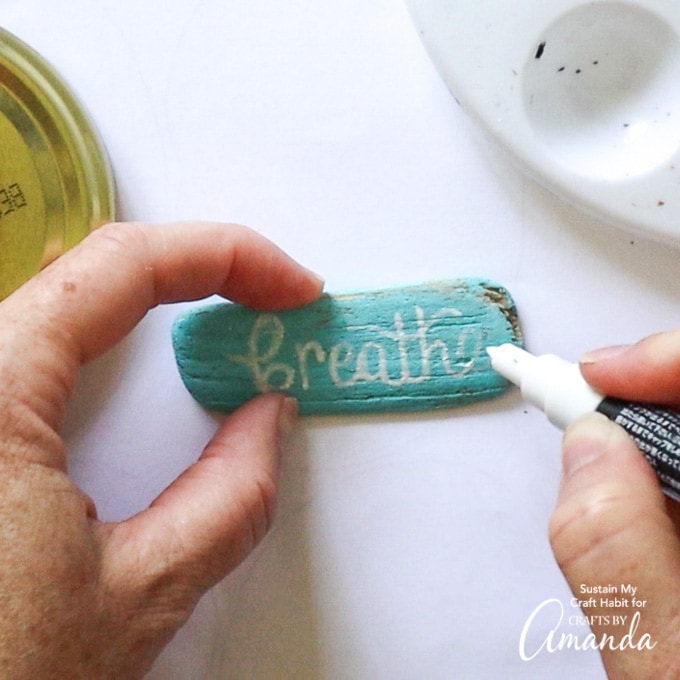
Once the piece with the flatter surface is dry, use a white paint pen and print the word “breathe” across the front.
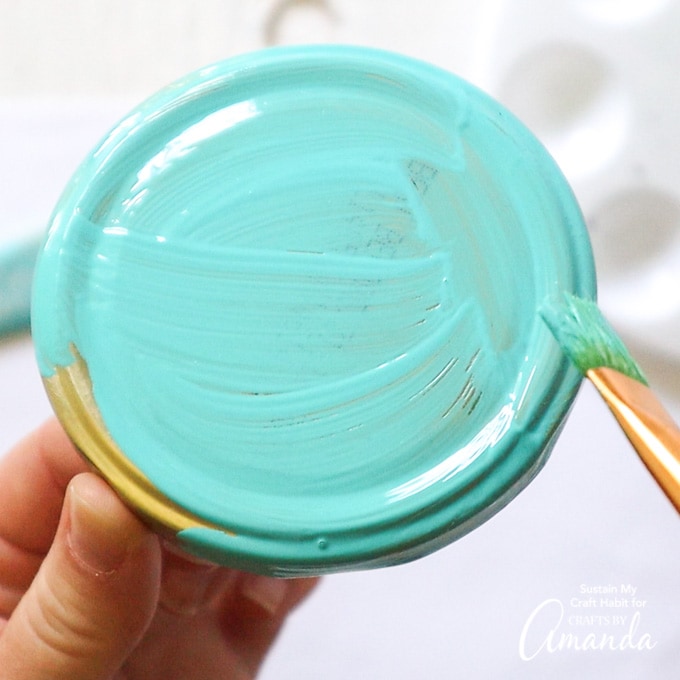
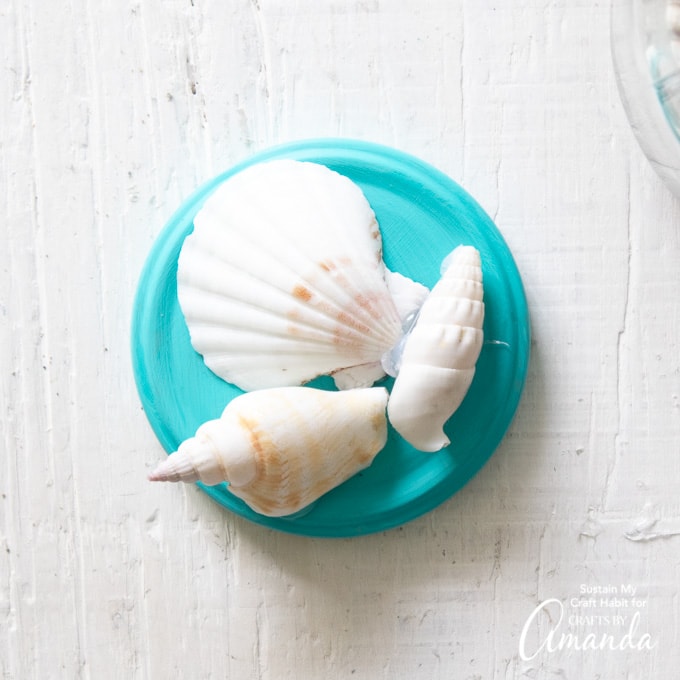
Apply a coat of paint to the mason jar lid. Repeat with additional coats as needed to get full coverage.
Assembling the Beach Terrarium:
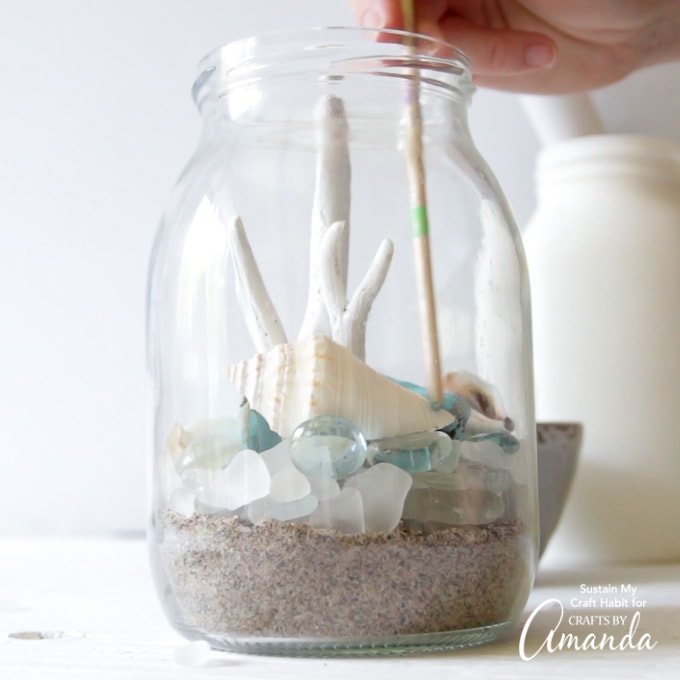
Pour the sand into the jar. You can use a piece of scrap paper to form a tunnel so the sand doesn’t get everywhere! Tap the jar to help the sand settle and level out at the bottom.
Put a layer of white sea glass into the jar mostly around the perimeter leaving just the center without glass. Use the other end of the paintbrush to help you position the items inside the jar.
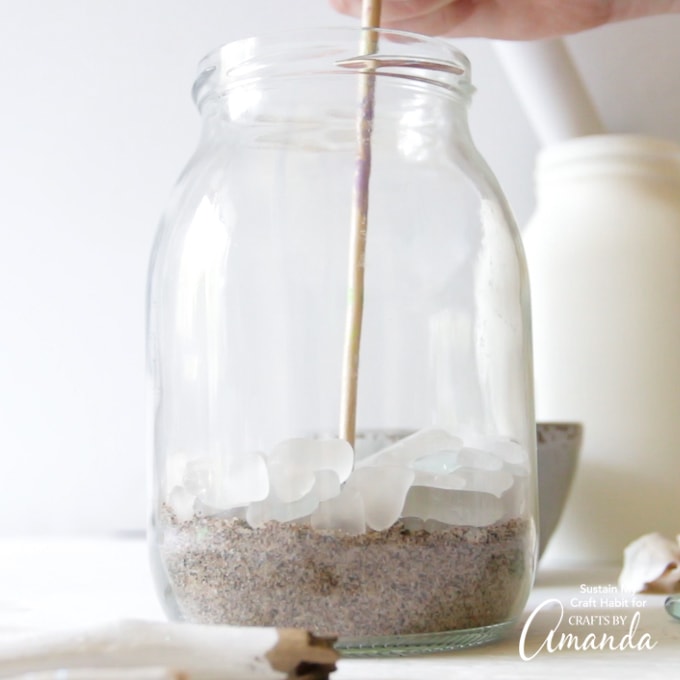
Insert the longer “coral-like” pieces of driftwood into the sand in the center of the terrarium. And then position the smaller turquoise driftwood pieces around the “coral”.
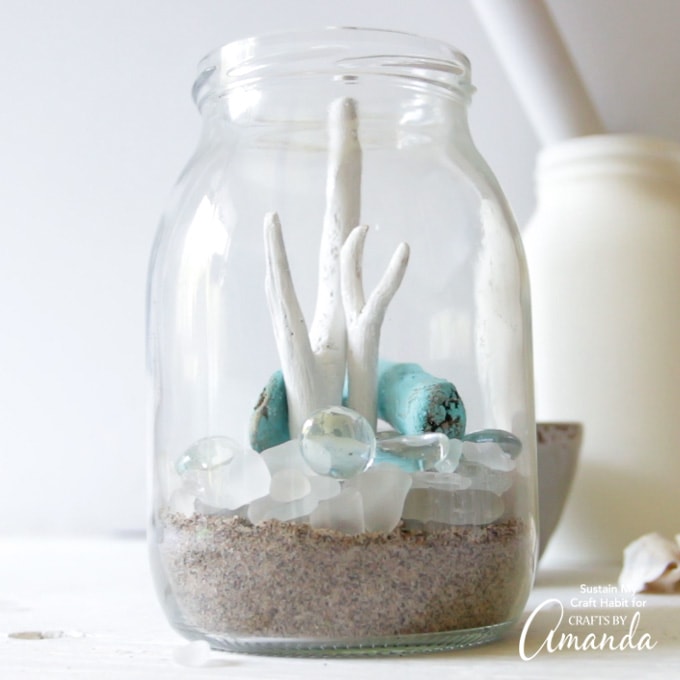
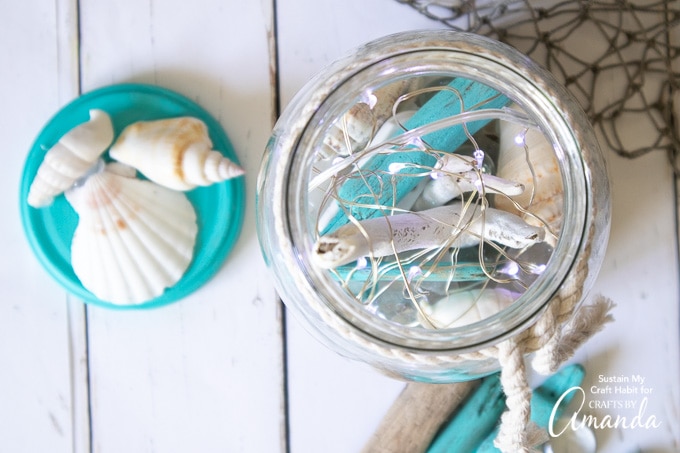
Place the seashells and glass beads inside the jar on top of the seaglass.
Lastly, gently insert a strand of white twinkle lights.
Using a preheated glue gun, apply a dab of glue to the bottom of the remaining seashells and press them to the top of the mason jar lid. Next, attach the lid on to the mason jar.
Tie a piece of cotton rope around the neck of the jar.
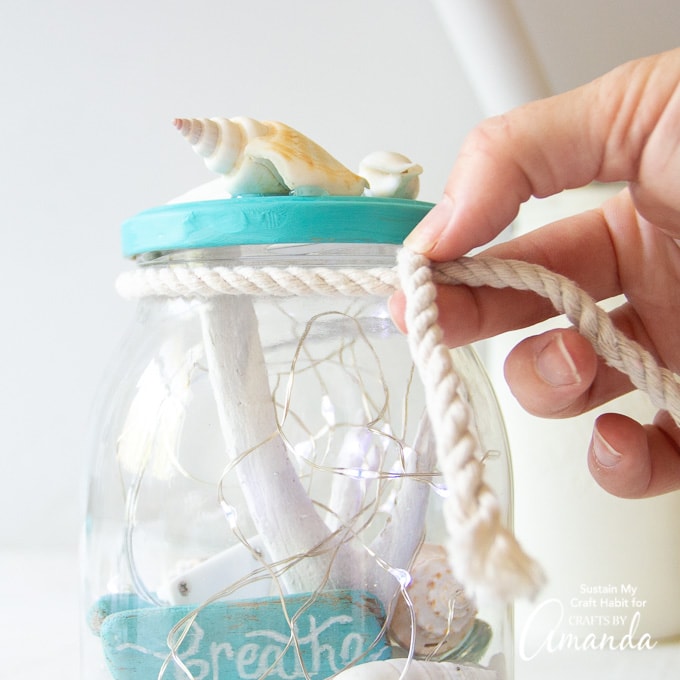
And there you have it, your beach terrarium is complete!
For more coastal crafting inspiration, check out this full round-up of 55+ beach craft ideas for adults and kids!
What are your favorite ways to repurpose glass jars?
DIY Beachy Mason Jar Terrarium
Supplies
- 1 mason jar and lid use large jar with a smooth, round surface on all sides
- 1 cup sand
- 1 cup seaglass in white
- 10 pieces glass vase fillers in white and aqua
- 6 pieces sea shells, medium sized
- 2 pieces driftwood, uniquely shaped resembling coral about 5-7" long to fit inside jar
- 1 piece driftwood about 2-3" long
- 1 piece driftwood with a flatter surface for writing about 2" long
- acrylic paint in white and turquoise with a matte finish
- paintbrush
- paint pen in white
- glitter, clear fine or extra-fine
- hot glue gun
- rope
- twinkle lights
Instructions
Preparing the Supplies
- Wash and dry the mason jar, removing all labels and glue.
- Give the tall, “coral-like” pieces of driftwood a coat white paint.
- While the paint is still wet, pour some fine glitter over top of the driftwood.
- For the smaller driftwood pieces, apply a light coat of turquoise paint.
- Once the piece with the flatter surface is dry, use a white paint pen and print the word “breathe” across the front.
- Apply a coat of paint to the mason jar lid.
Assembling the Beach Terrarium:
- Pour the sand into the jar.
- Put a layer of white sea glass into the jar.
- Insert the longer “coral-like” piece of driftwood into the sand in the center of the terrarium.
- Position the smaller turquoise driftwood pieces around the “coral”.
- Place the seashells and glass beads inside the jar on top of the seaglass.
- Gently insert a strand of twinkle lights.
- Seal the jar with the painted mason jar lid.
- Using a preheated glue gun, apply a dab of glue to the bottom of the remaining seashells and press them to the top of the mason jar lid.
- Tie a piece of cotton rope around the neck of the jar.
Video
This post originally appeared here on July 24, 2020.
- Pressed Flower Resin Magnets - May 26, 2026
- Pressed Flower Art - May 8, 2026
- DIY Easter Egg Wreath - March 20, 2026


Victoria says
How do you turn the twinkle lights on and off?
Jean Trotter says
I agree with the question re. how to turn on the tealights?