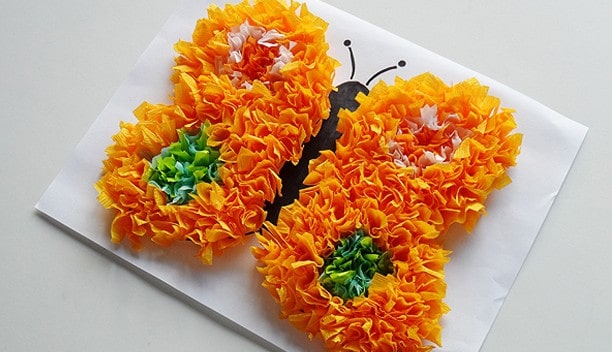
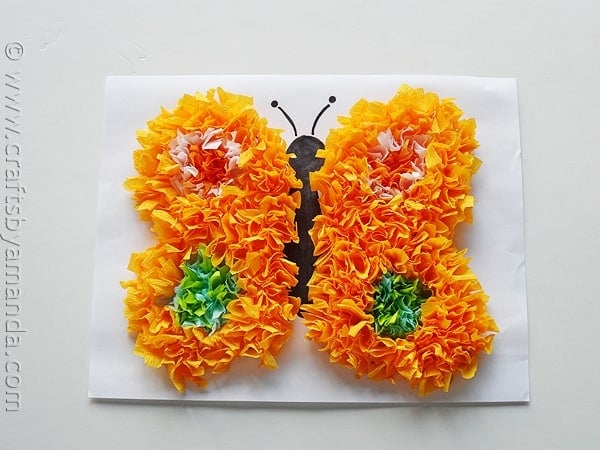
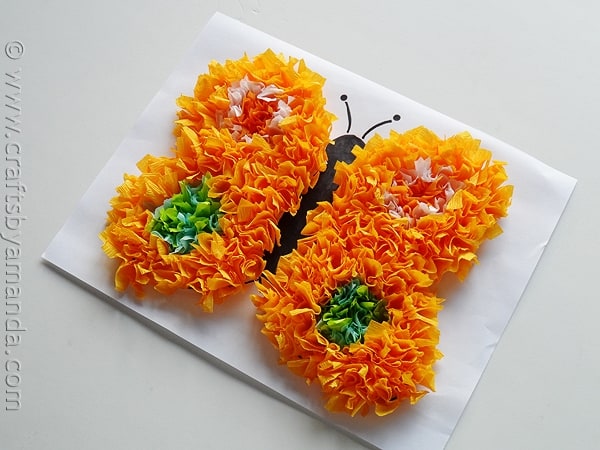
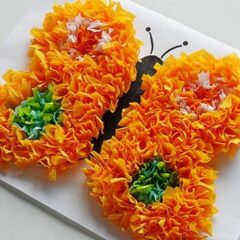
Butterfly crafts are very popular with kids during springtime. They are beautiful, full of life, and fun to watch. This butterfly craft uses tissue paper or crepe paper and looks so pretty when it’s all done! It takes a little patience, but could even be done in stages if you are crafting with younger kids.
See how you can make a butterfly out of coffee filters!
Puffy Tissue Paper Butterfly
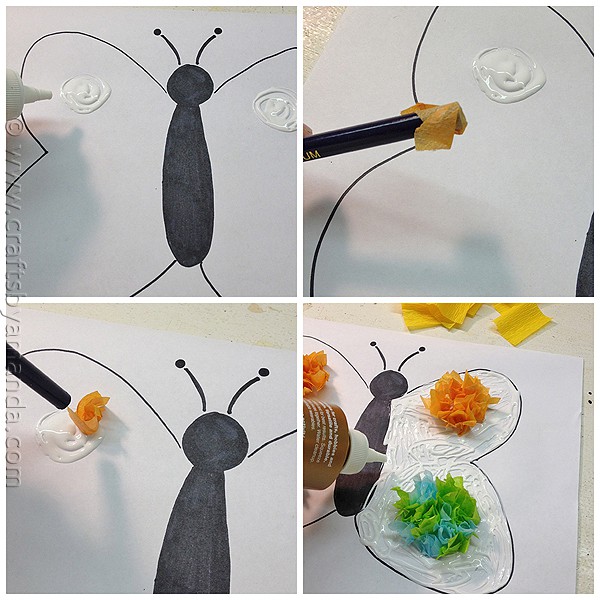
Puffy tissue paper crafts have been popular for many years! In fact, moms that read this blog probably remember making them as a child. They can be done like this butterfly craft, by cutting the tissue paper into squares, wrapping it around the eraser end of a pencil, and touching it to wet glue on the paper.
For even smaller children, they can simply wad the tissue paper up with their fingers and press it in place. Either way works, and both are fun!
What You’ll Need
- White paper or cardstock
- Black marker
- White craft glue
- Tissue paper and/or crepe paper: orange, white, blue, green, yellow
- Pencil
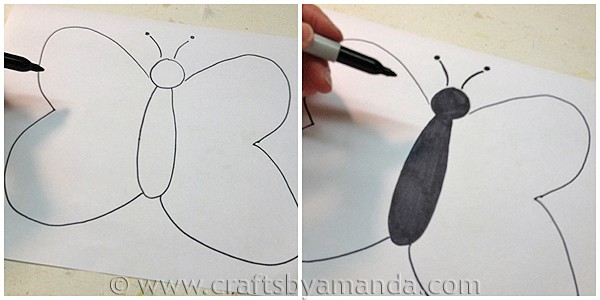
- Start off by drawing a simple butterfly on a piece of paper.
- Color in the body and the head with black marker or crayon.
- Use the glue bottle to “draw” circles on the wings.
- Wrap the tissue paper around the pencil and press it into the glue.
- Do small sections at a time so that the glue doesn’t dry before you are finished.
Be sure to check out our other butterfly crafts like these paper doily butterflies, cardboard tube beaded butterfly, and clothespin watercolor butterflies!
Other Butterfly Crafts
- Colorful Cardboard Tube Butterflies – BoBunny
- Dotty Butterfly – How Stuff Works
- Chicken and Chips Butterfly – Hungry Happenings
- Spring Bug Cupcakes – Tami’s Kitchen Table Talk
- More animal and insect crafts – Fun Family Crafts
Puffy Tissue Paper Butterfly
Supplies
- White paper
- Black marker
- White craft glue
- Tissue paper and/or crepe paper: orange, white, blue, green, yellow
- Pencil
Instructions
- Cut tissue paper or crepe paper into 1-inch squares.
- Draw a simple butterfly shape onto a white piece of paper. Color the body and head with black marker.
- Use tip of glue bottle to draw and color in a circle of glue in the top section of each wing (see photo).
- Place the eraser end of the pencil in the center of an orange tissue paper square and twist the paper around the eraser. Using the pencil as a handle, place the tissue paper onto the glue circle and lift the pencil up. The tissue paper should remain standing in the glue. Repeat this process with the orange squares until each glue circle is covered.
- use quite tissue paper squares to create a border around the orange circles.
- Draw two larger circles with glue at the bottom of each wing and cover those in a mixture of green and blue tissue paper squares.
- Cover the remaining butterfly wings with yellow tissue paper.
Expert Tips & FAQs
- Paper Plate Tropical Fish Craft - July 19, 2024
- Tropical Paper Flowers - July 16, 2024
- DIY Mosquito Repellent Candles - July 9, 2024


Angie @ Big Bear's Wife says
So pretty! I love the look of this!