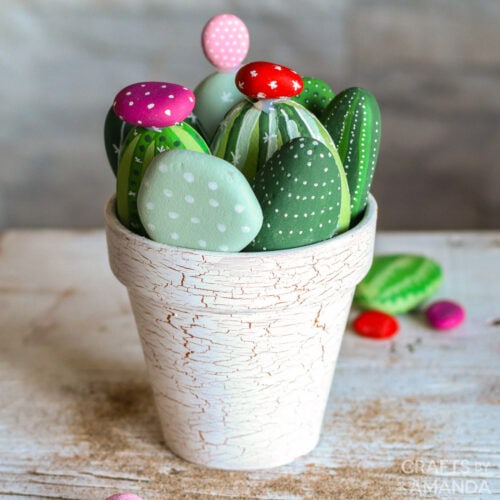
Rock painting is one of our favorite things. If you’re like me, you find it challenging to keep houseplants alive. That’s why these cactus painted rocks are the perfect addition to my home decor!
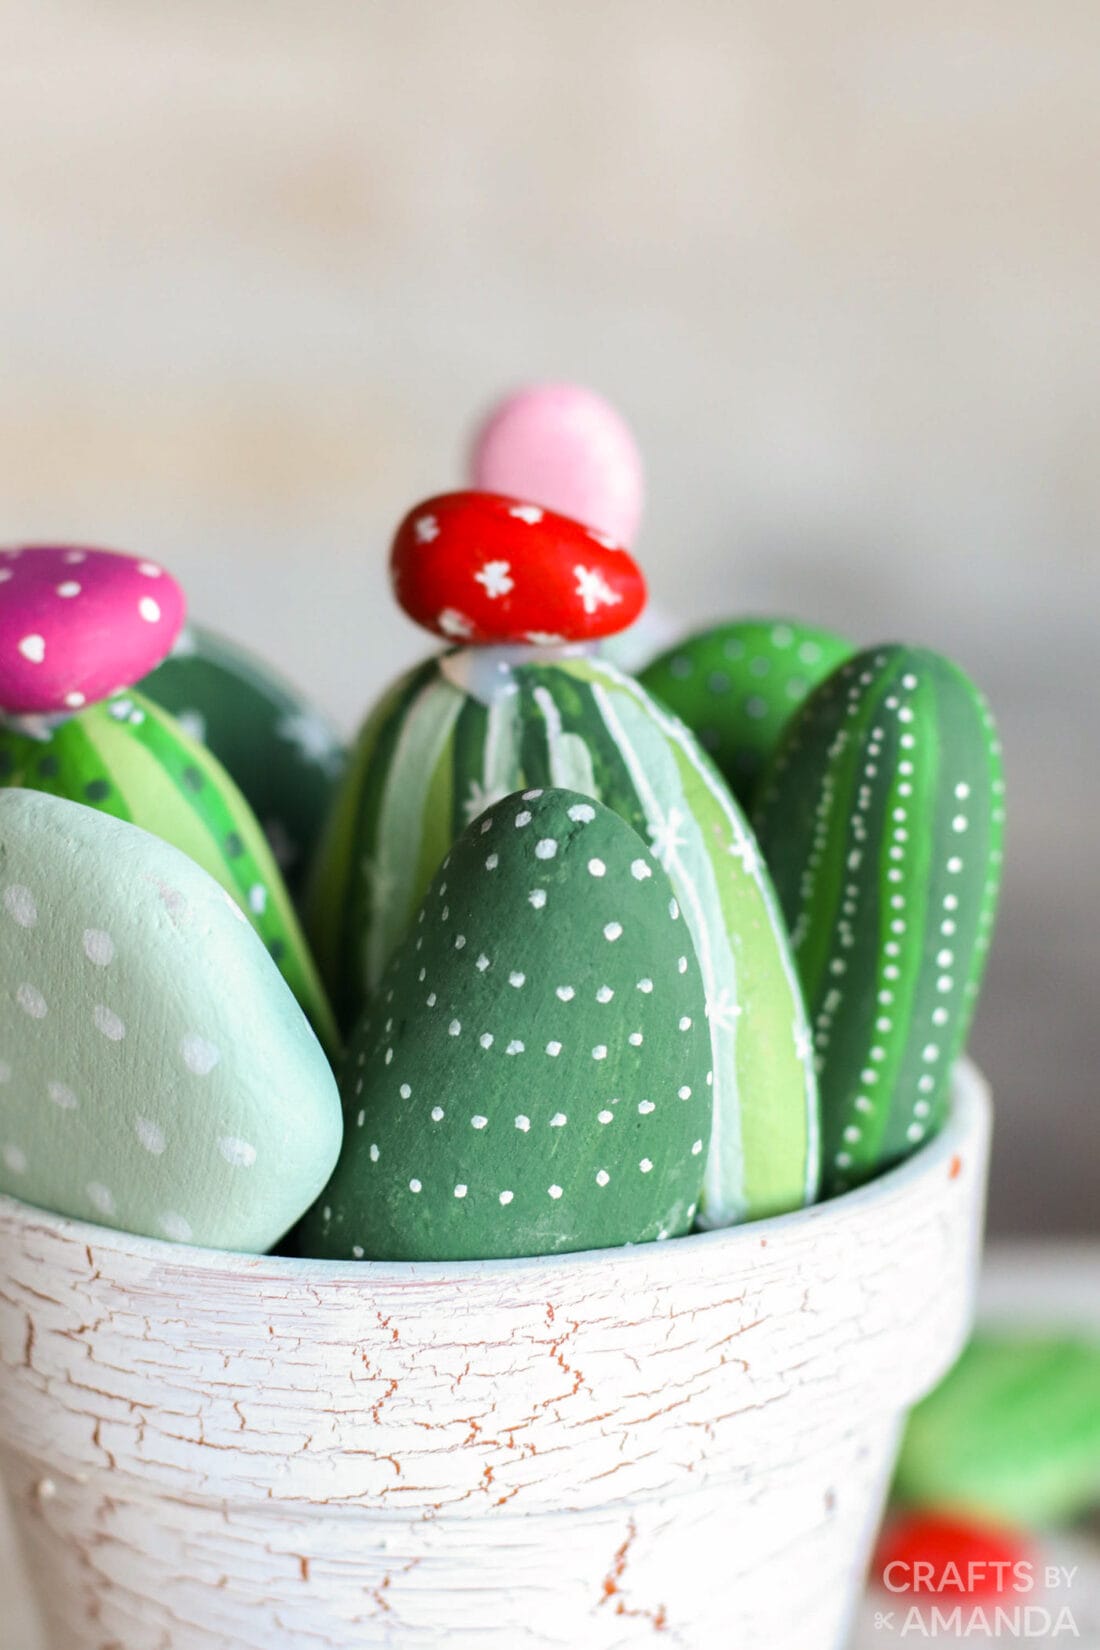
Why we love this project
I find rock painting soothing and relaxing. Put on your favorite tunes, line your work surface, and get ready to paint.
This project is fun for many ages, including elementary aged kids all the way through the crafting senior set.
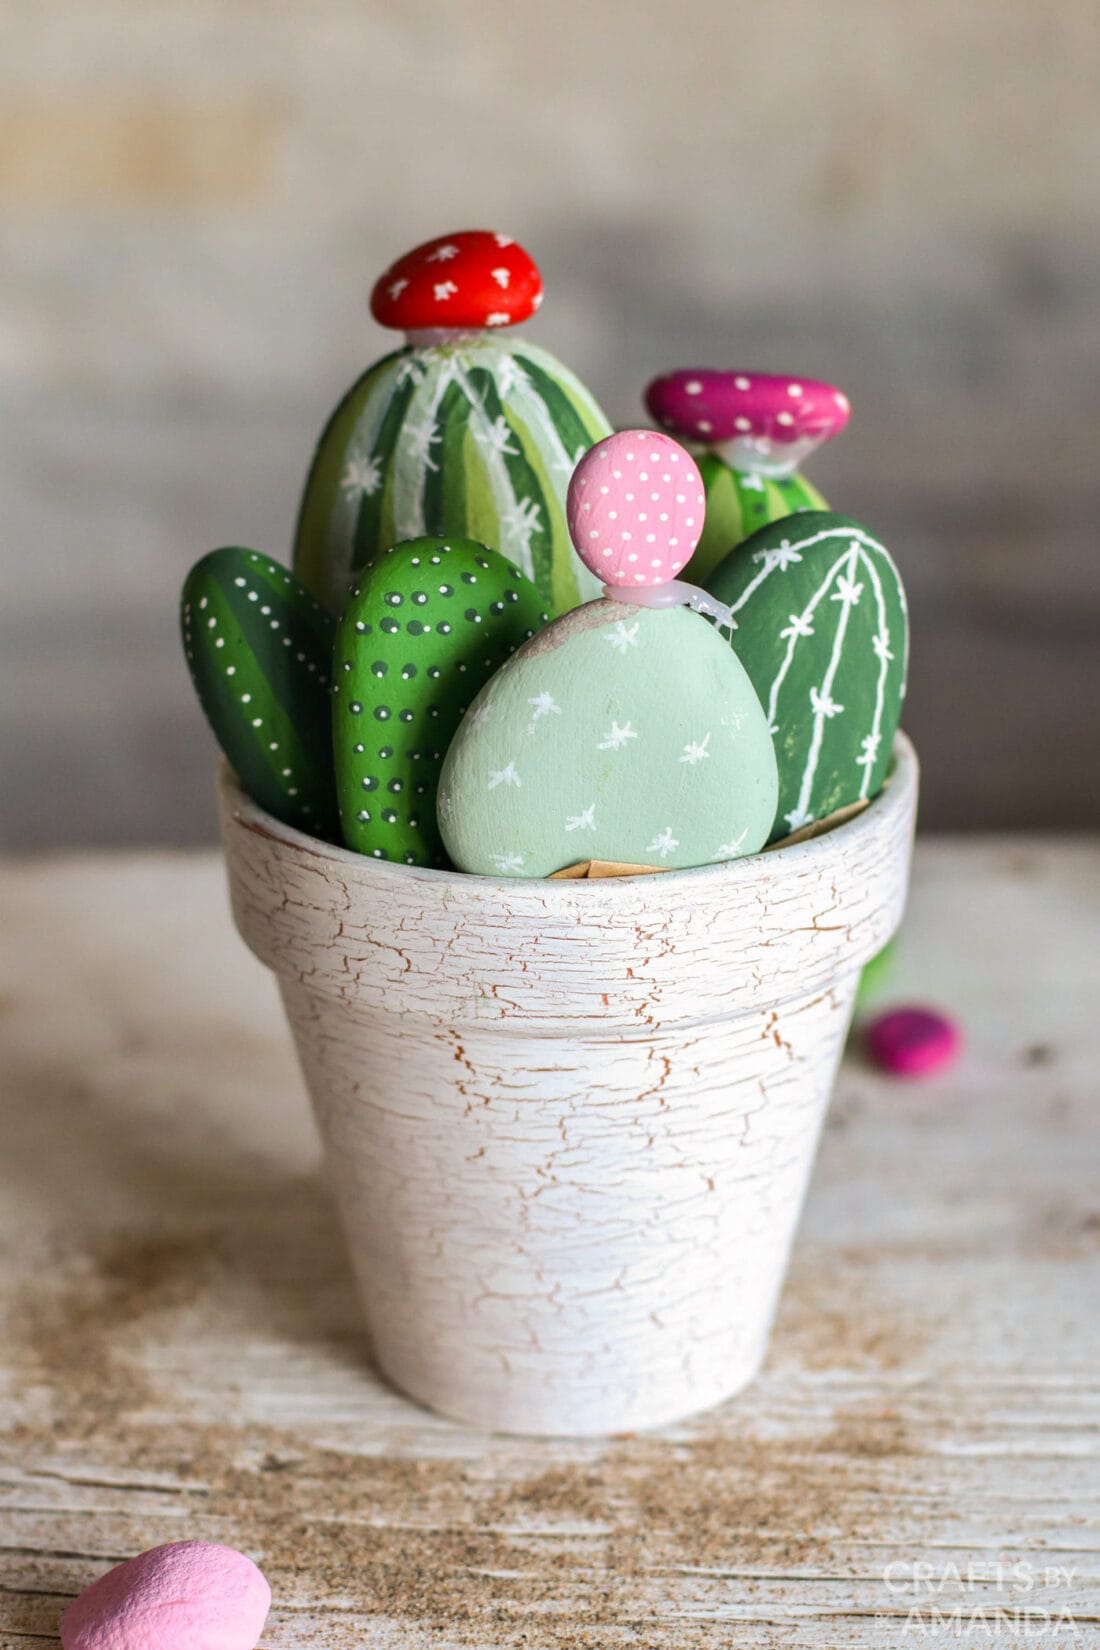
Helpful Project Information:
- Age Level: 9 and up
- Mess Factor: Medium
- Level of Difficulty: Easy
- Time to Complete: Less than 60 minutes
- Cost Estimate: Less than $5.00
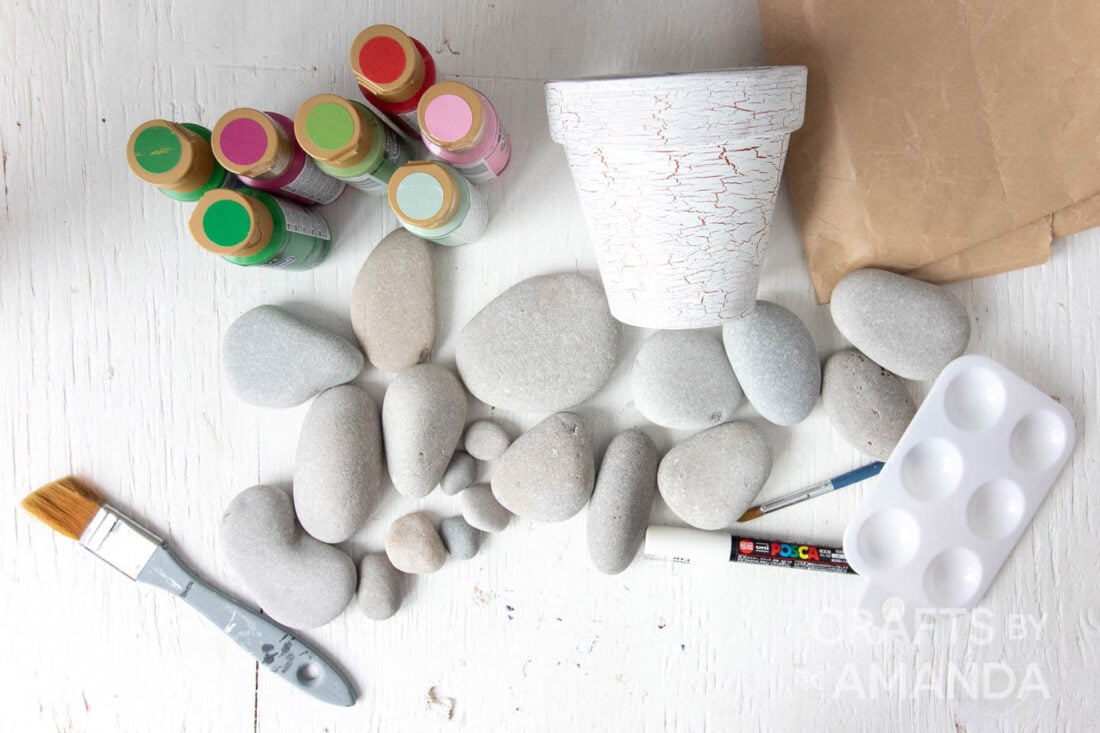
Craft supplies you will need
How to a Make Cactus Painted Rocks
These step by step photos and instructions are here to help you visualize how to make this project. Please scroll down to simply print out the instructions!
Prepare the Materials
- Make sure all rocks are clean and dry.
- Fill the bottom of your container of choice with brown kraft paper (to look like sand). Regular paper should also work as you won’t really see it once the project is done.
- Practice arranging the rocks in the container to figure out how many rocks you will need.
Painting the Rocks
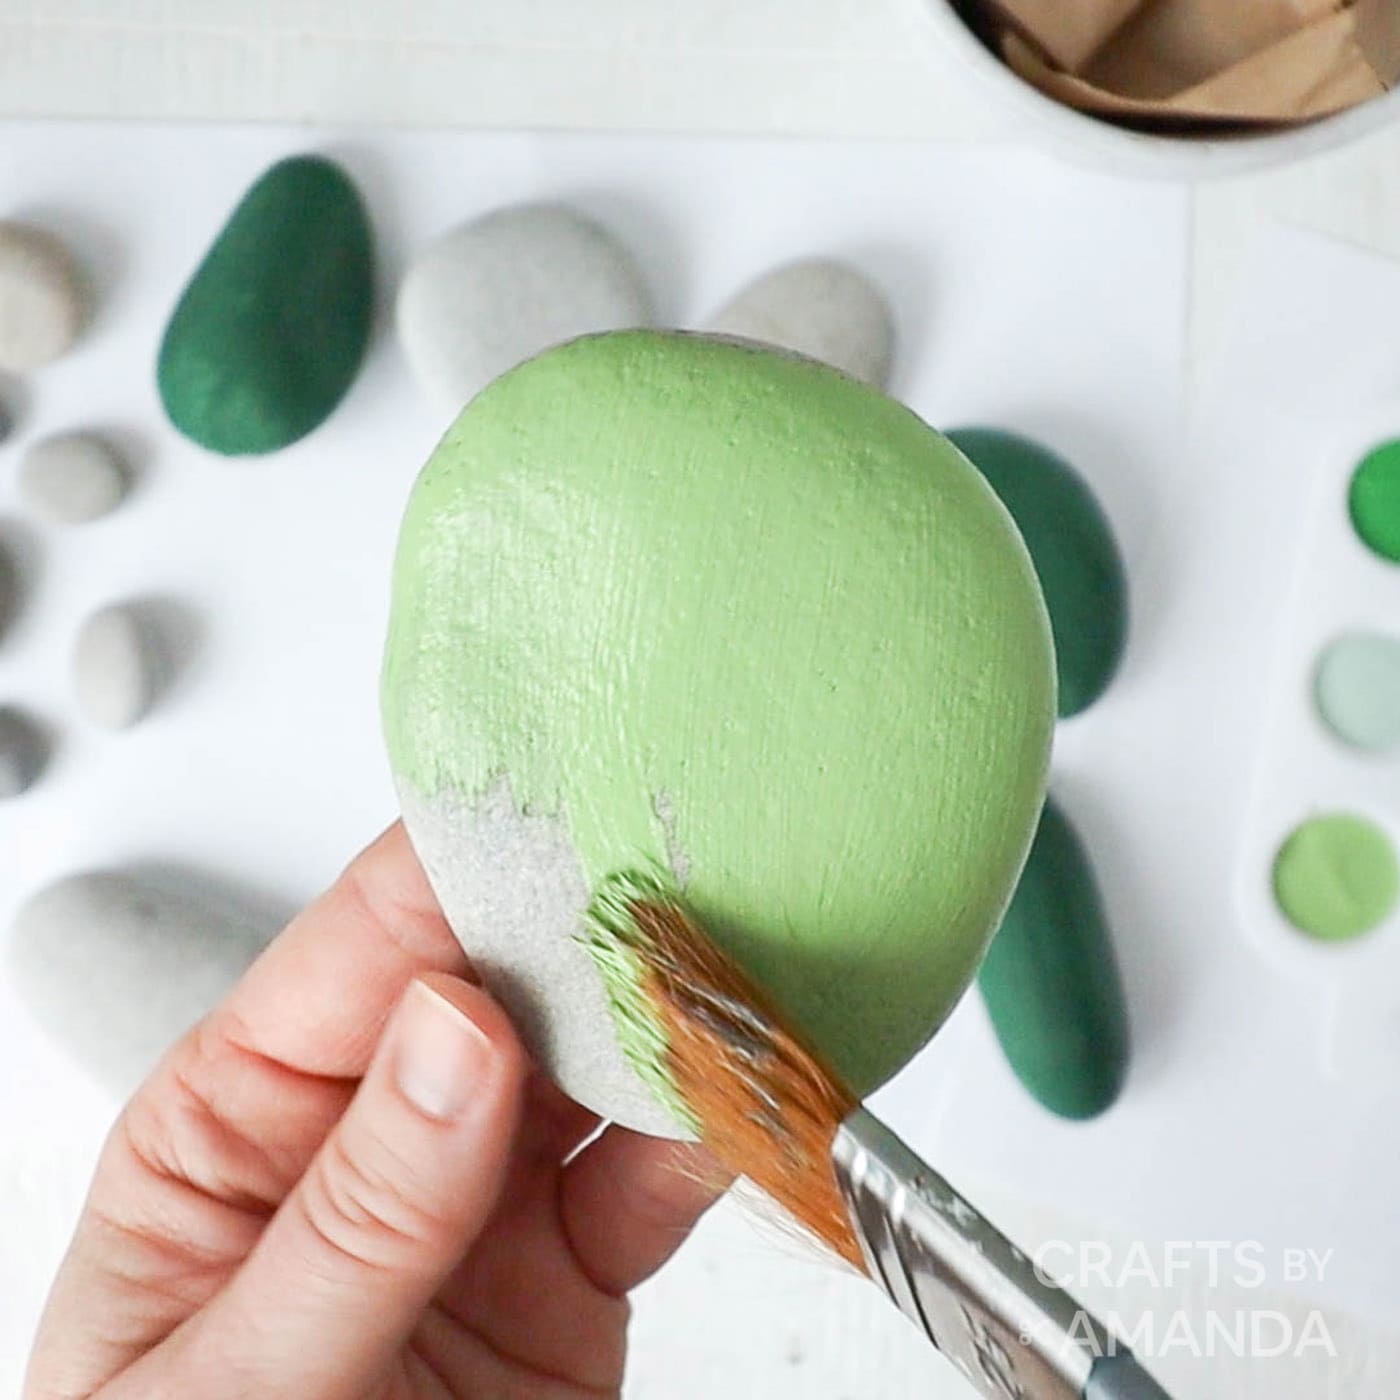
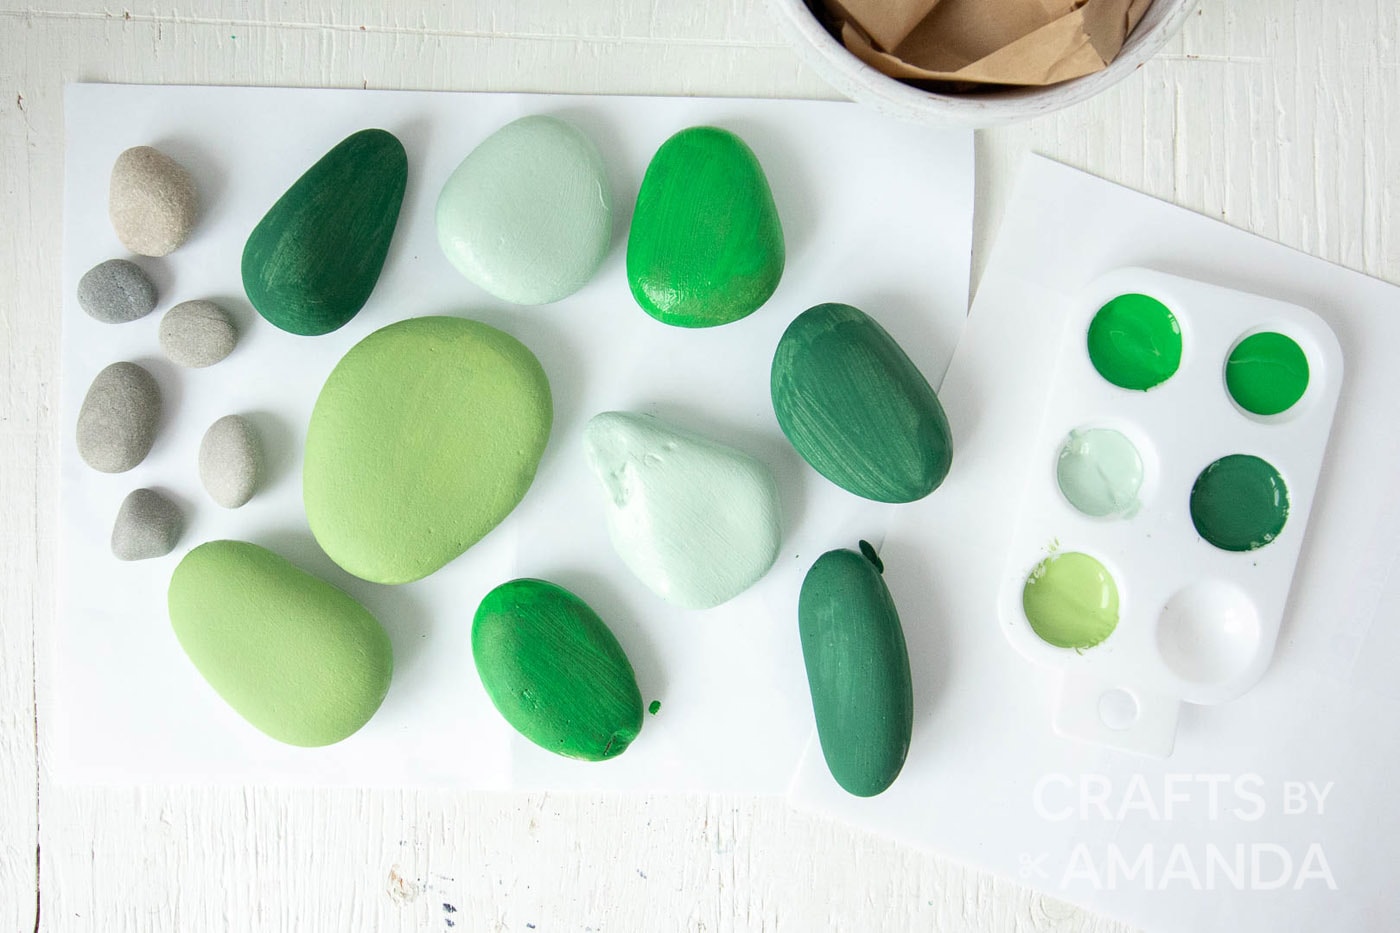
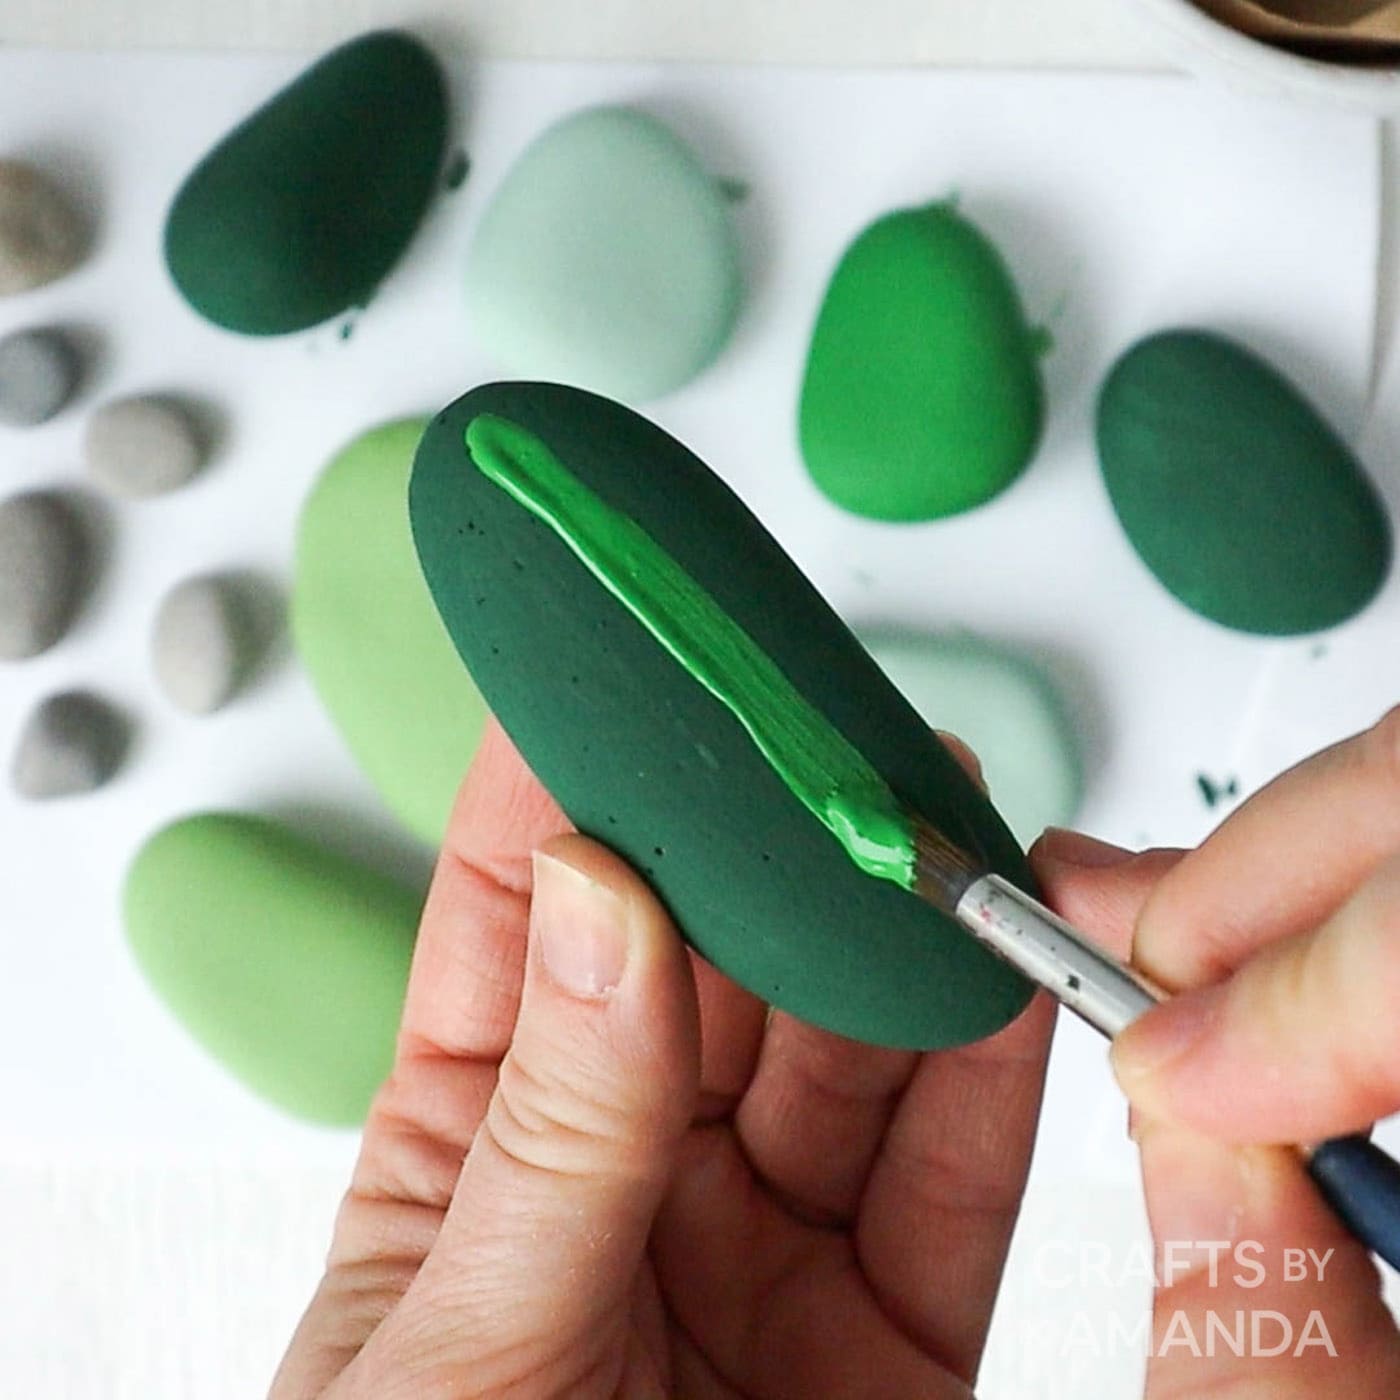
- Paint several of each rock in different shades of green. Let dry.
- Turn over and paint the other sides. Let dry.
- Paint a second coat if needed for better coverage.
Adding the Details
Note: Complete one side at a time and let dry completely before repeating on the other side.
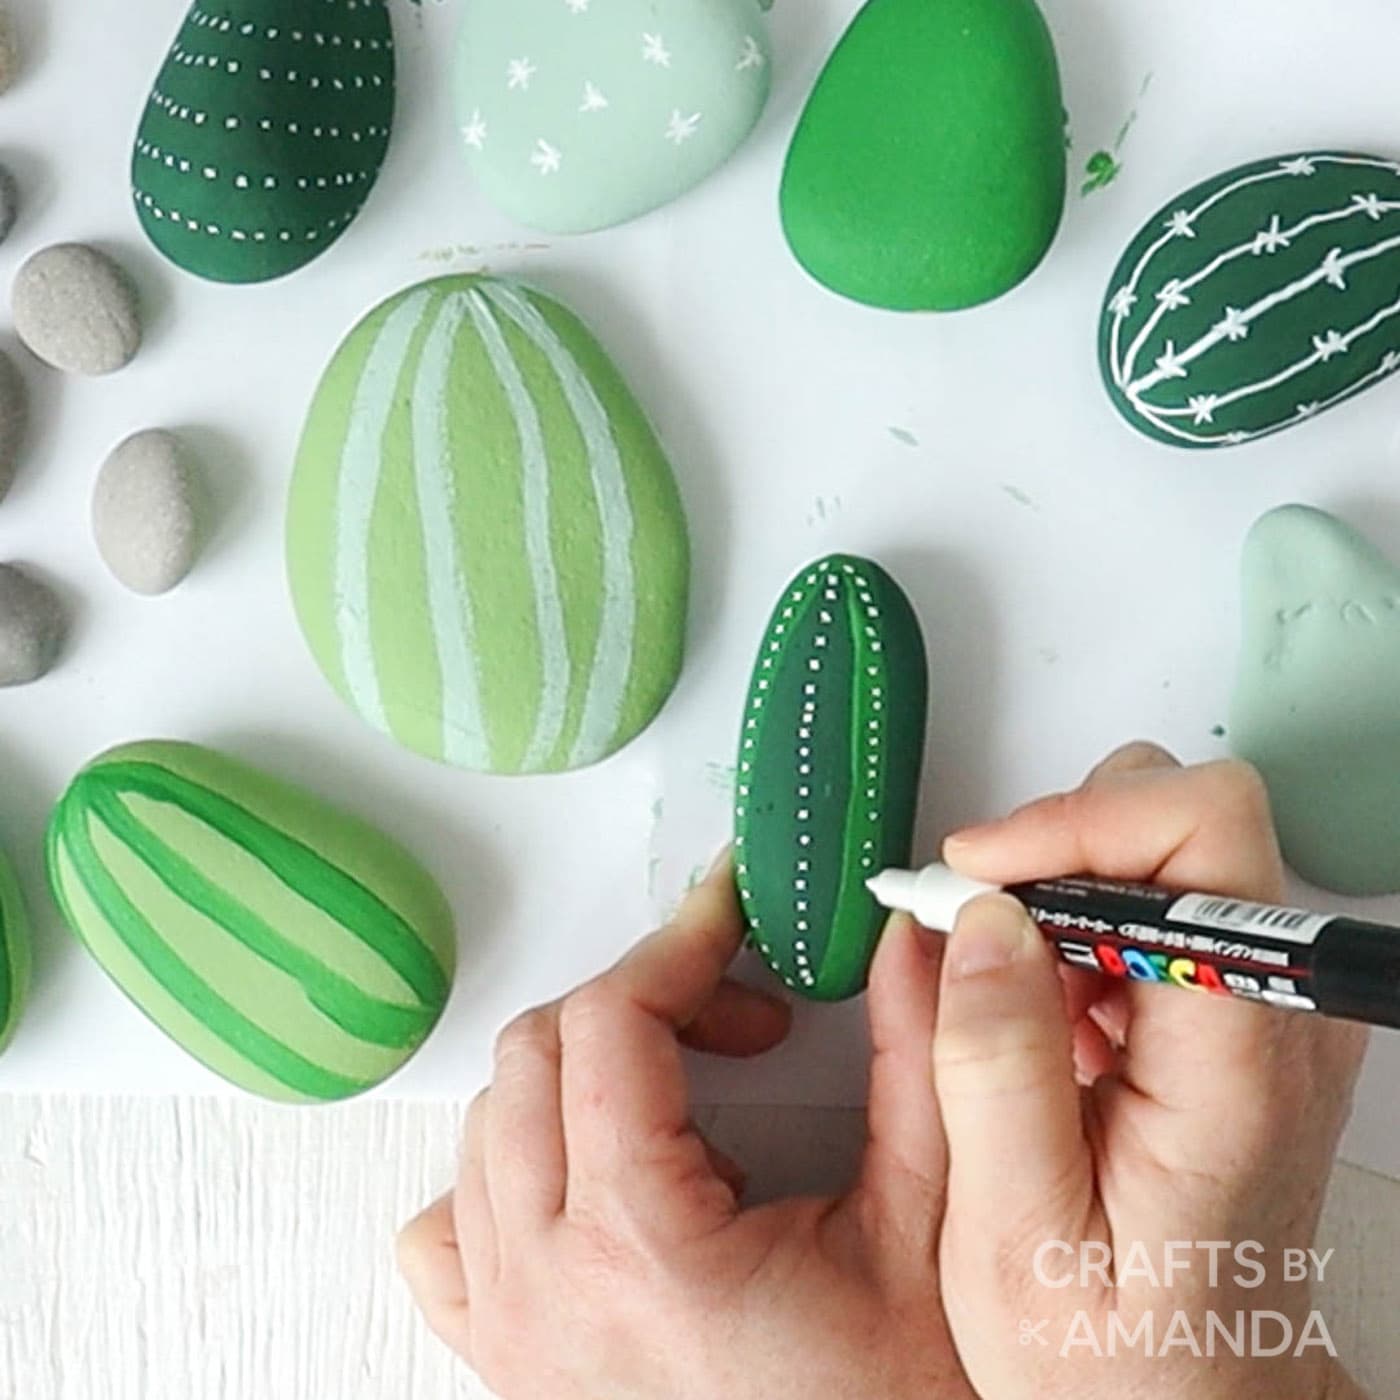
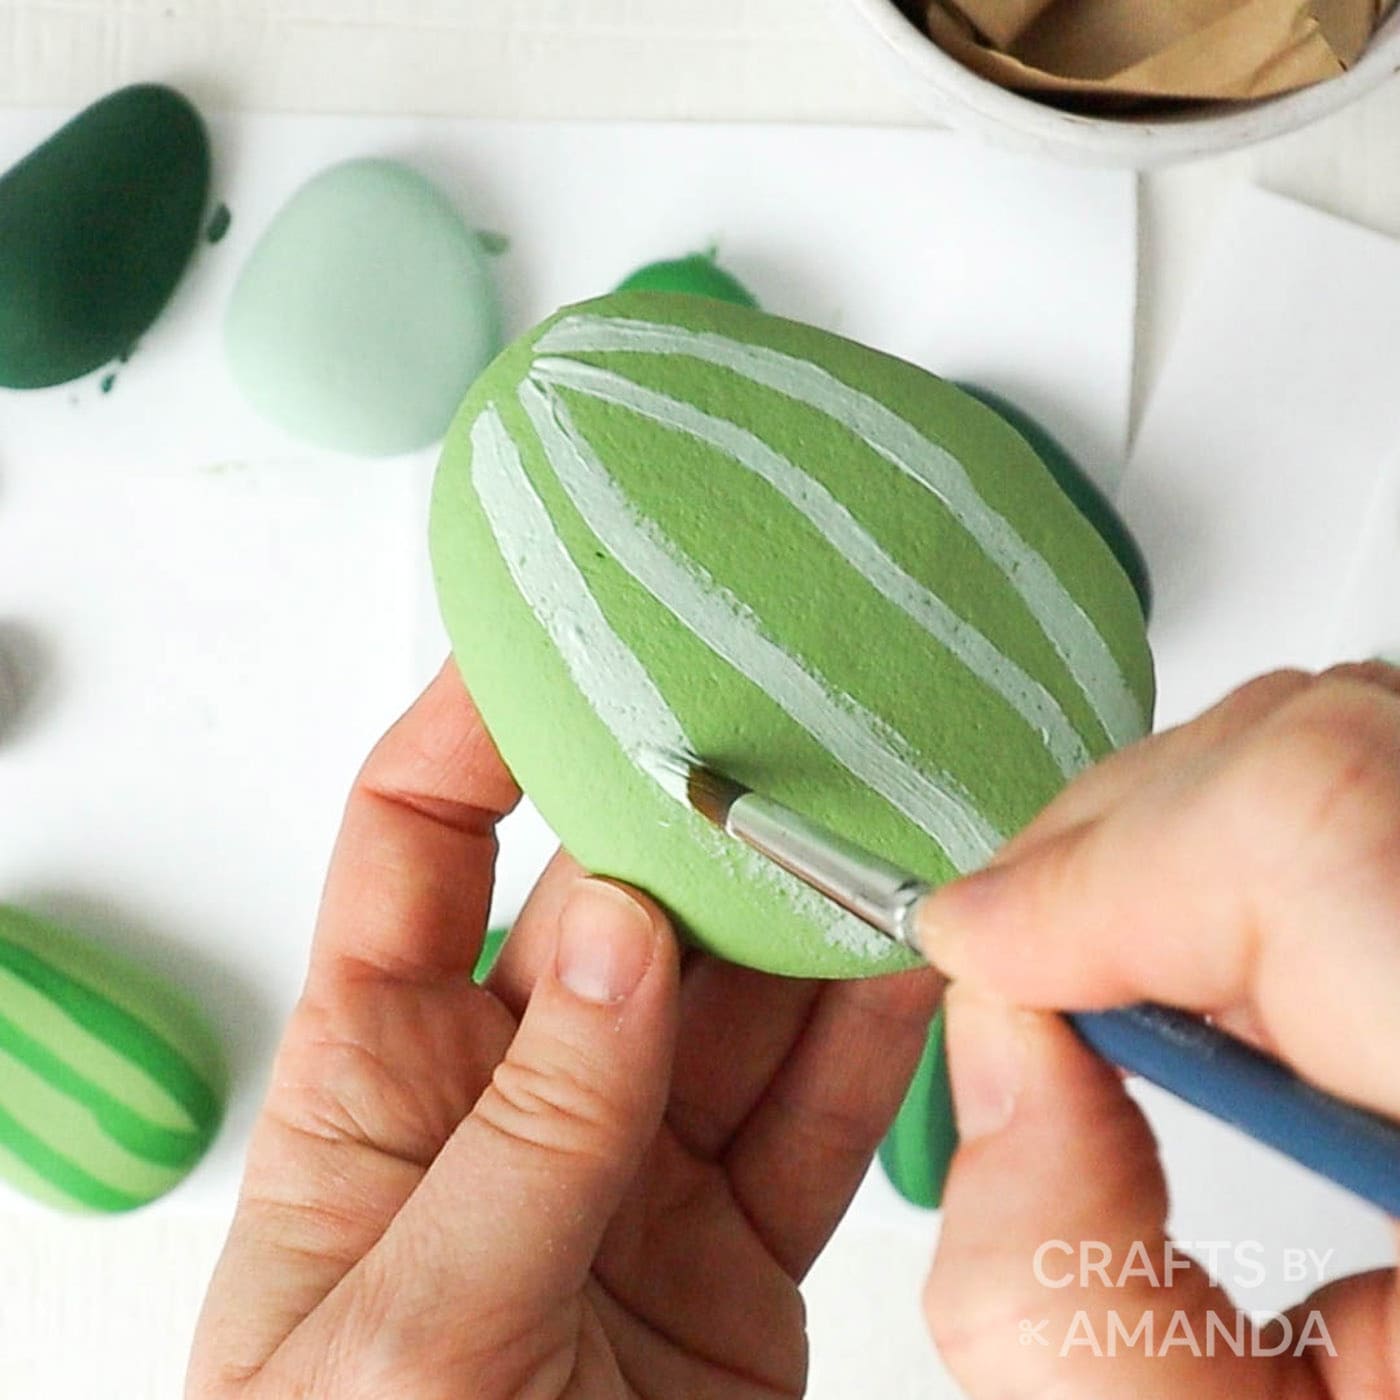
- Start with a dark green rock and add lighter green vertical stripes.
- Use a white paint pen to add vertical lines of dots.
- On a second rock, add vertical stripes of different shades of green paint. Add stripes of white paint and small stars.
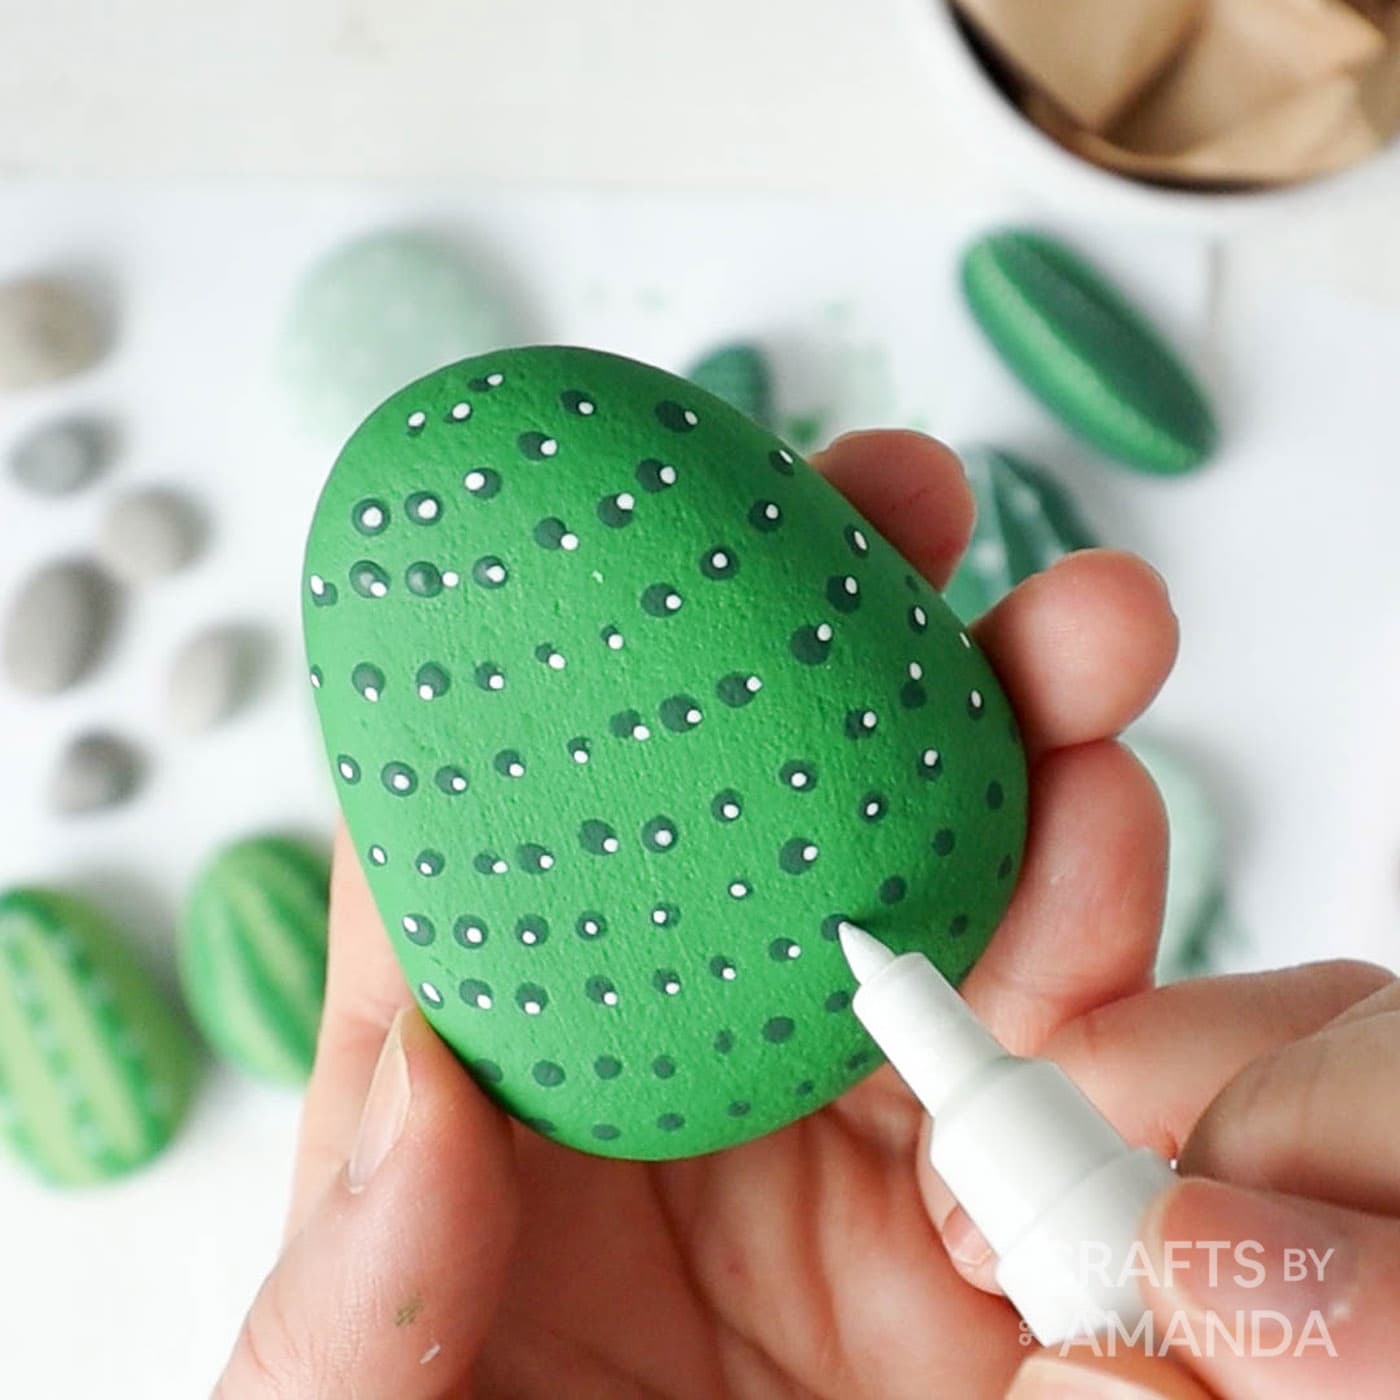
- Add dark dots to a lighter green rock. Let dry and then add small white spots.
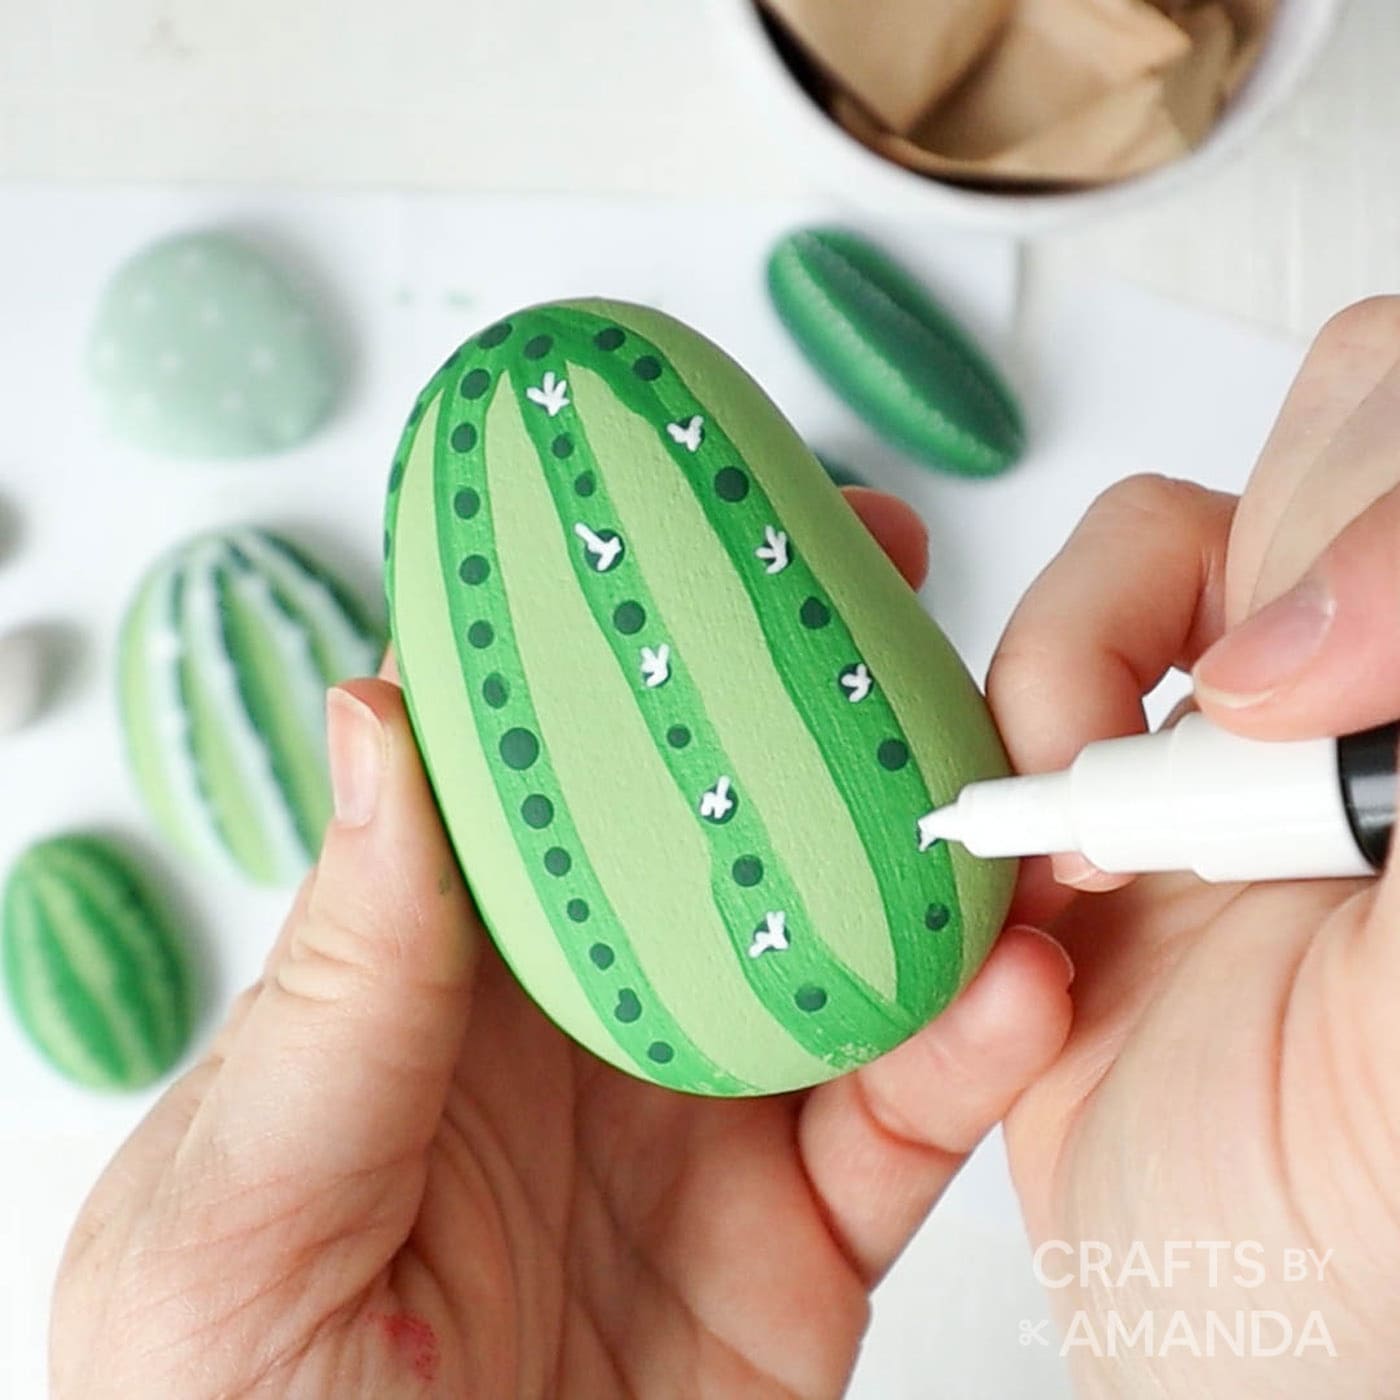
- Add dark green stripes to a light green rock. Let dry. Add darker green spots along the stripes. Let dry. Add small stars to several dark green dots with a white paint pen.
- To another rock, add darker green stripes to a light green rock. Let dry and add spots in the same green color as the stripes.
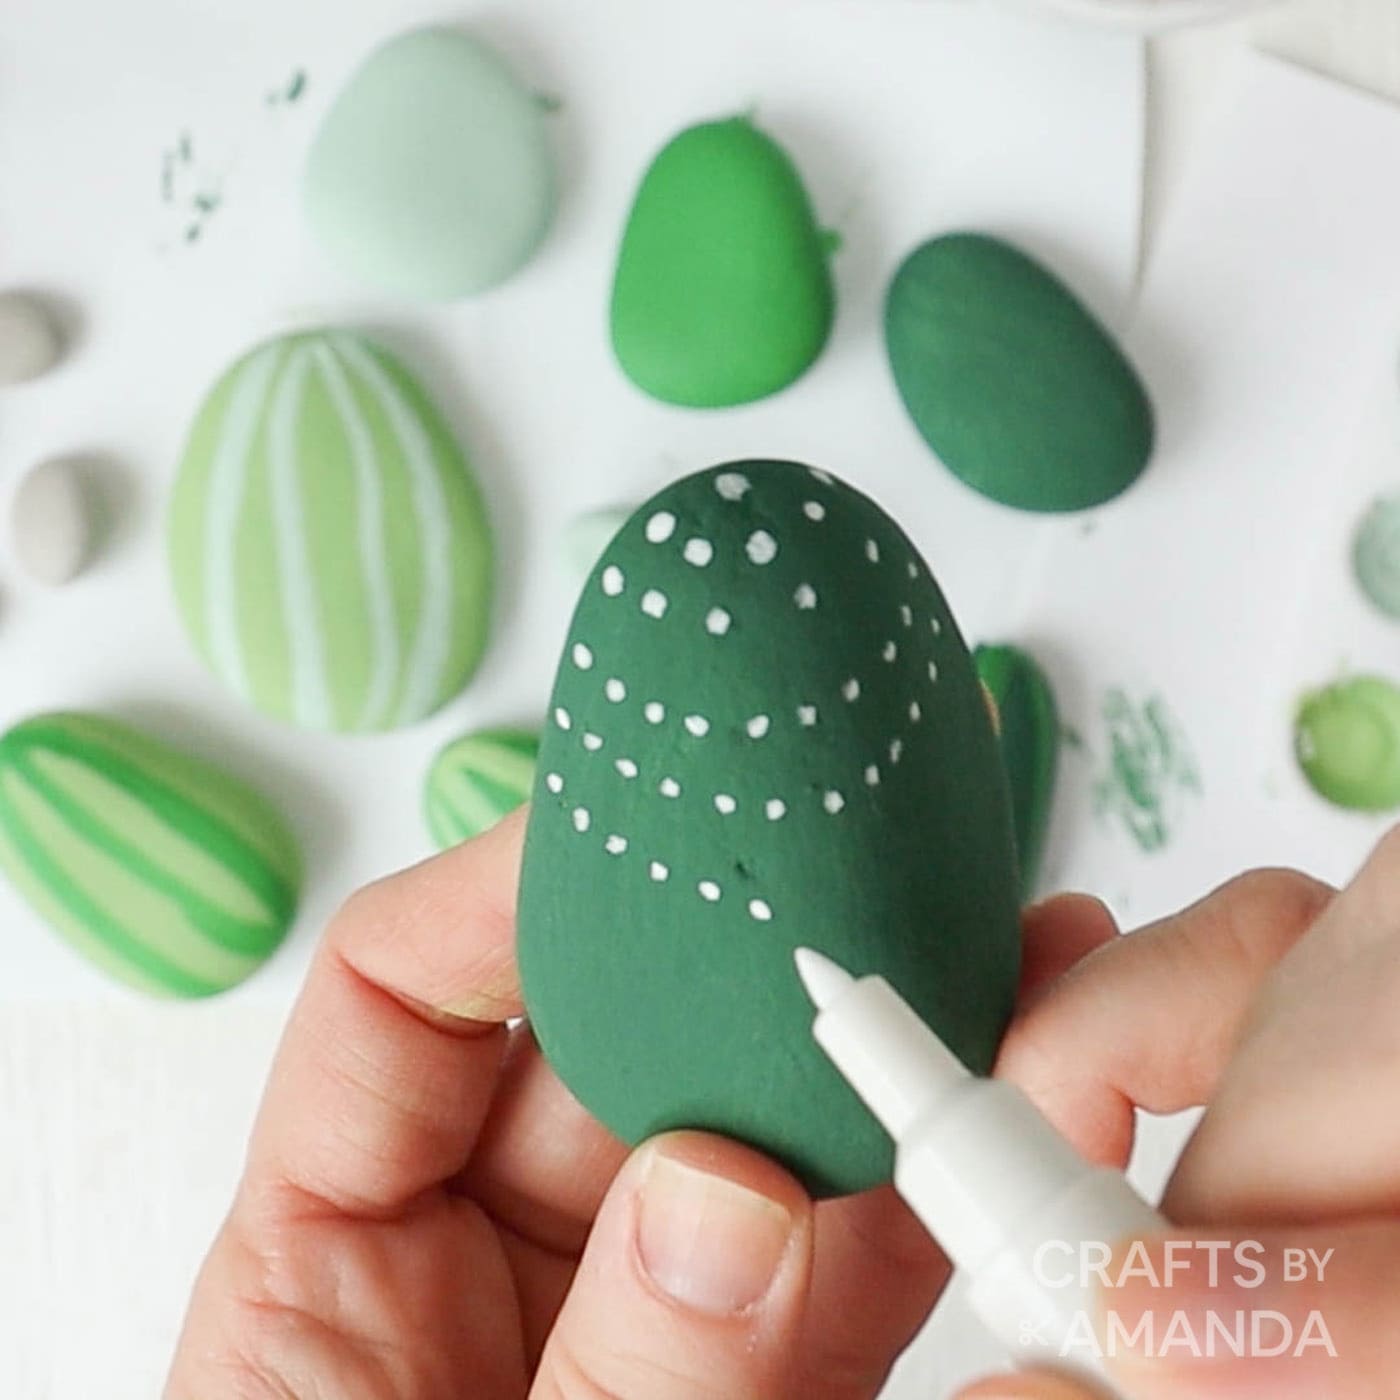
- On a second dark green rock, add rows of white dots.
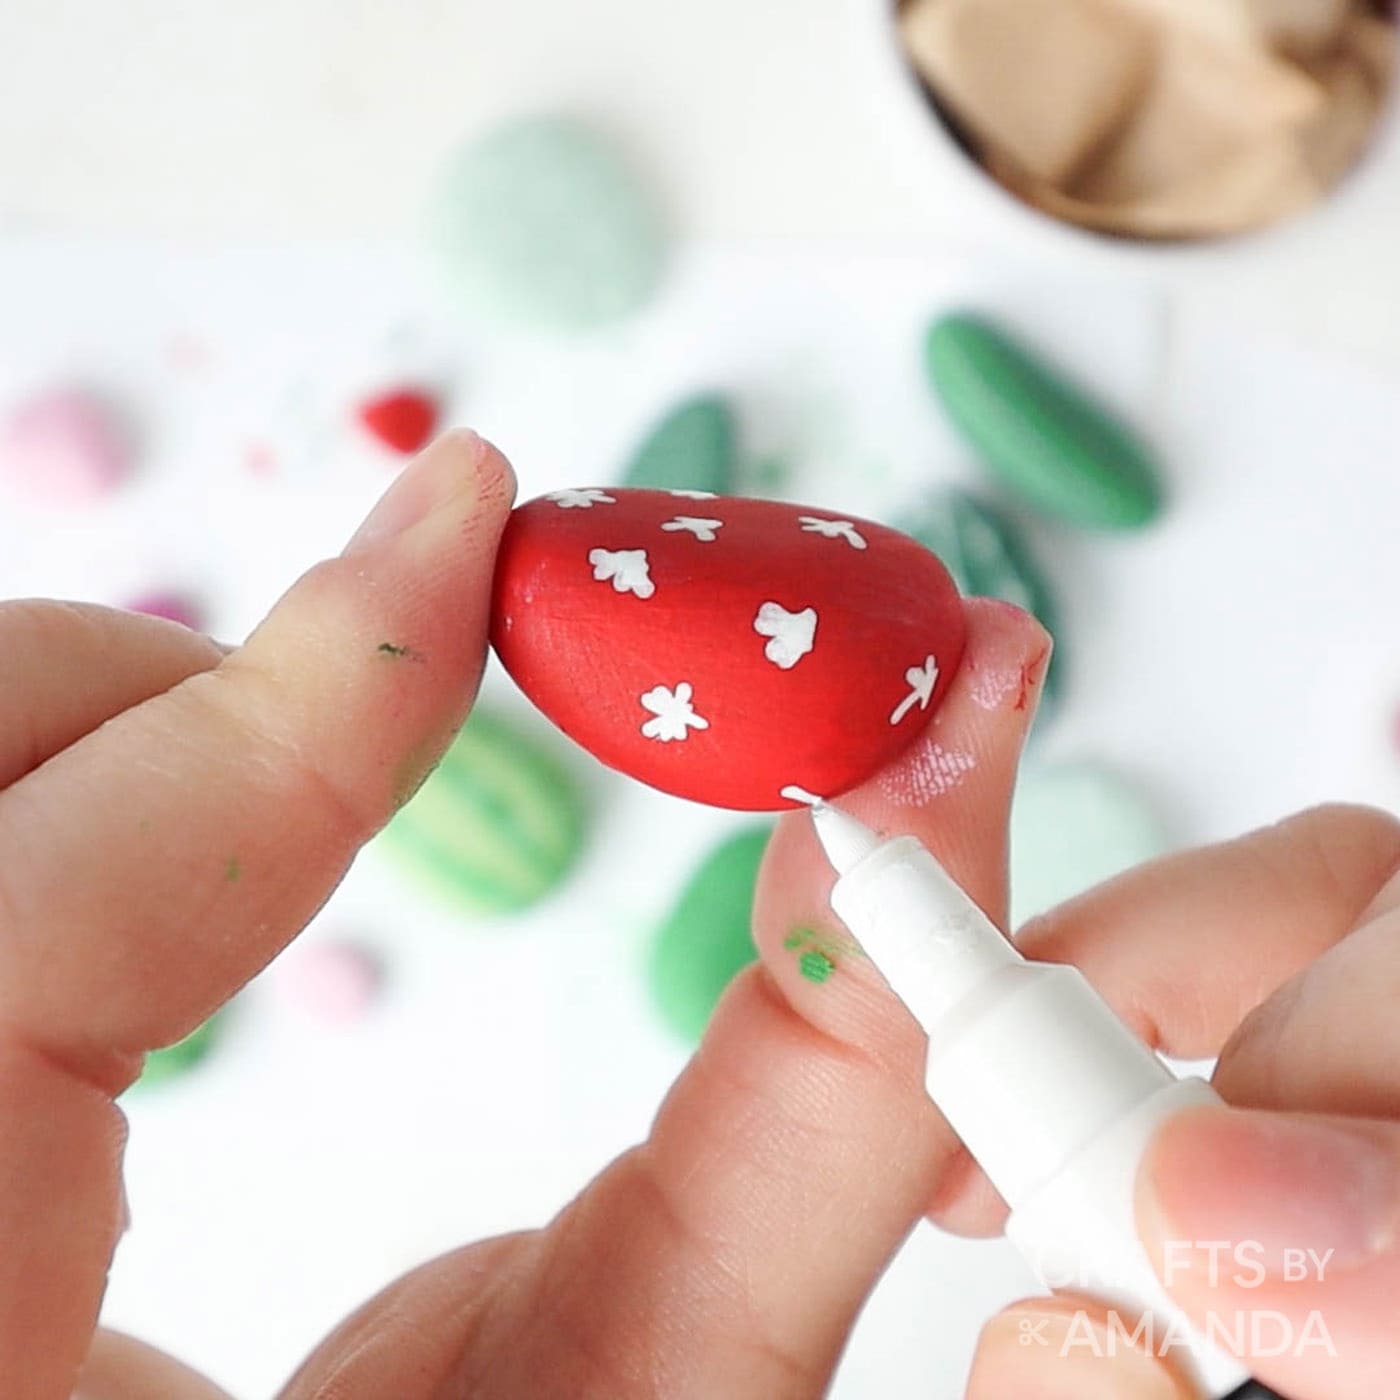
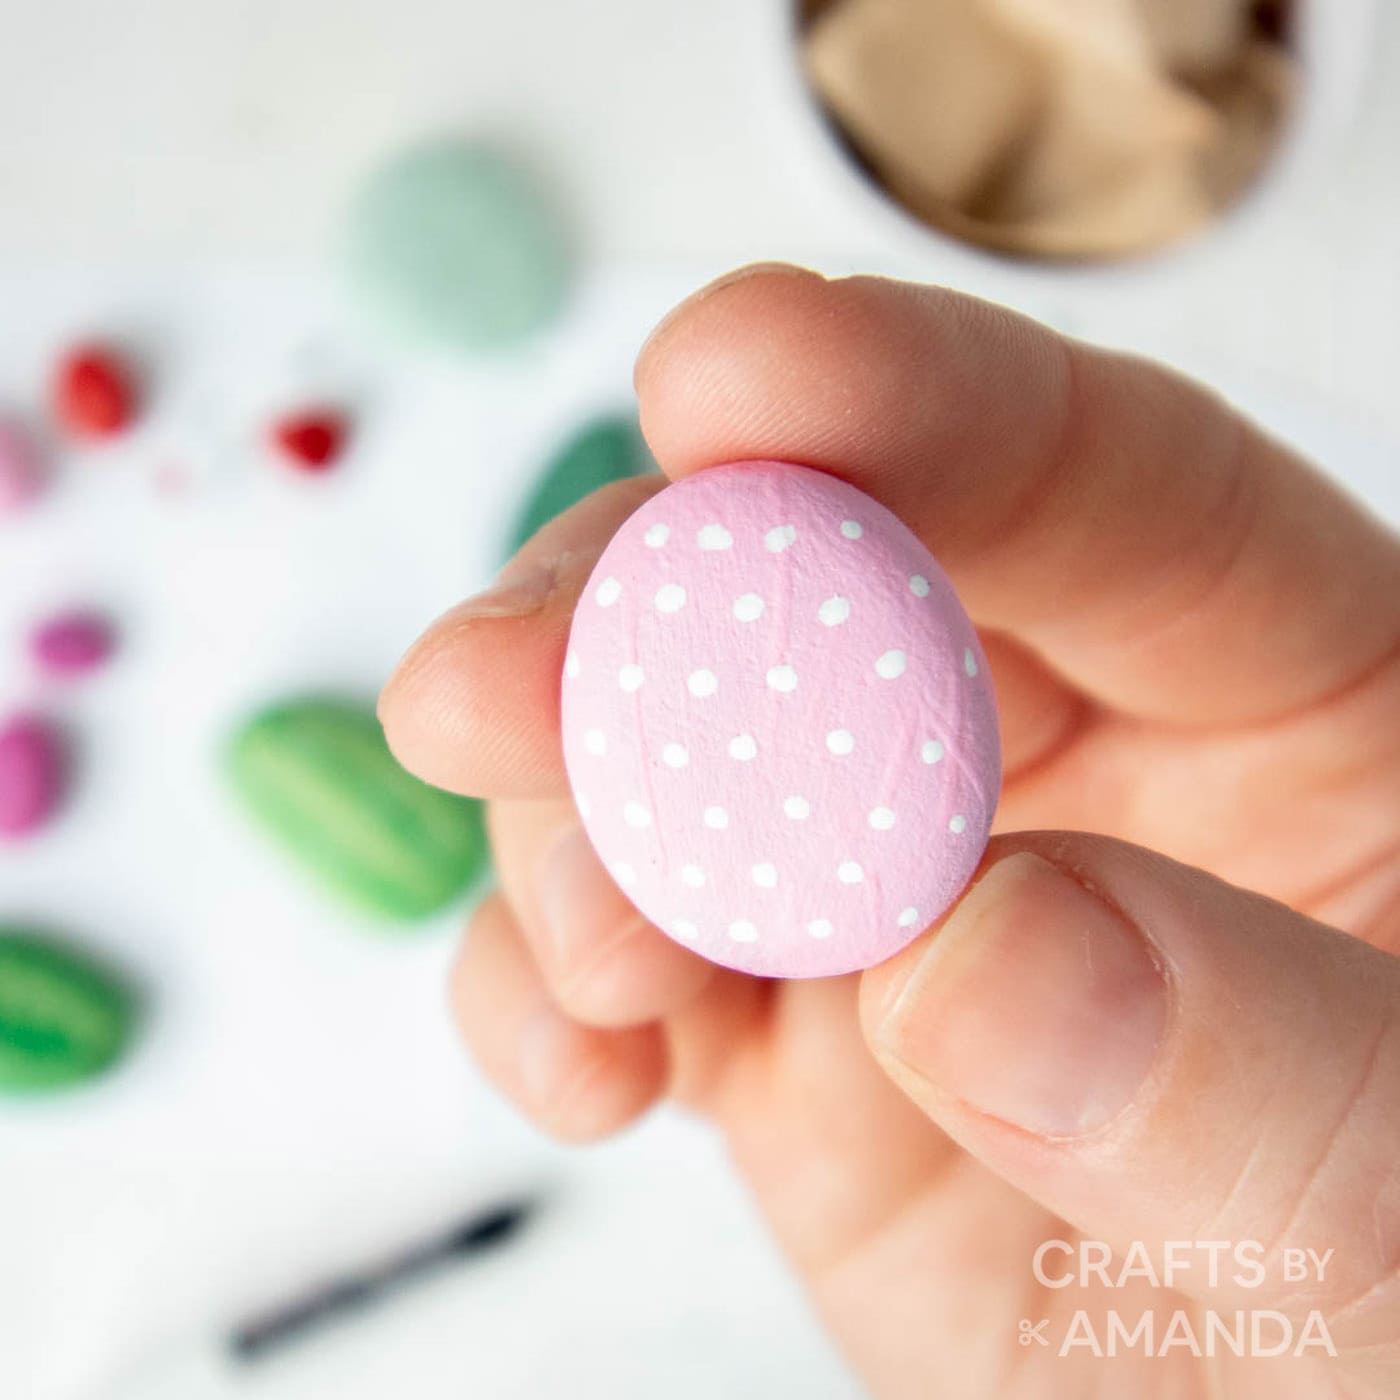
- Add larger spots on one pale green rock and small stars on another pale green rock. Finally add white spots and stars to the small red and pink rocks.
Assembling the Cactus Rock Garden
- Starting with the largest rock in the center, add shorter rocks on either side.
- Continue until the pot is filled.
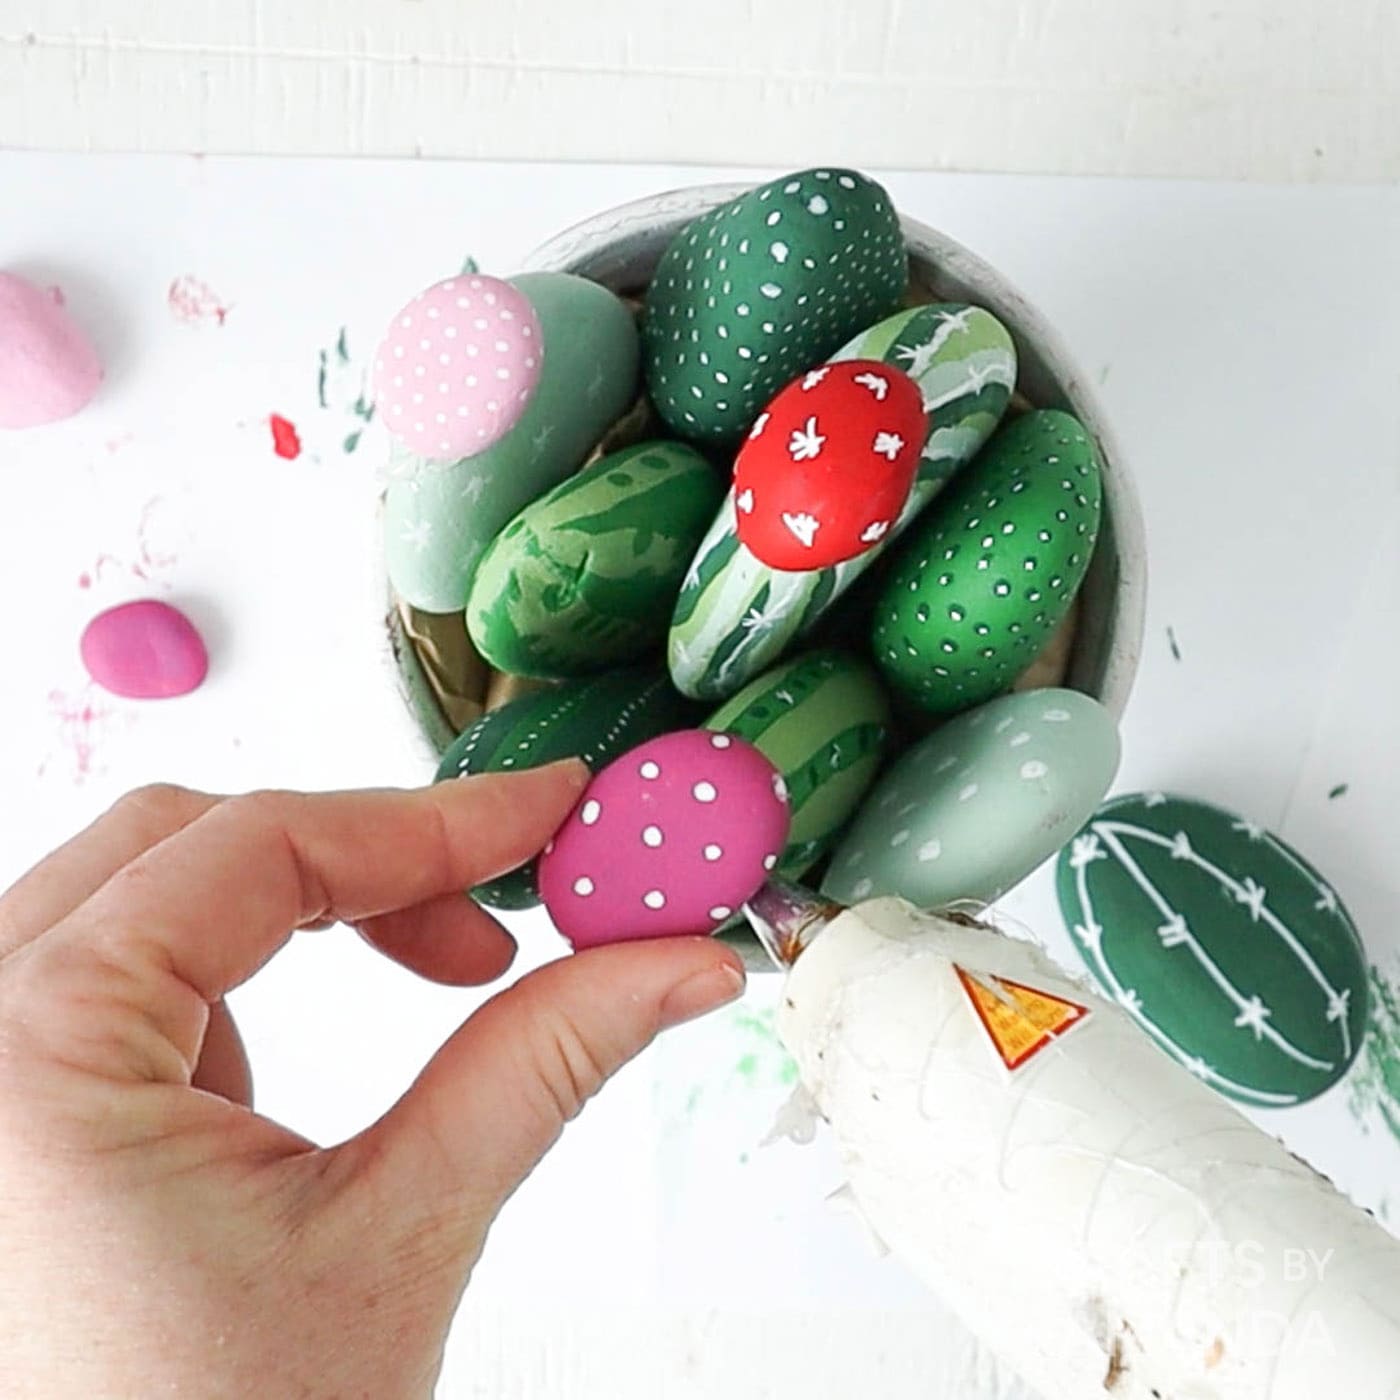
- Glue small rocks to the tops of several of the cacti.
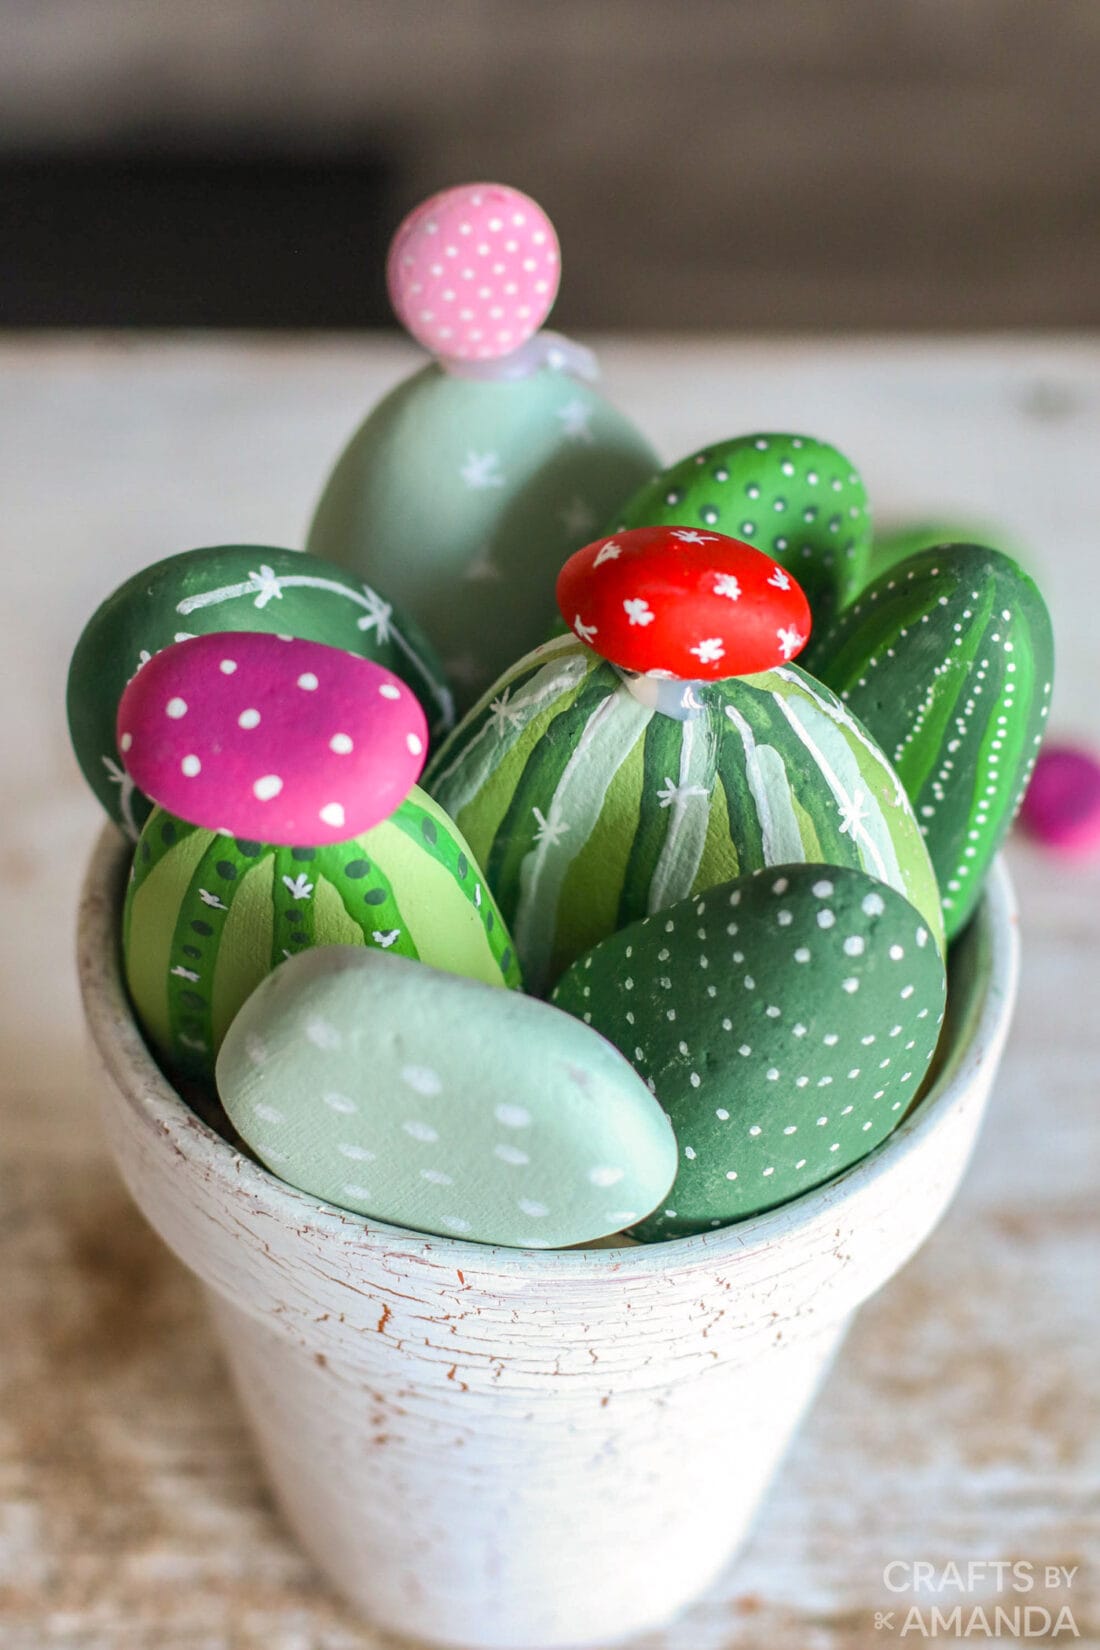
Expert Crafting Tips
- Any quality acrylic craft paint will work. We prefer Americana craft paints, and our favorite for outdoor painted rocks is their Patio Paint line, made specifically for the outdoors.
- We have not added a sealer, we preferred the dry desert look on these cactus painted rocks! However, you can add some sheen using a matte sealer if you like.
Making a clay pot garden full of cactus painted rocks is fun and satisfying! Now that you know just how easy they are to make, don’t be surprised if these little gardens keep popping up all over your house.
More Painted Rock Ideas
I love to create and share my projects with you! I know it’s hard to remember to come back and search, so I’ve made it easy for you with my weekly newsletter! You can subscribe for free and I’ll send you fun crafts and delicious recipes every week right to your email.
Cactus Painted Rocks
Supplies
- 8-10 smooth rocks – a variety of oval shapes and sizes and mostly flat.
- Decoart Americana acrylic craft paints
- Terra cotta pot or other medium sized container
- Craft paper to fill the inside of the pot
Craft tools
- Hot glue gun with clear craft glue
- – paint brushes
- White paint pen
Instructions
Prepare the Materials
- Make sure all rocks are clean and dry.
- Fill the bottom of your container of choice with brown kraft paper (to look like sand). Regular paper should also work as you won’t really see it once the project is done.
- Practice arranging the rocks in the container to figure out how many rocks you will need. Painting the Rocks
- Paint several of each rock in different shades of green. Let dry.
- Turn over and paint the other sides. Let dry.
- Paint a second coat if needed for better coverage.
Adding the Details
- Note: Complete one side at a time and let dry completely before repeating on the other side.
- Start with a dark green rock and add lighter green vertical stripes.
- Use a white paint pen to add vertical lines of dots.
- On a second rock, add vertical stripes of different shades of green paint. Add stripes of white paint and small stars.
- Add dark dots to a lighter green rock. Let dry and then add small white spots.
- Add dark green stripes to a light green rock. Let dry. Add darker green spots along the stripes. Let dry. Add small stars to several pins with white paint pen.
- To another rock, add darker green stripes to a light green rock. Let dry and add spots in the same green color as the stripes.
- On a second dark green rock, add rows of white dots.
- Add larger spots on one page green rock and small stars on another pale green rock. Finally add white spots and stars to the small red and pink rocks.
Assembling the Cactus Garden
- Starting with the largest rock in the center, add shorter rocks on either side.
- Continue until the pot is filled.
- Glue small rocks to the tops of several of the cacti.
Video
- St. Patrick’s Day Activity Sheets - March 4, 2025
- Watercolor Luminaries - February 11, 2025
- Free Valentine Printables: Cards, toppers, and tags - February 4, 2025


Leave a Reply