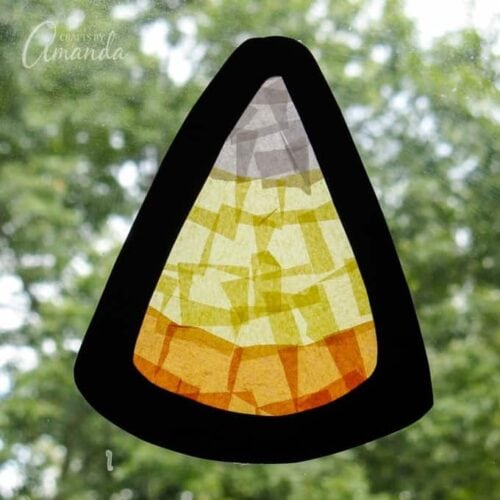
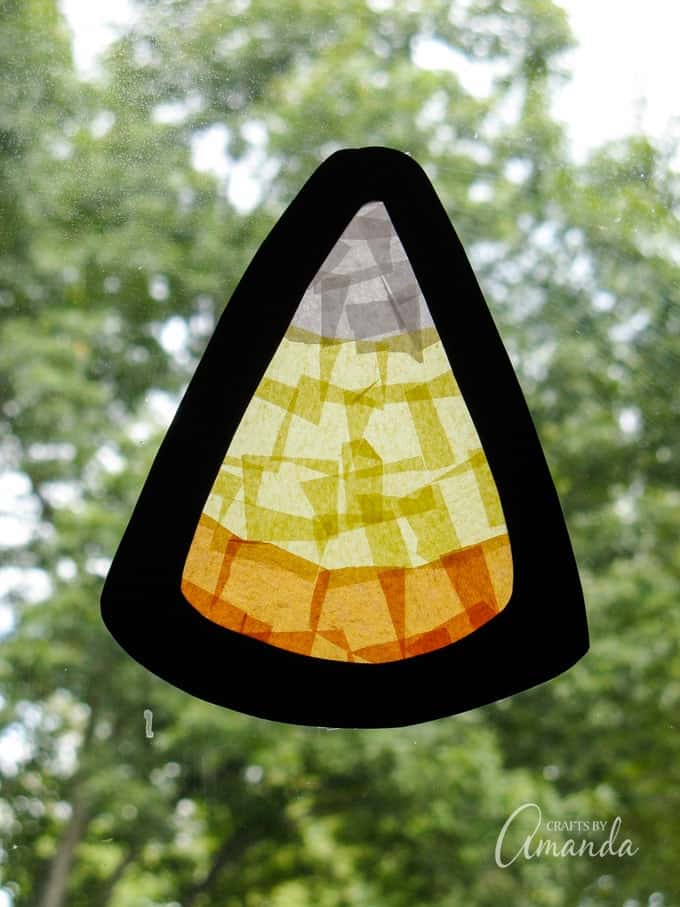
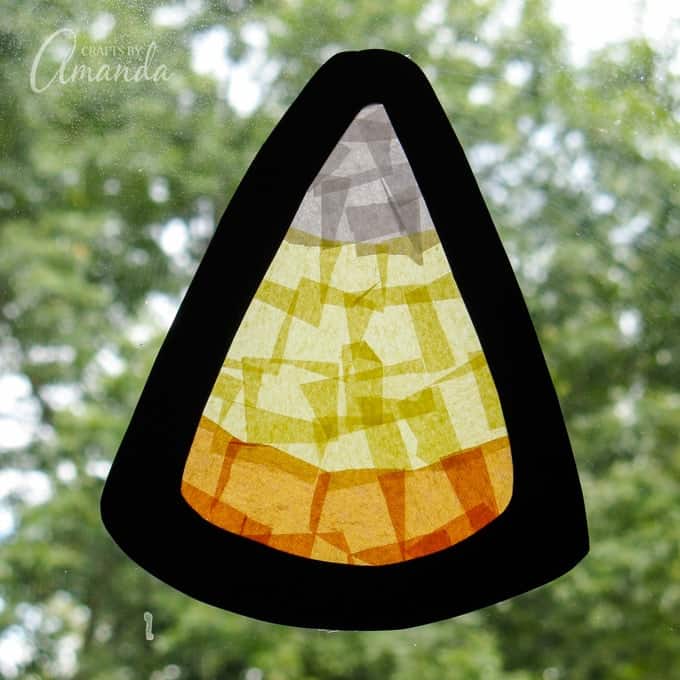
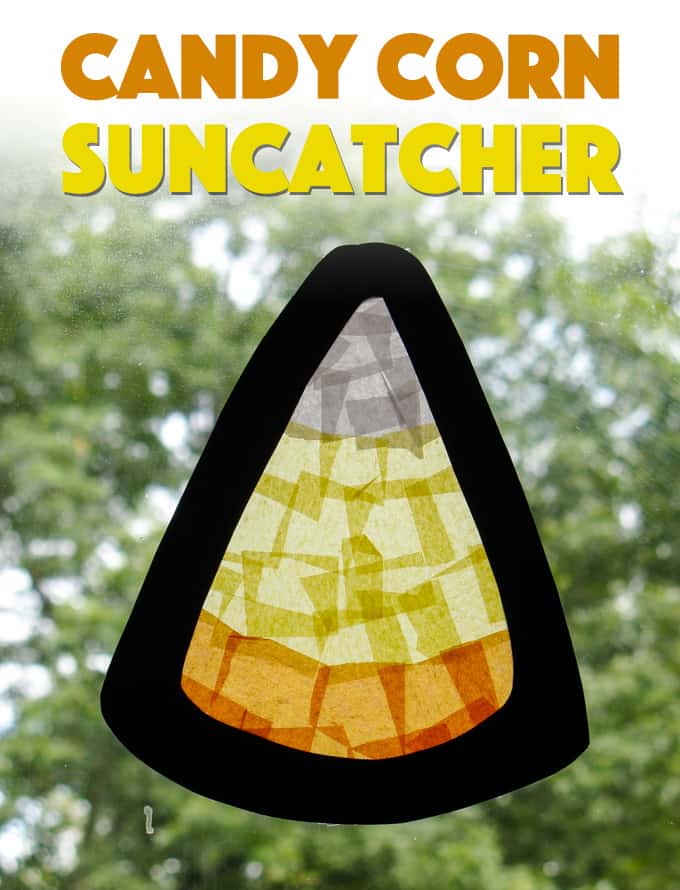
Kids will love making this candy corn sun catcher to hang in the window! The sun shines through the mosaic of tissue paper that they created. A fun fall craft, even for the little ones.
Candy Corn Sun Catcher
You can make just about anything using this fun tissue paper suncatcher method. It looks like faux stained glass because the sun shines right through the tissue paper. A fun afternoon project with the kids!
Supplies you need for a candy corn sun catcher
- Heavyweight self-stick laminating film (i.e. Con-Tact paper)
- 2 sheets black construction paper
- Tissue paper: white, yellow, orange
- Glue stick
- Scissors
- Pattern
How to make a candy corn sun catcher
Print the candy corn sun catcher pattern but do not cut it out yet. Expose about 15” of laminating film by removing the backing (leave the film on the roll), leaving the sticky side facing upward. Fold over the edge and adhere it to itself, just so you have an end to grab without sticking to your fingers.
Place the pattern underneath the laminating film, positioning it toward one end. You will be folding the sticky side onto itself when you are finished, so you need enough room on the other end to do so. You can tape the pattern in place if you like to keep it from sliding around.
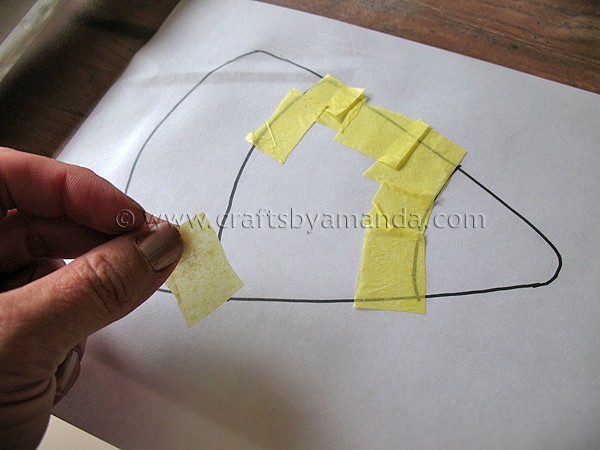
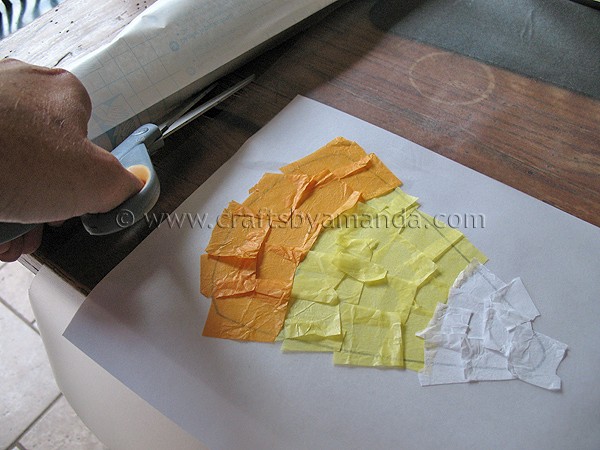
Cut or tear a handful of each color tissue paper. Using the pattern underneath the film as a guide, begin by placing yellow tissue paper squares onto the middle section of the candy corn. Overlap the pieces as you go, completely covering the center portion of the candy corn.
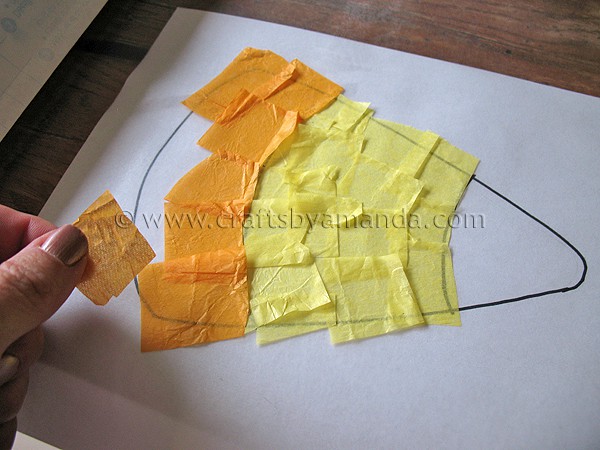
Next, use orange tissue paper to cover the bottom section of the candy corn. Again, overlapping as you work, don’t be concerned about staying in the lines.
Finish off the top of the candy corn with white tissue paper squares. Use scissors to cut the film off the roll.
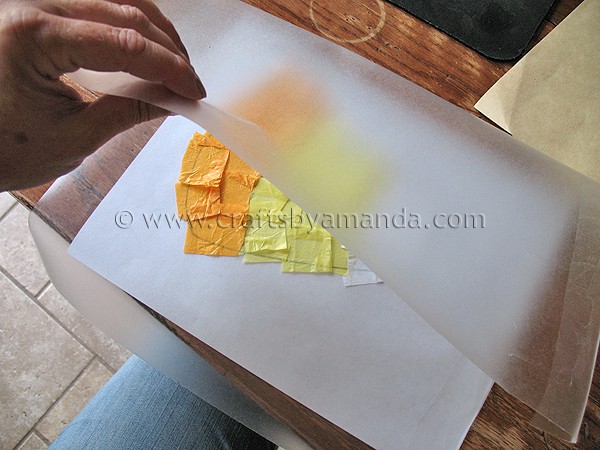
Take the empty side of the laminating film and fold it over on top of the tissue paper candy corn, sandwiching it between both sticky sides. Smooth out and press out any air. Set aside.
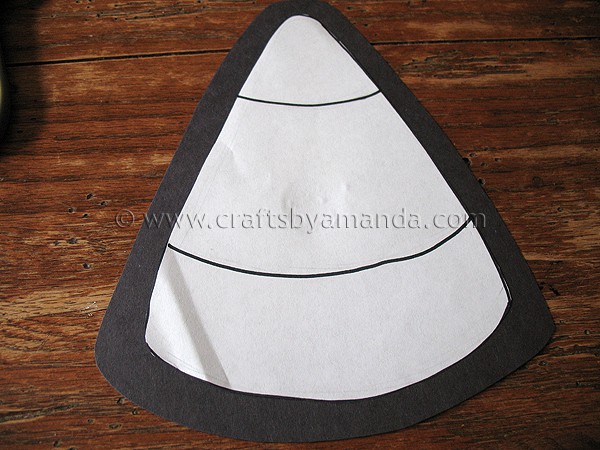
Stack two pieces of black construction paper on top of one another. Take the pattern and cut out the candy corn. Place the candy corn pattern on top of the two sheets of black paper. Use glue stick to tack the center of the pattern to the paper to keep it from sliding around. You can also tack the top of the two sheets of black paper together if you like.
Use scissors to trim through both black sheets simultaneously leaving about ½” border around the candy corn pattern.
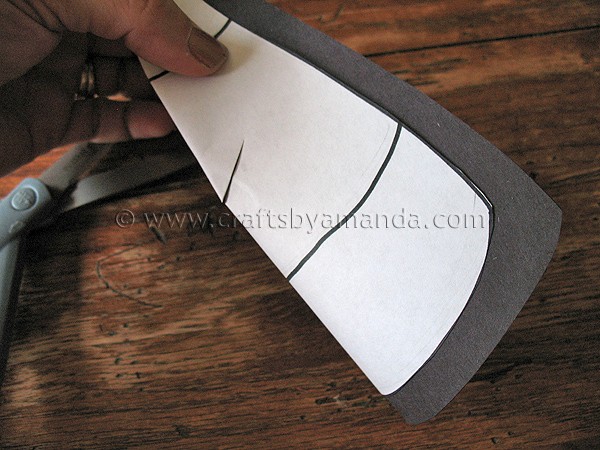
Fold the candy corn and black paper in half and cut a slit through the center. Open the sheets and pattern back up and insert the scissors into the center. Trim out the center of the candy corn, using the pattern as a guide, leave about ¼” border on the pattern.
Remove the pattern and you should have two identical black frames for your candy corn.
Take the tissue paper candy corn and trim close to the edge of the tissue paper border. Place the frame onto the tissue paper candy corn. Trim more if needed. When ready, use glue stick to attach the frame to both sides of the candy corn.
Check out more great fall/halloween kids craft ideas below!
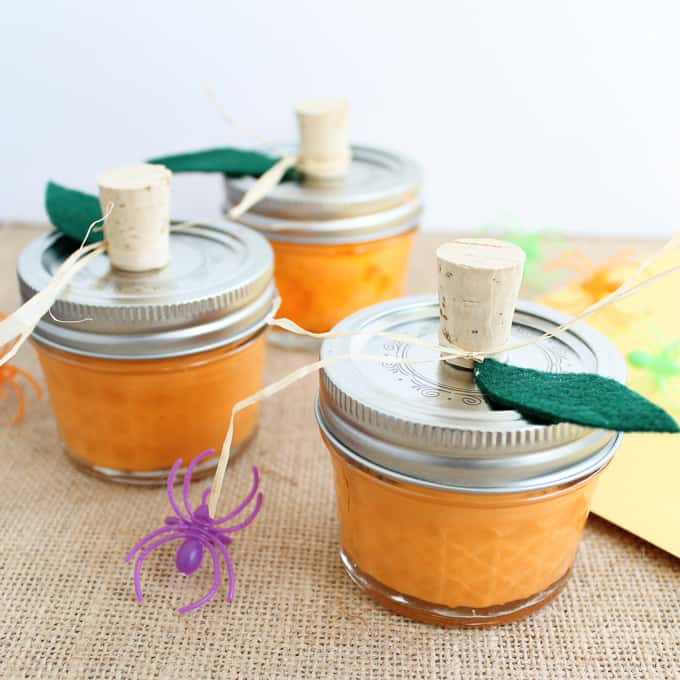
This pumpkin slime makes a great Halloween gift idea for those that don’t want to give candy! Have your little ones help make the slime and decorate the jars.
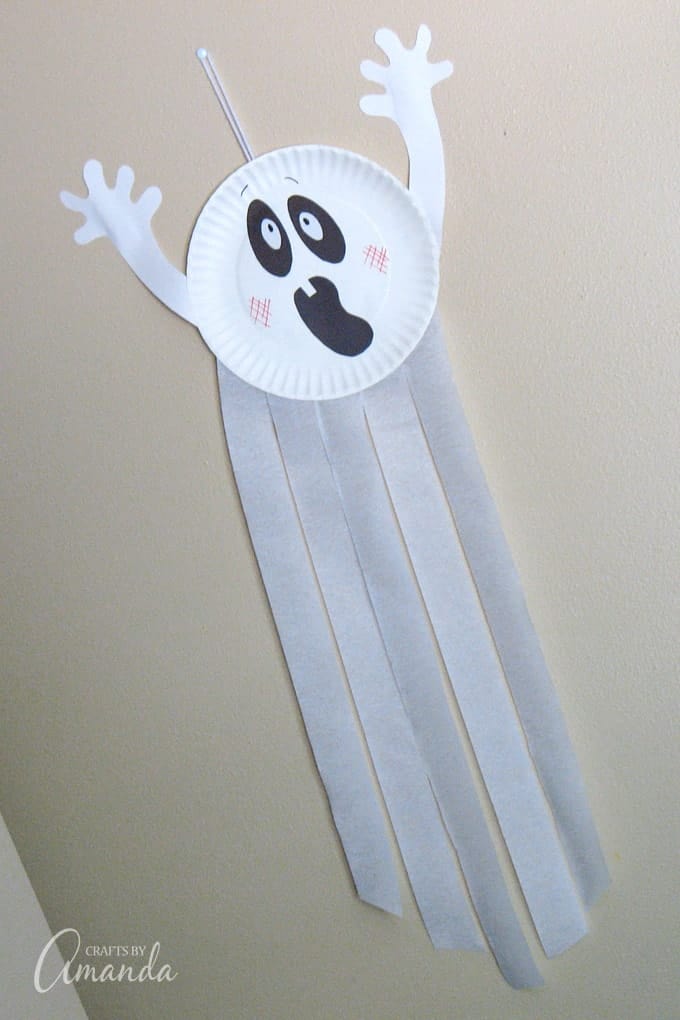
This paper plate ghost is a fun and easy Halloween craft that the kids will love! This craft is good for classroom projects as well.
Faux Stained Glass Candy Corn
Supplies
- Heavy weight self-stick laminating film i.e. Con-Tact paper
- 2 sheets black construction paper
- Tissue paper: white yellow, orange
- Glue stick
- Scissors
- Pattern
Instructions
- Print the pattern but do not cut it out yet. Expose about 15” of laminating film by removing the backing (leave the film on the roll), leaving the sticky side facing upward. Fold over the edge and adhere it to itself, just so you have an end to grab without sticking to your fingers.
- Place the pattern underneath the laminating film, positioning it toward one end. You will be folding the sticky side onto itself when you are finished, so you need enough room on the other end to do so. You can tape the pattern in place if you like to keep it from sliding around.
- Cut or tear a handful of each color tissue paper. Using the pattern underneath the film as a guide, begin by placing yellow tissue paper squares onto the middle section of the candy corn. Overlap the pieces as you go, completely covering the center portion of the candy corn.
- Next, use orange tissue paper to cover the bottom section of the candy corn. Again, overlapping as you work, don’t be concerned about staying in the lines.
- Finish off the top of the candy corn with white tissue paper squares. Use scissors to cut the film off the roll.
- Take the empty side of the laminating film and fold it over on top of the tissue paper candy corn, sandwiching it between both sticky sides. Smooth out and press out any air. Set aside.
- Stack two pieces of black construction paper on top of one another. Take the pattern and cut out the candy corn. Place the candy corn pattern on top of the two sheets of black paper. Use glue stick to tack the center of the pattern to the paper to keep it from sliding around. You can also tack the top of the two sheets of black paper together if you like.
- Use scissors to trim through both black sheets simultaneously leaving about ½” border around the candy corn pattern.
- Fold the candy corn and black paper in half and cut a slit through the center. Open the sheets and pattern back up and insert the scissors into the center. Trim out the center of the candy corn, using the pattern as a guide, leave about ¼” border on the pattern.
- Remove the pattern and you should have two identical black frames for your candy corn.
- Take the tissue paper candy corn and trim close to the edge of the tissue paper border. Place the frame onto the tissue paper candy corn. Trim more if needed. When ready, use glue stick to attach the frame to both sides of the candy corn.
Expert Tips & FAQs
- Paper Plate Tropical Fish Craft - July 19, 2024
- Tropical Paper Flowers - July 16, 2024
- DIY Mosquito Repellent Candles - July 9, 2024


Christine says
i just love all your crafting ideas. very easy.
Christine says
one of my favorites is “epsom salt luminaries”
Amanda Formaro says
Thank you so much Christine!
Lisa says
Looking for fall crafts and found your site great ideas thank you.
Can you please send me the pattern for the candy corn faux glass. I cannot click the link on your site.
thanks!!
Amanda says
Hi Lisa! I have updated the page so that the pattern is clickable. Thanks!
Julie says
This was great! I used your idea to modify an activity for our curriculum (a suncatcher with crayon pieces melted between waxed paper – I really did NOT want to deal with crayons/melting). So I cut up our letters to spell “JESUS”, stuck them down backwards on the wax paper (so it would read correctly when turned over) and had the girls stick the tissue paper all around (we had about 6 different colors). We covered it all with a 2nd piece of contact paper, trimmed around and chose a color for our border. It was so much fun! My oldest (10) made hers in the shape of a cross with a black border to match the letters. My 8yr old made hers a beautiful rainbow with rows of colors and a bright yellow (rectangle) border (with the letters going diagonal). My 6yr old made hers a picture – with green on the bottom with a colored square here & there (grass & flowers) and blue on the top with yellow in the corner (sky & sun) with a blue border. And my youngest (3) just did her colors randomly and made a brightly colored suncatcher with a pretty pink border. Love how their individuality came out with this project! I’m sure we’ll do more with this in the future (we’d better, I have lots of small rectangles of tissue paper left over!). :)
Amanda Formaro says
That sounds so fun Julie! Would love to see pictures!
Julie says
I have some – where/how do I upload them?
Amanda Formaro says
Awesome! You should be able to post them on my facebook fan page, or if you prefer you can email them directly to me and I can post them for you :)
https://www.facebook.com/CraftsbyAmanda
Amy says
I will definitely be trying this technique for every holiday. Such a great idea.
Amanda Formaro says
Thanks Amy :)
Mom to 2 Posh Lil Divas says
I really love this candy corn! I shared on Fb and would love for you to link up to the Sunday Showcase!
Bern
http://momto2poshlildivas.blogspot.com/search/label/Sunday%20Showcase
Amanda Formaro says
Thanks so much!
Beth @ Hungry Happenings says
I love how fun and simple this project is for even young kids.
Amanda Formaro says
Thanks Beth! The little ones will love it :)
June Scott says
Very pretty! Great kid project – thanks for sharing, Amanda!
Amanda Formaro says
Thank you June, definitely a fun project for the kids :)
Meridith says
Great idea! I can’t wait to do this with my daughter! Thank you!
Amanda Formaro says
Thanks meredith!
angie says
love this craft something fun and easy enough to do to share with my grands to my teens thanks for sharing
Amanda Formaro says
Thanks Angie!
Katrina says
My 7 yo would love this. We’ve made something similar before (ghosts) with just black paper and white background–We’ll have to do this with the colored tissue paper.
rebecca neafus says
I love this idea!! So simply and just too cute=)
Erin @ Making Memories says
So cute. My kids would love this!
Laura Ingalls Gunn says
This is completely adorable! I can so see doing this for my son’s 4th grade class.
I would love for you to link this project up on my Fall In Love linky party today.
Kathy Murphy says
Love this idea!