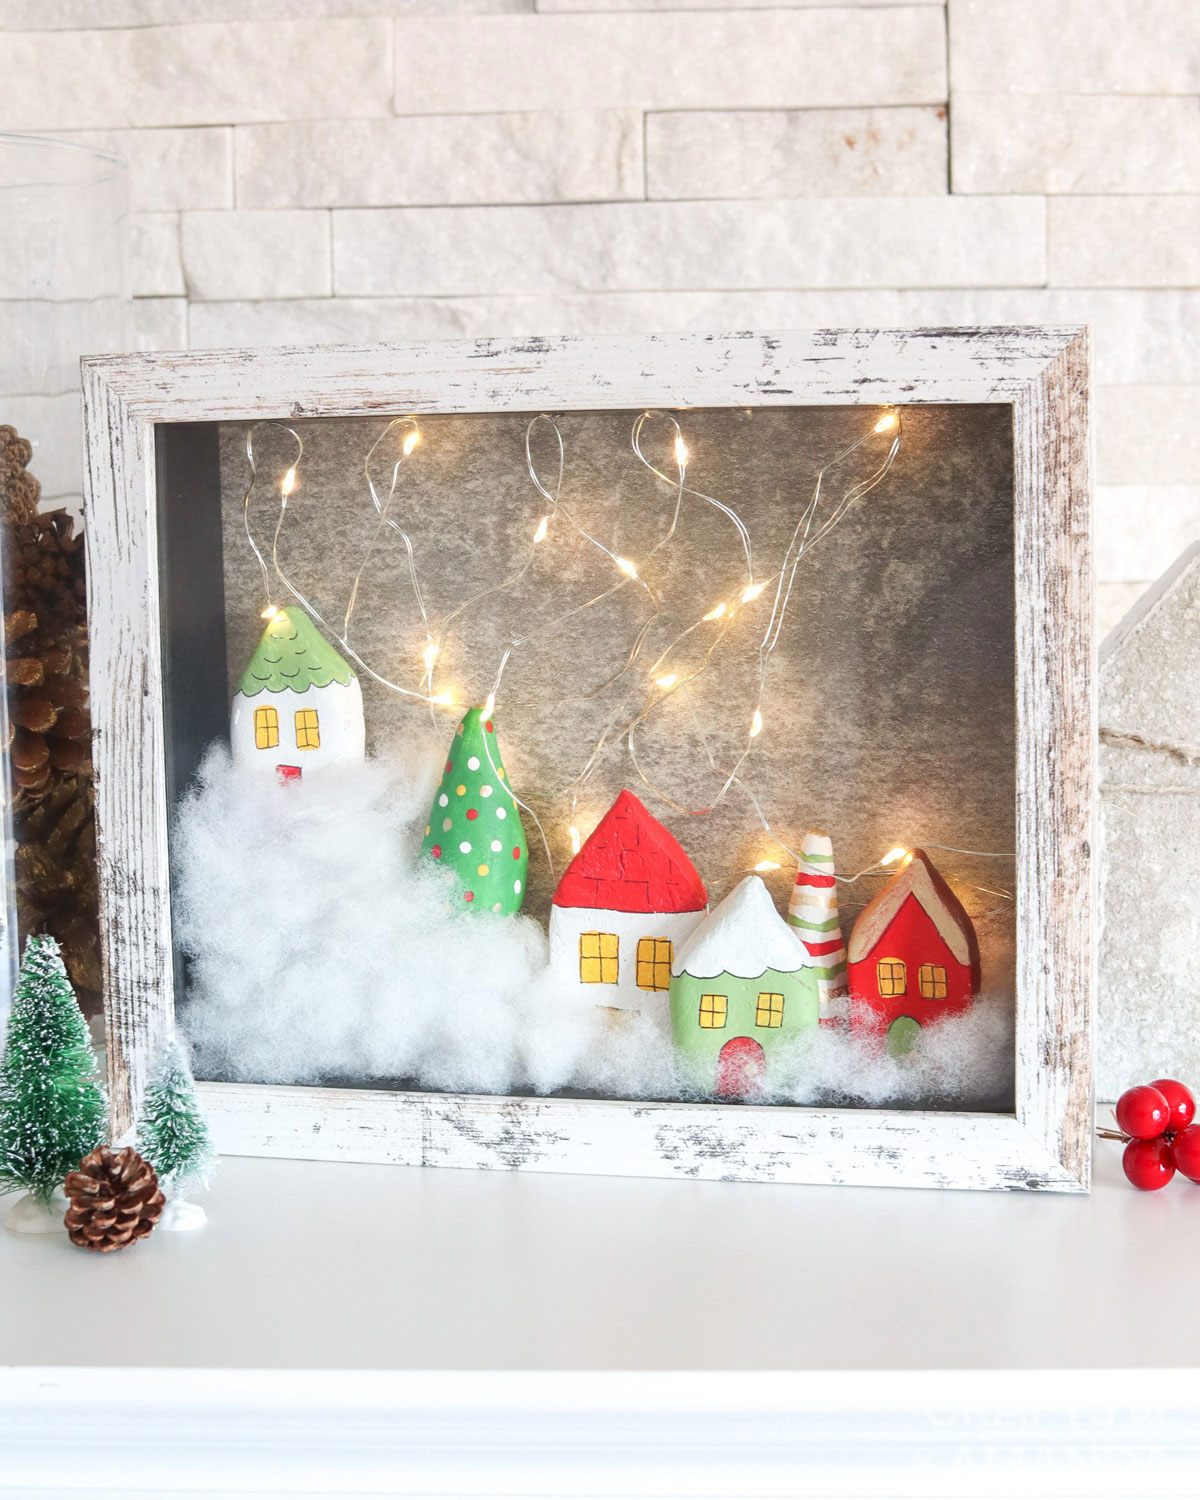
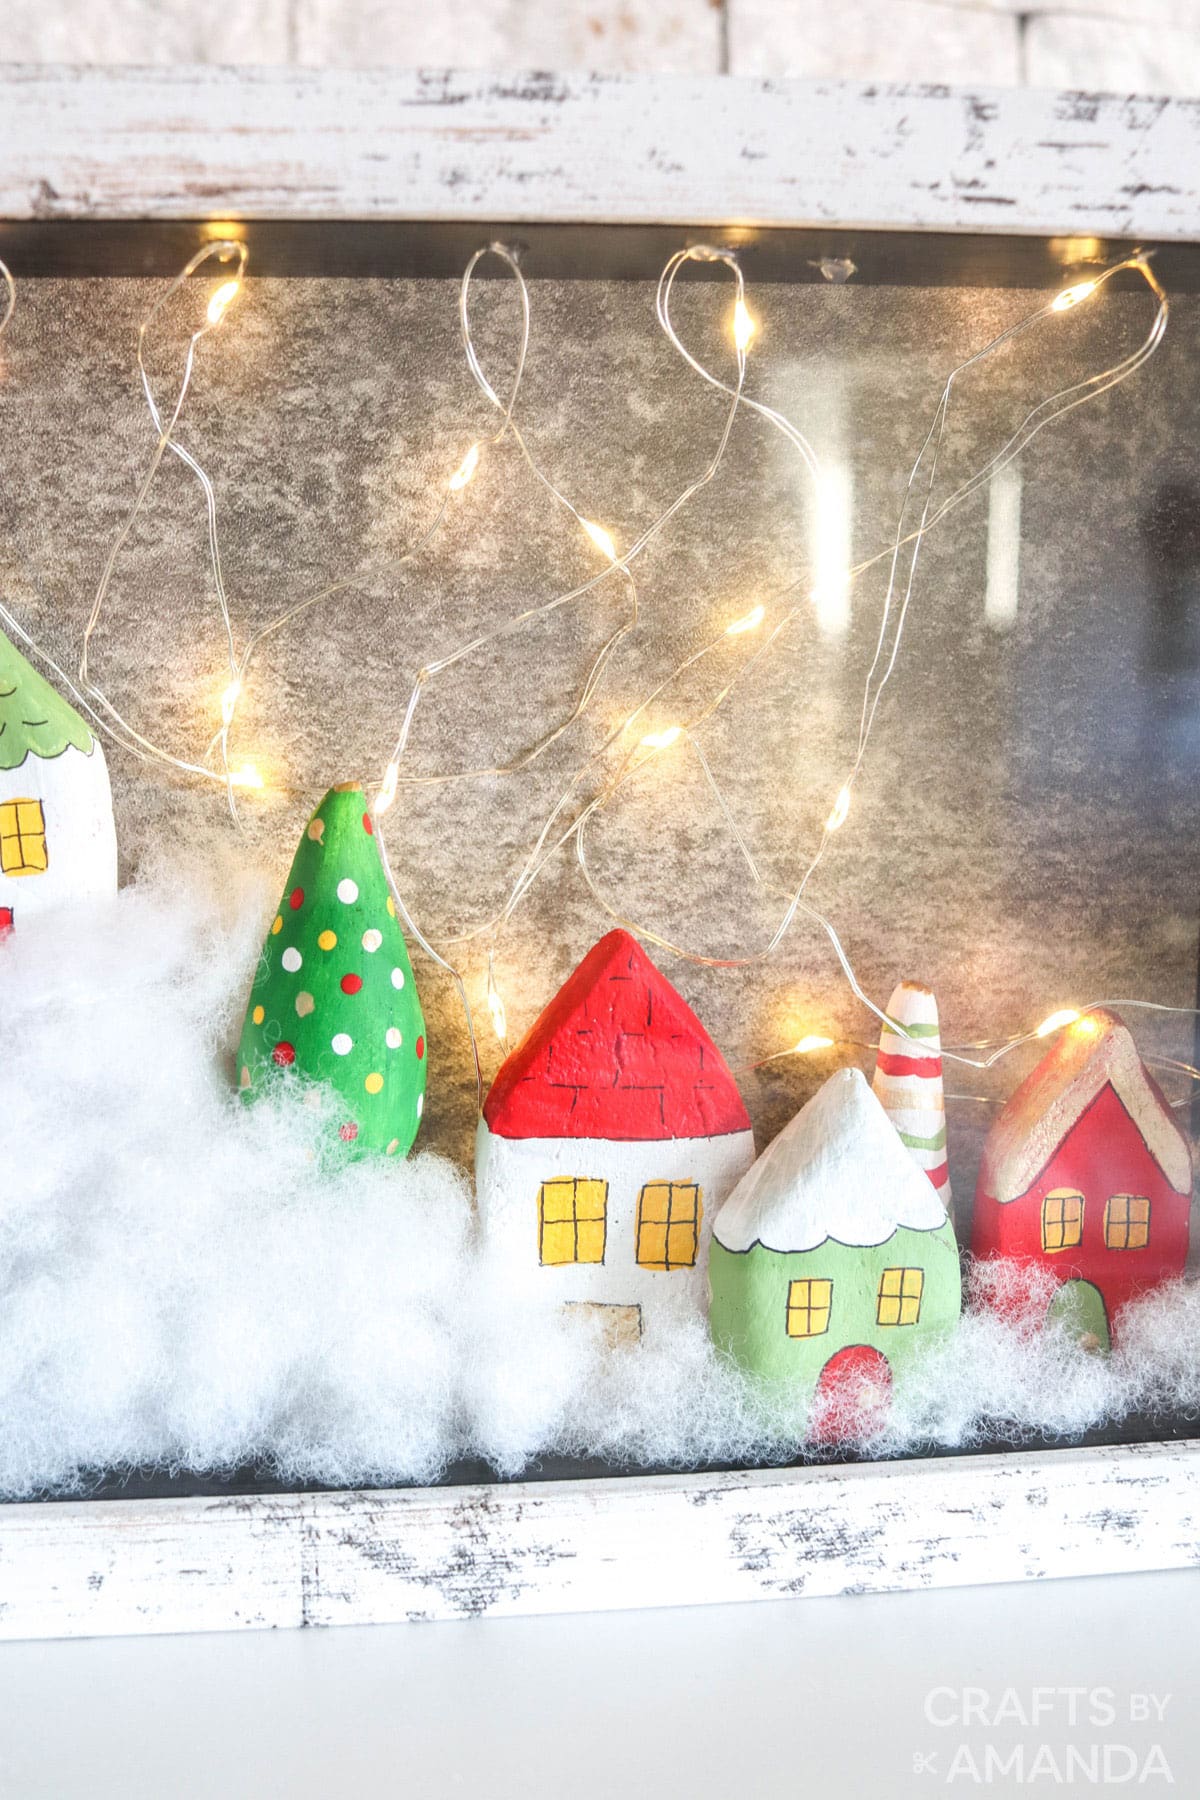
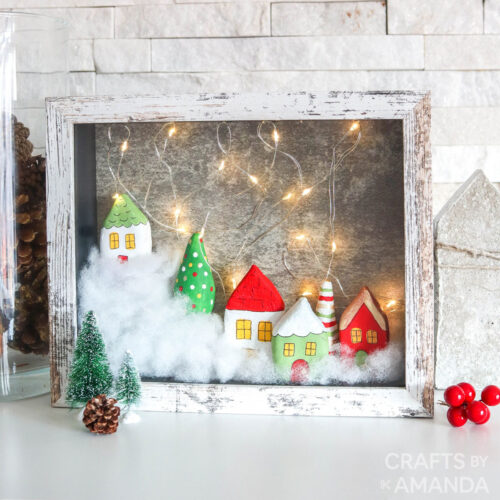
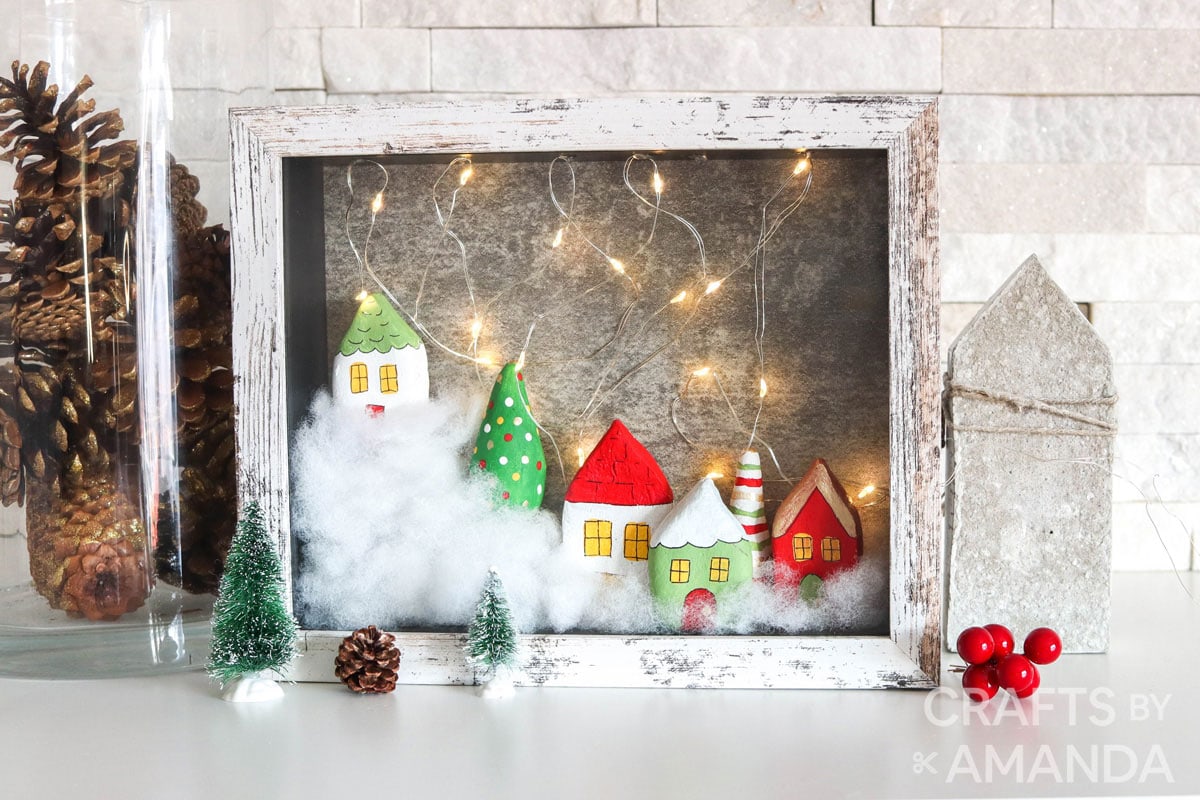
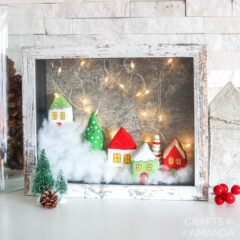
This darling Christmas Village Shadowbox is made from painted salt dough houses and is a beautiful addition to your fireplace mantel for the holiday season. This DIY shadowbox makes a wonderful Christmas gift too!
Why we love this project
I have always loved shadowboxes, and I’ve seen so many cute miniature clay houses, that I knew putting them together would fun!
The little houses are made from salt, flour, and water and are super easy to put together (tutorial here). Paint them in festive colors for the holidays and pop them into a frame to make this adorably sweet Christmas village shadowbox.
Helpful Project Information:
- Age Level: 12 and up
- Mess Factor: Low
- Level of Difficulty: Medium
- Time to Complete: Less than 30 minutes
- Cost Estimate: Less than $25.00
Craft supplies you will need
How to a Make a Christmas Village Shadowbox
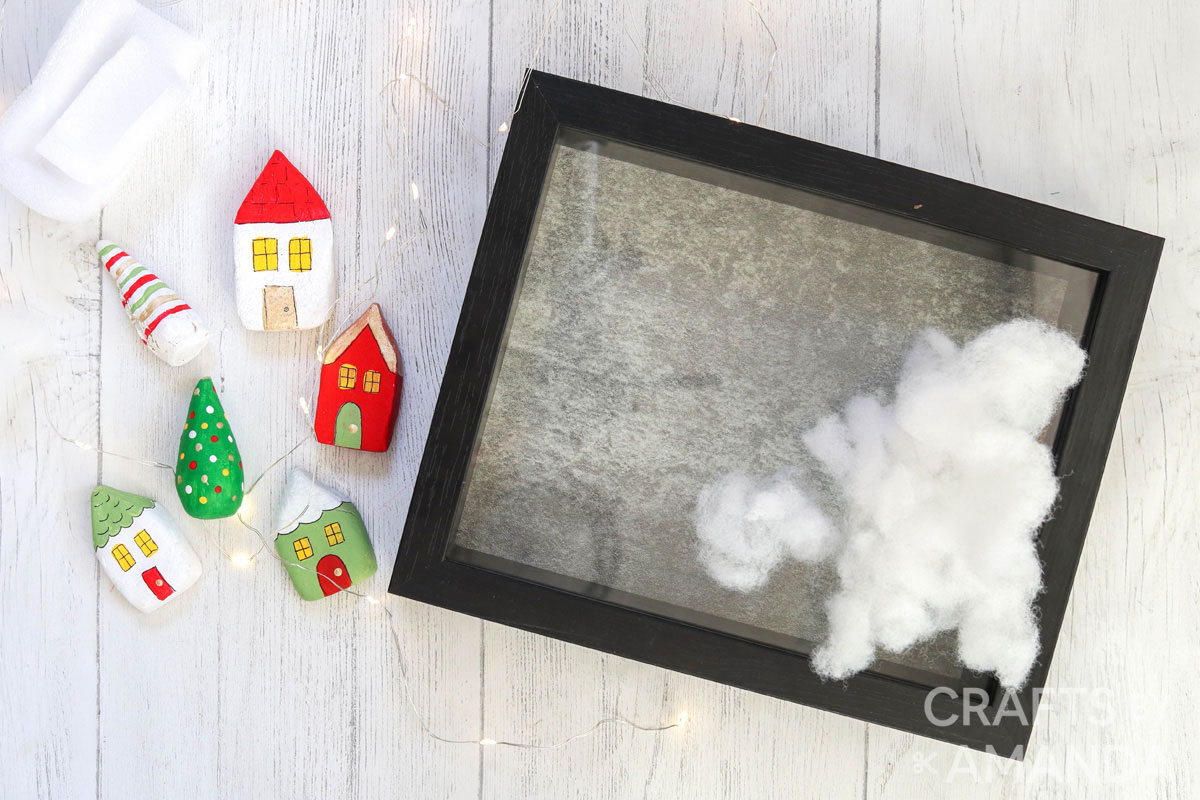
These step by step photos and instructions are here to help you visualize how to make this project. Please scroll down to simply print out the instructions!
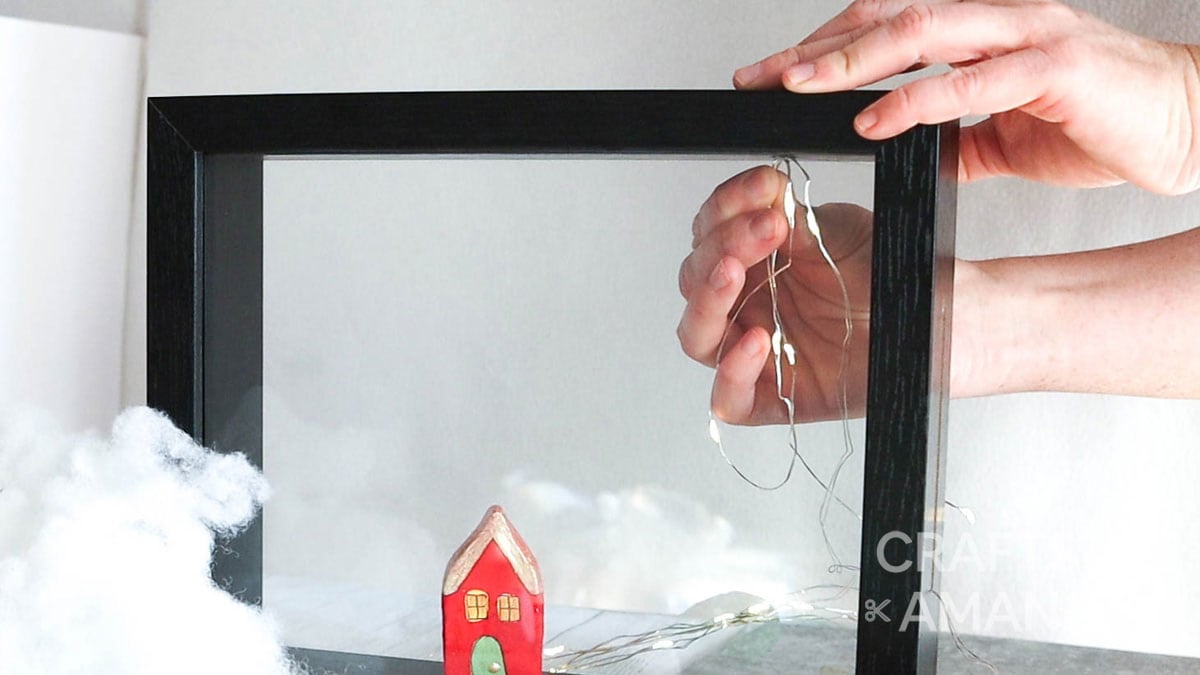
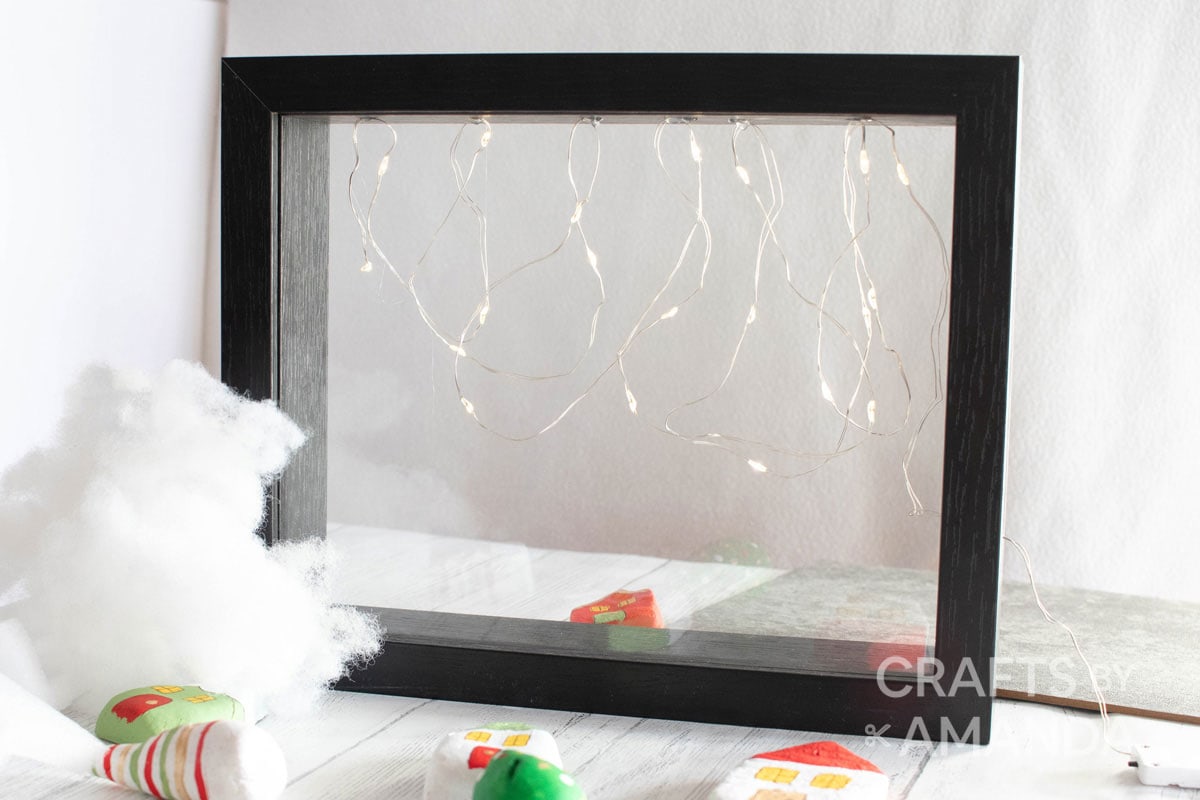
- Open the back of the shadow box, insert twinkle lights into the shadow box gluing the strand in a few places at the top and the sides.
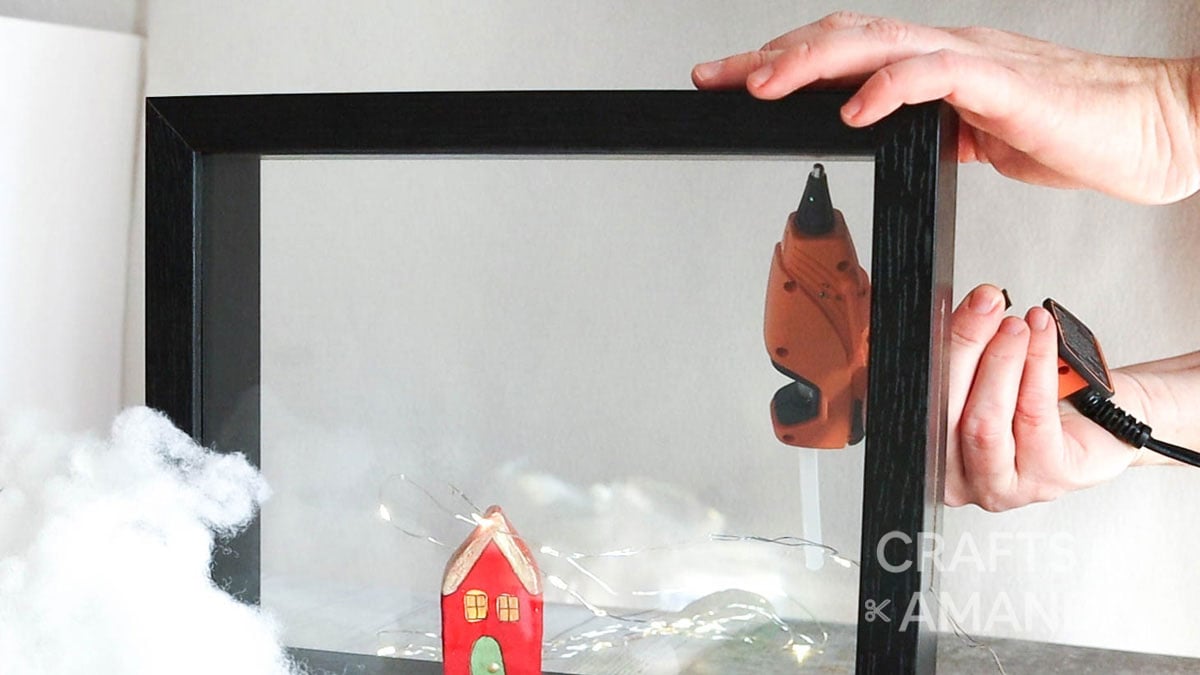
- Position some riser pieces on one side of the frame and glue in place.
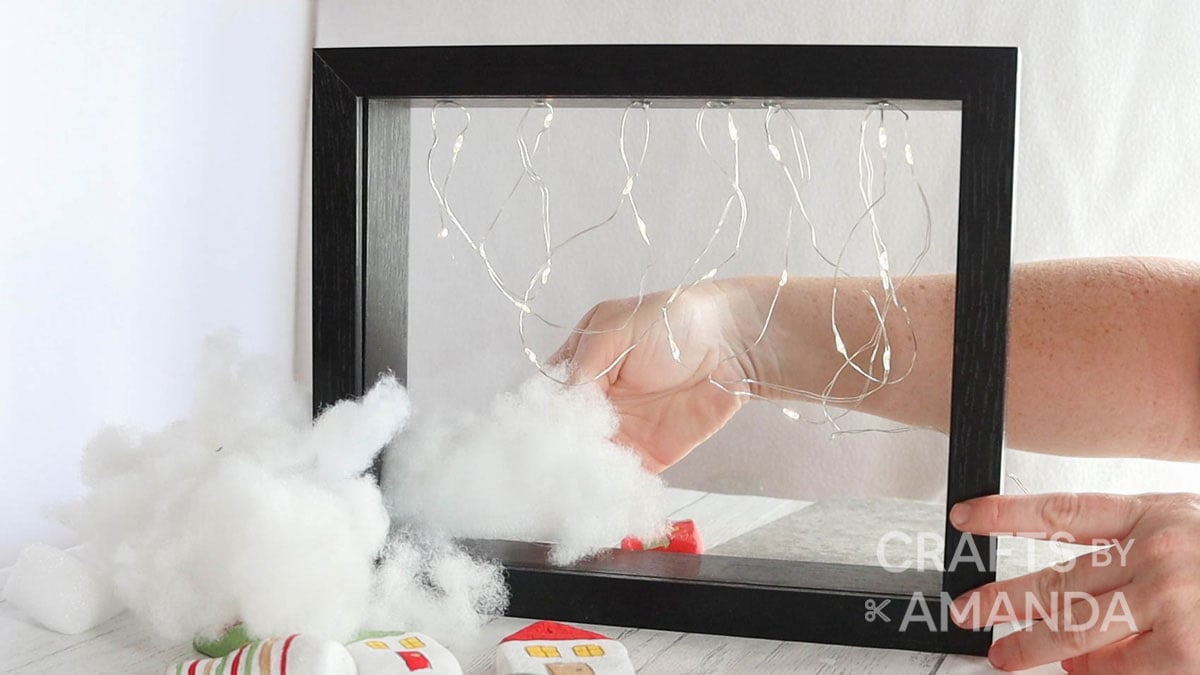
- Cover the riser pieces with batting to resemble snowy hills and valleys.

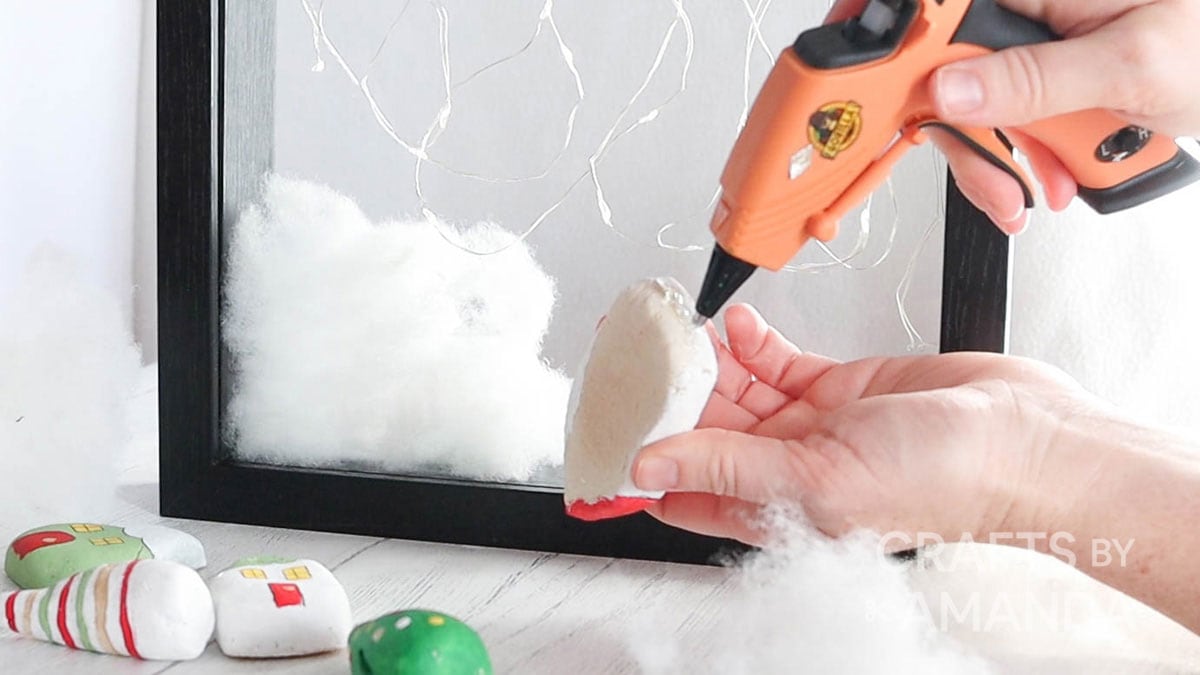
- Place painted houses and trees inside the box with some on top of the hills and others on the lower levels. Glue in place to hold.
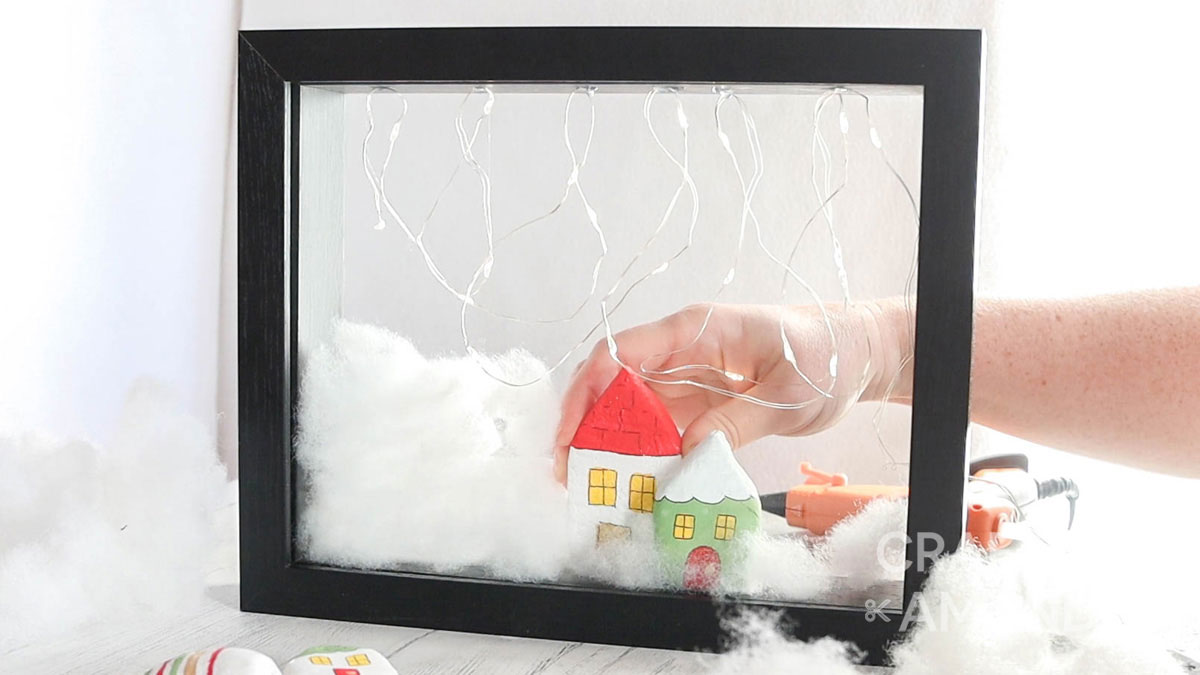
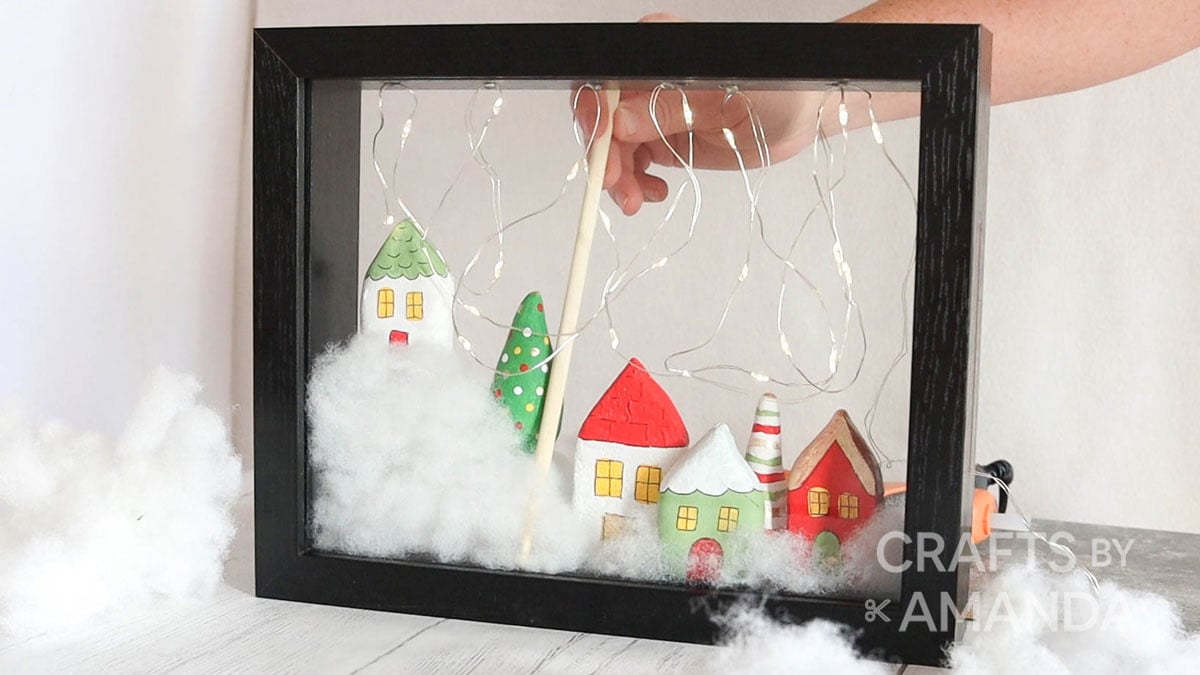
- Finish by putting the backing on to the shadow box frame enclosing the village inside.
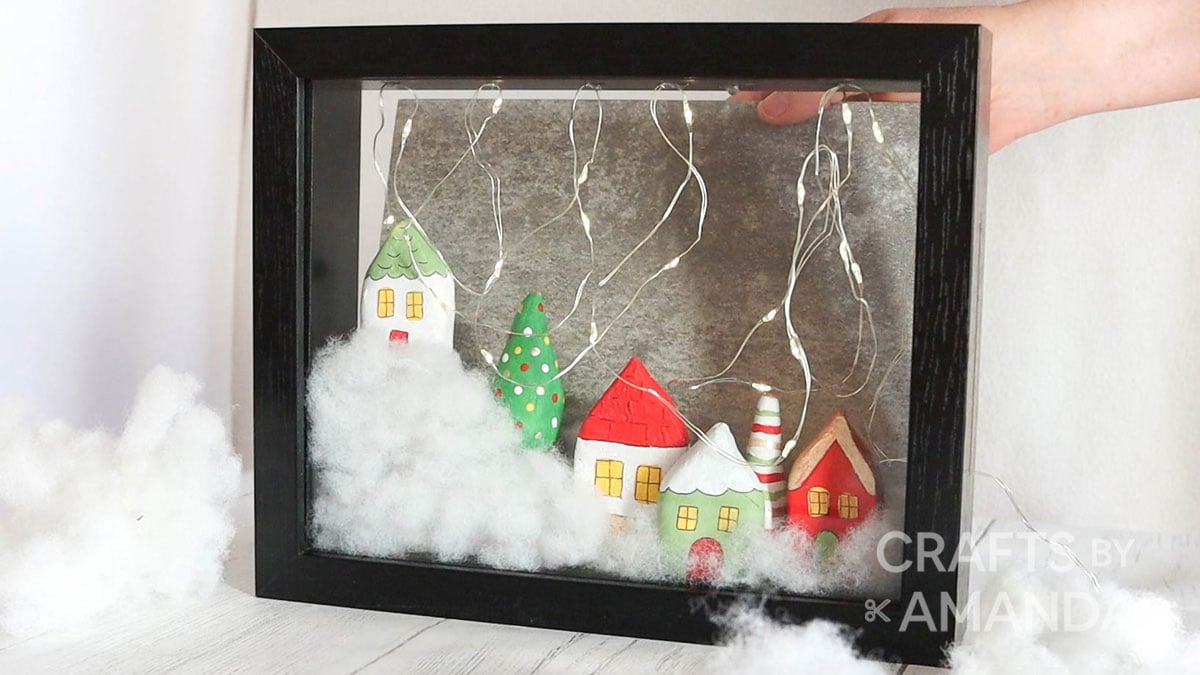
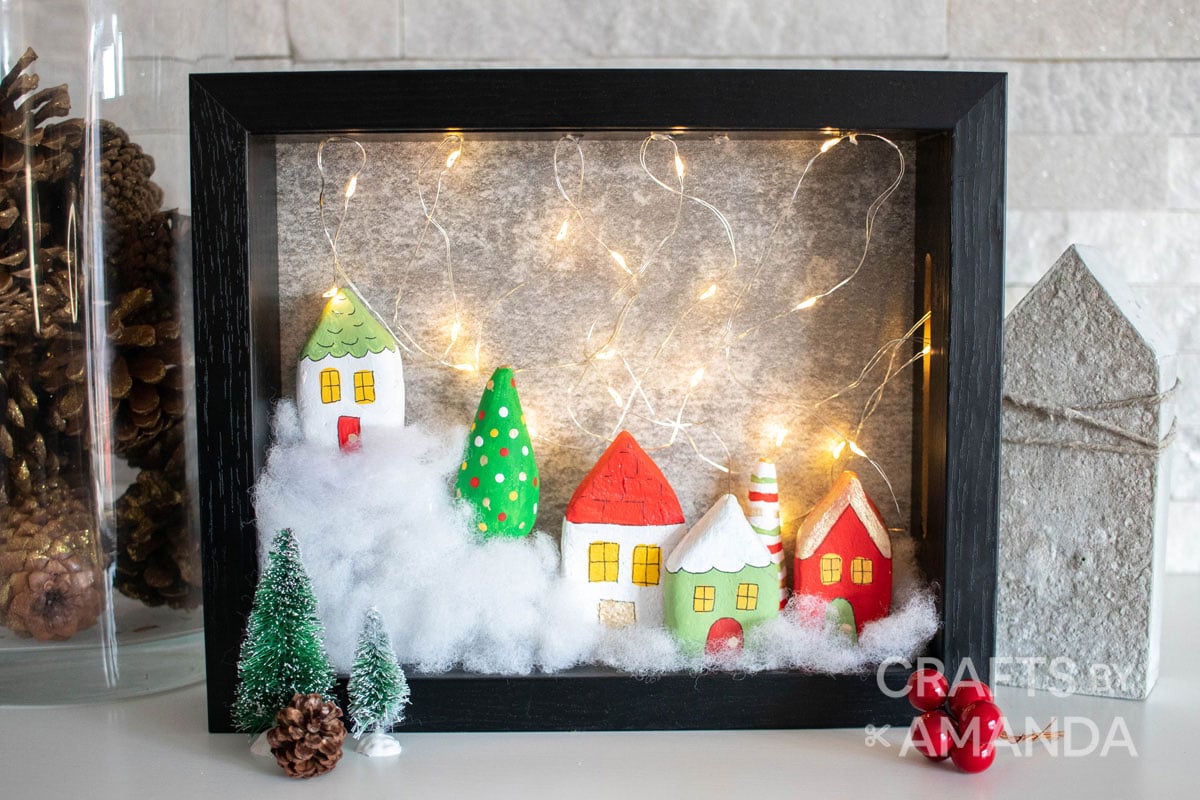
Below are pictures of both a white and black shadowbox. Use whatever color you like!
Expert Crafting Tips
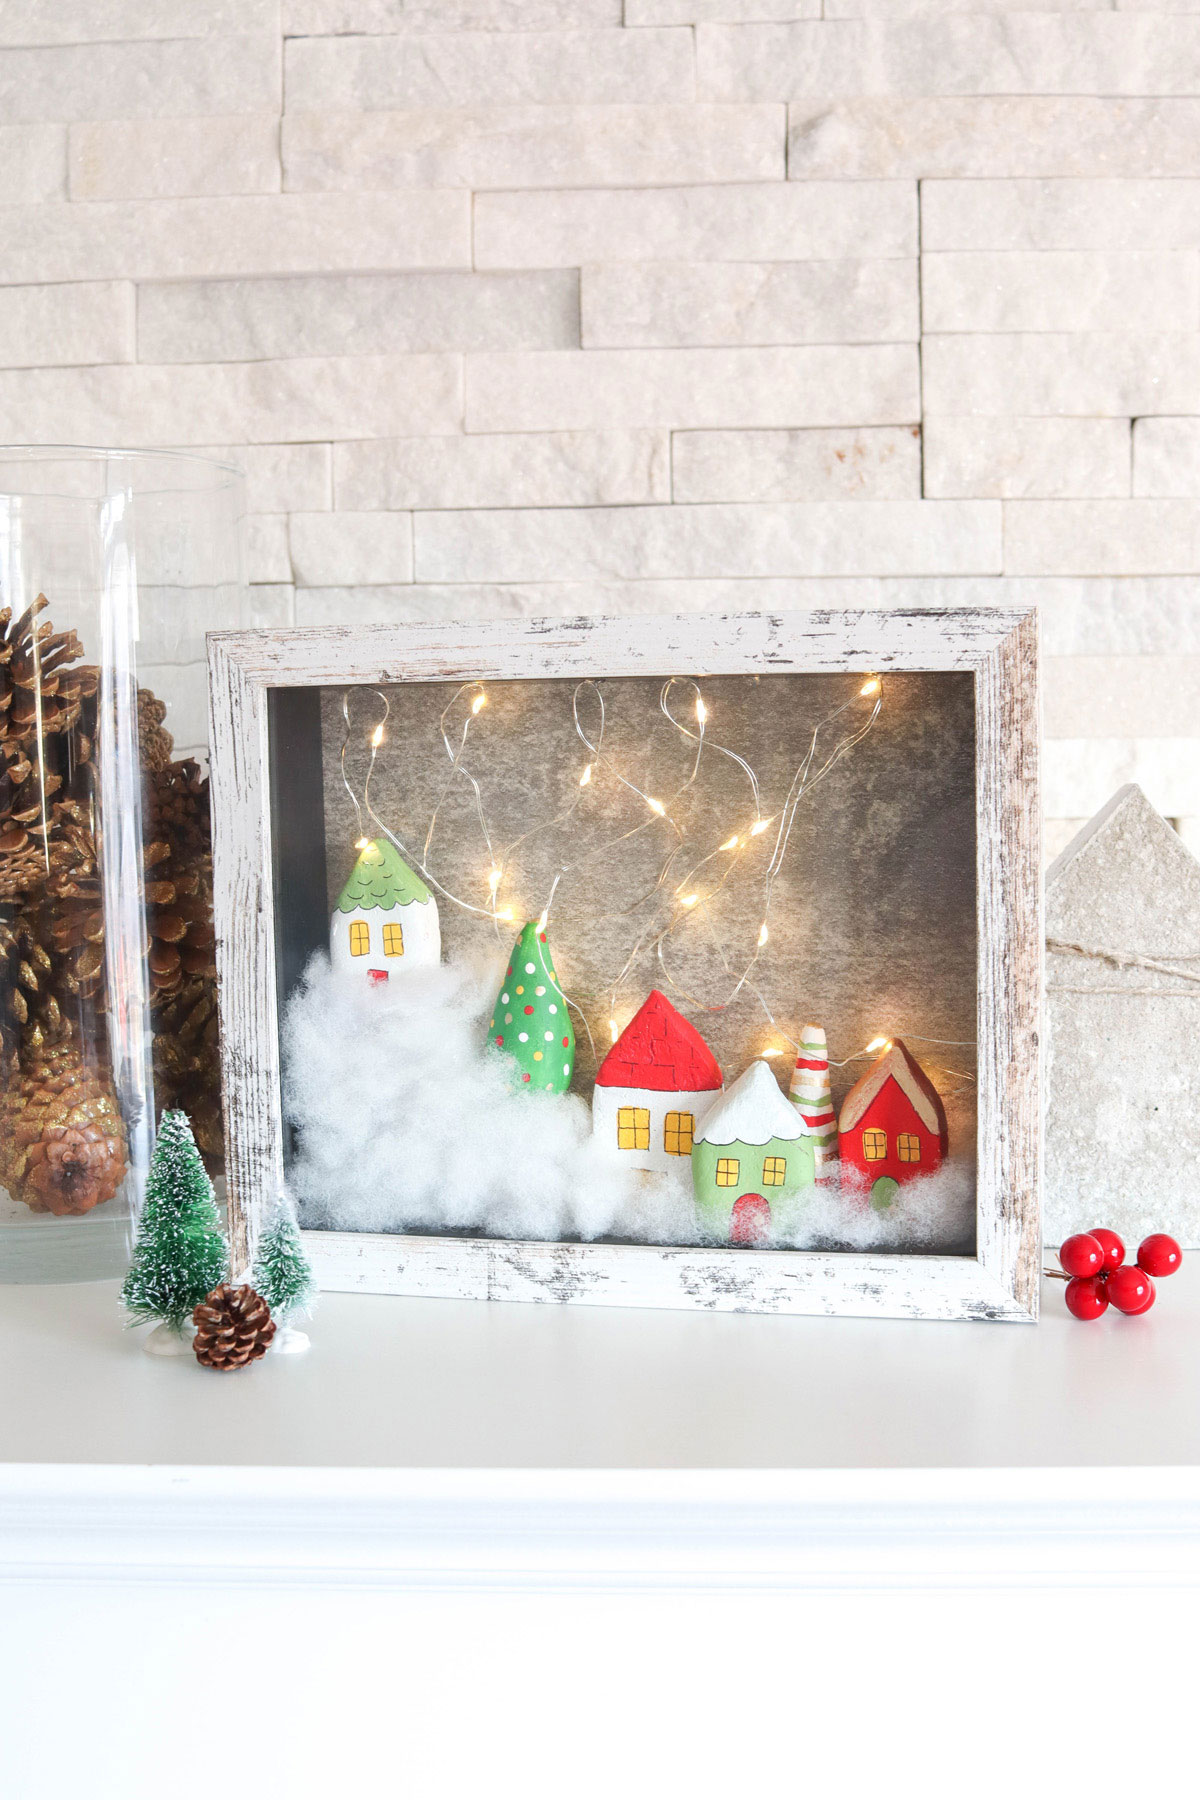
I hope you love this darling Christmas Village Shadowbox as much as we do! It’s a great addition to your fireplace mantel or as part of your holiday centerpiece.
Get the tutorial for the salt dough houses here.
More Christmas Projects
- Coastal Branch Christmas Trees
- Decomesh Poinsettia Flower
- Wood Slice Christmas Tree
- Felt Christmas Tree Centerpiece
I love to create and share my projects with you! I know it’s hard to remember to come back and search, so I’ve made it easy for you with my weekly newsletter! You can subscribe for free and I’ll send you fun crafts and delicious recipes every week right to your email.
Christmas Village Shadowbox
Supplies
- Shadowbox frame 8”x10”
- Batting
- Twinkle lights
- Riser pieces such as styrofoam packing materials to create the look of hills in the village
Craft tools
- Hot glue gun and clear glue sticks
Instructions
- Open the back of the shadow box, insert twinkle lights into the shadow box glueing the strand in a few places at the top and the sides.
- Position some riser pieces on one side of the frame and glue in place.
- Cover the riser pieces with batting to resemble snowy hills and valleys.
- Place painted houses and trees inside the box with some on top of the hills and others on the lower levels. Glue in place to hold.
- Finish by putting the backing on to the shadow box frame enclosing the village inside.
Video
Expert Tips & FAQs
- If you want to paint the shadowbox, be sure to do it before you assemble everything. We’ve provided links to both the black and the white shadowboxes we used.
- Instead of the salt dough trees, you can use bottle brush trees.
- Here’s the tutorial for the salt dough houses.
- Watercolor Luminaries - February 11, 2025
- Free Valentine Printables: Cards, toppers, and tags - February 4, 2025
- Valentine Hugs - January 31, 2025


Lora D says
Beautiful, festive project! There are so many ways to customize this incredible idea- thanks so much for sharing!
Stacia says
This is so cute. I think this will be a great family project this year. What type of lights did you use?
Marilyn says
Beautiful!
Have a great day!
Marilyn