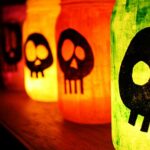
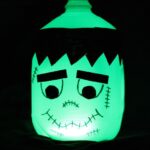
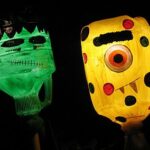
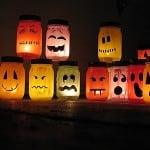
I love Halloween, it’s such a fun holiday to craft for. It’s that one time of year where people don’t think you’re weird for decorating with creepy, spooky things! I’ve made different types of luminaries for Halloween, including my very popular Painted Jar Luminaries and my Colorful Skull Luminaries.
These would also make a fun Halloween decor addition to your Pumpkin Painting Party!

But when I happened across these Handy Halloween Lights from Family Chic, I was surprised they had been out in the blogosphere for three years but this was the first time I had seen them! There were so simple and so fun, I knew I wanted to try my own version of them. I love how she crumpled up the paper too!
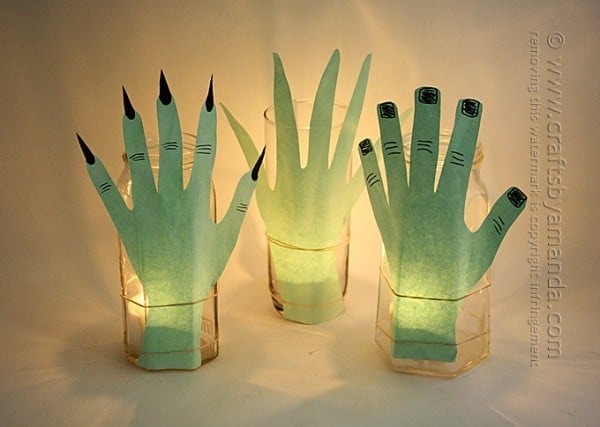
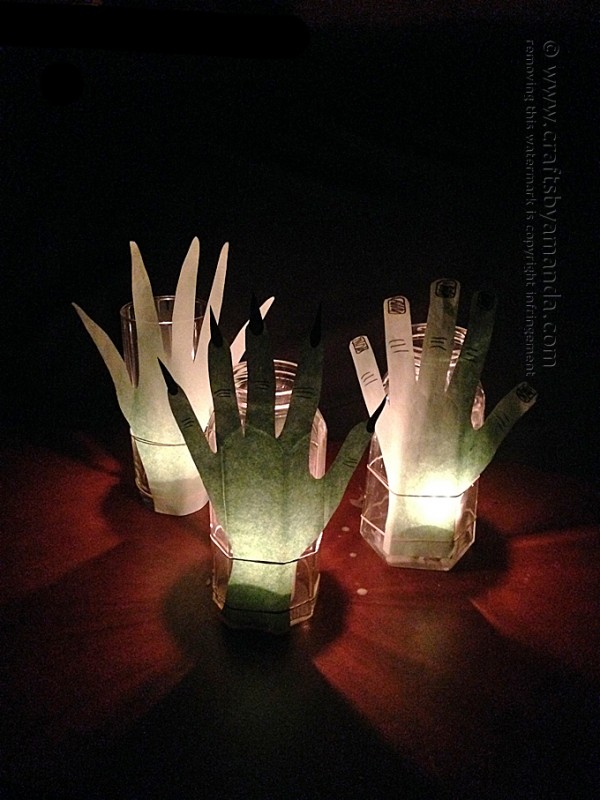
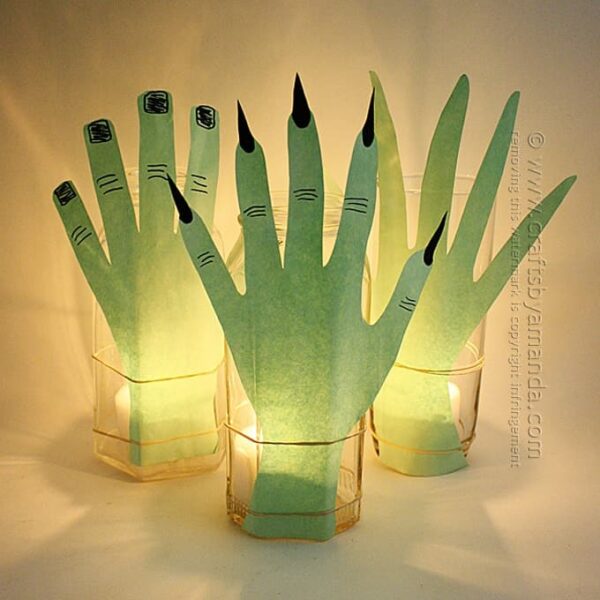
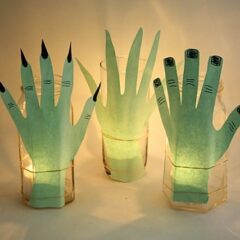
I wanted mine to be green, so I went with three hand types; Frankenstein, a witch and an alien hand.
This is an awesome project to do with the kids, which will give you all sorts of hand sizes!
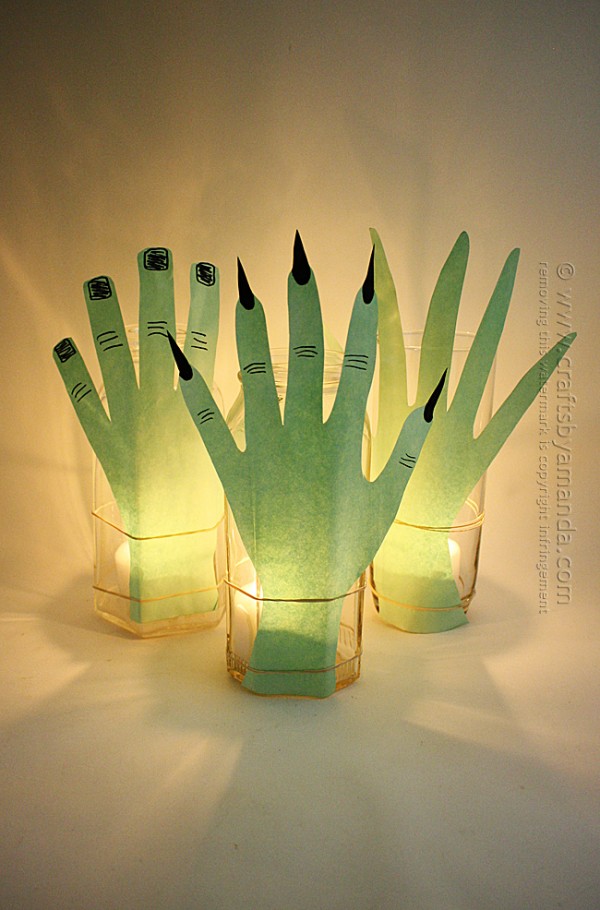
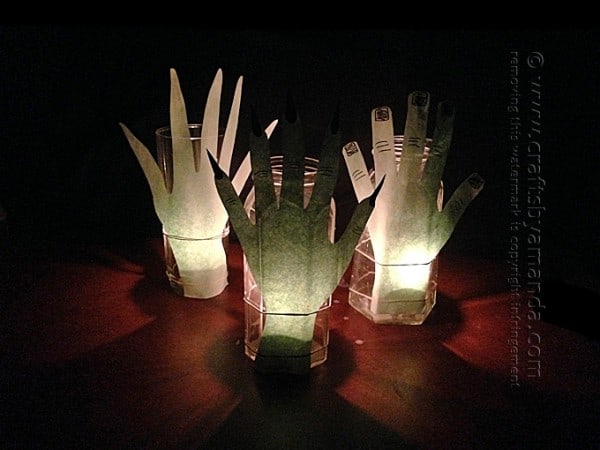
I made sure to use really tall jars/vases so that the paper couldn’t fold over. I prefer to use real candles because I think the glow is much nicer, but you can use LED tea lights or even glow sticks… green would be cool!
Just keep in mind that glow sticks only last one night, but if you are only going to use these for a party and not display them for several nights in a row, then that’s a great option.
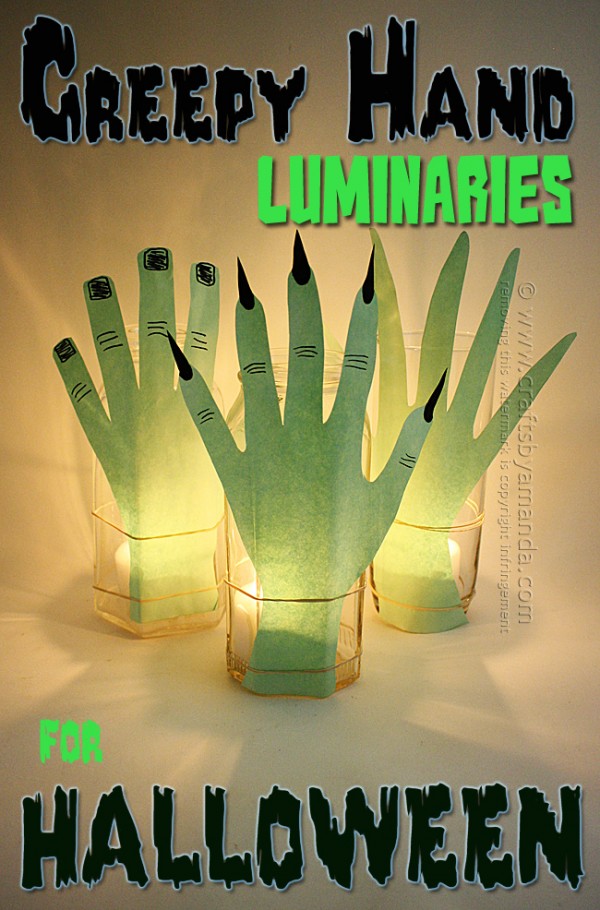
Luminaries for Halloween: Creepy Hands
Note: some links below are affiliate links. That means if you happen to buy something, a small percentage of that sale goes back into this site, which enables me to continue to bring you free tutorials such as this one. So, thanks!
As always, a full printable supply list and instructions are at the end of this post.
For this project you will need the following supplies:
- 1 piece of white copier paper
 (1 for each hand)
 - Green food coloring
- Water
- Clear glass jar
- Rubber bands
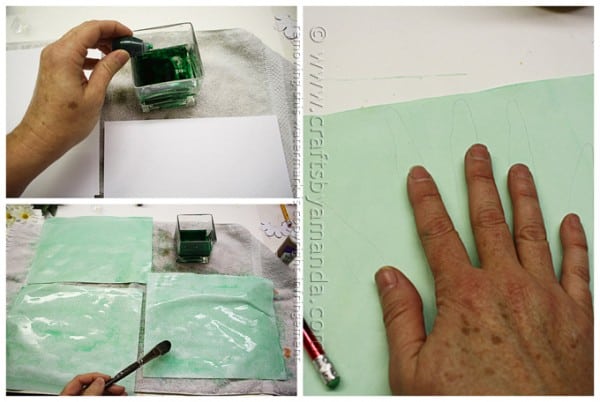
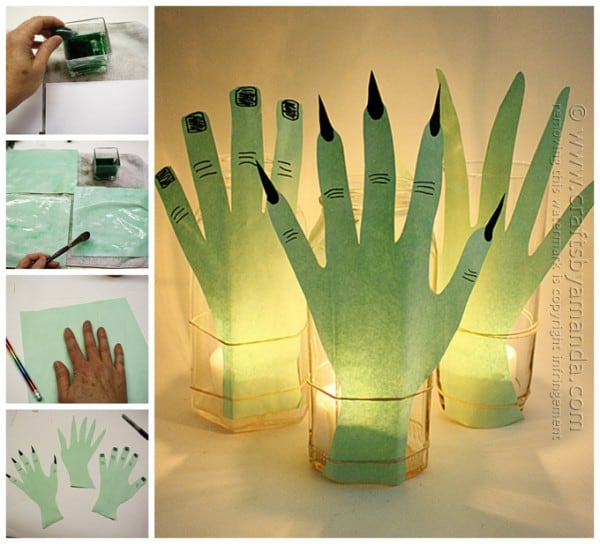
Line the work surface with an old towel, one that you aren’t worried about staining. Place white paper onto the towel.
Add green food coloring to a cup or dish with about an inch or so of water in it. Squeeze the food coloring bottle for about a second or two to get it nice and green. Stir it with your paintbrush.
Paint each piece of paper with the tinted water. Paint the back side as well and let them dry completely.
When dry, use a pencil to trace around hand and wrist onto the green paper.
If you would like to add claws or fingernails, be sure to draw points at the ends of the fingers while tracing.
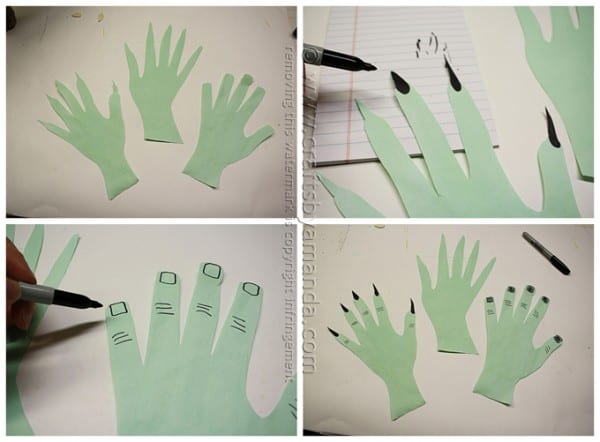
Cut out the hand shapes. You can add black square shaped fingernails with a marker for a Frankenstein hand. You can use some red food coloring or a red marker to color in the fingernails for a witch look.
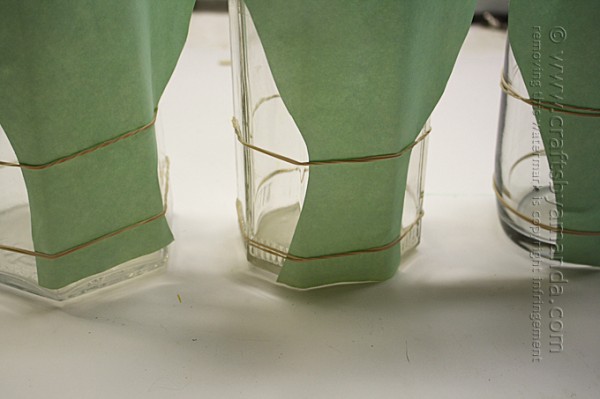
Use rubber bands to attach the hands to the fronts of the jars.
Safety notes:
- If you prefer to stay away from real candles, you can use LED tea lights instead or glow sticks (though glow sticks only last a few hours).
- If you like the glow of real candles, add a little clear tape to the hand near the top of the jar. This will help keep the hand sturdy and keep it from tipping over the top of the jar.
- Using jars or glass vases that are as tall as your paper hands is the best bet to avoid the possibility of the top of the hand folding over the top of the jar.
I hope you enjoyed this project and it inspires you to create with your kids! Have fun!
More Luminaries for Halloween
 |
 |
 |
 |
Creepy Hand Luminaries for Halloween
Supplies
- 1 piece of white copier paper 1 for each hand
- Green food coloring
- Water
- Clear glass jar
- Rubber bands
- Tools: scissors pencil paintbrush, old towel, black marker (optional)
Instructions
- Line the work surface with an old towel, one that you aren’t worried about staining. Place white paper onto the towel.
- Add green food coloring to a cup or dish with about an inch or so of water in it. Squeeze the food coloring bottle for about a second or two to get it nice and green. Stir it with your paintbrush.
- Paint each piece of paper with the tinted water. Paint the back side as well and let them dry completely.
- When dry, use a pencil to trace around hand and wrist onto the green paper. If you would like to add claws or fingernails, be sure to draw points at the ends of the fingers while tracing.
- Cut out the hand shapes. You can add black square shaped fingernails with a marker for a Frankenstein hand. You can use some red food coloring or a red marker to color in the fingernails for a witch look.
- Use rubber bands to attach the hands to the fronts of the jars.
Expert Tips & FAQs
- DIY Mosquito Repellent Candles - July 10, 2026
- Mason Jar Solar Lights - July 3, 2026
- Patriotic Pinwheels - June 23, 2026


Nina Lewis says
This is a wonderful idea! I think that I’ll do this at my Halloween party with the grandkids. Thanks so much for sharing.
Amanda Formaro says
Thank you nina, glad you liked it!
jet says
LOL even better, very funny and creepy, happy halloweens
and thank you very much of this great tute and the sharing;-D
Amanda Formaro says
Thank you Jet!