Advent calendars are very popular and fun. I remember the cheesy little advent calendars my dad would buy from the drug store when I was little. I couldn’t wait for the days to pass so I could open the little door and reveal that tiny chocolate that was waiting for me! Why not start a new Christmas tradition with your kids by creating a simple envelope advent calendar using no more than plain white envelopes and colored paper.
Envelope Advent Calendar
This envelop advent calendar is a fun way to count down the days until Christmas. Inside each envelope is a secret message, activity or treat just waiting for your child. I always loved those little chocolates when I was young, but there are so many creative ideas out there for stuffing your advent calendar pockets! Make it a rule that the advent envelopes cannot be opened until all family members are present so that everyone can participate!
To make it even more fun, divide out all 25 days amongst your family members. So if there are five of you, everyone will write out 5 messages, activities or ideas to include in the envelopes. Or if you prefer, a parent can write out the messages and everything will be a secret until the day it’s opened.
Here are a few ideas for stuffing your advent envelopes:
- Write messages or quotes that may give hints to the following day’s activity
- Create silly coupons like “free hugs” or “one free Christmas cookie after bath time”
- Use a few larger activities like “build a snowman” or “play a board game”
- Edible ideas are fun too like “make hot cocoa with marshmallow” or “sprinkle sugar on Christmas cookies”
- Winter and Christmas crafts such as “make paper snowflakes” or “make handprint Santas” are especially fun
To make an easy envelope advent calendar you will need:
- 25 letter sized white envelopes
- Colored paper or card stock
- White paper or card stock
- Glue stick
- Clear tape
- String
- Scissors
- Paper cutter (optional, but helpful)
First, write out all your messages, fold them up and insert one into each envelope.
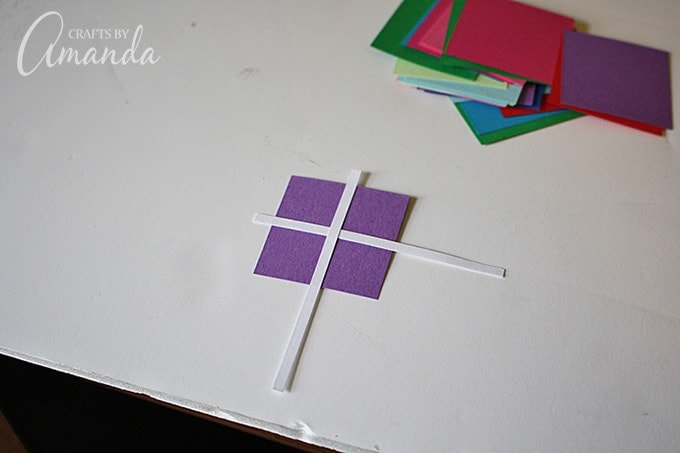
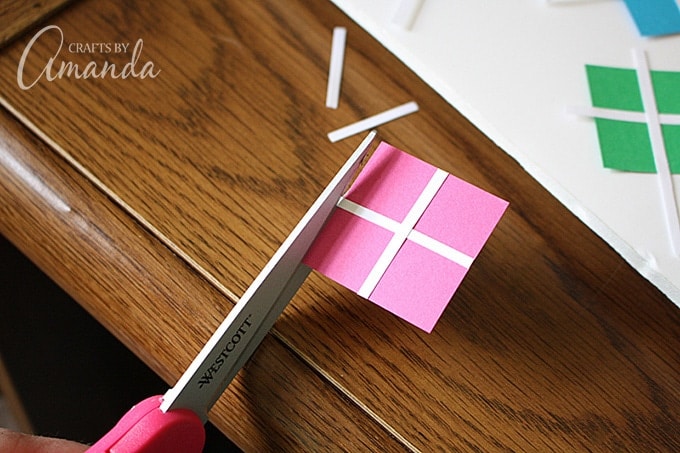
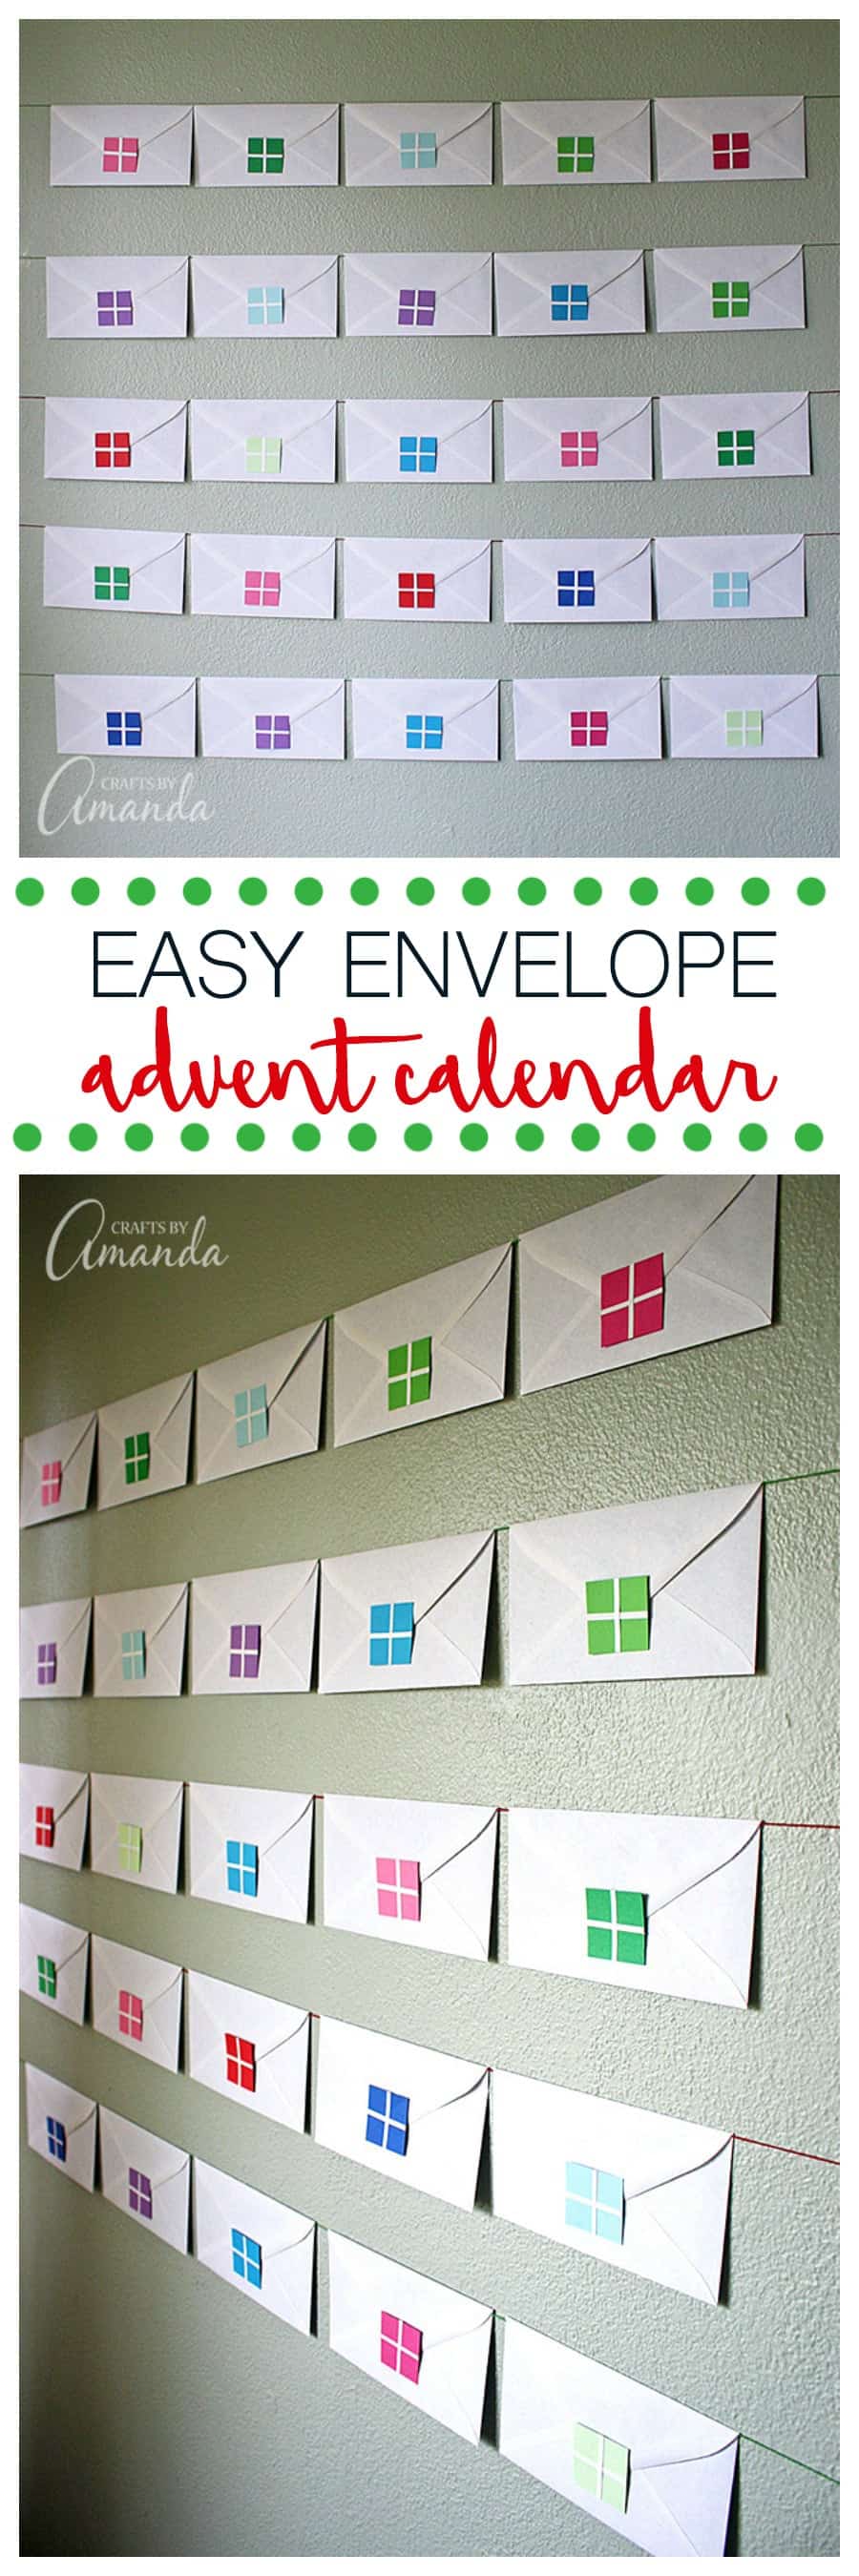
Use a paper cutter or scissors to cut colored paper into 1 1/2-inch squares. Cut 1/4-inch wide strips of white paper as well. Use a glue stick to attach white strips in a criss cross pattern to create little “presents” to go on your envelopes.
Trim off the excess white paper using scissors.
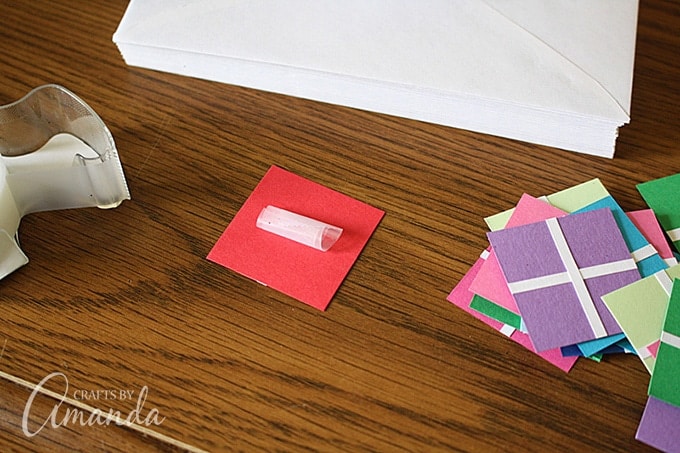
Roll a piece of clear tape, sticky side out, and press it onto the back of the “present”.
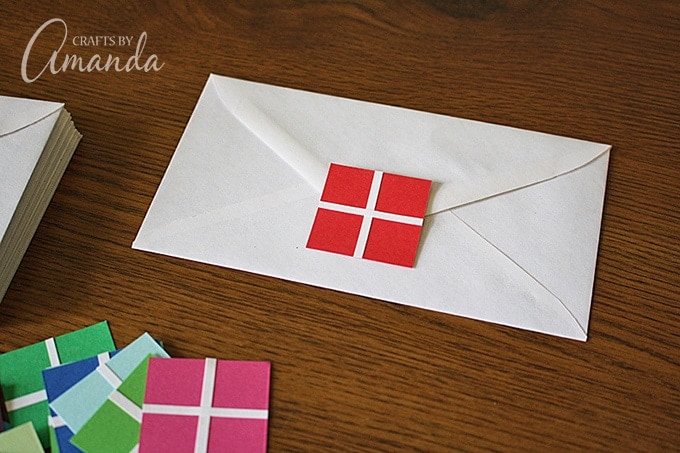
Press the present onto the envelope flap, do not lick and seal the envelope.
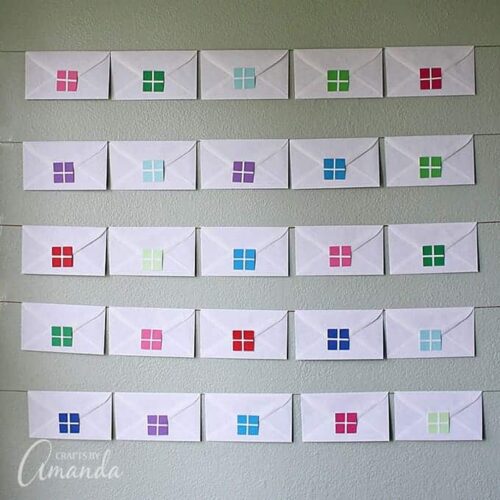
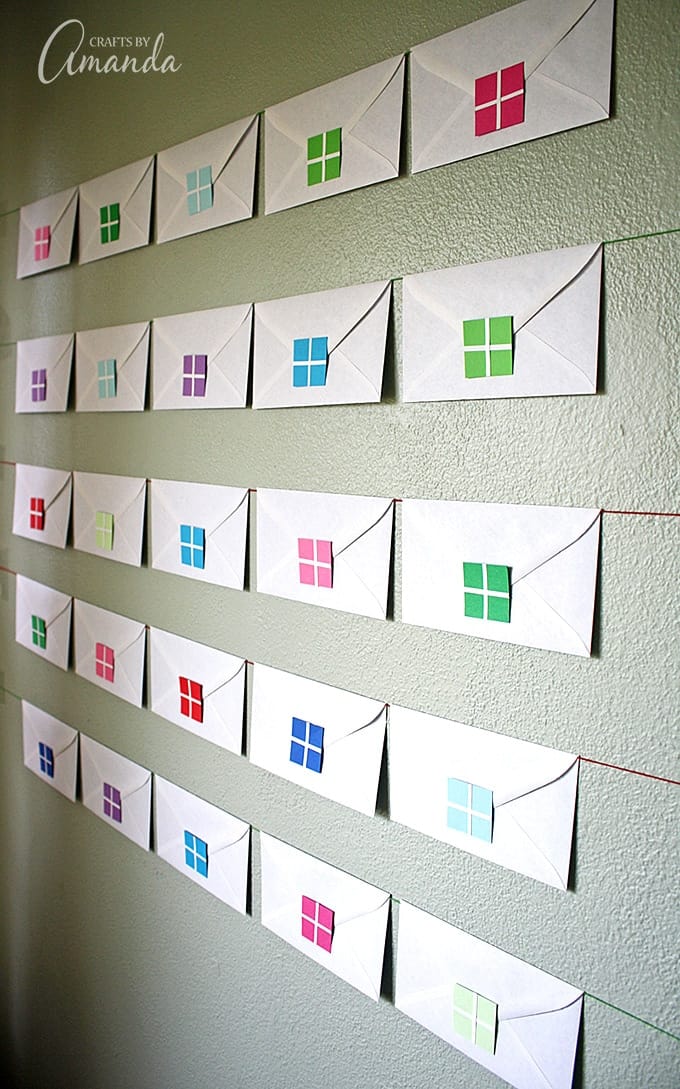
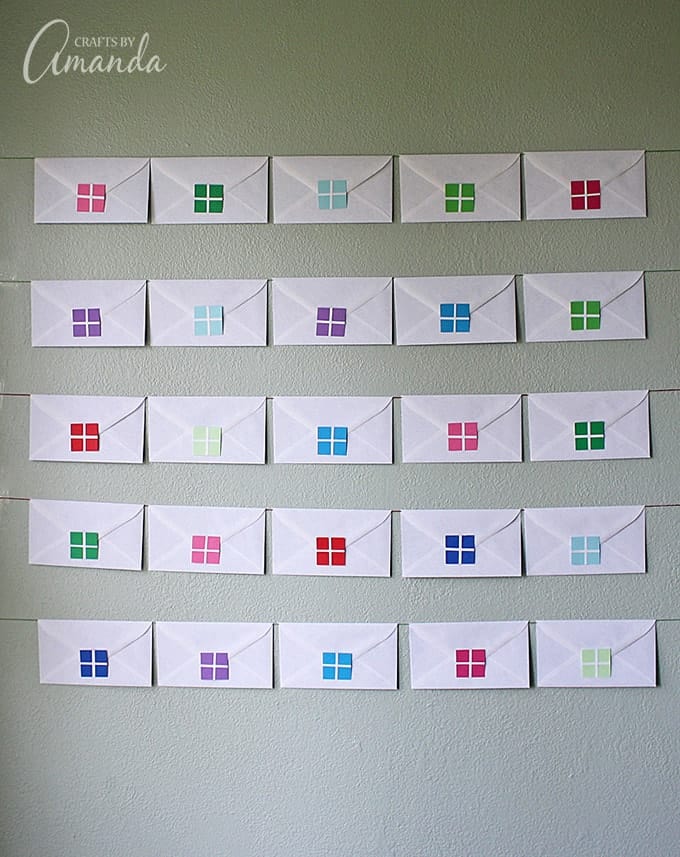
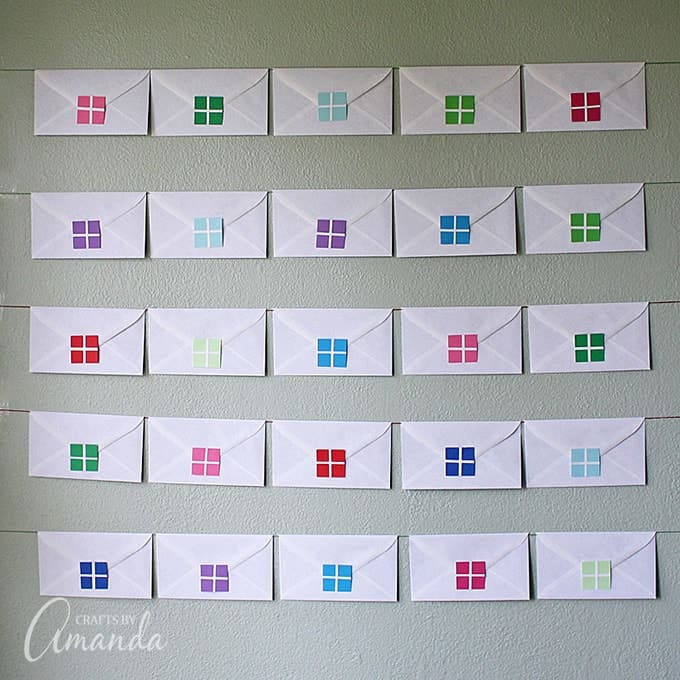
There are several ways to hang your advent calendar. We’ve used string and gently opened each envelopes, then closing it around the string so that they hang neatly. Here are some other ideas for hanging your advent envelopes:
Use wall putty or thumbtacks to attach envelopes to the wall in the shape of a Christmas tree.
Purchase a large Styrofoam wreath or use a large cardboard box that has been cut into wreath shape and attach envelopes around it.
Hang string or yarn like garland and attach envelopes using miniature clothespins. Use wall putty or tape to attach envelopes to a door.
If your space is limited, line up envelopes in a decorated shoebox, use a paper clip to mark your place.
If you like, you can add numbers to each of the envelopes (1 through 25) so that it’s easier for kids to see which envelope should be opened next. There you have it, an envelope advent calendar!
More Christmas Crafts for Kids
Looking for more Christmas crafts to do with your kids? Here are just a FEW of my all time favorites!
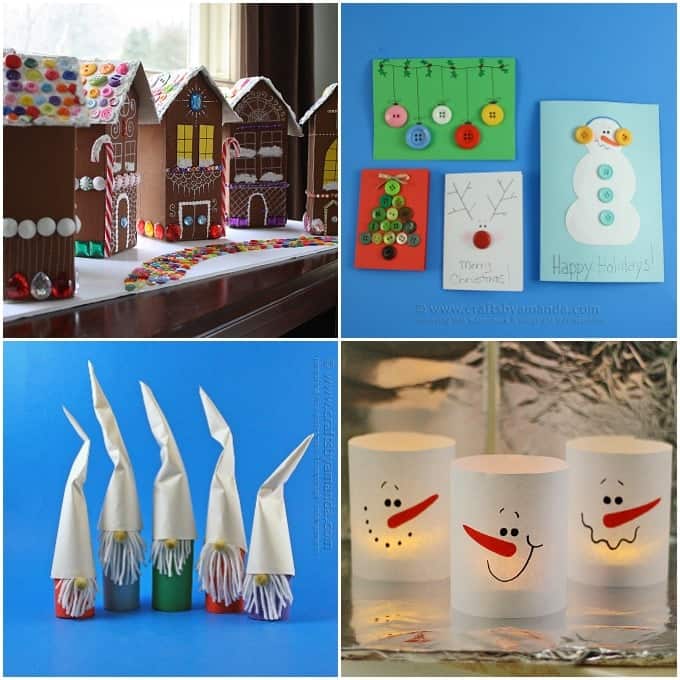
- I made this recycled village of gingerbread houses out of empty milk cartons!
- Use my easy tutorial to turn buttons and card stock into adorable button Christmas cards.
- These darling little cardboard tube gnomes are made from toilet paper tubes and paper towel tubes.
- If you have 3 minutes to spare, pull out the markers to make these super cute paper snowman luminaries!
Enjoy and Merry Christmas and check out these other advent calendar ideas!
Envelope Advent Calendar
Supplies
- 25 letter sized white envelopes
- Colored paper or card stock
- White paper or card stock
- Glue stick
- Clear tape
- String
- Scissors
- Paper cutter optional, but helpful
Instructions
- First, write out all your messages, fold them up and insert one into each envelope.
- Use a paper cutter or scissors to cut colored paper into 1 1/2-inch squares. Cut 1/4-inch wide strips of white paper as well. Use a glue stick to attach white strips in a criss cross pattern to create little “presents” to go on your envelopes.
- Trim off the excess white paper using scissors.
- Roll a piece of clear tape, sticky side out, and press it onto the back of the “present”.
- Press the present onto the envelope flap, do not lick and seal the envelope.
- There are several ways to hang your advent calendar. We’ve used string and gently opened each envelopes, then closing it around the string so that they hang neatly. Here are some other ideas for hanging your advent envelopes:
- Use wall putty or thumbtacks to attach envelopes to the wall in the shape of a Christmas tree.
- Purchase a large Styrofoam wreath or use a large cardboard box that has been cut into wreath shape and attach envelopes around it.
- Hang string or yarn like garland and attach envelopes using miniature clothespins.
- use wall putty or tape to attach envelopes to a door.
- If your space is limited, Line up envelopes in a decorated shoebox, use a paper clip to mark your place.
- If you like, you can add numbers to each of the envelopes (1 through 25) so that it’s easier for kids to see which envelope should be opened next.
I originally created this project for Menards.
- Paper Plate Tropical Fish Craft - July 19, 2024
- Tropical Paper Flowers - July 16, 2024
- DIY Mosquito Repellent Candles - July 9, 2024


Leave a Reply