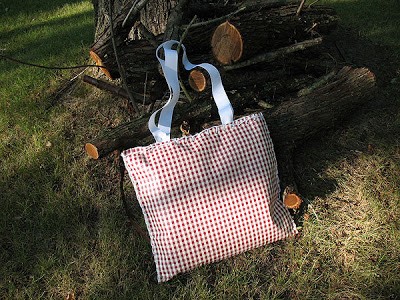
Summer is just about over and the kids will be heading back to school soon. But that doesn’t mean that they’ll be spending less time outside just yet. Any mom whose ever been involved with scouts will remember this project. Making a sit upon is fun, it’s easy, and it creates a fun seat for your child to keep their tushy protected from dirty or wet grass. Make a sit upon before summer comes to a close!
A sit upon is usually made from some sort of waterproof fabric, like a fabric backed vinyl tablecloth, and filled with some padding. The padding can be a stack of newspapers, crumpled newspaper, foam squares, scraps of fabric, or even a preformed throw pillow. Everything is sewn together by using some yarn and a hole punch and when used it will protect a child’s backside from the wet grass or dirty ground.
I chose to recycle an old, ratty bed pillow to use as the innards. You know the kind. Those yucky looking pillows that your kids have been drooling sleeping on for ages. So you go out and buy new pillows for the kids, but what to do with the old ones? Feel guilty about throwing them in the garbage? Then remove the outer fabric casing and make a sit upon with me!
supplies:
water resistant fabric (I used a roll of heavy duty shelf liner)
recycled pillow
hole punch
scissors
ruler
yarn
tape
These items are optional for the shoulder strap:
wide ribbon
needle
clear thread
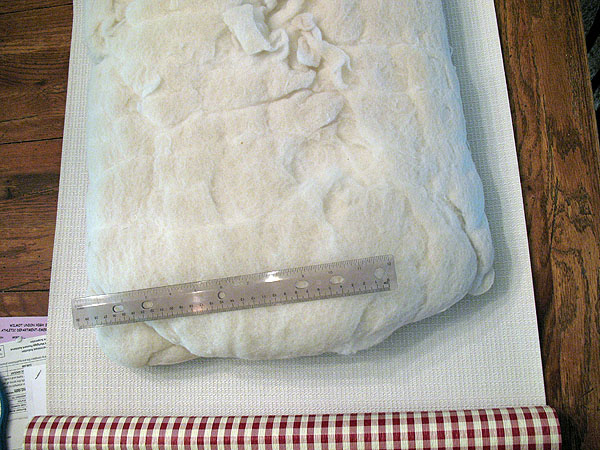
You’ll want to start by measuring your fabric to be two inches wider than your pillow. Because I used an actual bed pillow, I used my scissors to cut the pillow to approximately 13″ square.
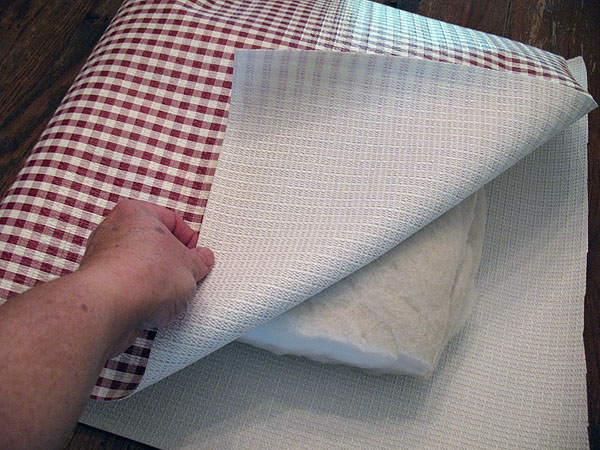
Now take your fabric of choice and fold it over the pillow so that you have 3 open sides.
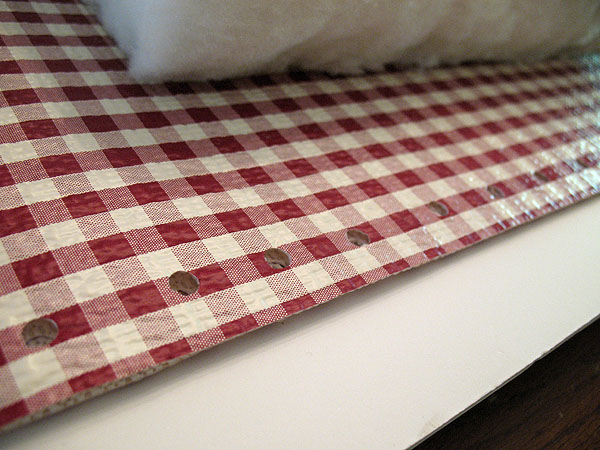
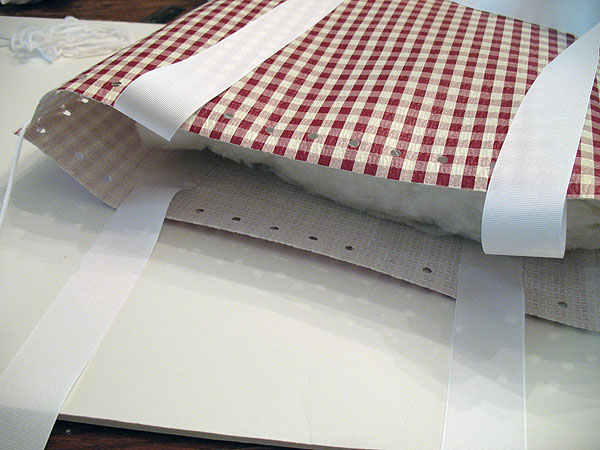
Trim the 3 sides so that they are 2 inches of fabric overlap on all three sides. Now remove the pillow and set aside and fold the fabric so that the right sides are facing out. Use a hole punch to create holes 1-inch apart about 1/2-inch from the three open edges.
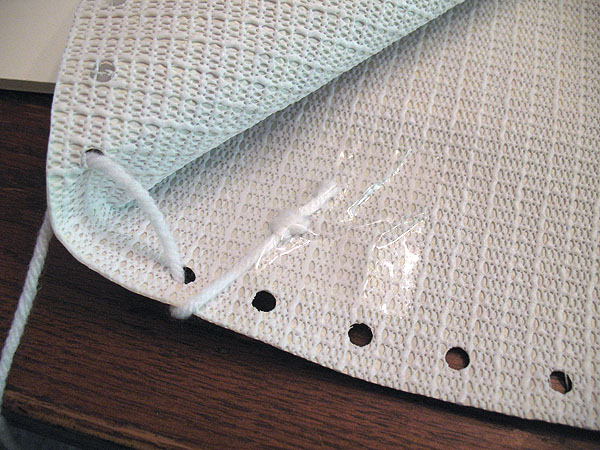
Cut a piece of yarn about two times the length of one side of the fabric. Tie a knot in one end and wrap a piece of tape around the other end (to make it easier to thread through the holes). Starting near the folded end, sew up one side of the fabric using a blanket stitch. I started my stitch at the first hole, but taped the end of the yarn inside the fabric so that the knotted end didn’t come loose and come through the large hole, which could have unraveled the entire thing.

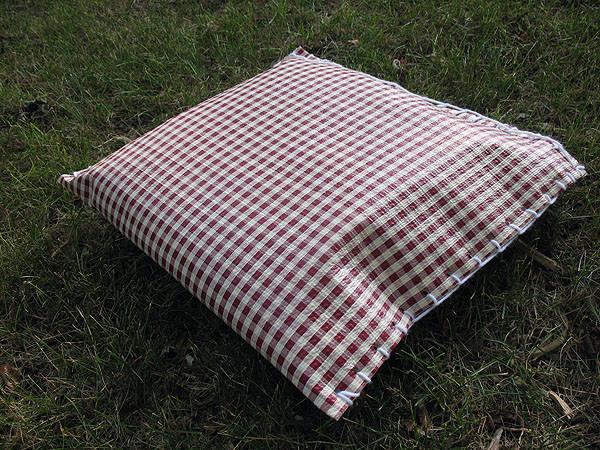
Repeat this process on the other side, leaving the top open. Insert the pillow into the opening.
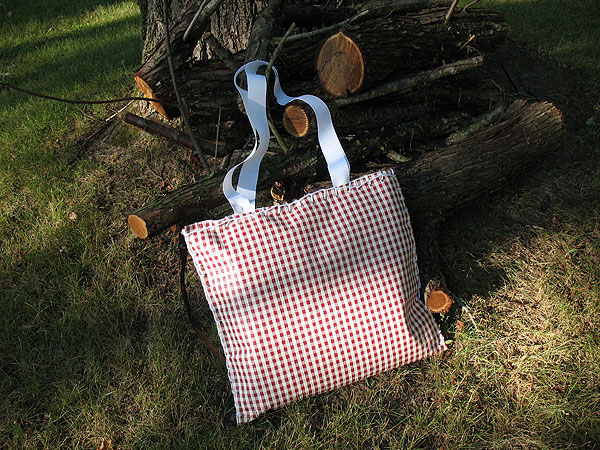
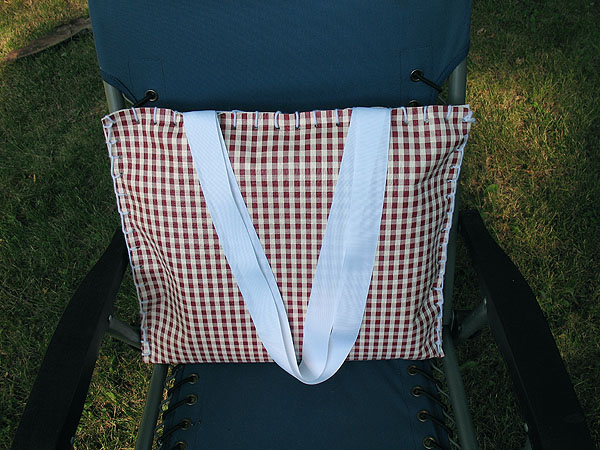
If you plan to add handles you will need some clear thread and a needle. First, to measure the correct length of ribbon, have child stand comfortably and drape the ribbon over their shoulder. Cut the proper length based on where you want the cushion end to be. You will need 2 equal lengths of ribbon. Place the ribbon inside the opening and hand sew the ends inside the fabric. Finally, finish the stitching across the top opening.
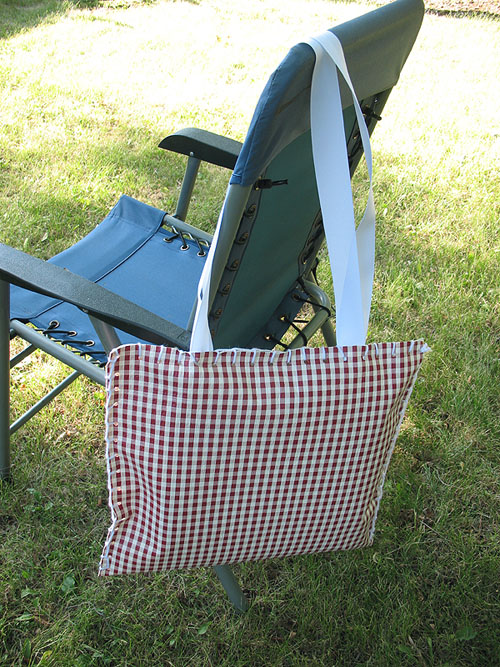
This is a fun project for kids that involves only a little help from a grown up. You can skip the shoulder strap to simplify this project even more.

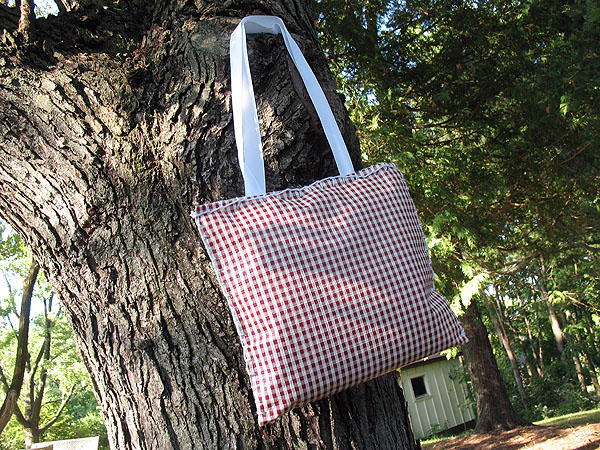
By using a water resistant fabric, you will be able to easily wipe the sit upon clean with a damp cloth.
Make a Sit Upon - great camp craft!
Supplies
- water resistant fabric I used a roll of heavy duty shelf liner
- recycled pillow
- hole punch
- scissors
- ruler
- yarn
- tape
- wide ribbon
- needle
- clear thread
Instructions
- You’ll want to start by measuring your fabric to be two inches wider than your pillow. Because I used an actual bed pillow, I used my scissors to cut the pillow to approximately 13″ square.
- Now take your fabric of choice and fold it over the pillow so that you have 3 open sides.
- Trim the 3 sides so that they are 2 inches of fabric overlap on all three sides. Now remove the pillow and set aside and fold the fabric so that the right sides are facing out. Use a hole punch to create holes 1-inch apart about 1/2-inch from the three open edges.
- Cut a piece of yarn about two times the length of one side of the fabric. Tie a knot in one end and wrap a piece of tape around the other end (to make it easier to thread through the holes). Starting near the folded end, sew up one side of the fabric using a blanket stitch.
- Repeat this process on the other side, leaving the top open. Insert the pillow into the opening.
- If you plan to add handles you will need some clear thread and a needle. First, to measure the correct length of ribbon, have child stand comfortably and drape the ribbon over their shoulder. Cut the proper length based on where you want the cushion end to be. You will need 2 equal lengths of ribbon. Place the ribbon inside the opening and hand sew the ends inside the fabric. Finally, finish the stitching across the top opening.

Did you enjoy this post? Why not subscribe to my feed, or better yet, to my free newsletter – Foodie in the Craftroom, which provides not only crafts but recipes from my other blog, Amanda’s Cookin’ as well!
- Tie Dye Beach Towels - July 24, 2026
- Swirling Twirling Ladybugs - July 21, 2026
- Drip Tie Dye Backpack - July 17, 2026


Lisa Jackson says
These are awesome! I can’t wait to make them for my VBS group. Thanks!
Amanda Formaro says
Thanks Lisa, have fun with it!
Lora says
Why the need to removed the outer casing of the pillow?? I’m new to crafting – just wondered. Thanks.
Amanda says
Hi Lora. For a new pillow you don’t have to :) In this particular craft I stated that I used some grungy older bed pillows that looked a bit gnarly, so I removed the outer casing.
Dana says
Thank you!! I used your instructions to make 8 for my girl scout troop to finish today!
creativejewishmom/sara says
what a wonderfully useful project! one could also put decals on plain oilcloth for sports teams……thanks so much for sharing on Craft Schooling Sunday!
amy (mamascout) says
love this! and especially the handles. I want to make these with my kids for when we meet with our friends in the woods.
Mary Smith says
Great blog, I love all your craft ideas!! Lots of fun projects for the summer. We still have several weeks to go before school's back in here.
Robyn says
Flash from the past! LOL way back 40+/- years ago, we used oil cloth and put newspapers inside for insulation from the ground….no pillow luxuries…we were in Northern New England so the ground was cold most of the year. I think we had some kind of ties and tied them around our waist when hiking.I had so forgotten about these! Thanks for the share!
Melony Bradley says
Very good idea. Loved the way you chose to finish the edges with the lacing. Will have to make some for my outdoor furniture.
http://www.mel-designs.typepad.com
Sylvie Créative says
Great idea! So nice and useful! Thanks for the nice tuto!
[email protected] says
What a brilliant idea. You can totally make cushions for outside now, EASY PEASY,,, thanks for showing us this awesome trick.
Have a great day Amanda!!
I would LOVE to invite you to check out my weekly parties. I would be so happy if you linked up, this and any other fabulous project you are working on. MAYBE even add me to your party LIST (yikes). That would be RAD!!!
Stop by anytime to say hello!!!
Hugs, Bella :)
**AMAZE ME AUGUST** @ Bella Before and After Any projects, recipes, diy welcome.
**PARTY PLANNING TUESDAYS** @ Euro Style Cakes. All your party planning tips, decorations, invitations, and recipes welcome at my NEW party.