This mod podge photo collage clipboard makes a great Father’s Day, anniversary, or just-because gift. Use photocopied pictures of something that means the most to him. In this case, I used photos of all my husband’s cars and motorcycles over the years.

Mod Podge Photo Collage Clipboard for Him
I originally made this clipboard for my husband for Father’s Day, but just haven’t had a chance to post it yet. This was an awesome gift tailored just to him, and here’s why. He’s a car guy. He works on cars, watches TV shows about cars, and loves to tinker with cars. He’s had quite a few different cars, trucks, and motorcycles over the years, and he has a photo of each one. Yep, that’s how much he likes things that go.
Of course, this is a great gift for any man, and it can be tailored to whatever his interests are. Adventurer? How about photos of places he’s traveled to. Sports nut? Mod Podge pictures of his favorite sports team and him dressed in his game-day best! Or maybe just proud daddy and a clipboard covered in his adorable children. Christmas, birthday, or Father’s Day, this makes a great personalized gift!

One day when I was going through photos for a completely different reason, I came across the envelope with all of hubby’s vehicle photos. That’s when it hit me that this would be the perfect gift for him! However, I didn’t want to use the original photos. We don’t have the negatives anymore, and these photos are from “back in ‘Nam” as my teenagers like to tease.

So instead, I photocopied the pictures and tucked the originals safe and sound back into their envelope. Then I got to work.
What you’ll need
- Clipboard
- Painter’s tape
- Black spray paint
- Mod Podge or other decoupage medium
- Photocopies of photographs
- Decoupage squeegee (or credit card)
- Sealer spray
- Sandpaper
How to Make a Photo Collage Clipboard

First I would need a clipboard. I found this ratty one in the garage, black plastic with a metal clip. Perfect.
Please note, the “instructions” under each photo are just a summarization. If you plan to make this project, please use the full printable instructions at the end of this post. :)
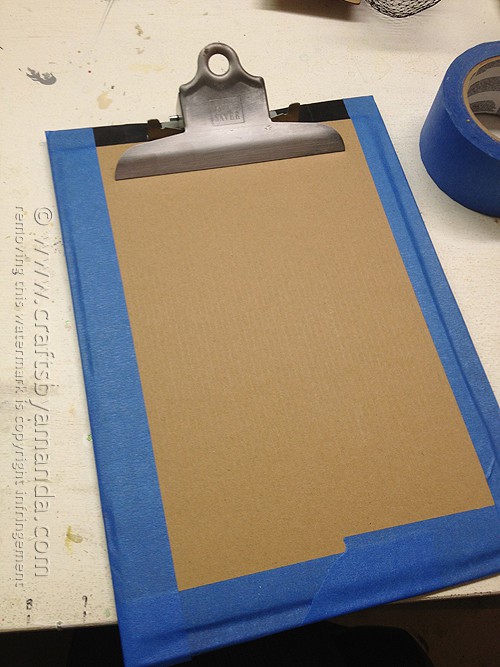
The first step was to paint the clip. I covered the clipboard in cardboard and used painter’s tape to make sure everything was covered except for the metal clip.
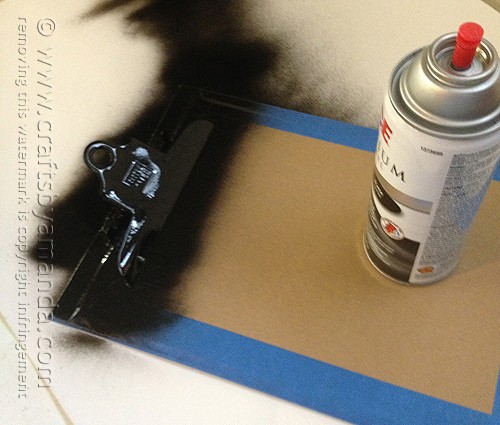
Then I spray painted the metal clip black.
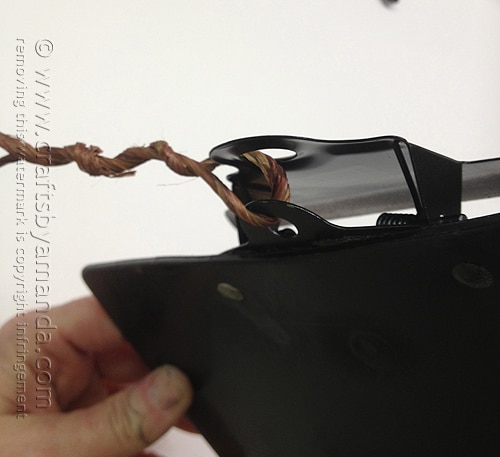
When the paint had dried, I used some heavy floral wire to hold the clip open. It would need to be open to do the decoupaging. This was also the ideal time to spray the underside of the metal clip.
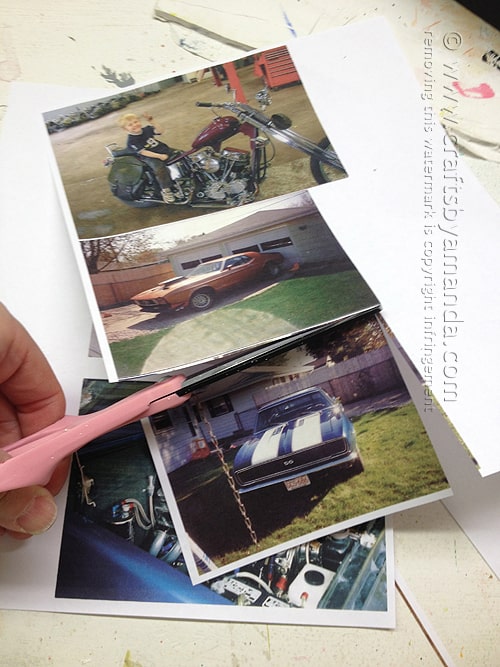
I photocopied the pictures and cut them out.
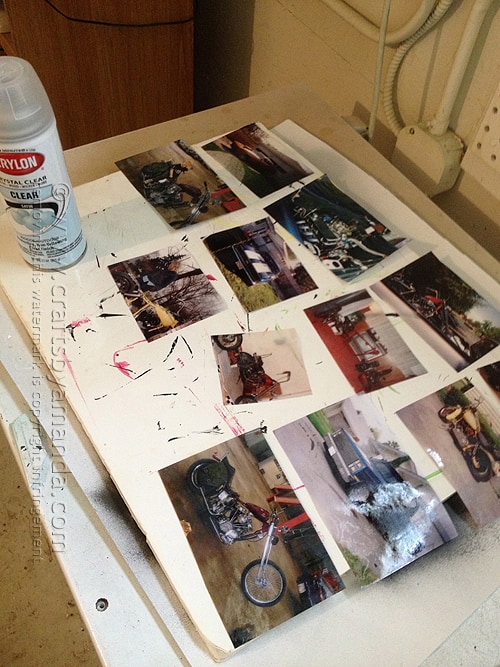
The trick to decoupaging photocopies is to spray them with a clear sealer first and let them dry completely. This keeps the ink from bleeding when you paint the decoupage over the top.
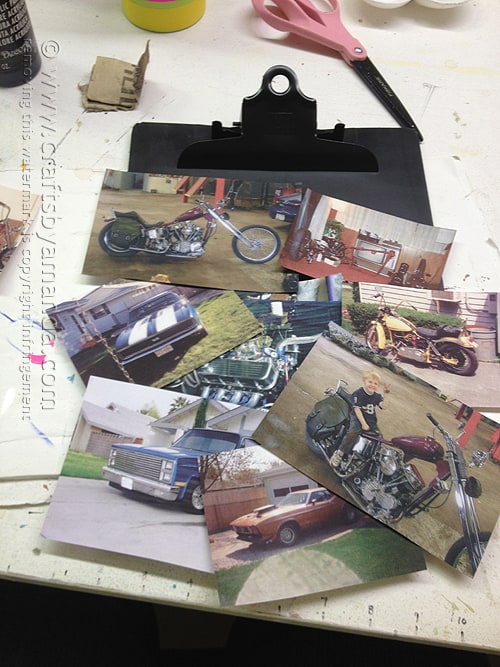
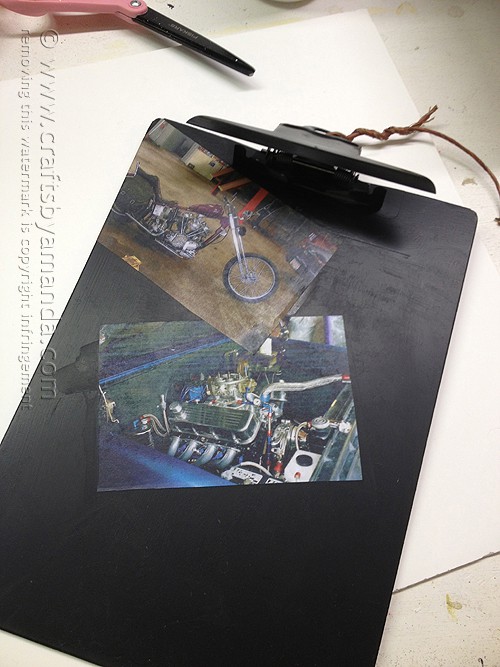
The next step was to decide the placement of the photos. I just moved them here and there until I was happy with it.
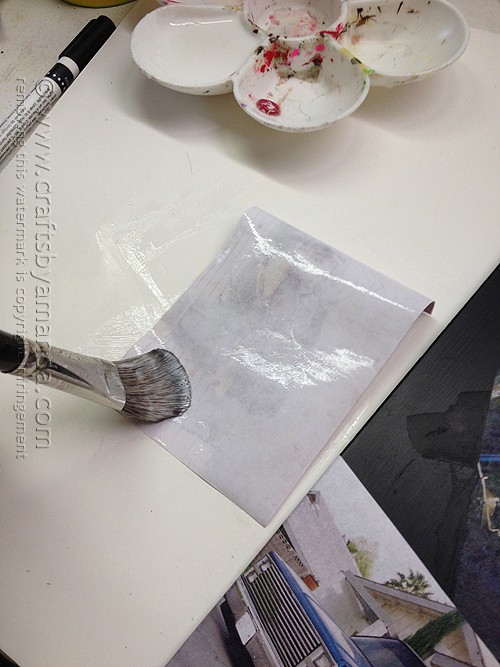
Paint the back of the photocopy with some decoupage. This will help keep bubbles at bay too as it wets the surface. Bubbles form because of the reaction to paper and the wet decoupage.
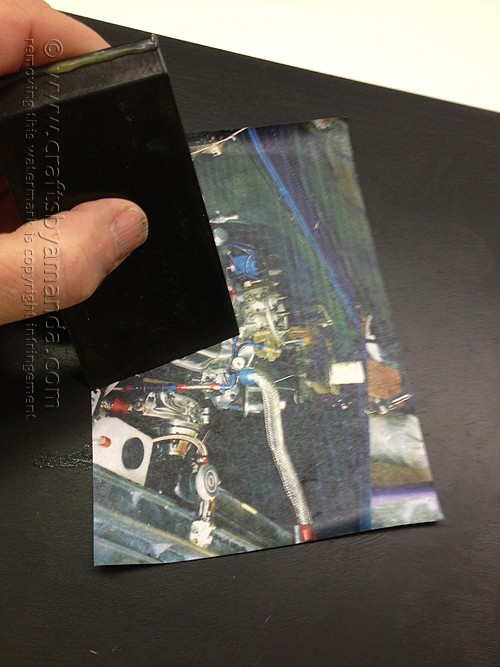
Place the photocopy onto the clipboard surface and use a squeegee to flatten it carefully and work out any bubbles.
Place the next photo on using the same method. Slow and steady wins the race here folks. Don’t rush it.
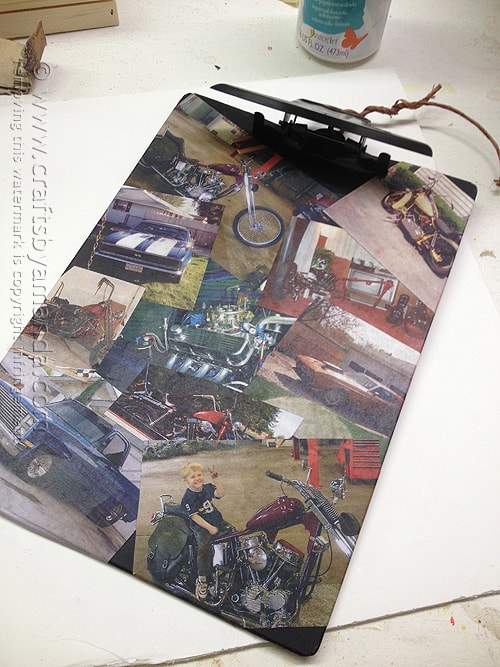
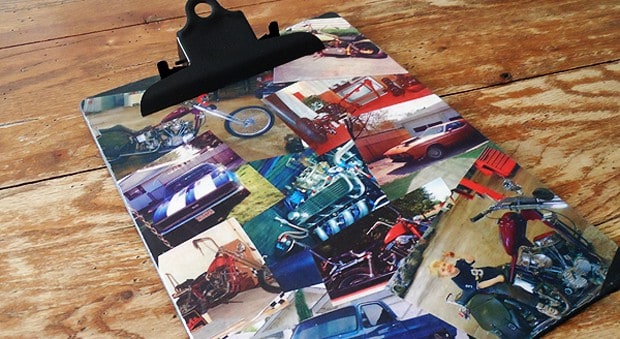
The finished collage. Notice that a few small areas of the clipboard aren’t covered. No biggie. Some trimming, sanding edges and a generous layer of decoupage medium to the entire surface will finish it off. Be sure to let it dry for several hours.

NOTE: Pictures may look like they have a red tint to them. Don’t panic! It all works out after it dries.
Oh, and in case you’re wondering? Yes, he absolutely loved it! In fact, he refuses to use it because he doesn’t want to ruin it. :) My 16-year old son is also a car nut, so the two of them had a great time talking about the different photos in the collage. Definitely a great gift!
Check out more Father’s Day gift ideas below!
- Fingerprint Daddy and Me Mug – this mug makes a heartfelt (and super adorable) gift for Dad!
- Dad Rocks Paperweight– create a paperweight for his desk to remind him how awesome he is. The kids will love helping with this one!
- We Love You Photo Frame – a creative idea using photos of the kids (or yourself) to set on the bookshelf or desk.
- Father’s Day Hero Stones– Another paperweight gift idea, these rocks tell dad how much he means to you.
- Father’s Day Blue Collar Uniform Card– Simply change out the color of the construction paper to match your dad’s uniform shirt. If there’s a name patch and logo, you can personalize that too!
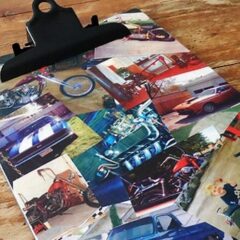
Photo Collage Clipboard for Him
Supplies
- Clipboard
- Painter's tape
- Black spray paint
- Mod Podge or other decoupage medium
- Photo copies of photographs
- Decoupage squeegee or a credit card
- Sealer spray
- Sandpaper
Instructions
- Clean the metal clip on the clipboard. Remove any dirt or sticky residue. Cover clipboard with a piece of cardboard and painter's tape. Be sure all areas except for the metal clip are covered.
- Spray paint the metal clip with black paint. Allow to dry for 20 minutes then add another coat. When completely dry, use a piece or heavy floral wire or several pipe cleaners to hold the clip open. Spray the inside of the clip, repeat.
- Remove the painter's tape and cardboard from the board. Apply a thin coat of decoupage medium (Mod Podge) to the board to prep the surface.
- Photo hint: I chose photos of several of the cars, trucks and motorcycles my husband has bought, worked on and sold over the years. They mean a lot to him, so putting them on something useful, like this clipboard, makes a great gift. Photos of your children, favorite pets, a project he's worked on, are all great examples.
- Trim your photocopies and spray each one with sealer. Allow them to dry completely. Applying sealer will help keep the ink from bleeding when decoupage is applied.
- Paint a layer of decoupage medium on to the back of your first photo copy. Place photo copy onto the board and gently press from the center of the picture. Use a straight edge like a credit card, to smooth the paper down from the middle to the edges, to keep bubbles out.
- Repeat this process, overlapping photos as you go, until you have covered the board. You can trim the excess pieces hanging over, but you will clean this all up in a later step. Let this dry for 2 hours.
- Apply a generous coat of decoupage medium over the entire surface. Let it dry for a few hours.
- Turn the board over and use a razor blade or craft knife to trim the edges of overlapping paper flush with the board. Use a piece of sandpaper to rough up the edges a bit. Dust it all off and apply another generous coat of decoupage medium and allow to dry overnight.
- Untie the wire from the clip.
Expert Tips & FAQs
- Patriotic Pinwheels - June 23, 2026
- Fingerprint Daddy & Me Coffee Mug - June 12, 2026
- Patriotic Bandana Wreath - June 9, 2026


Amanda says
Can I use the regular photos instead of making copies? I have extra so I’m good. If so, does it change any of the steps?
Amanda Davis says
Yes you can use regular photos. Paint on an even layer of Mod Podge onto the back of the photo. Place the photo on to the clipboard. While holding the photo in place with one hand, firmly but gently rub your other hand across the photo to be sure there are no air bubbles. Let this dry for about 20 minutes first – THEN add a coat of Mod Podge over the top of the entire surface.
Jaime says
This is great!! RE: sealing the sides. Once the trimming is one, what does the sanding accomplish? How do I make sure the paper along the edge of the clipboard is secured? So I just mod podge along the edges? Thanks for this!
Amanda Formaro says
Hi Jaime! The sanding along the edges is more for the look than anything else, and also to smooth it out. And yes, the ModPodge will secure it!
Phyllis says
Some tutorials say that you have to have laser prints. They say inkjet prints will not work. Do you always copy to plain copy paper & never to photo paper?
Amanda Formaro says
I usually use copy paper because I don’t have photo paper on hand :)
Mary says
Amanda: Mod Podge Clipboard is the best male gift I have seen. I saved the project to make a February birthday gift for my son. Do I need to print the photocopies on photo paper or can I use regular copy paper? Thank you Mary
Amanda Formaro says
Hi Mary! So glad you like it. Just print them on regular paper and follow the instructions about prepping them with spray sealer first :)
Danielle Lynn says
I am loving this, SO MUCH and hope to have time to copy it before Christmas hits us! :)
thank you for sharing!
danielle
Amanda Formaro says
Thanks Danielle! If not, birthdays, anniversaries, Father’s Day … ::)
Shaina says
Loving this gift idea! My husband has started coaching basketball, so having a clipboard that’s personalized would be perfect.
Amanda Formaro says
That would be an awesome theme Shaina!