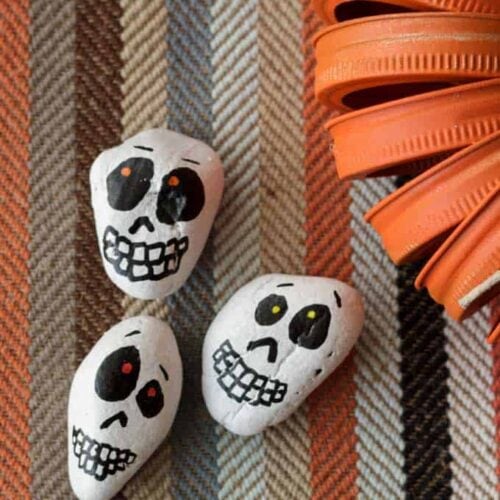
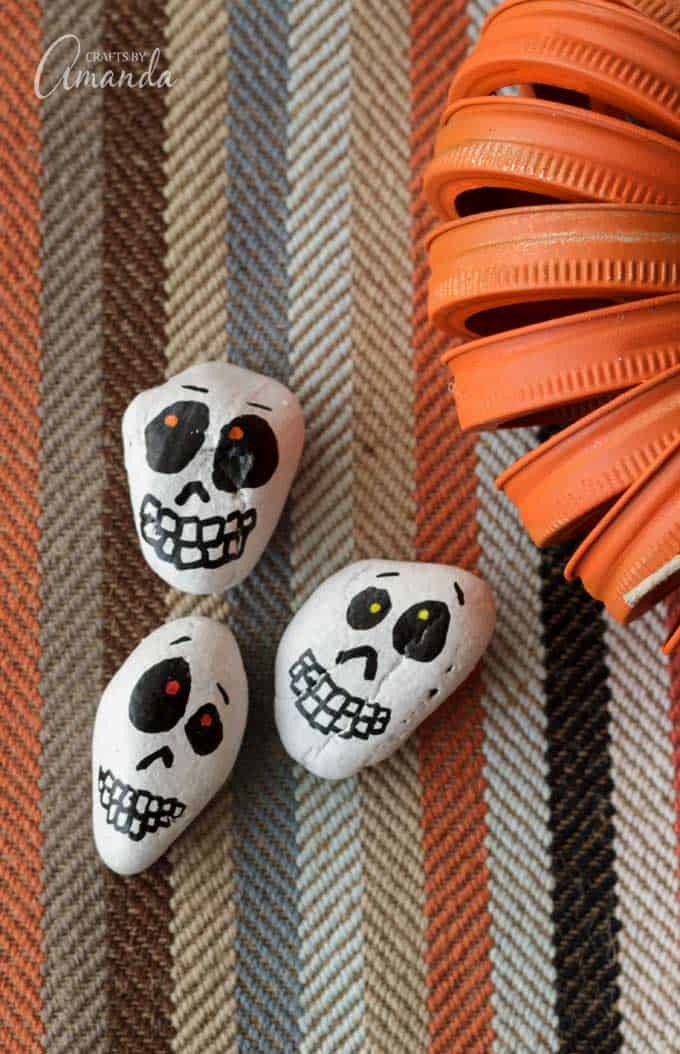
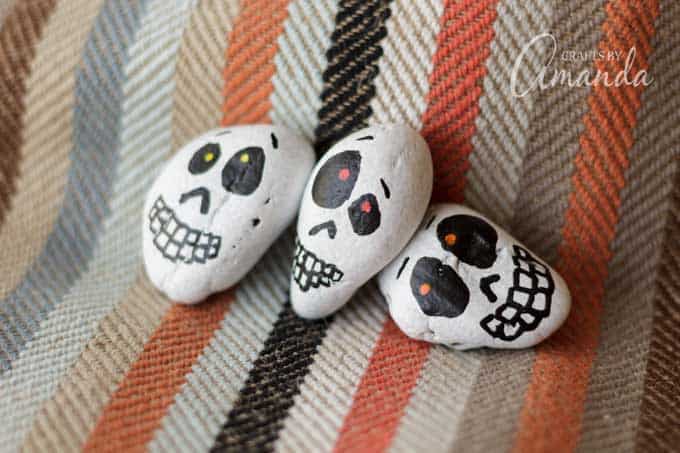
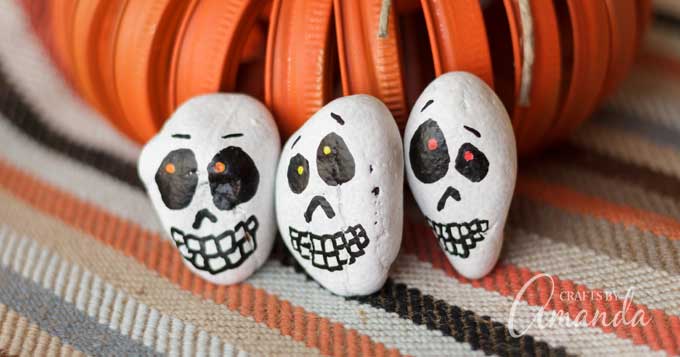
I had a bunch of rocks left over from when I made these glow in the dark monster rocks, so I decided to paint some skull rocks for Halloween! If you’re looking for an easy craft for the kids, or you just need something to kill the time on a rainy afternoon, these skull rocks are just the thing.
These little skulls would be a cute decoration for your Pumpkin Painting Party!
Painting Rocks
I actually didn’t realize it, but I’ve made quite a few rock crafts over the years! My most popular by a landslide are these colorful ladybug rocks, but my painted rock garden markers get a lot of attention as well! I even painted some rocks for one of my books, Star Wars Mania, when I made these Jawa Rocks. There are more, but today we are going to make skull rocks.
I think this would be a great addition to a Halloween party. Set up a table and have some smocks handy. Kids can sit around making their skull rocks! If time is of the essence, paint the rocks white ahead of time so all they have to do is add the face! There’s less mess this way too.
Supplies you will need include:
- Smooth rocks
- White acrylic craft paint
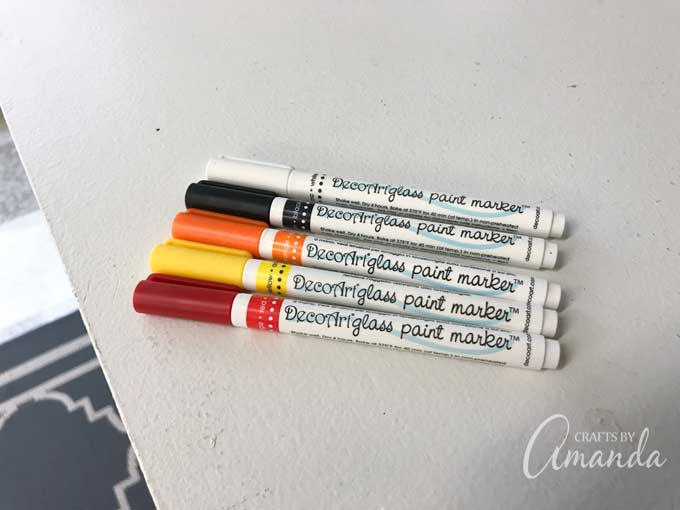
- Paint markers (I use Deco art glass paint markers, you can use regular markers if you like)
- Paintbrushes
- Sealer
How to make Skull Rocks
First, make sure you wash and dry your rocks. They need to be completely dry before you paint them, but a hair dryer or a fan can help this along.
Paint the rocks with white acrylic craft paint. I don’t bother painting the bottoms.
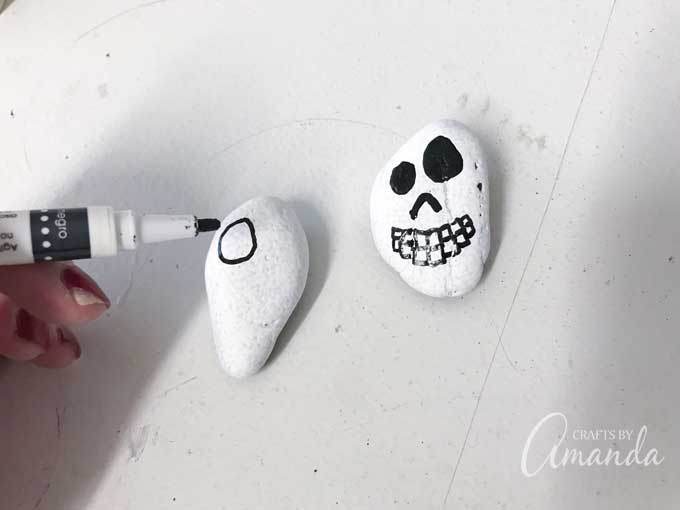
When the paint is completely dry, use a black paint pen to draw two large ovals for the eyes. Color the eyes in, however, if you are using regular markers you’ll need to leave a little spot uncolored for the pupil. Marker colors like yellow and green will not show up over the top of black. A paint pen will.
To make the teeth simply start in the middle of where the mouth will be and draw a square/rectangle. Now draw another one next to it, and another below. Continue this until your mouth is how you want it.
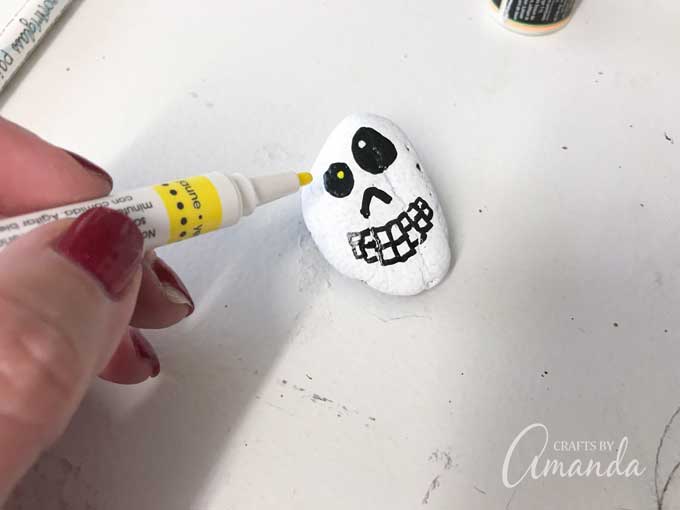
You can add eyebrows with black pen and the pupils with white – then go over the white dots with red, green or yellow. Add an upside down “v” for a nose.
Spray on a coat of sealer and allow it to dry completely.
See? A simple and fun project the kids will enjoy! Be sure to check out all of my Halloween crafts here. Happy Halloween!
Skull Rocks
Supplies
- Smooth rocks
- White acrylic craft paint
- Paint markers I use Decoart glass paint markers, you can use regular markers if you like
- Paint brushes
- Sealer
Instructions
- First make sure you wash and dry your rocks. They need to be completely dry before you paint them, but a hair dryer or a fan can help this along.
- Paint the rocks with white acrylic craft paint. I don't bother painting the bottoms.
- When the paint is completely dry, use a black paint pen to draw two large ovals for the eyes. Color the eyes in, however if you are using regular markers you'll need to leave a little spot uncolored for the pupil. Marker colors like yellow and green will not show up over the top of black. A paint pen will.
- To make the teeth simply start in the middle of where the mouth will be and draw a square/rectangle. Now draw another one next to it, and another below. Continue this until your mouth is how you want it.
- Add eyebrows with black pen and the pupils with white - then go over the white dots with red, green or yellow. Next add an upside down "v" for a nose.
- Apply a coat of sealer and allow it to dry completely.
This post originally appeared here on Oct 25, 2017.
- Watercolor Luminaries - February 11, 2025
- Free Valentine Printables: Cards, toppers, and tags - February 4, 2025
- Valentine Hugs - January 31, 2025


Katy Beacher says
I Love your rocks! Cute idea! Thank you