
Last summer I was browsing a garage sale and saw this wooden, two-tiered lazy Susan type spice rack. All the bottles were there, none missing or broken and no cracked tops. Over all, the spice rack was in great shape, it was just really outdated. So I bought it with intention of giving it a makeover, it just took me until now to finally get it done.
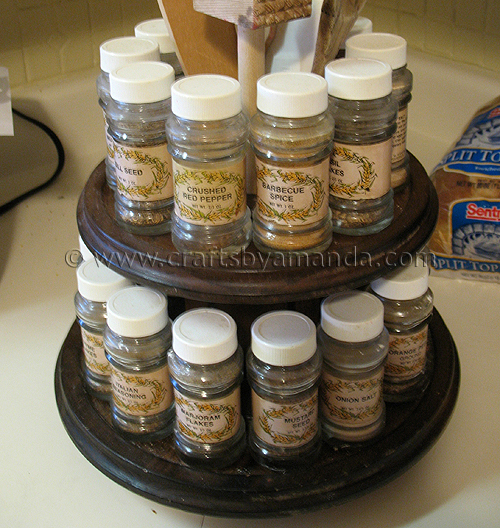
This is what it looked like before I started. The labels were 60’s or 70’s era, though the rack itself would have been fine left as is, I decided to go with an antique type black to match better with my kitchen.
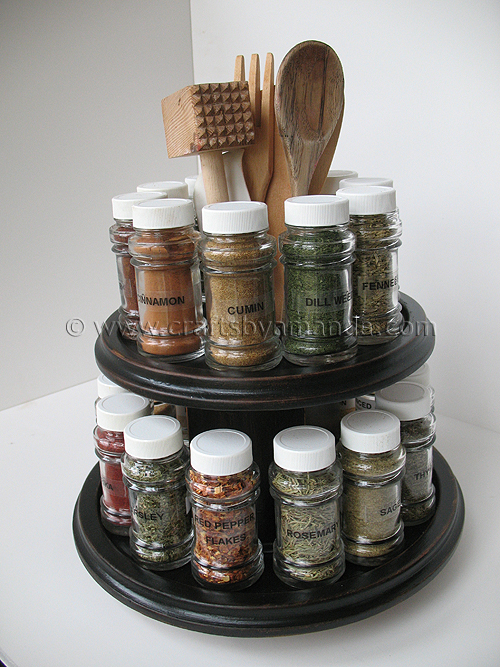
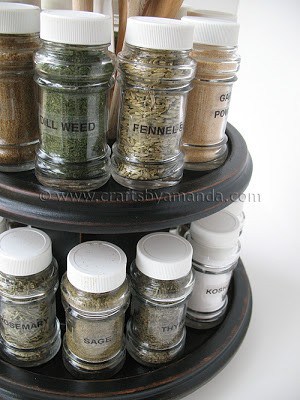
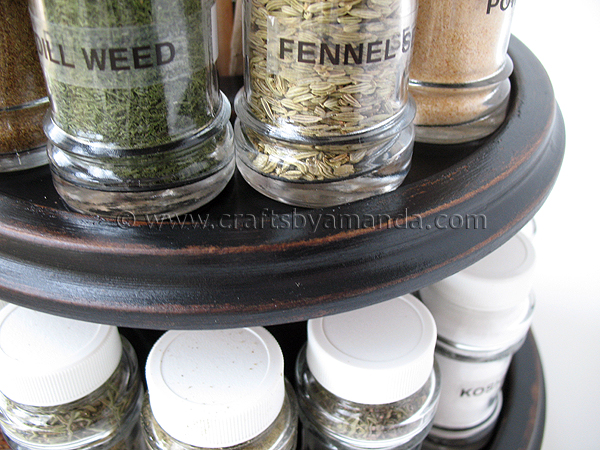
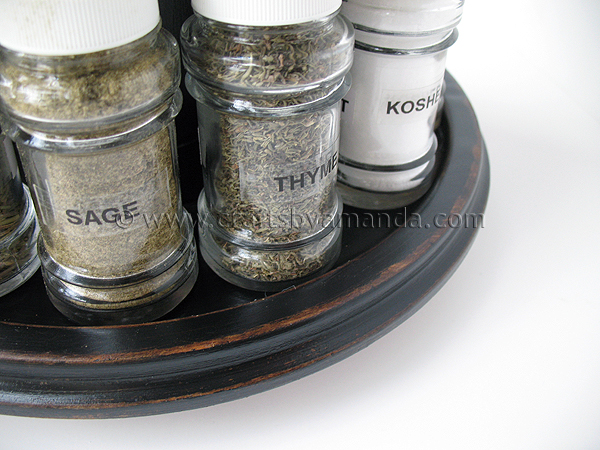
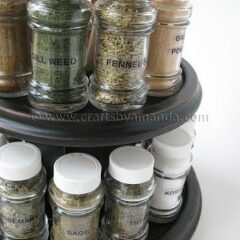
This is after shot. Much sleeker don’t you think? I don’t really use the utensils in the center, but they can stay there for now. :) I am however using the heck out of the spices. I’m really happy with it. I counted the bottles, then went through all my herbs, spices, salts and powders and wrote down the ones I used most often. Once I had them all chosen I went to work.
First I opened all the bottles and emptied out the spices. Many of them were yellow and beige from age, surely original from when it was new :-x Then I filled a big pasta pot with hot soapy water and placed all the bottles into it to clean the bottles and soften up the old labels. I put the lids into a separate container with bleach water since they were white and pretty grimy.

Now let me show you what I used. First off I probably would have just used black acrylic paint and some staining medium, but I found this Distressed Antique Black Finishing Kit![]() at the thrift store for $3.00 and thought I would give it a try. I didn’t know these existed, but apparently there are several different finish types available.
at the thrift store for $3.00 and thought I would give it a try. I didn’t know these existed, but apparently there are several different finish types available.
As you can see from the picture, Rustoleum makes this product. I have to say I probably wouldn’t buy it myself simply because I’m totally comfortable and well versed in the distressing technique, but the product inside this box goes a long way, goes on nicely and worked very well. For someone who is looking for an all-in-one type product, I would definitely say this did its job. The only complaint I had was that the sanding pad that came with it was barely enough to do my little spice rack, I have no idea how they would expect you to do an entire dresser with it! I barely made a dent in the paint and stain, so I will be able to use this for quite a few more projects.
I started by cleaning the spice rack with a warm, damp cloth to get any old grime off of it. Then I sanded it lightly to remove any leftover finish.
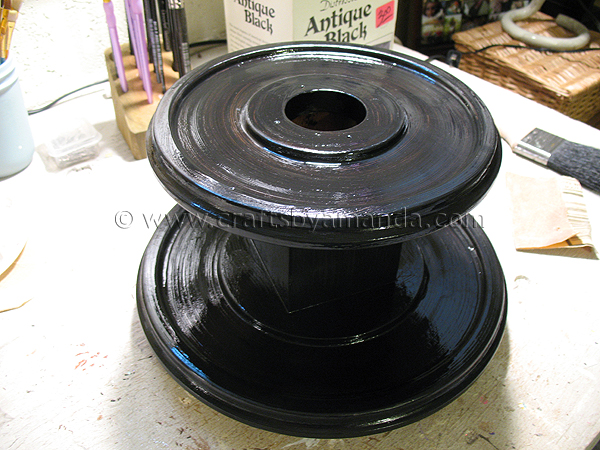
Next, I used the paint from the finishing kit to paint the rack black. I let it dry and repeated for a second coat.

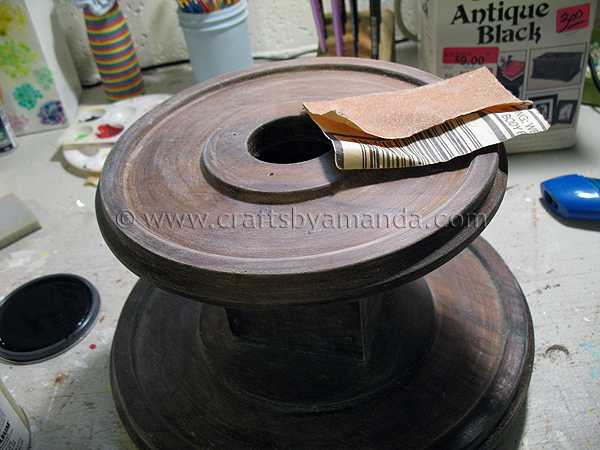
After it was dry, I sanded the edges to expose the wood.
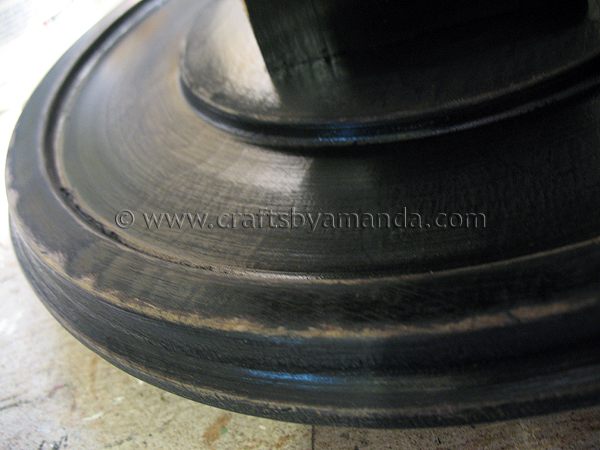
Then I brushed all the dust and loose paint particles off with a soft brush.
Next, I applied the stain that came in the kit. It went on nicely, then you just wipe it off.
Work in sections so that the stain doesn’t start to dry more in some spots before you have a chance to wipe it off.
After it was all dry I sprayed it with a coat of acrylic sealer in matte finish (I used Americana Sealer/FInisher)

Now back to the bottles. After washing and drying them all, I used my Dymo label maker![]() to create labels for the bottles. I couldn’t decide between the clear background and the white, so I made both. I put a clear one on one side and white on the other. I did end up liking the clear better, so those are the ones that I display. I originally was concerned that with the darker herbs I wouldn’t be able to see the herb name well with the clear label, but they ended up working fine. At any rate, I can always turn the bottle around to the white side if I can’t read it. ;-)
to create labels for the bottles. I couldn’t decide between the clear background and the white, so I made both. I put a clear one on one side and white on the other. I did end up liking the clear better, so those are the ones that I display. I originally was concerned that with the darker herbs I wouldn’t be able to see the herb name well with the clear label, but they ended up working fine. At any rate, I can always turn the bottle around to the white side if I can’t read it. ;-)
So there you have it! A makeover spice rack for my kitchen. I use it daily and have them all alphabetized so I can easily find what I want right away. I love it!
Spice Rack Makeover
Supplies
- wooden two-tiered lazy Susan spice rack
- Distressed Antique Black Finishing Kit
- Rustoleum
- warm damp cloth
- sander/sandpaper
- paintbrush
- black paint
- stain
- Acrylic Sealer in Matte Finish
Instructions
- First I opened all the bottles and emptied out the spices. Then I filled a big pasta pot with hot soapy water and placed all the bottles into it to clean the bottles and soften up the old labels. I put the lids into a separate container with bleach water since they were white and pretty grimy.
- I found this Distressed Antique Black Finishing Kit at the thrift store for $3.00 and thought I would give it a try.
- I started by cleaning the spice rack with a warm, damp cloth to get any old grime off of it. Then I sanded it lightly to remove any leftover finish.
- Next, I used the paint from the finishing kit to paint the rack black. I let it dry and repeated for a second coat.
- After it was dry, I sanded the edges to expose the wood.
- Then I brushed all the dust and loose paint particles off with a soft brush.
- Next, I applied the stain that came in the kit. It went on nicely, then you just wipe it off.
- Work in sections so that the stain doesn’t start to dry more in some spots before you have a chance to wipe it off.
- After it was all dry I sprayed it with a coat of acrylic sealer in matte finish.
- Now back to the bottles. After washing and drying them all, I used my Dymo label maker to create labels for the bottles.

Did you enjoy this post? Why not subscribe to my feed, or better yet, to my free newsletter – Foodie in the Craftroom, which provides not only crafts but recipes from my other blog, Amanda’s Cookin’ as well!
- Swirling Twirling Ladybugs - July 21, 2026
- Drip Tie Dye Backpack - July 17, 2026
- Mini Coastal Clay Houses - July 14, 2026


Carolyn says
Looks so good in black. The tutorial was great, thanks.
Elle says
Beautiful! Nice way to save something that clearly needed a makeover!
Beth Ann says
What a beautiful job!Simple, beautiful and practical.
Sweet Peas and Bumblebees says
Such a great idea!!!
I am your newest follower, and would love it if you would follow me back if you love our blog as well! :)
Stop by an add your latest & greatest to our What I Made Wednesday Linky Party…today is the last day!
Also, enter for a chance to win a homemade hair bow!!!
Alisa @ Sweet Peas and Bumblebees
sweetpeasandbb.blogspot.com
Megan's Cookin' says
Great job!!!
Ashh10 says
It looks great!
http://ashtonscraftycreations.blogspot.com/
Heather says
It does look sleeker! Great job:)
Handkerchiefgal says
How cool is this! great work! I wonder what it would loook like if you used chalk labels instead. So cute!
Olive Cooper says
That is quite the transformation and can you imagine the cost now with spices included?
FABBY'S LIVING says
Oh my goodness, you did such a great job for the rack, so ingenious! I looks like you just bought like that! Love this! I'm at Sat. party too.
Hugs
FABBY
marla says
Amanda, can I please hire you to re-do my kitchen with all of your wonderful ideas? Love this!
Sue says
Wow, it looks brand new! Beautiful makeover, Amanda:)