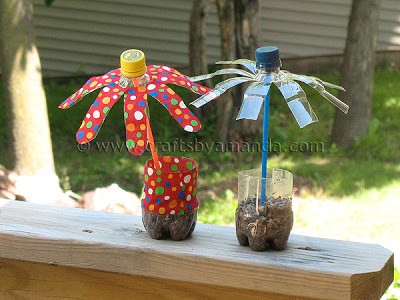

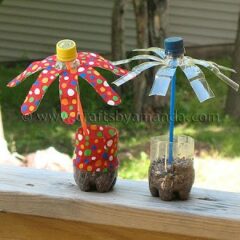
Looking for a fun way to recycle some of those plastic water and soda bottles? Here’s a fun project for kids that uses the entire bottle, label and all! You can make a plain one that’s boy friendly and call it a palm tree! Fun craft for summer camp too.
To make these fun water bottle flowers and trees you are going to need:
Plastic single serve water bottle with lid
White craft glue
Scissors
Sand or soil
Pebbles or rocks
Drinking straw or twig
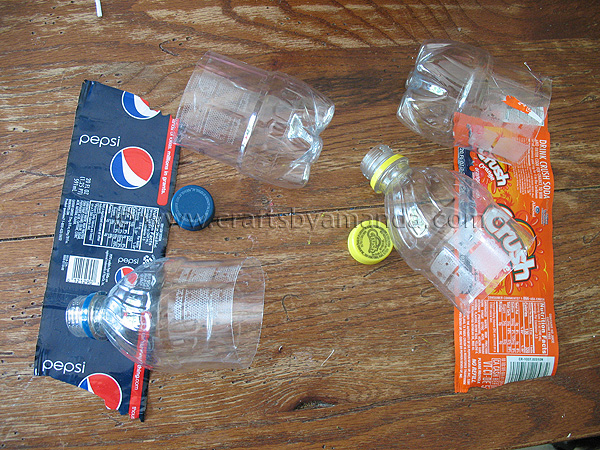
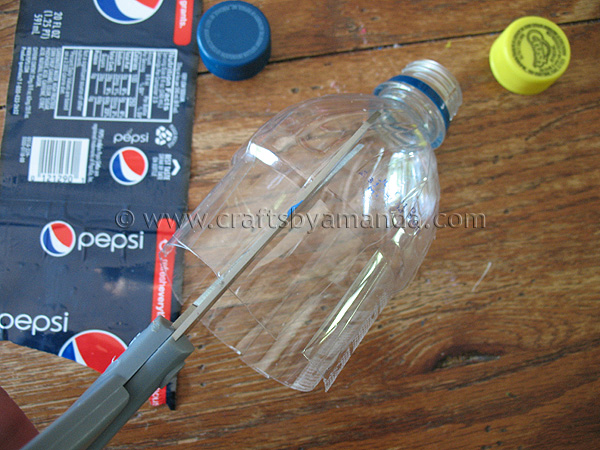
Remove labels and lids, but don’t throw them away. We will be using the entire water bottle! If your water bottle does not have a label, have a bit of scrap paper nearby to use instead. Cut the water bottle in half, put the bottle half aside.
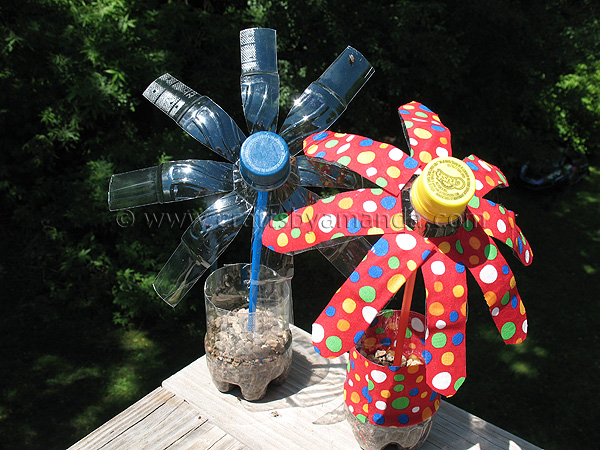
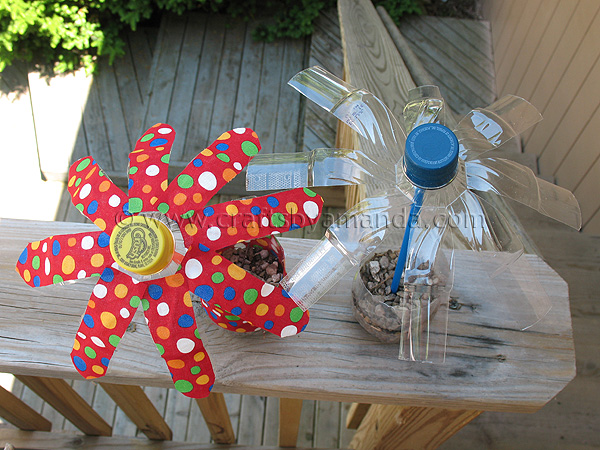
Cut slits, about an inch or so wide, in the top half of the bottle. You should end up with 8 “petals”. Bend the petals outward.
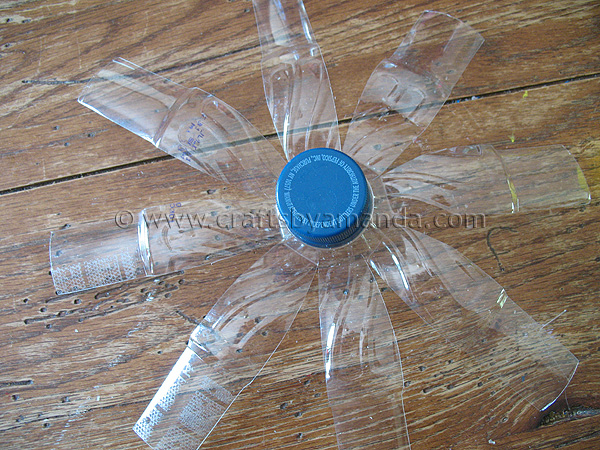
Put the lid on the bottle top.
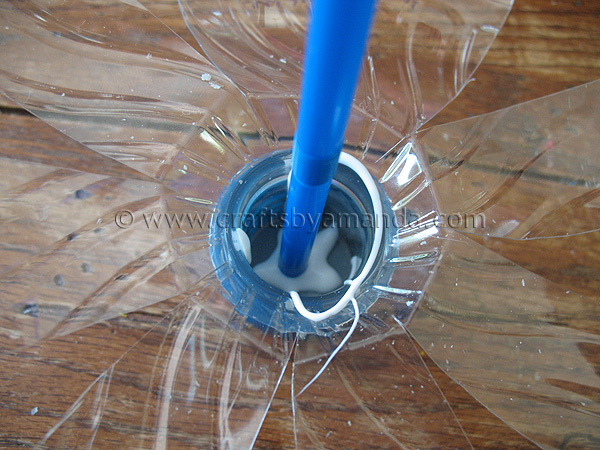
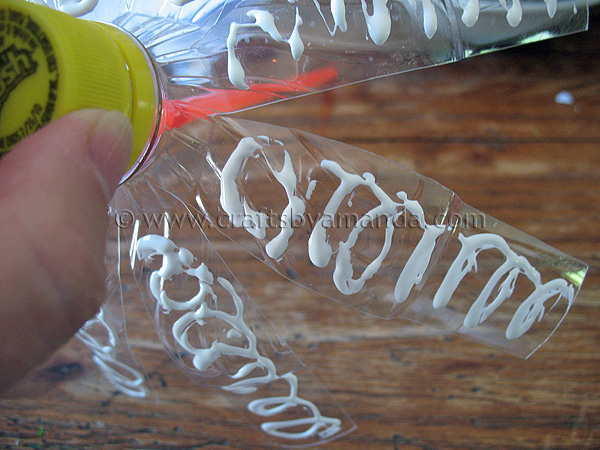
Squeeze some white glue into the lid and insert the straw or twig into the glue.

Next, wad up the bottle wrapper and surround the straw with it, to help give the straw stability.
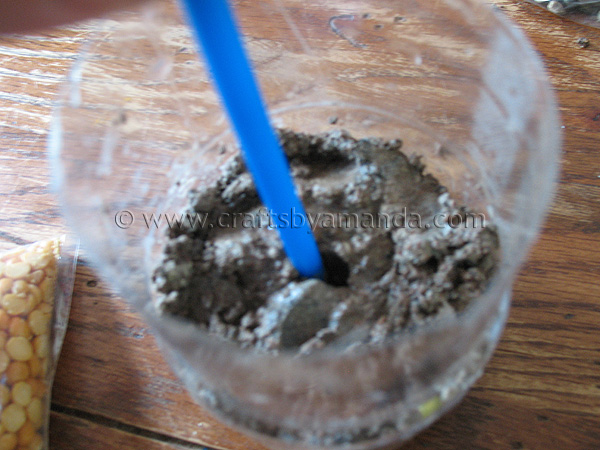
Put some sand or soil into the bottom half of the water bottle, about 1.5 – 2 inches in depth. Pack it down a bit and insert the bottom end of the straw into it.
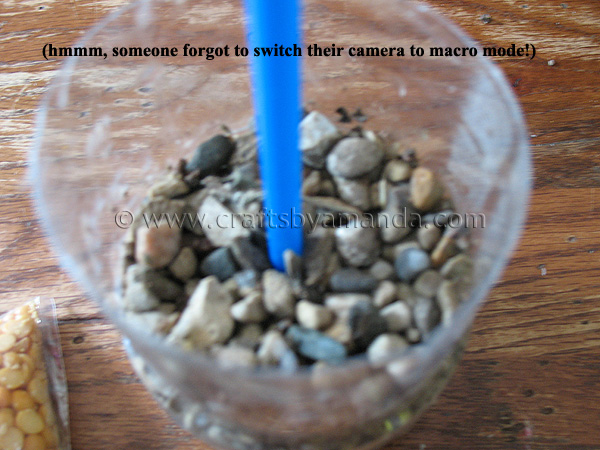
Add pebbles or stones on top of the sand to help stabilize the straw (stem).
Optional: If you like, cut strips of fabric to decorate the flower petals and the flowerpot. You can also round the petals by trimming the ends with scissors.
Plastic Water Bottle Flowers
Supplies
- Plastic single serve water bottle with lid
- White craft glue
- Scissors
- Sand or soil
- Pebbles or rocks
- Drinking straw or twig
Instructions
- Remove labels and lids, but don’t throw them away. We will be using the entire water bottle! If your water bottle does not have a label, have a bit of scrap paper nearby to use instead.
- Cut the water bottle in half, put the bottle half aside. Cut slits, about an inch or so wide, in the top half of the bottle. You should end up with 8 “petals”. Bend the petals outward.
- Put the lid on the bottle top. Squeeze some white glue into the lid and insert the straw or twig into the glue. Next, wad up the bottle wrapper and surround the straw with it, to help give the straw stability.
- Put some sand or soil into the bottom half of the water bottle, about 1.5 – 2 inches in depth. Pack it down a bit and insert the bottom end of the straw into it. Add pebbles or stones on top of the sand to help stabilize the straw (stem).
- Optional: If you like, cut strips of fabric to decorate the flower petals and the flowerpot. You can also round the petals by trimming the ends with scissors.

Did you enjoy this post? Why not subscribe to my feed, or better yet, to my free newsletter – Foodie in the Craftroom, which provides not only crafts but recipes from my other blog, Amanda’s Cookin’ as well!
- Patriotic Pinwheels - June 23, 2026
- Fingerprint Daddy & Me Coffee Mug - June 12, 2026
- Patriotic Bandana Wreath - June 9, 2026


Valerie says
There’s alot of cats in my area so gonna use these in my ornamental bark areas to stop cats using as a toilet and they will look pretty as well
Joanne says
patterned duct tape from the dollar store would be fun for decorating the petals, as well. :)
Amanda Formaro says
Yes it would!
maureen cudworth says
just wanted you to know..i saw this clever idea and shared it. good luck to you!
Amanda Formaro says
Thanks Maureen, I appreciate that!
Shirley Melges says
It could be fun to glue a stick type pen instead of a straw to the cap and then use base with pebbles or marbles to hold the pen.
Jesal Vohra says
The best thing you did well
Ika Andrí says
What type of fabric did you use for the red flower?
Amanda says
Hi Ika – just cotton. I buy fat quarters at WalMart. That way I can get small amounts of fabric to use, and can afford to get a whole bunch of them instead of buying by the yard :)
lynn says
Love this! Doing it! Thanks so much for the tutorial!
HRANDICA says
I love this idea. And other ideas from this site are also wonderful. I'm glad I found this blog.
Greetings.
Tanya Anurag says
Love it… I think it's time that I made one of those. The red one is adorable. Thanks for sharing. Pinning it.
I am hosting my first Link-up party – Tea Time Thursdays. Would be glad to see some of your awesome posts there. Hope to see ya at the party :)
http://tanyaanurag.blogspot.com/2011/08/celebrating-one-party-time.html
Play school says
interesting craft post nice
Miranda @ Life in the Motherhood says
So cute! I could see them as decor for any kind of summer party/bbq!!!
Visiting from the Get your Craft On party!!!
creativejewishmom/sara says
very sweet, love the polka dot one! thanks for sharing on Craft Schooling Sunday!
A Few Pennies says
How cute is that! and what a great way to recycle our plastic bottles. Have a great weekend.
nancybabb says
LOVE IT! Will you add it to my Linky Party on "How to Recycle a Plastic Bottle"?
http://howtorecycleaplasticbottle.blogspot.com/
Nancy
Sheri says
These water bottle flowers are so cute! I love re-purposed things like this–thanks for sharing! :)