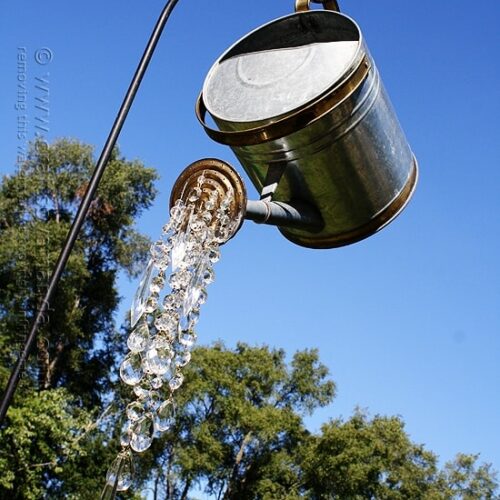
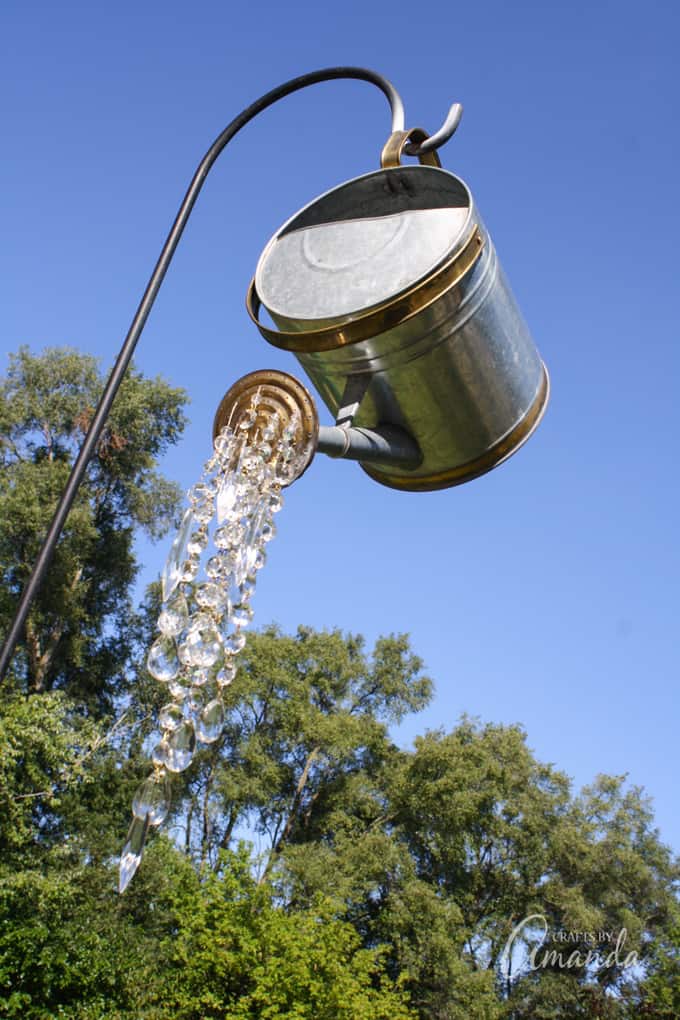
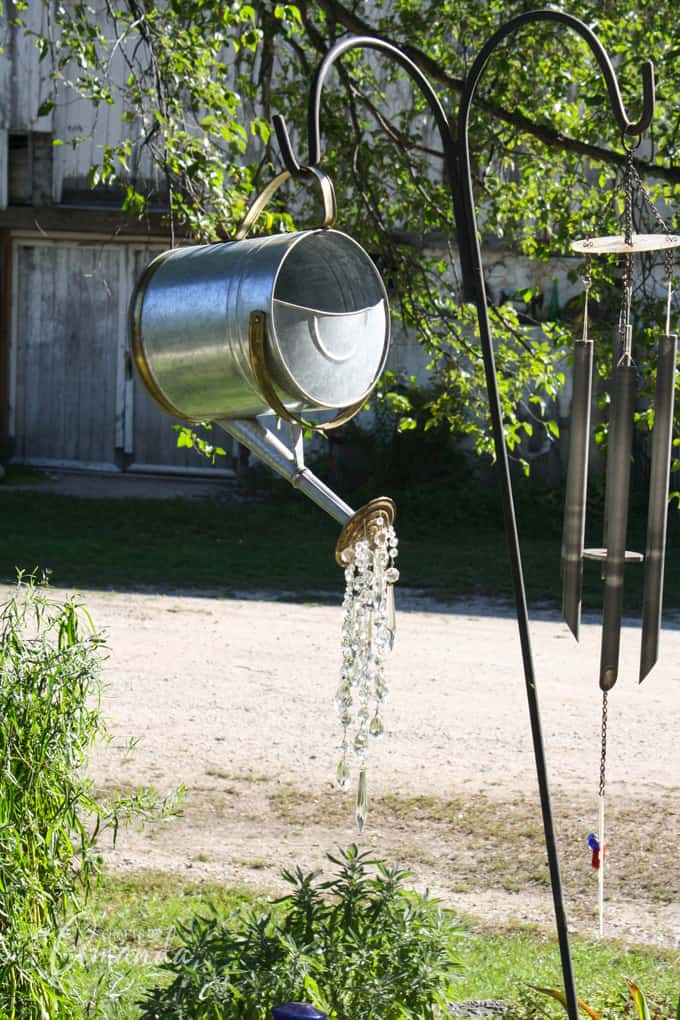
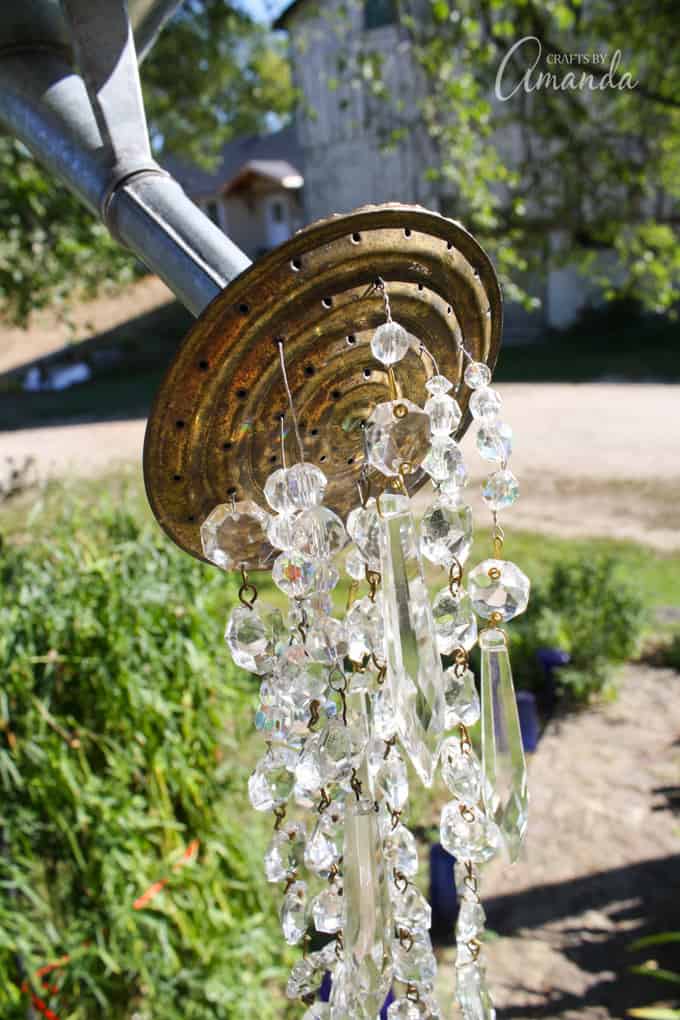
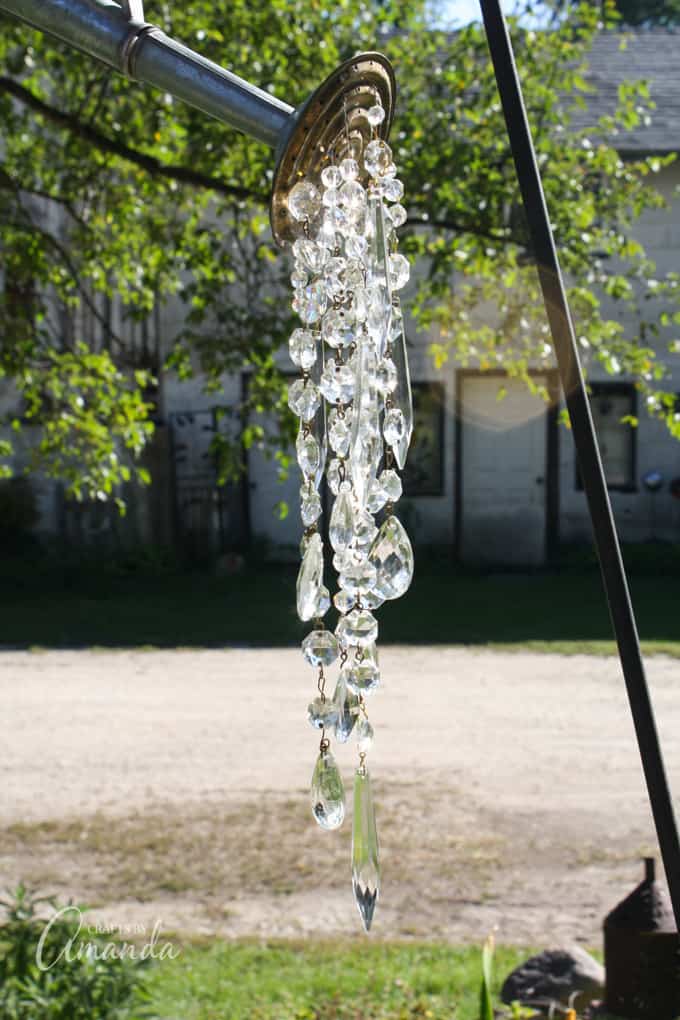
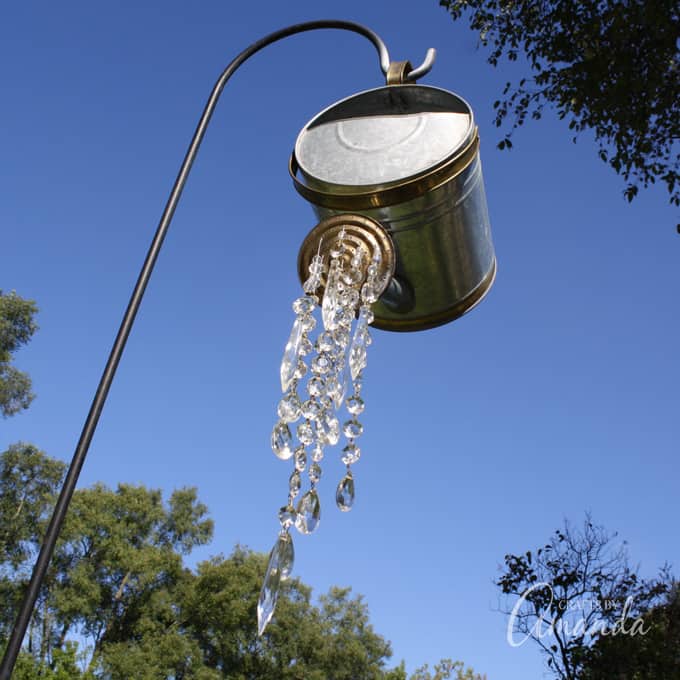
My neighbor and good friend, Debra, made this wonderful DIY yard art from an old watering can and hanging crystals from an old chandelier. The light from the sun reflects off of the crystals, making it shine brilliantly.
The stream of crystals look like they are pouring out of the watering can’s spout using little more than some wire and a bead to secure them. Keep reading to find out how to make your own watering can that pours crystals!
Watering Can That Pours Crystals
This watering can is the perfect whimsical garden decoration. it would look gorgeous next to these beautiful Decorative Garden Stakes, don’t you think?
NOTE: If you prefer to purchase one of these, check out the beautiful options available on Etsy!
I’ll explain how to make something like this yourself down below, or you can watch the video just below this paragraph. After you watch the video, be sure to scroll down the rest of the post and see all the photos!
When I shared a photo of this watering can project on Instagram a few years ago, I had no idea what was going to follow. I went to my Facebook page and shared the instagram photo there.
What resulted was almost 700 likes and over 200 shares! Those were crazy numbers for my Facebook page back then! So, since it was obviously quite popular, I stopped by Debra’s the next day to get some better pictures and tell you how you can make your own as well.
Debra and I live literally right around the corner from each other. Before we even met I had been to her garage sales and passed by her house probably a gazillion times. Then one day she introduced herself to me saying that she “met” me through this blog. Oddly enough, I didn’t think anyone in my sleepy little town even knew what a blog was, let alone followed one.
That was a little over 4 years ago and since then Debra and I have become good friends. We share creative tips and bounce crafty ideas off each other all the time. I’m so glad that she came to my door that day!
Debra lives in a cute little farm house with a great big barn in her side yard. I’ve salvaged some things from that barn, including these Distressed Shutters. In fact, in that post you’ll see a few pictures of Debra’s barn and property.
If you want to see even more, I have a small photo album of Debra’s barn on Facebook.
Debra has a lovely garden. It’s obviously fall here in southeast Wisconsin so all the brightly colored flowers have gone to sleep for the year, but the set up is full of whimsical goodies that I’ll show you here.
Much of what you’ll find in Debra’s yard was salvaged from the side of the road or picked up for pennies at a garage sale. Her garden path is lined with blue bottles that have been turned upside down and pushed into the earth.
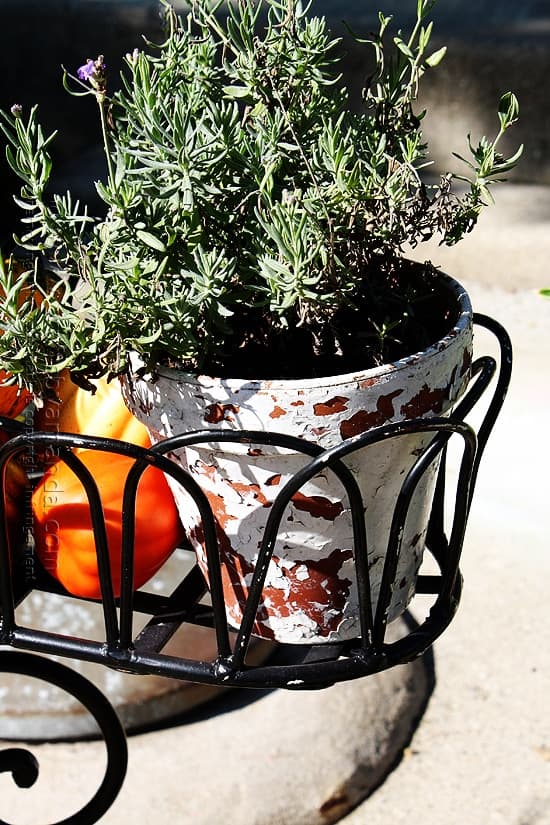
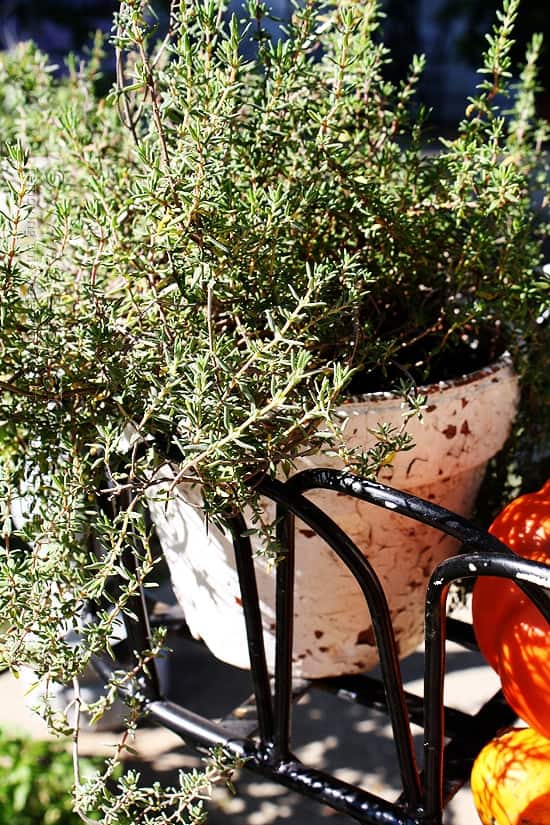
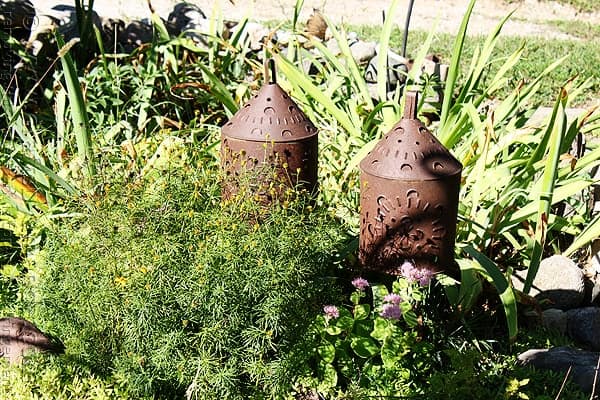
One of my favorite parts of her garden are these chippy herb pots. She found three of them stacked together in a garbage can.
I love how she expressed it… she said that the previous owner probably said “Ewww the paint’s all chipping off..” (read that in a disappointed voice).
Debra’s reaction (read this with an excited voice) “Oooo! The paint’s all chipping off!!” :)
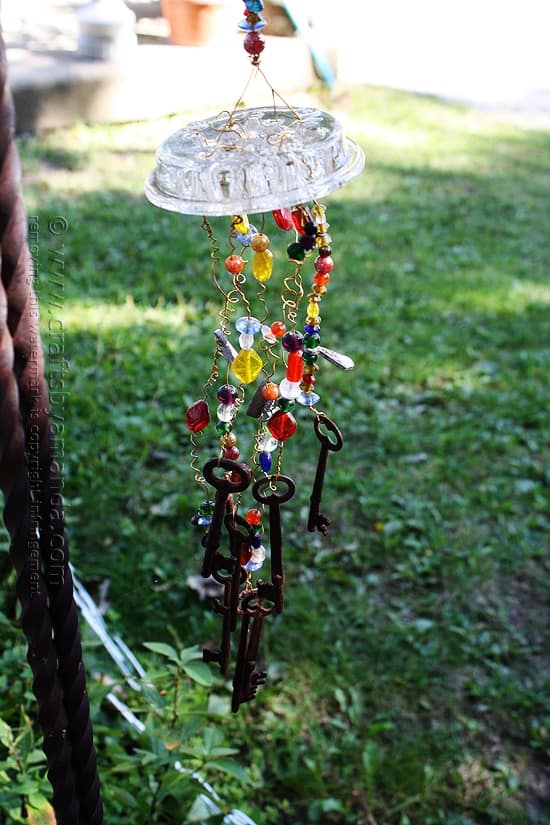
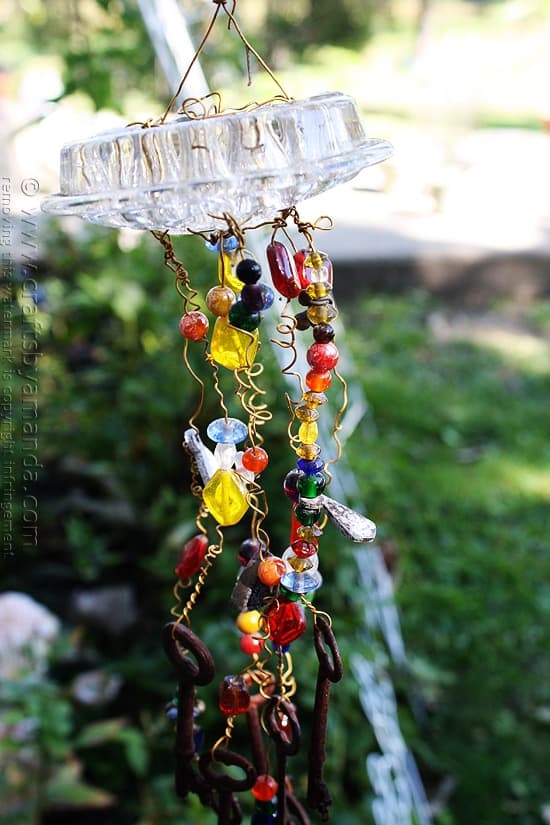
This pretty little garden gem was made from a glass flower frog, some colorful beads, wire and bunch of rusty keys.
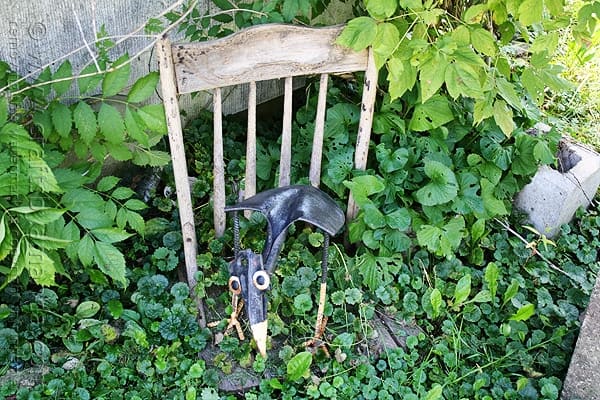
Over by the barn there’s a broken old chair covered with vines, and sitting on that chair is this whimsical crow made from metal and an old shovel.
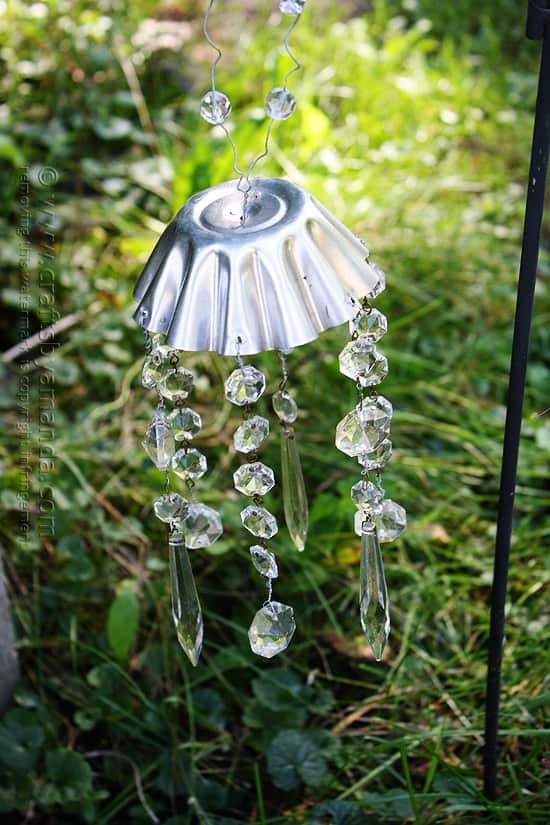
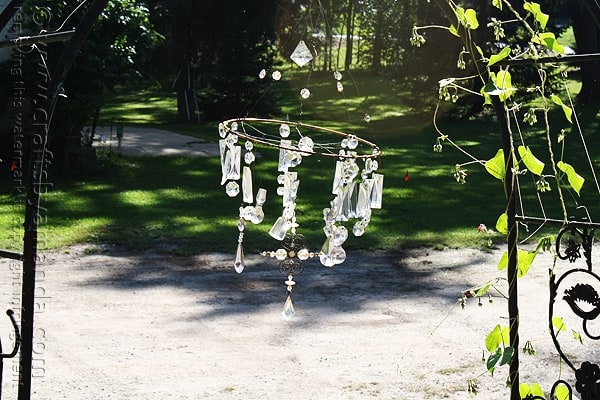
Hanging nearby are more crystals, this time they’re dripping from a small metal jello mold pan.
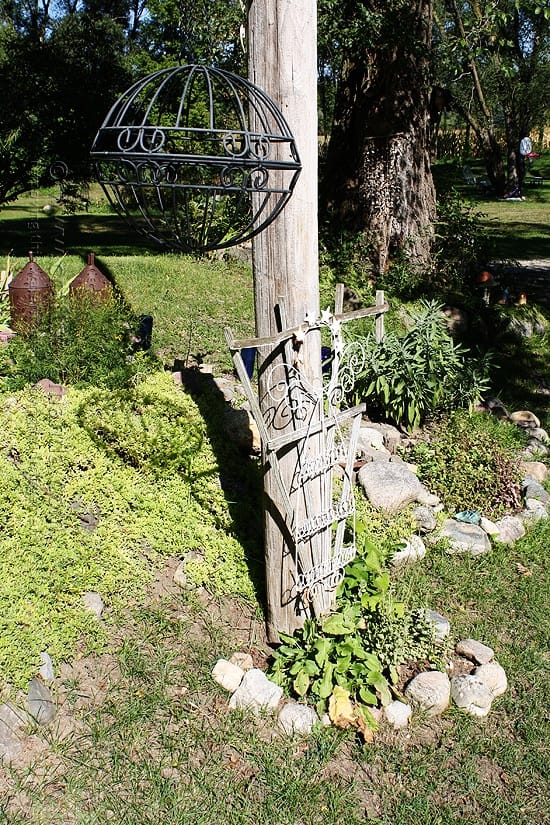
Another ornament is this hanging sphere made from two round plant hangers glued together.
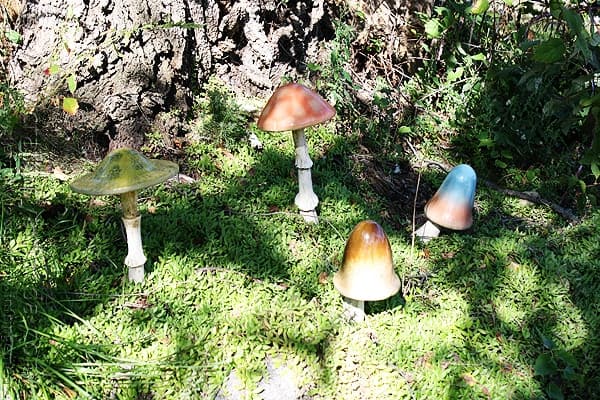
One of my favorite parts of the garden are these adorable toadstools. Maybe I should donate my fairy house to this scene!
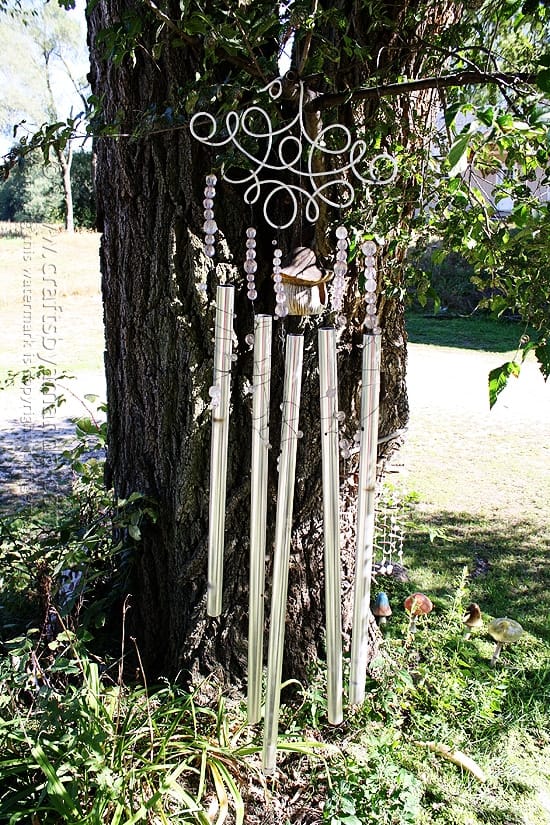
Around the corner from the toadstools is this great big wind chime made with more beads.
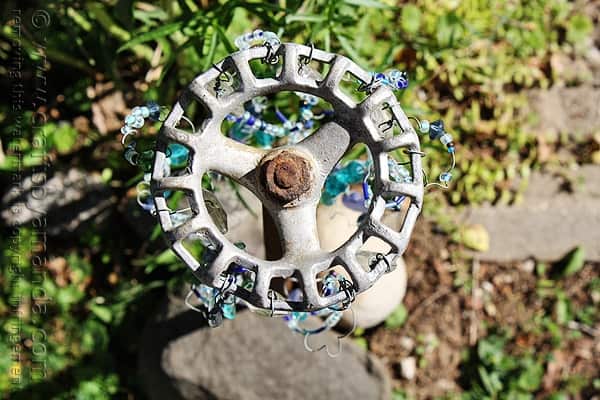
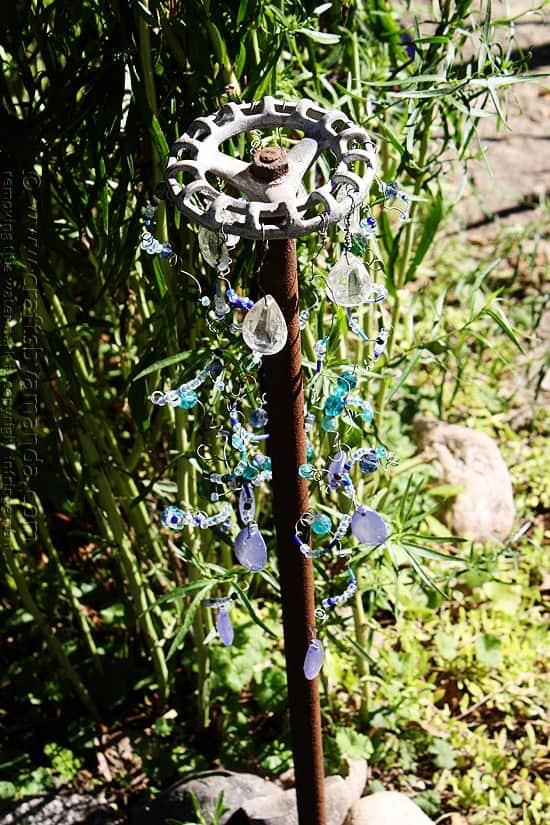
Debra even spruced up this old rusty water handle by adding gems and beads on wire.
Debra and I have similar tastes when it comes to rusty goodness!
She has crystal goodness all over her garden and says “I am a lover of all things shiny!”
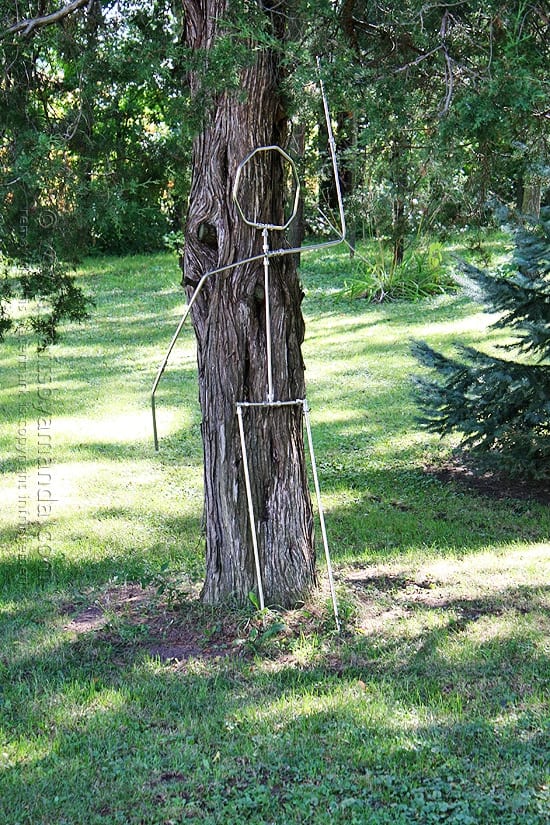
As you’re leaving Debra’s driveway, this metal man made from old pipes waves to say goodbye!
To make the watering can
You will need
- Watering tin can
- Crystal beads
- Thin floral wire
- Micro pliers
- Any type of bead (only 1 bead)
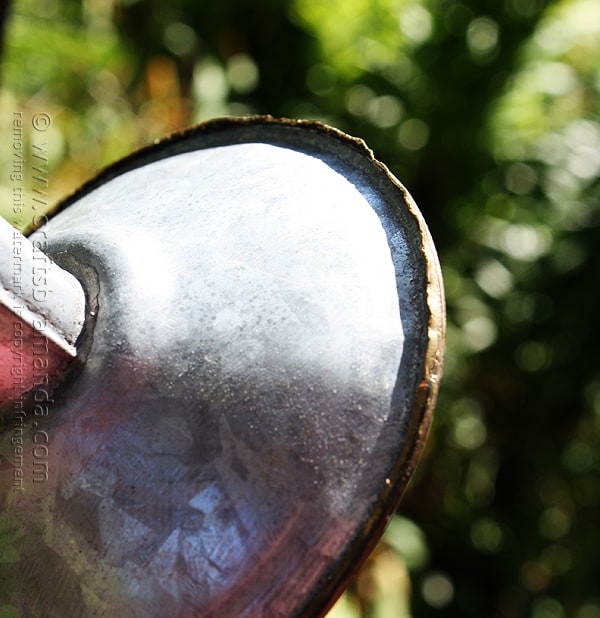
First, Debra removed the rim from the spout. Work slowly as it may be tight depending on the age of your can.
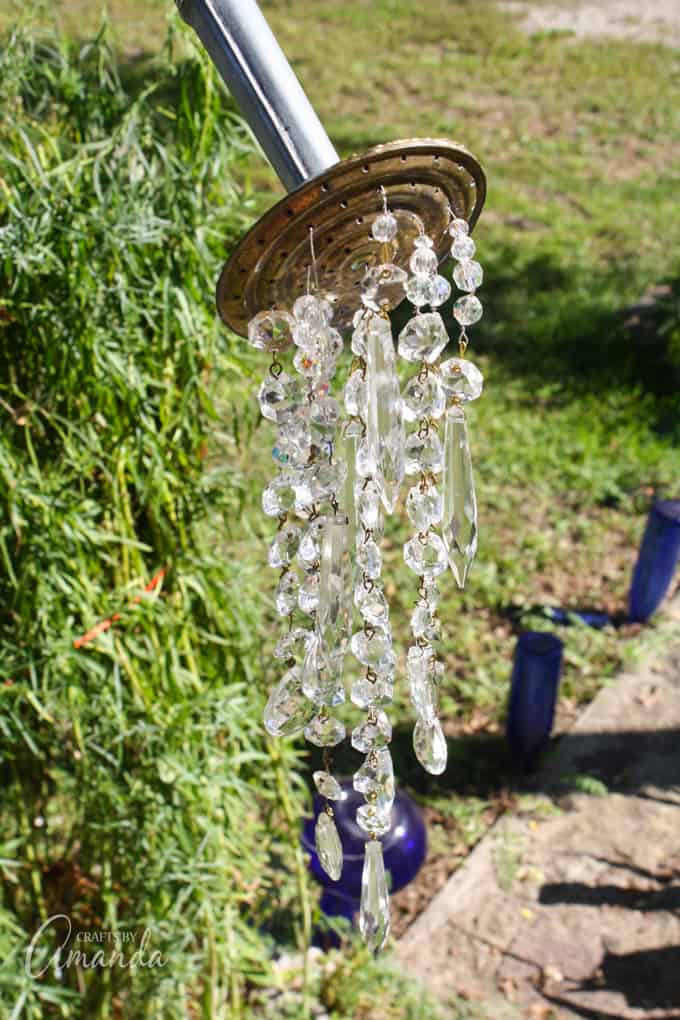
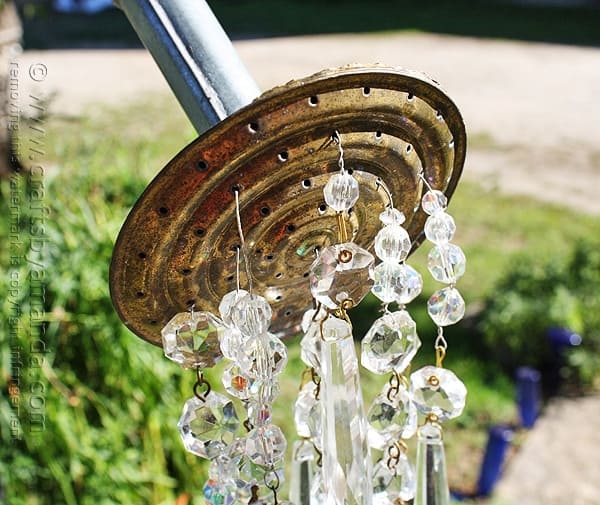
As you can see from the close-up, she strung crystals onto a piece of wire and threads the ends into the spout holes. From the inside of the spout, run a bead (any kind of bead as it won’t be visible) onto the wire and twist and wrap to hold the wire inside the spout. Then simply reattach the rim of the spout head to the can by crimping the edges with pliers.
Debra found her can at a garage sale for $1.00 and the crystals were given to her by a friend. You can find crystals on Amazon like these crystals.
Pretty awesome stuff. Debra’s pretty awesome too :) I just love how beautiful her garden and all her decor is! She is one crafty and creative lady! You may want to check out my Ladybug Painted Rocks that look oh so adorable sitting in a flower bed! Or you may also like How to Start a Fairy Garden as well!
More DIY Garden Decor Ideas
- Recycled Key Garden Markers
- Ladybug Painted Rocks
- Cheese Grater Owl
- Beaded Decorative Garden Stakes
- Mason Jar Bird Feeder
A Watering Can That Pours Crystals
Supplies
- Watering Can
- Crystals chandelier, craft, acrylic, any type
- Floral Wire
- Micro Pliers
- Any type of bead 1
Instructions
- Remove the rim from the spout. Work slowly as it may be tight depending on the age of your can.
- String crystals onto a piece of wire and thread the ends into the spout holes.
- From the inside of the spout, run a bead as it won't be visible, onto the wire and twist and wrap to hold the wire inside the spout. Then simply reattach the rim of the spout head to the can by crimping the edges with pliers.
This post was originally published on this blog on September 26, 2013.
- Watercolor Luminaries - February 11, 2025
- Free Valentine Printables: Cards, toppers, and tags - February 4, 2025
- Valentine Hugs - January 31, 2025



Debbie B says
I love this project! I cannot wait to make one for our garden!
Thank you so very much for sharing your beautiful talents.
Cathy G. says
The watering can I would like to use does not have a spout. What could I do so that I would be able to create this?
Amanda Formaro says
Is it metal? Is it just a round tube-like opening?
Debbie B says
Put your crystals onto the wire, leaving about 3 inches extra.
Put the ends of wire thru a 1 inch piece of wine cork that has Been cut down to fit Snugly into the tube of your can.
. Roll ends of wire to prevent them from slipping back through the cork, trimming excess wires
Put an industrial type glue (E-6000) inside the tube of your watering can and onto the cork.
Place cork about an inch into the tube, Let glue dry 24 hours
Carol says
The spout on my watering can does not come off. Is there still a way to do this craft with my can?
Amanda Formaro says
Did you watch the video in the post? We had to pry off the end of the spout.
Dena says
Where did you find the crystals? This is awesome.
Amanda Formaro says
I found mine at a thrift store, but there should be a link in the post that will take you to amazon where you can get them :)
Beth says
I rescued mine from an old chandelier that hung in a house my brother had just bought. He was going to throw it away and asked if I might want it.
Mom4XY says
This is by far my favorite so far I love these ideas! I am definitely going to try the watering can and pipe guy!! Thank you!
Amanda Formaro says
Awesome! Hope you have fun! :)
Jenny Bennett says
I love this I’m definitely going to have a go at making it for my garden xxx
Jean says
Hi Amanda,
I watched your video and have a question. Did you re-string the crystals? Thank you.
Jean
Rumah Gizi says
Wow Amazing, I Think can Make it on my backyard, Thanks..
So Inspiring
Patti says
Amanda, You rock !! Love all your crafts. Made the ladybug rocks, next is the watering can.
Amanda Formaro says
Thank you, Patti! I’m so glad you’re enjoying the crafts! Those two are among my favorites :)
Tina Gravelle says
Did it loved it. Thank you.
Amanda Formaro says
I’m so glad it came out good for you, Tina! :)
Rita says
I have a can and I am going to do this as soon as I possibly can !!! all I need are the crystals. any idea where I might find them. ?
Amanda Formaro says
Hi, Rita! So glad you asked. I’ve updated the post with a few links throughout on where to find crystals! I hope that helps :)
Tangelia says
Hobby lobby
Obat Untuk Pria says
Love it, wanna try to make one :)
Linda Hudak says
This is so cool! Need to find an old watering can!
Cara Cepat Tinggi says
wow amazing so inspiring and i want make one
thanks for sharing
Kathleen Carroll says
I don’t remember exactly how I first saw your water can project, only that I love it. When I first saw it, below there was a way to get the groups of crystals, but I don’t have that information. Were you selling this grouping of crystals? Mayvbe you can point me in the right direction so I could purchase this display.
Thank you so much,
Kathy Carroll
Amanda Formaro says
Amazon has the crystals, here’s a listing of the different types http://amzn.to/1NiBJLY
ELSANELLY GARZON says
Definitivamente un premio a la recursividad y a la creaatividad. Felicitaciones
Angela says
Any ideas for old milk cans?
Debra says
Wow , you used crystals from and old Chandler ! Cool
Denise richie says
The pop up ads were very intrusive. The blog was quite interesting but I gave up after several Mazda ads that would float over the text. That part isn’t enjoyable. Good luck with the blog though.
Amanda Formaro says
Hi Denise. There’s an X in the upper right corner of each ad that you can click to make the ad go away.
Tina says
I love the toad stools.. How did she make those. They would look great in my “Faerie” garden that I am making.
Amanda Formaro says
Hi Tina! She didn’t make the toadstools. She bought them at a flea market or thrift store :)
Nita says
;) The watering can is darling! We have a big plastic green one we never use… That may do just fine! And when Anita mentioned a mirror, like in a bird bath, I instantly thought — Oh Yes! But – why a mirror?? Why not real water in the birdbath, with the watering can and crystals above it! Then almost immediately, I found Marilyn’s comments, with similar thinking! Haha!! Great minds think alike! ;) ;) … Now I’m thinking this would be beautiful at the east corner of our covered Courtyard – where it gets morning sun! Wanting to see those crystals sparkling!! Thanks for the good ideas… ;)
Amanda Formaro says
Your ideas sound lovely Nita!
Janette says
Love your water can with gems. Can’t resist to make one for my backyard. So I did garden water can project. Almost same as your. I don’t know where and how I post up my photos to share with you. Thank you for great idea!
Janet Young says
Love it. How did she secure the wire with crystals to the can?
Amanda Formaro says
Hi Janet :) It says it in the post, but she ran the wire through the hole, attached a pony bead and twisted to secure the wire. That’s it!
Pauprint says
What kind of wire did she use???? Lots of wind around here and I’m thinking the wire would eventually get worn and break.
Amanda Formaro says
Just whatever craft wire she had in her craft room. A heavier gauge craft wire should work just fine.
casper says
Simply love the watering can idea,it is amazing…I have all the items needed.We were snowed in from January 13th..til last week,and I had run out of things to make.This will be gorgeous placed above our small waterfall going into our fishpond!!Thinking to suspend the can from a sturdy tree branch,and perhaps glue some of my crystals on the rocks down into the pond.(it’s a small fish pond)hoping the water flowing over the crystals hit by the sun will form small rainbows across the pond.Will let you know if it works!
Amanda Formaro says
Sounds like it will be wonderful!
Sandy Tillotson says
We loved the watering can so much we ran out today and bought a can and some crystals and are going to attempt to duplicate it. Already had the hook.
Amanda Formaro says
Awesome Sandy, have fun!
kathy bazzi says
Do you have instructions for this watering can. How did you attach the crystals to the holes of the can?
Amanda Formaro says
Hi kathy :) The instructions are toward the end of the post :)
Brenda @ SweetSimpleStuff says
Love everything … especially the watering can! I’m now hoping that the hubby didn’t throw away the watering can that I told him to throw away :)
Linda says
Love the water can. Now I’m on to finding the “how to”! Thanks for sharing!
Tiffiny Felix says
Finally found a watering can on our city’s yard sale FB page. I’m so excited to make this!
Lynn says
Where did you find the crystals? This is awesome.
Amanda Formaro says
Hi Lynn. The crystals were off of an old chandelier that my friend found at a thrift store.
Marilyn says
I LOVE the crystals.. what a great idea cans hanging ..I Have many watering hanging around my yard. But my favorite one is the large one I fill everytime I water and it flows into the birdbath. I shall be on the lookout for crystals to make one of those. thank you so much
Amanda Formaro says
Thanks Marilyn! The birdbath idea sounds wonderful :)
anita says
will do this- have everything just laying around! Idea – use a mirror for the water- place under hanging water-maybe in a birdbath type holder.
Amanda Formaro says
Have fun Anita, the results are beautiful :)
Paula Gale says
Hi Amanda
I came upon your fabulous watering can with crystals when I did a search for decorated watering cans on Pinterest. One would think it to be a somewhat limited area for results – but it didn’t matter what else came up once I saw this. I’m now thinking of making a board just for garden ideas I have a tiny garden – but little crafts could make it look so good.
This is just genius – thanks for adding a Pinterest button so that I could put this on my altered crafts board!!! Love it.
Paula x x x
Amanda Formaro says
Glad you love it Paula and that it was able to provide you with inspiration!
Judy White says
Love the watering can!! I used to be so creative in my younger days.I am 62 now and get excited when I see the younger women appreciating artistic things, recycled things.I will make my own watering can with crystals soon!Thanks for sharing.
Amanda Formaro says
Thanks Judy! I love the project too. Debra has since moved it inside for the winter months and hangs above her indoor plants :)
the cape on the corner says
how creative!
Dianna says
Love the watering can ……I purchased an old faucet that someone had put one crystal hanging from like a drop of water, get many comments from visitors
Amanda Formaro says
Oh I bet you do, sounds cool!
Amanda Formaro says
Thank you!
Angie | Big Bear's Wife says
That would look so cute in our flower bed! Pinning now!
Amanda Formaro says
Thanks Angie!
Faby says
Splendid !!! I love your garden, thank you for ideas ♥♥♥
Amanda Formaro says
hanks Faby, appreciate that!
Morgaine says
That watering can with the crystals is so adorable! From far away it looks like real water! Awesome!
(new follower here)
Morgaine @ Madcap Frenzy
Amanda Formaro says
Thanks Morgaine!
Kelley says
What a great idea!! Its so fun and goes perfectly in your amazing garden! I love it all!
Stopping by from Tatertots and Jello :)
Amanda Formaro says
Thanks Kelley!
Jean says
Love the watering can, I want to make one – just need a metal can and crystals!!
Thanks for the idea
Amanda Formaro says
Thanks Jean!
Kathy Gledsdale says
What an amazing garden, I love the watering can and the crow is great! Thanks for sharing it.
Amanda Formaro says
Thanks Kathy!
Rebecca Mills says
Do you sell any of your crafts? I would be interested in the watering can pouring crystals
Amanda Formaro says
Hi Rebecca! I’m afraid I don’t, sorry! But thank you so much for asking :)
Tresa says
I made the teapot and cup with the crystals. I can send pictures of some I had done if you send me your email.
Thanks
Amanda Formaro says
How fun, I bet they were pretty!
Debbie says
I would love to see it!!
Jilspan says
I’d LOVE to see them my DIL collects them, and it would be such a great gift to make her one for her yard. [email protected]
Johnnica says
How do you keep real water and dirt dobbers from collecting in the bottom of the can?
Amanda Formaro says
At the angle that the can hangs it doesn’t really collect any. But wouldn’t hurt to check it once in a while.