
Watermelon suncatchers are a fun summer craft kids can make with adults. This suncatcher is made from paper plates, paint, and melted crayons!

Watermelon Suncatchers
Gather up your old red crayons, because you’ll need a few to create the stained glass effect for these watermelon suncatchers. The rind is simply made from paper plates and paint. Here, I chose small paper plates, but you can use any size you have available and adjust the measurements.
We’ve done something similar with glue, check out these pretty suncatchers!
If you’re all about watermelon right now, be sure to check out these fun and easy watermelon slice and bake cookies! And if you find a few too many crayons, here’s a roundup of 20 crayon crafts.

What you need to make watermelon suncatchers
- white paper plates (7-inch round plates used here)
- craft paint in two shades of green
- sponge
- old, red crayons (2 to 3 per watermelon slice)
- wax paper
- parchment paper
- iron
- scissors
- pencil
- stapler
- hole punch
- string or ribbon
- black paint marker

How to Make Watermelon Suncatchers
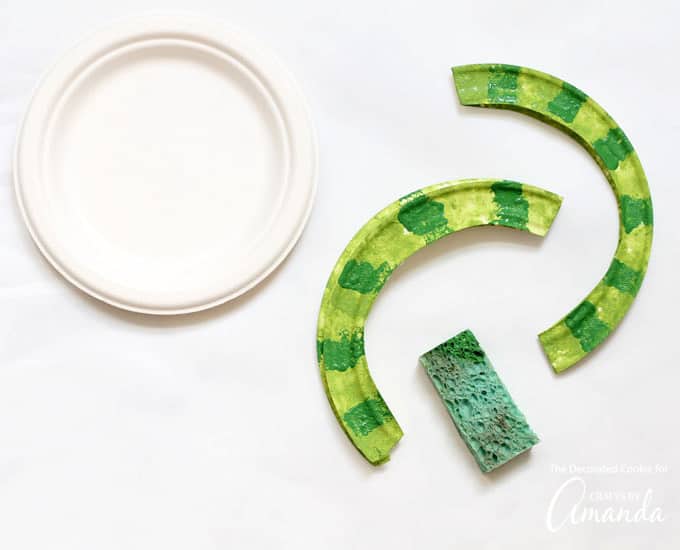
- To prepare the watermelon rind, fold a paper plate in half and cut out a semicircle around the edge. Cut the sponge in half.
- Use one sponge to paint the paper plate in the lighter green. Paint the entire plate, front, and back (if you’d like to see the sun catcher from both sides), letting each side dry fully. Use the other piece of the sponge to dab darker green stripes on the plate. Let dry fully.

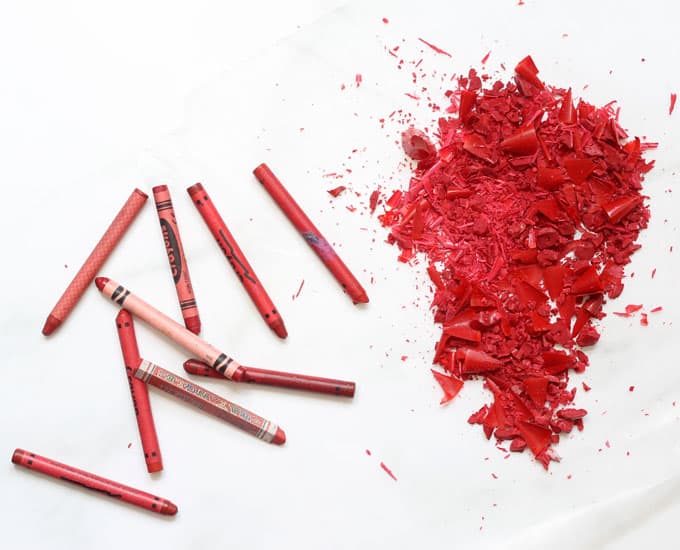
- To prepare the red center, peel your red crayons. Create crayon shavings by using a pencil sharpener, crayon sharpener, or by finely chopping the crayons with a sharp knife. (This step is reserved for adults.)
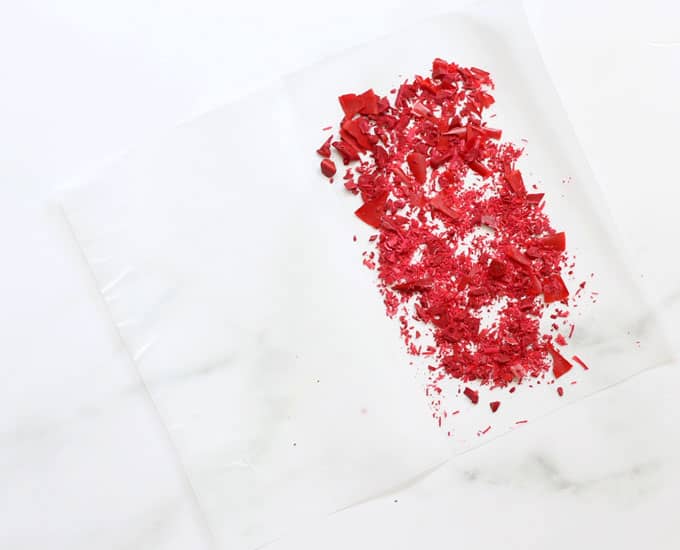
- For each watermelon slice, cut a piece of wax paper 8 inches by 8 inches, or, an inch larger than the diameter of the paper plate you are using. Fold the wax paper in half and unfold.
- Place the wax paper on a large piece of parchment paper, at least twice the size of the wax paper. Sprinkle red crayon shavings on half of the wax paper, all the way up to the fold line, leaving a one-inch border around the edge.
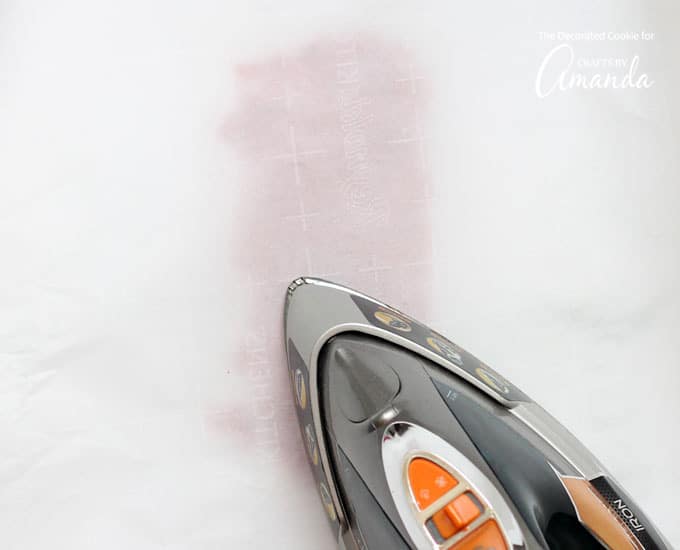
- Spread the shavings thinly for a more translucent look and more densely for a more opaque look. Fold the wax paper over to cover the shavings. Place another large piece of parchment paper on top. Heat an iron on low, with no steam. Hold over the parchment paper to melt the crayons and smooth with the iron. (This is also an adult-only task.)
- Make sure the crayon has melted all the way up to the wax paper fold.
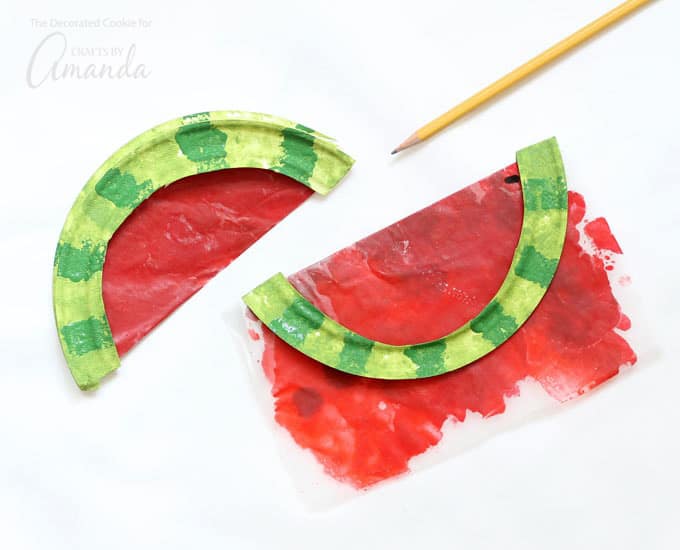
NOTE: The crayon will most likely ooze out of the wax paper a bit, so it’s very important to use the two large pieces of parchment paper to protect your iron and your work surface! Let the crayons and wax paper dry completely, about 15 minutes. - To assemble the sun catcher, place a melted crayon sheet in the folded paper plate. Use a pencil to trace the crayon sheet where to cut. (The pencil will surprisingly work well here.) Take out the slice, cut along the pencil line, re-insert into the paper plate, and secure with a staple. You should only need one staple.
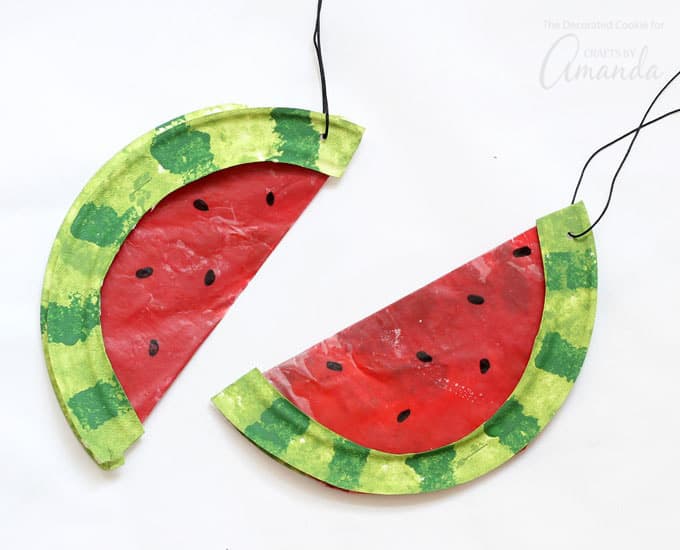
- To finish, punch a hole at the top and string some ribbon or string. Use a black paint marker to draw seeds. Hang in the window on a sunny day!
And for the 4th and Memorial Day, these star suncatchers are super fun, then you can move on to autumn with our fall suncatchers.

While these watermelon sun catchers are a perfect summer activity, you can use the melted crayon stained glass idea all year round. Use different colors and cut out any shape you like.
More Paper Plate Crafts

Watermelon Suncatchers
Supplies
- white paper plates 7-inch round plates used here
- craft paint in two shades of green
- sponge
- old red crayons (2 to 3 per watermelon slice)
- wax paper
- parchment paper
- iron
- scissors
- pencil
- stapler
- hole punch
- string or ribbon
- black paint marker
Instructions
- To prepare the watermelon rind, fold a paper plate in half and cut out a semicircle around the edge. Cut the sponge in half. Use one sponge to paint the paper plate in the lighter green. Paint the entire plate, front and back (if you’d like to see the sun catcher from both sides), letting each side dry fully. Use the other piece of the sponge to dab darker green stripes on the plate. Let dry fully.
- To prepare the red center, peel your red crayons. Create crayon shavings by using a pencil sharpener, crayon sharpener, or by finely chopping the crayons with a sharp knife. (This step is reserved for adults.)
- For each watermelon slice, cut a piece of wax paper 8-inches by 8-inches, or, an inch larger than the diameter of the paper plate you are using. Fold the wax paper in half and unfold. Place the wax paper on a large piece of parchment paper, at least twice the size of the wax paper. Sprinkle red crayon shavings on half of the wax paper, all the way up to the fold line, leaving a one-inch border around the edge. Spread the shavings thinly for a more translucent look and more densely for a more opaque look.
- Fold the wax paper over to cover the shavings. Place another large piece of parchment paper on top. Heat an iron on low, with no steam. Hold over the parchment paper to melt the crayons and smooth with the iron. (This is also an adult-only task.) Make sure the crayon has melted all the way up to the wax paper fold. NOTE: The crayon will most likely ooze out of the wax paper a bit, so it’s very important to use the two large pieces of parchment paper to protect your iron and your work surface! Let the crayons and wax paper dry completely, about 15 minutes.
- To assemble the sun catcher, place a melted crayon sheet in the folded paper plate. Use a pencil to trace the crayon sheet where to cut. (The pencil will surprisingly work well here.) Take out the slice, cut along the pencil line, re-insert into the paper plate, and secure with a staple. You should only need one staple.
- To finish, punch a hole at the top and string some ribbon or string. Use a black paint marker to draw seeds. Hang in the window on a sunny day!
This post originally appeared here on Jul 30, 2018.

- Marshmallow Edible Paint - July 28, 2026
- Paper Plate Watermelon Suncatchers - July 7, 2026
- Mason Jar Lid Snowman - January 2, 2026


DENICE R FOXX says
Amanda, I love your easy craft Ideas. I printed out Aquarium, the felt monster book, the Halloween luminaries, snowy pinecone candle jars, watermelon suncatchers, paper plate dalmatian. Thank you so much for the printouts of these adorable projects for my preschool class. I will for sure post our progress. Thank you again!
Amanda Formaro says
How fun, can’t wait to hear!