It was Christmastime, last year. My daughter and I had just visited the craft store for some supplies and decided to browse around Pier One, which just happens to be next door to the craft store. They always have such a wonderful display of ornaments and I’m always on the hunt for inspiration. That’s when my daughter saw a painting she loved and asked if I could make one for her.
Funny story actually. The employees of Pier One must be worried about the competition stealing their ideas as they were eyeballing me and my camera phone quite suspiciously, and Kristen was supposed to be my lookout. Instead she’s over at the other end of the store drooling over wall art.
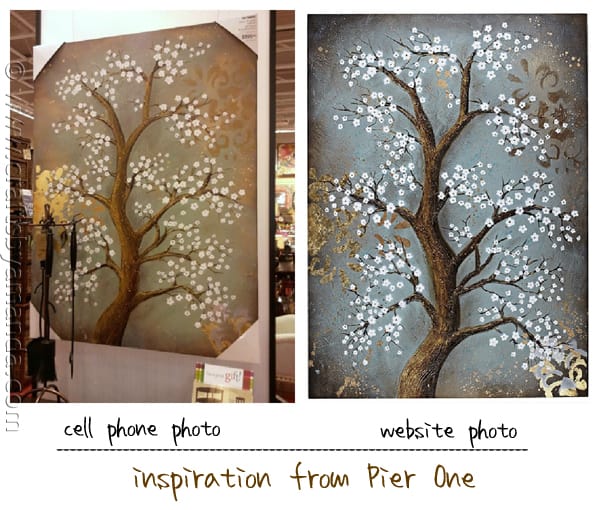
This is the painting that she saw (pictured left, daughter’s cell phone) and the picture on the right is from the Pier One website. The piece is titled Cherry Blossom Wall Art and sells for $199.95. When Kristen was showing it to me, she made a point to say that she didn’t really like the stenciling in the background of the painting, so when I created my own a year later, I left that out.
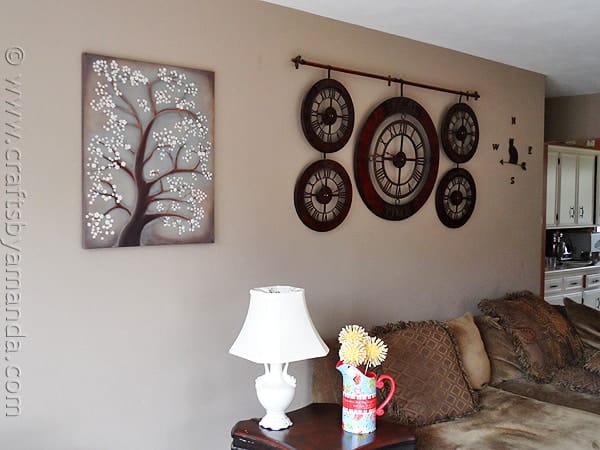
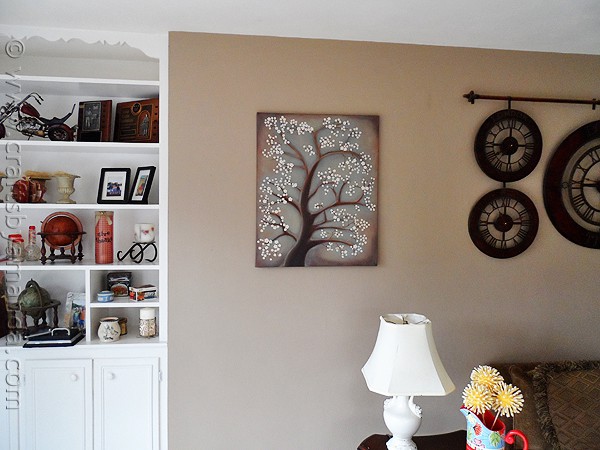
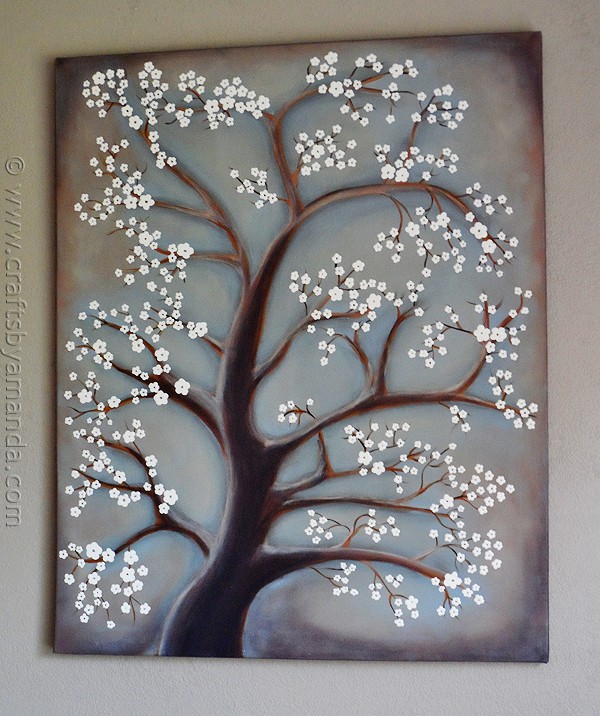
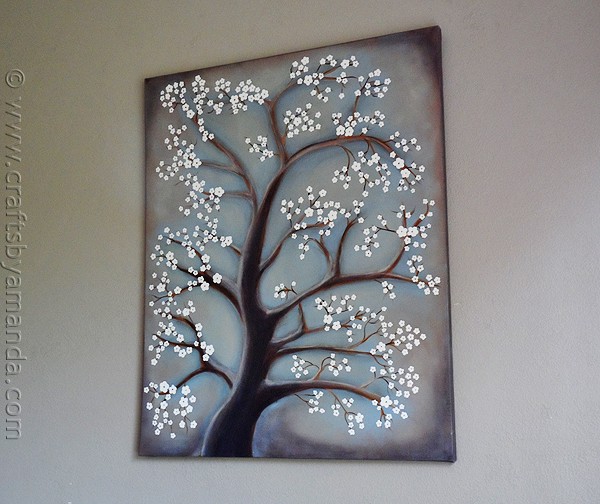
So here we are, fast forward 12 months and my baby girl is moving out on her own. She’s the first of my brood to venture out, though not my oldest, he’s still living here. She and her roommates have secured an apartment 20 minutes away and I wanted to make her something special as a house warming gift.
Luck would have it that my contact at DecoArt gave me an assignment that couldn’t have had better timing. They needed a new photo/project for one of their catalog pages for their Americana paint. For the project I could only choose from the colors specified on that product page from the catalog. As soon as I saw the colors on the catalog page I knew exactly what I was going to do.
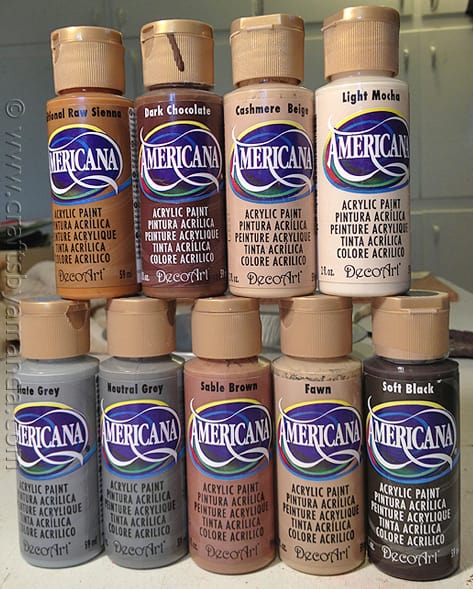
The only supplies needed for this project are a 24″x30″ canvas, a small household sponge, some matte sealer spray and the following Americana paint colors:
Slate Grey
Neutral Grey
Sable Brown
Fawn
Soft Black
Traditional Raw Sienna
Dark Chocolate
Cashmere Biege
Light Mocha
NOTE: Each of the following step photos can be enlarged by simply clicking on the photo.
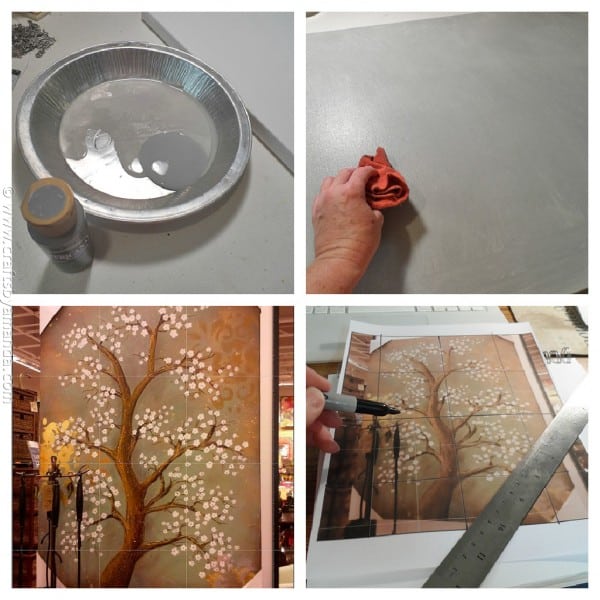
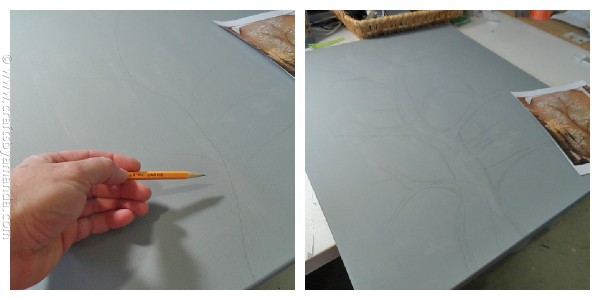
While the canvas was drying, I dropped the cell phone picture of the Pier One painting into Photoshop Elements and added a grid (View > Grid, change grid size in the Preferences). If you don’t have Photoshop, no problem, just use a ruler. I did a quick screen capture of the grid covered photo, then opened the screen capture and printed it. Then I went over the grid lines with a black marker to make them more visible. This was just to help me gauge area while sketching out the tree onto the canvas.
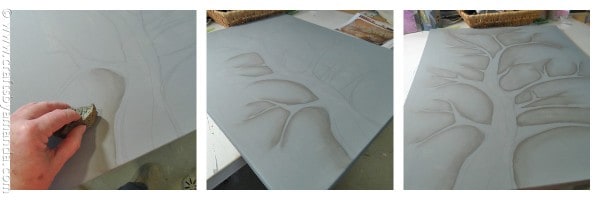
First I shaded around the tree using Neutral Grey. To do this, I worked in small sections. This is important since acrylic paint dries fairly quickly. First I painted around the outline of the tree, then blended it with the damp sponge by running the sponge almost to the outline and blending the paint outward.
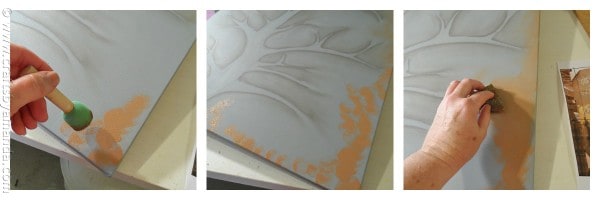
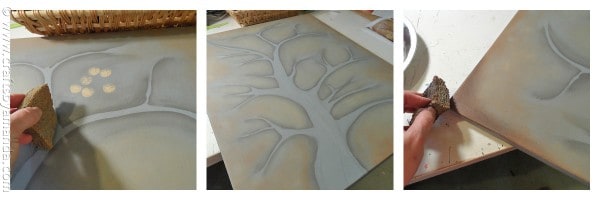
Finally, I used small dabs of Soft Black around the corners of the canvas. In this instance, I did use a wee bit more moisture in the sponge since I was blending such a dark color. This helped with spreading it out more.
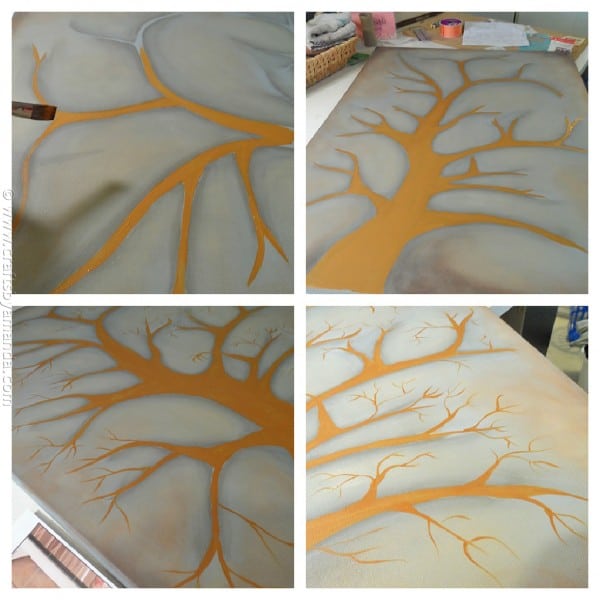
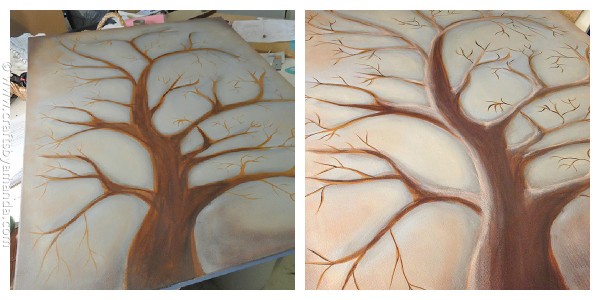
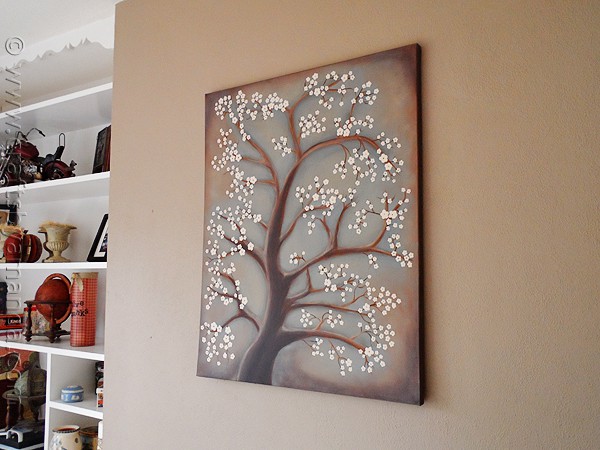
To highlight the tree, I used Cashmere Beige and blended the edges with the sponge.
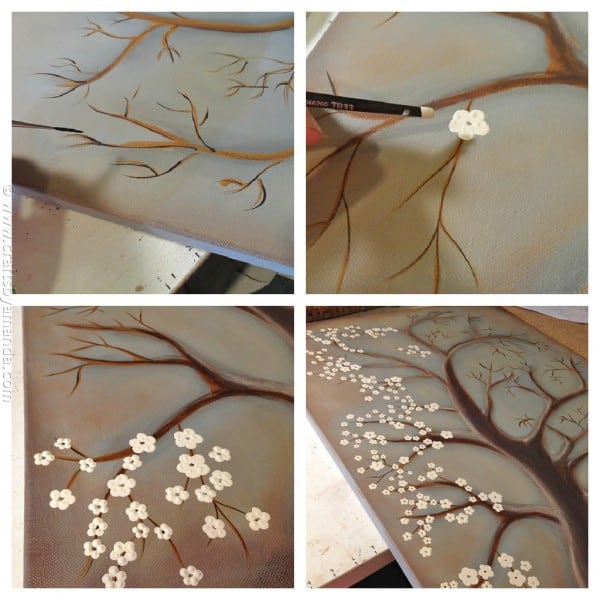
Now I was ready to add the flowers, which by the way is a lot like icing a cake. It makes you smile and you know that you are not only in the final stretch, but you’re about to add a bunch of beauty to your creation. Dip the handle end of a paintbrush into Light Mocha. Small flowers can be created using just a dot and a small amount of paint, while larger flowers you’ll need more paint and you’ll “draw” them on using a circular motion. Just keep adding them until you are happy with the results.
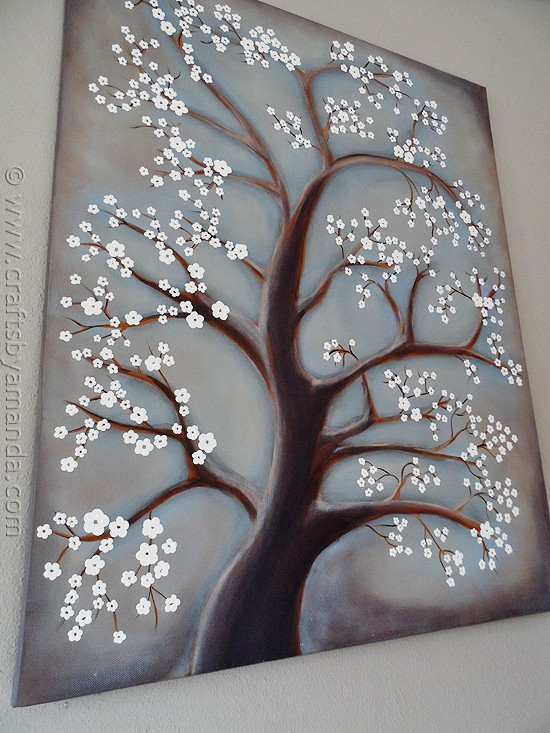
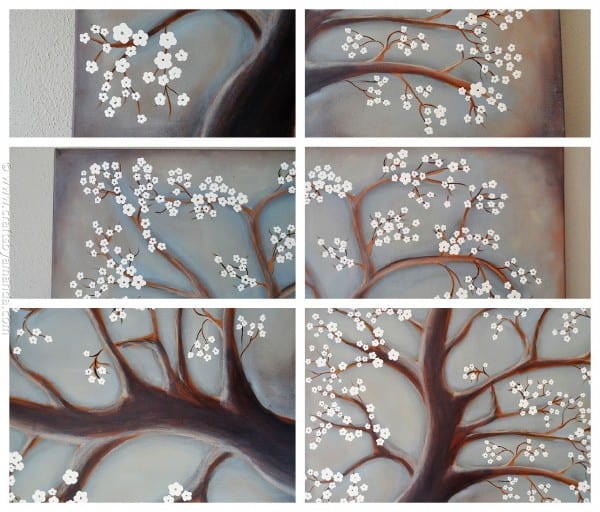
I hope you enjoyed this painting as much as I enjoyed creating it. My daughter was absolutely ecstatic when I gave it to her. She even tweeted this:
https://twitter.com/KristenFormaro/status/264033317282779143
Aww! And I have the best daughter in the world too. :)
:) :) I love you too baby girl. I can’t believe you’re all grown up and leaving the nest! It seems like only yesterday I was cradling you in my arms and singing you goodnight. Don’t forget to come home and visit your old mom. ;-)
- Paper Plate Tropical Fish Craft - July 19, 2024
- Tropical Paper Flowers - July 16, 2024
- DIY Mosquito Repellent Candles - July 9, 2024
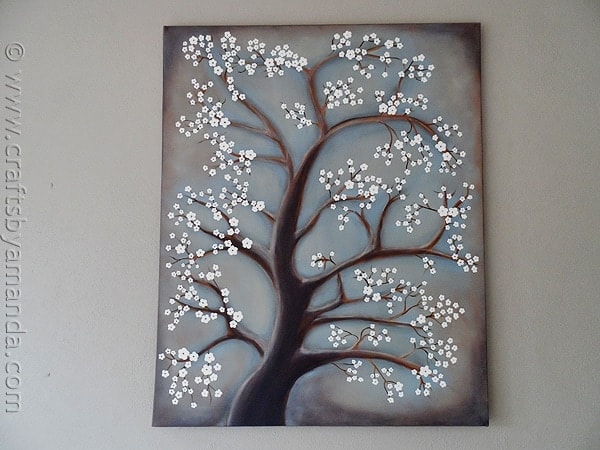
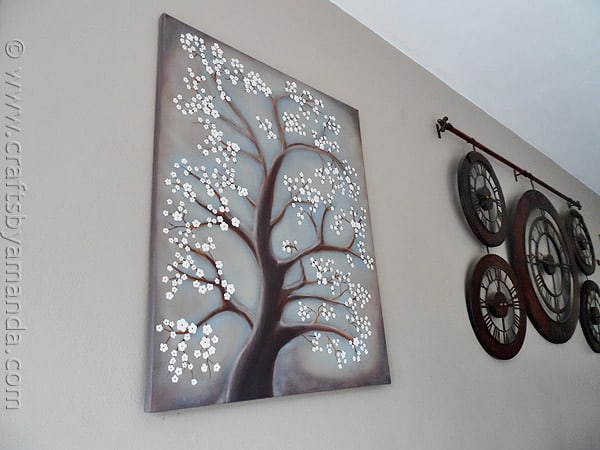


Tahlia says
Wow! What an incredible artwork. I’m creating my own variation of it for Mother’s Day and my mother will love it! I’m doing slightly different shades of colour on the tree and background and I’m adding some lilac and cherry coloured flowers to make them stand out. If you wish, I can send (email) you the finished copy of my variation of your White Orchid Tree, and I’m naming it The Cherry Blossom Tree.
Amanda Formaro says
Yes would love to see it!
Diane says
Yes, I would love to see final painting. Thank you
Racquel says
Hi, it’s beautiful!
I just didn’t understand how to create the flowers. Can you explain a little bit? They look really neat.
Amanda Formaro says
You create the flowers by dipping the handle end of a paintbrush into the paint and dotting it onto the canvas. That’s it! :)
Donna Marchese says
I loved this tutorial! You made it so simple to do and I thank you for sharing your beautiful art work with all of the art lovers in the world. Please keep them coming.
Amanda Formaro says
How nice of you to say Donna, thank you so much!
Laurie says
I’ve been searching the Internet trying to find instructions to do exactly this. You made my day! Thank you so much for the detailed instructions. I can now go forth and complete my project! I also think your painting is so much better than the Pier One painting. There’s more detail to your branch and flowers. Beautiful job.
Amanda Formaro says
That is so nice of you Laurie, thank you so much! I hope you enjoy your project!
Ziya says
Hi Amanda, thank you so much for this idea. I did this painting for a very dear friend of mine as a housewarming gift. First off, I’d like to say I was being lazy and decided to do everything free hand, haha! And went a little overboard with the details on the tree and the number of flowers on it.. I wish I could send you a photo of mine though.. just to make you feel proud that someone’s used you ideas. I am not a blogger and therefore have no clue how to attach my photo here. Thanks again..
Amanda Formaro says
Hi Ziya! It sounds wonderful and I am so glad you found inspiration in my painting :) Feel free to email me a photo I would love to see it :) Simply click the contact tab above my photo on the right side bar of the blog. :)
Sydney says
Hi Amanda,
Im trying to recreate what you did and I cannot for the life of me get your sponge technique down when you’re painting with your Neutral Grey and Sable Brown.
HELPPP!
Amanda Formaro says
Hi Sydney. Are you using the damp towel to blot and blend? That’ the most important part to achieving that look. Acrylic paint dries quickly, so working with the damp towel helps tremendously!
Middy says
This is beautiful….the painting and the story behind it. I love t a million times more than the original. It’s stunning!
My stress reliever is painting and you have inspired my next piece. Best wishes to your daughter on starting out on her own. She’s very lucky to have such a caring Mom.
Amanda Formaro says
Thank you Middy! This is one of my favorites paintings so far. So glad it’s inspired you!
Francine Nault says
WOW that is so beautiful and thank you Amanda for sharing. Your instructions are fantastic, we can`t go wrong! Someday I will make one of these, I just love it. Keep up the good work and thanks again.
Amanda Formaro says
Thank you Francine! I really appreciate that :) :)
mickey says
that would be pretty as a front of a card
Amanda Formaro says
Thanks Mickey!
sandy says
Your painting is so beautiful.Thank you so much for shareing.It has inspired me to try it for myself.Thanks again for the tips.
Amanda Formaro says
Thank you Sandy! I hope you try it and enjoy the process :)
Bindhya says
You r such a lovely mom..feel like cry while I read .. I think about the day my son leaves me..also very good painting..
Amanda Formaro says
Aww thank you Bindhya!
Kacy says
Thank you so much for sharing your process. I am an art student and while painting is not too much in my field as a graphic designer, I loved the small experience I had with it in a mixed media course and color theory. I often want to try it out but am not sure how to get started, your process has given me so many ideas and really helped me see how to piece together a painting. I have to agree with everyone else yours is much better than the original!
Amanda says
Thanks so much for your kind comment Kacy! I really appreciate that and am so glad that the tutorial is helpful!
katerina says
O M G.this is so nice. i love it and i am going to try it myself.
If it turns out good i will be very proud.
i will led you know.Thanks for the idea,keep it coming.
Amanda says
hank you Katerina!
Jennifer Lee says
I’m so excited that I happened upon your site tonight!! I just went to my very first Canvas Painting event tonight with my daughters and LOVED it! So finding your site with your awesome work and great tutorial just really made me smile!! I will be back as soon as I purchase the paints and sponges!! Thanks for sharing!
Amanda says
How fun! I really want to sign up for sewing classes at JoAnns but just haven’t found the time yet. Guess that’s one of my new year resolutions! :)
Susan C. Forsythe says
You are one super talented lady and a loving mother. Thank you for sharing your time and talent with us.
Safeena says
Ur painting is absolutely beautiful.. Im going to try it myself. It’ll be my first big painting!! Thank u so much for the inspiration n the detailed instructions.. wish me luck :)
DA Maxwell says
I agree with many others that I find your version more beautiful than the original. The original is too glittery and clunky… I think the stencil background is very distracting, and makes it look a little cheap. Yours is neat and clean and warm and absolutely peaceful~ ♥
Amanda says
Thank you so much, and thank you to everyone for your compliments, it’s most appreciated!
hailey says
This was so helpful and informative, I will utilize these tips in so many future paintings. Beautiful work! :)
Claudia says
Would you be willing to make another to sell?! I could never do this, nor do I want to try, but I absolutely love this and the colors!!!!
Amanda Formaro says
Thanks so much for the compliment Claudia! I don’t sell my work, but I do appreciate the kind words. thank you!
Brenda @ a farmgirl's dabbles says
Wow. I love this. Absolutely beautiful!!
Amanda says
Lindo. Tudo lindo!
Niki says
Your version is EVEN BETTER!! So gorgeous…if you wanna practice some more, you can make me one too. LOL.
nest of posies says
WOW! so much detail! beautiful work.
Deborah Jennings says
I love this tree! I am going to have to make one! Hum, I wonder how you’d paint dogwood blossoms. That would be great to have around Easter!
Linda says
Beautiful…just beautiful…wishing your daughter the best of luck in life!
Bernadette says
You are really talented.
Panagiota says
Just perfect!
Grate job!
Vicki says
Incredible job you did. You made a wonderful tutorial too.
Arlene@Nanaland says
Thanks for the tips of using a grid and using a sponge to blend acrylic paint!! Your painting is lovely!!
Kay Halford says
Love, Love it better than the Peir One you are so talented and your daughter is so lucky to have a talented mom like you.
teresa frutos says
You are extremely talented!!!! I could never make it look as good as yours. Will you consider making another to sell? I would absolutely love it!
chandel says
WOW!!! that turned out beautiful!! while i could never do it myself (i cannot draw to save my life) I think i like yours better than the original!! And the fact that your’s was created with Love, makes it all the better :)
Marilyn Keirstead says
I would love to be able to do this….it is beautiful!
Angie @ Big Bears Wife says
holy wow!!! Your daughter is so lucky!!! I love this so much!!!
smita says
Its aWSM…thank u so much…u made my day…
Jacqueline says
I use other artists photographs for my painting inspiration- but would never copy a work to sell…I think that is copyright infringement. Making it for your daughter is finE, but going on to sell someone else’s ideas as your own doesn’t sit well with me(as an artist myself). However I think it’s fine to share the techniques you used to copy. Even those easy paintings done at wine and paint places are copyrighted, you need to be careful.
Amanda Formaro says
I agree, I wouldn’t sell my painting if I used another artist’s work as inspiration, unless of course it was different enough. I can see how the post you read may have not made that clear, but I was discussing selling my “portraits on wood” even though I receive lots of requests for my other work.