
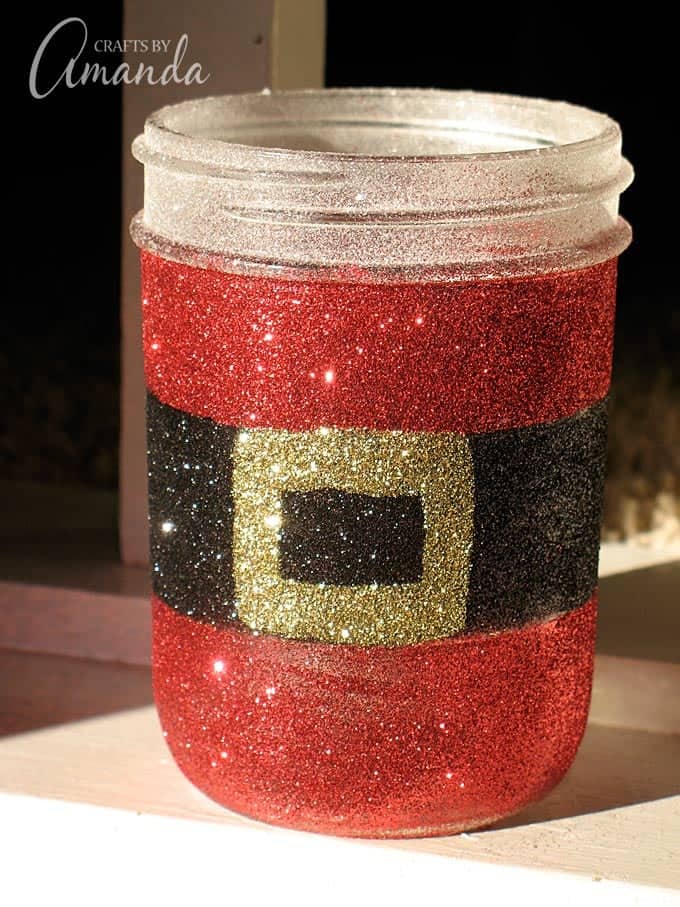
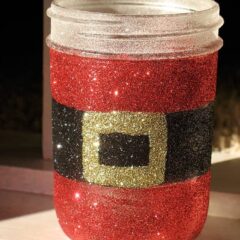
Santa’s Belly Jar
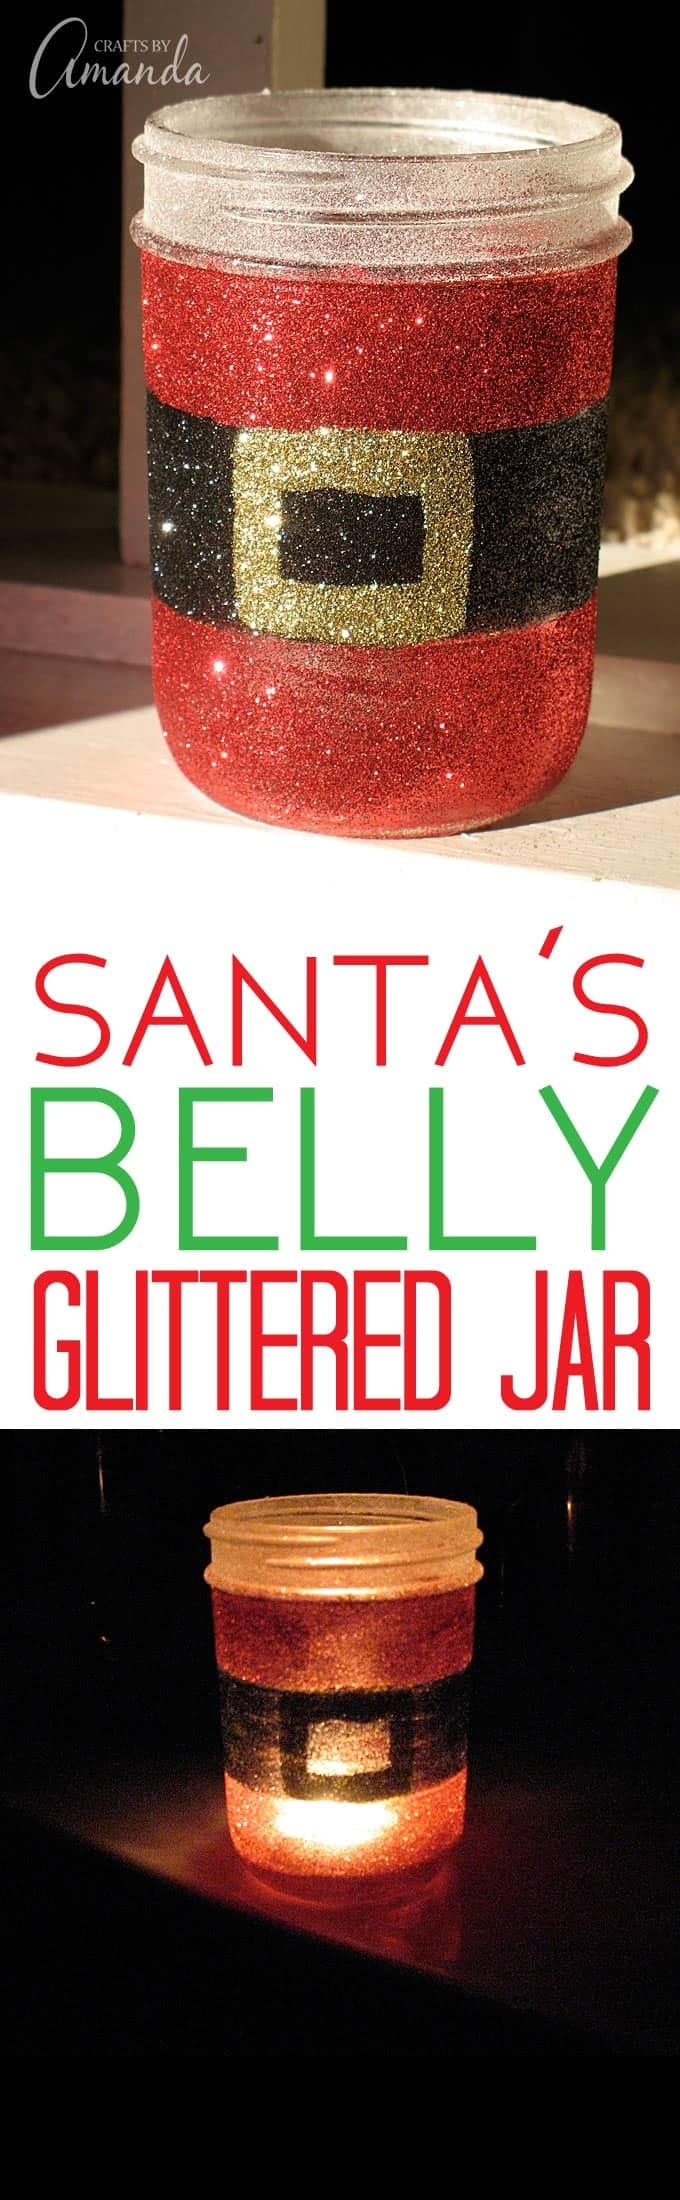
My original intention was to create Christmas luminary jars with this design. However, I’ve decided to use these to hold candy canes instead. :) Turns out that jars covered in glitter just don’t light up as nice as I had hoped. But they do light up as you can see in the picture below.
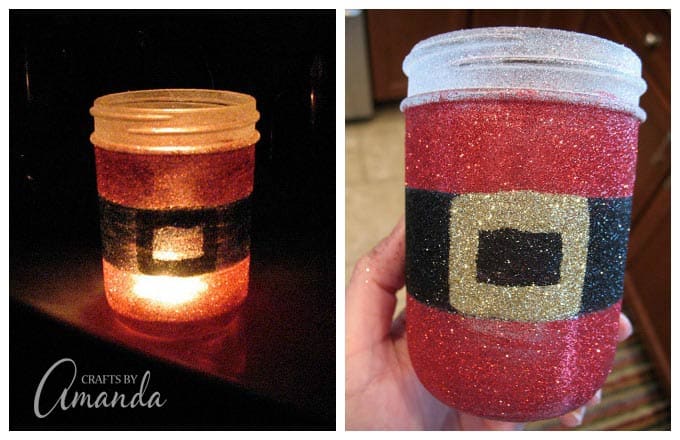
See?
On their own they sure are pretty though, especially in the sunlight!
See that sparkle in that top photo? Do you have any idea how hard it is to take a photograph of something sparkly? Next to impossible. Out of probably 30 shots, I got TWO with sparkle.
Above is a VIDEO of the sparkle effect – it’s worth the few seconds it takes to watch it, so click “play”!

Recently Martha Stewart glitter went on sale at Michael’s. I’ve been wanting to try it after reading all over the blogosphere last year just how wonderful it is, so in the cart it went. I can’t wait to try it on some ornaments this year! (This is not a sponsored review, this is a product I purchased on my own and this is my honest opinion).
The glitter is a little pricey, but if you use a 40% Michael’s or other craft store coupon or get it on sale you can get a good deal. Be sure to capture all the glitter as it falls so you can return the excess to the jars.
If you would like to make some glittery Santa’s belly jars of your own…
You will need
(printable version below)
- mason jar(s)

- masking tape
- Mod Podge or white craft glue
- paintbrush
- Martha’s glitter (black, red, gold, white)
What you do
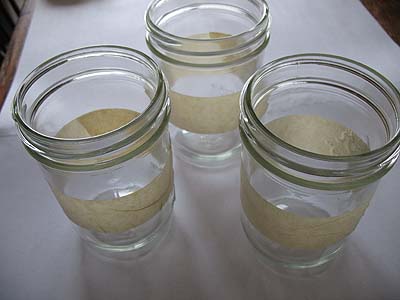
Wrap the center of the jar with a strip of masking tape. Be sure to press all the edges down, particularly around the raised letters on the jar, if there are any.
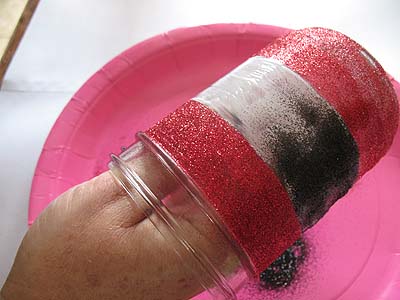
Use the paintbrush to apply Mod Podge or glue to the bottom section of the jar, overlapping the masking tape a little to be sure you get adequate coverage. Place hand inside jar and hold over a paper plate, sprinkling glitter onto glued area, turning with your hand and wrist. Continue until all glue is covered. Repeat this with the top section of the jar, but not the rim. Gently tap off the excess glitter onto the plate. Let this dry for at least an hour.
Carefully remove the tape from the center of the jar. Paint the center of the jar with Mod Podge or glue and sprinkle with black glitter. Gently tap off excess glitter. Let dry for about 30 minutes.

To add the buckle, pipe glue onto the black glitter, carefully spreading to the width you want using a paintbrush. Sprinkle with gold glitter and tap off excess.

Use a paintbrush to add glue or Mod Podge to the rim of the jar. Sprinkle with white glitter and tap off excess.

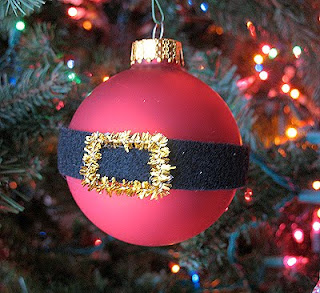
If you liked this you will probably like my Santa’s Belly Ornament as well!
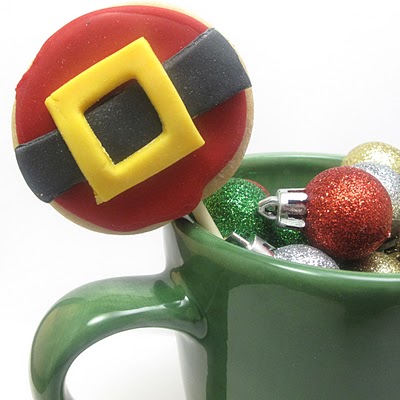
And don’t miss my friend Meaghan’s fabulous Santa Belly Cookie Pops. Or, if you’re looking for another luminary idea for Christmas, check out these gorgeous Candy Cane Luminaries!
Glittery Santa's Belly Jar
Supplies
- mason jar s
- masking tape
- Mod Podge or white craft glue
- paintbrush
- Martha’s glitter black, red, gold, white
Instructions
- Wrap the center of the jar with a strip of masking tape. Be sure to press all the edges down, particularly around the raised letters on the jar, if there are any.
- Use the paintbrush to apply Mod Podge or glue to the bottom section of the jar, overlapping the masking tape a little to be sure you get adequate coverage. Place hand inside jar and hold over a paper plate, sprinkling glitter onto glued area, turning with your hand and wrist. Continue until all glue is covered. Repeat this with the top section of the jar, but not the rim. Gently tap off the excess glitter onto the plate. Let this dry for at least an hour.
- Carefully remove the tape from the center of the jar. Paint the center of the jar with Mod Podge or glue and sprinkle with black glitter. Gently tap off excess glitter. Let dry for about 30 minutes.
- To add the buckle, pipe glue onto the black glitter, carefully spreading to the width you want using a paintbrush. Sprinkle with gold glitter and tap off excess.
- Use a paintbrush to add glue or Mod Podge to the rim of the jar. Sprinkle with white glitter and tap off excess.
Video
- DIY Mosquito Repellent Candles - July 10, 2026
- Mason Jar Solar Lights - July 3, 2026
- Patriotic Pinwheels - June 23, 2026


Barbara says
Love these luminaries! The ones with the pine cones and lace with the Snow Tex are simply gorgeous! I’m thinking I’ll line them up in a row on my dining room table. That will be enough decoration with my Christmas place settings!
I think the Santa Belly jar is gorgeous and plan to add it to my counter top to hold spoons, etc.!
Amanda Formaro says
Thank you Barbara! I think your table will look wonderful!
Jaime says
Well done!! This is so SO cute!! :)
Amanda Formaro says
Thanks Jaime!
Margaret says
Thank you for the wonderful inspiration to make this! I actually painted under the glitter (yes it did take a bit more time) but a candle inside now looks beautiful! Also, after all the glitter was completed, I put a heavy layer of hairspray on it so the glitter won’t “move” as much. :)
Thank you again!!!
Amanda Formaro says
Awesome, sounds beautiful Margaret!
GLITTERBALL78 says
I LOVE THISSSSSSSSSSSSSSSSSSSSSSS TOATS MY GOAT ADORBS. TO DIE FOR LIKE I CANT EVENNNNNNNNNNN
Amanda Formaro says
Haha thanks! What a fun comment too ;-)
Skylar says
I love this will definitely be making these for my family and for christmas stuffers :D Thank you
Amanda Formaro says
Thanks Skylar :)
Tara says
Hi there! I thought that this was so great that I featured it in my “100 Jolly Christmas Crafts & Decorations”! Have a great day! http://www.aspectacledowl.com/100-christmas-crafts-decorations/
Amanda says
Thanks for the feature!
Alana says
looking at this, I got to thinking how to make a luminary using this design – You could use that paint they sell for making faux stained glass. It probably wouldn’t take all that much longer to make, although you might need 2 layers to get the colour to show properly with a candle, but I’d be willing to bet the effect with the lit candle would be quite interesting.
Debbie @ Pink Texas Chick says
So, so pretty and what a great idea!
Cathy says
What do you mean when you say pipe glue onto the black glitter?
Amanda Formaro says
By piping I mean use the glue bottle like a pen and draw the buckle with the glue :)
P K Glitz says
Your Santa jars are just adorable! I love all of the sparkle.
Mary Dawn says
SHUT UP! this is beyond awesome!
Erin says
These are super cute!! I'm kind of like you, I would have thought those would have made fantastic candle holders. But they make cute treat holders too!! :)
Embellished Bayou says
How fabulous! I love anything glitter & this is a great project, thanks for sharing!
AliLilly says
I LOVE this jar! Every time I see it it makes me happy!!
You should TOTALLY stop by I'm giving away some of my handmade Christmas jewelry!!
http://alililly.blogspot.com/2010/12/lil-late-200-followers-celebration.html
Sandy says
I totally love this! The little video of sparkliness almost took my breath away… ok – not really – but it sure does look pretty!
Stephanie says
saw this on Mod Podge Rocks and I LOVE it! The way it shines in the video and the sound of your Cricut…ahhhh, love it all. :)
Mod Podge Amy says
This is so awesome!
thatgirlblogs says
BTW if I make these I will post and link back to you.
thatgirlblogs says
randomly, I have a bunch of unused mason jars! loved the video — I am going to put bags of homemade fudge in ours. I love, love, love this idea, thank you!
Jamiecrafts says
this is super cute. now i need some of that glitter :) found you on COM :)
Jen says
what a neat idea!!!
Very pretty!
Amanda says
Thanks all! I'm going to make a few more, I think they'll be great for holding silverware or candy canes!
Lana @ Never Enough Thyme says
Those are really cute, Amanda. I think a group of different size jars done all the same would be neat!
Megan says
Amanda, these are adorable. Too bad they didn't light up very well but I could see using these to giveaway homemade candies. Think I need to run to Michaels. I think I even have a coupon!
Lorie says
That is such a cute idea! I actually think I am going to make some homemade raspberry jelly to give away with some homemade rolls this year and decorate the jar just like that!!
I will be featuring this tomorrow!!
Maria says
So fun and festive!
[email protected] says
Amanda, these candles are so cute, you might actually get me crafting ;)
Holly says
That is too cute and sparkly – LOVE IT!! I love using mason jars and jelly jars (whatever) for crafts.
Amanda Dale says
Cute!!! Thanks for sharing!
http://www.theivycottageblog.blogspot.com
-Amanda
maggy, red ted art says
Wow! Very cute and very clever!
Thanks for sharing it with us!
Maggy
Red Ted Art
Jennifer says
This is one of the cutest things I've ever seen. I had already seen you linked up on Hope Studios and clicked over. I didn't even realize it was your blog at the time.
Cynthia R. Hallum LeChaiseParfait.blogspot.com says
These are great, I think my grand kids would love this project with grandma.
Robin says
How darling!!! Please drop in if you have a minute and add this to All Things Merry & Brite Linky tomorrow!
xoxo
Robin
All Things Heart and HOme