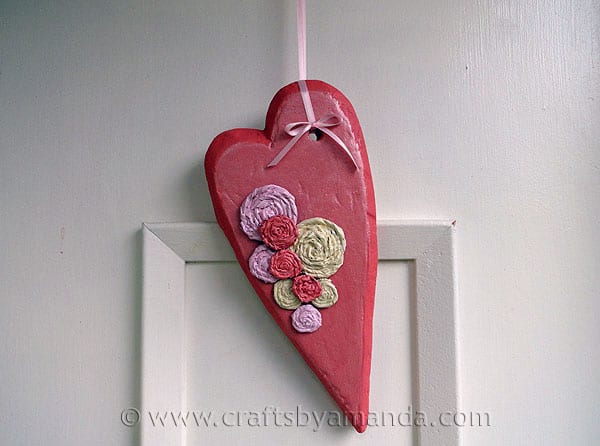
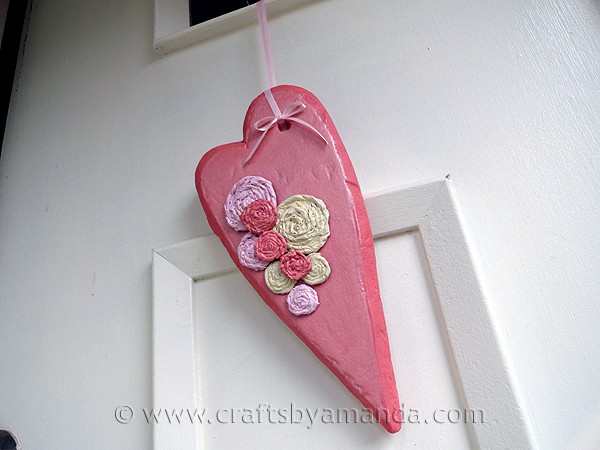
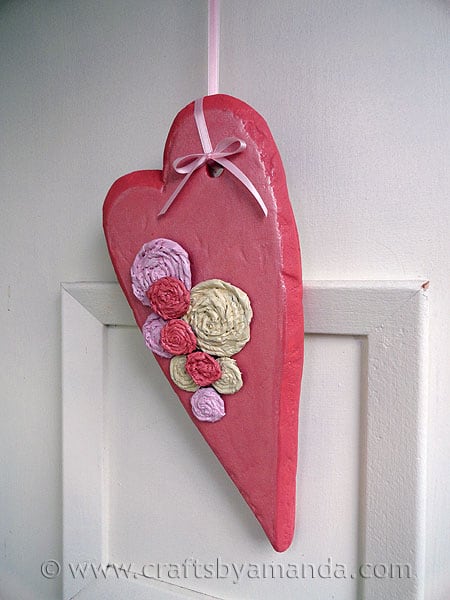
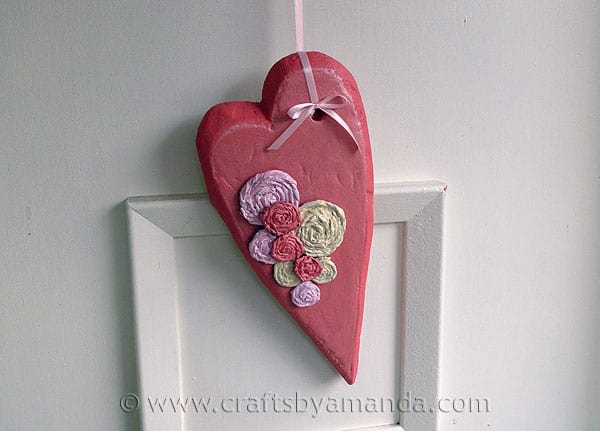
Wreaths are wonderful and all, but why not really celebrate the season of love with an actual heart to hang on your door? Valentine’s Day wouldn’t be complete without a heart, and certainly needs roses thrown in there as well. Make a pretty heart for your front door using Styrofoam, paint and recycled paper bags! Come on, I’ll show you how.


 To make the rosettes, cut strips of brown paper from a lunch bag. Twist them up, you can glue two together, end to end, for the larger rosettes. Roll them up coil fashion and use hot glue to hold them together as you coil. The full instructions for assembling and painting are below!
More Valentine’s Day Crafts
- Heart Suncatcher
- Printable Valentine Bingo
- Twirling Lovebugs
- Secret Message Valentine
- Scratch Off Valentine Gift Certificates
- Valentine Hugs
Valentine Rosette Heart Door Decoration
Supplies
You will need:
- Styrofoam sheet 15"x6"x1"
- Pearlizing Medium
- Magikote
- Brown paper bag
- Sandpaper
- Craft knife or box cutter
- Scissors
- Hot glue gun
- Pink ribbon
- Marker
- Paintbrush
Americana paint colors:
- Terra Coral
- Buttermilk
- Poodleskirt Pink
Instructions
- Always allow Magikote and paint to dry between each step, according to bottle directions.
- Use a marker to draw a heart shape onto the Styrofoam sheet, using as much of the sheet as possible. Use a craft knife to cut the heart out, shaving the edges to make them look rounded.
- Use the handle end of your paintbrush to carefully poke a hole in one of the humps of the heart, about 1 ½” from the top. This will be for your ribbon hanger.
- Apply a coat of Magikote to the entire heart, top and sides. When dry, apply a second coat. When dry, add two coats to the back of the heart as well.
- Sand the entire surface of the heart with the sandpaper to smooth it out. Blow off any sanding dust.
- Cut a brown paper bag into 2” wide strips. Twist the strips with your fingers. To make different sized rosettes you will want to connect some of the twisted strips together. Use a hot glue gun to attach then end to end. You will need 2 large flowers, which is 3 twisted paper strands long. You will need 1 medium rosette, which is 2 twisted strands long. The remaining flowers are 1 strand each.
- After connecting the strands, using the hot glue gun as you work, roll the twisted paper into a tight spiral to create the rosettes.
- Paint the entire surface of the heart with AmericanaTerra Coral. Mix together 1 part pearlizing medium and 3 parts Americana Terra Coral and paint the top, flat surface of the heart.
- Mix pearlizing medium 2:1 with each of the following Americana colors: Poodleskirt Pink, Terra Cora and Buttermilk.
- Paint one large and one medium rosette with Poodleskirt Pink. Paint one large and two small rosettes with Buttermilk. Paint three small rosettes with Terra Coral. Each will need a second coat.
- Tie a small bow from pink ribbon. Trim the ends and set bow aside. Take a 24” length of pink ribbon and fold it end to end. Insert the looped end into the hole (from the back of the heart) in the heart’s hump. Insert the open ends of ribbon through the looped end and pull. Position the knotted end at the back of the heart, then pull tight. Secure with hot glue. Now tie the loose ends into a knot to create your hanger. Hot glue the bow just below the ribbon hanger, directly above the hanger hole.
- Hot glue the rosettes to the heart in whatever pattern you wish. We placed the largest rosettes toward the top with the medium rosette, along with the remaining Buttermilk and Poodleskirt Pink rosettes. We then layered the Terra Coral rosettes on top of the first layer.
Below is a list of craft parties I link to each week. There’s lots of creative talent out there, check them out :) |
||
Craftomaniac Monday
|
Hookin’ Up with HOH
|
Weekend Wrap Up
|
- Watercolor Luminaries - February 11, 2025
- Free Valentine Printables: Cards, toppers, and tags - February 4, 2025
- Valentine Hugs - January 31, 2025


lindsi says
Awesome!! I saw you on Tater Tots and Jello. Would you please be willing to share this fabulous post with my readers for Fun Stuff Fridays? http://www.toysinthedryer.com/2012/02/14-days-of-valentines-fun-stuff-fridays_10.html
creativejewishmom/sara says
love it Amanda, thanks so much for sharing on Craft Schooling Sunday!
Christine says
Thanks for the step by step. I never think about using Styrofoam! What a great idea to paint it like that!
Would you PLEASE post it on my blog?
http://thediydreamer.blogspot.com/2012/02/from-dream-to-reality-linky-party-2.html
amy says
That is adorable! Great colors, and the rosettes are so sweet. Would you consider sharing it here?
http://oneartmama.blogspot.com/2012/02/shine-on-fridays-13-and-some-fabulous.html
emily says
this is adorable! I’ve not used that stuff you have for the heart before.. looks great. Came over from Naptime crafters…
Wendy @ Ramblings from the Sunshine State says
That turned out really cute :) I made a heart wreath for our door, but I’m undecided if I love it or not. Opinions are needed! :)
Visiting from Naptime Crafters. :)
Lindsi B says
I found you on Tip Junkie. Would you please share this with my readers for
our Fun Stuff Fridays Valentine’s Linky Party? I think it would be a great fit. http://www.toysinthedryer.com/2012/02/14-days-of-valentines-fun-stuff-fridays.html
Daffy says
Wow! brilliant work. thanks for sharing.
Im your follower and love your blog. I m hosting valentine giveaway,
please take little time to visit my blog and leave your comment.
http://daffysdream.blogspot.in/2012/02/valentine-days-giveaway.html
thanks
daffy
Niki says
So Cute!!! Great idea!!
Kate says
How cute, love it! I would love it if you would link up to my Valentines Party at http://www.cheapcraftymama.com!
Cynthia Mckittrick says
Love the idea and will utilise the technigue of all steps in other projects. Thank you so much!
Amy says
How darling! I love the pearlized paint and the rosettes. My daughter would LOVE this one!
Betsy says
That is adorable! I really love the rosettes – the paperbag gives some really nice texture.
Kristi says
This is so pretty!! Love the pearlizing on it…that just makes it!! I’m definitely in need of a new Valentine door hanger! Would be delighted if you’d share it at my new party: http://www.ishouldbemoppingthefloor.com/2012/01/mop-it-up-mondays-party-1.html
{HUGS},
kristi