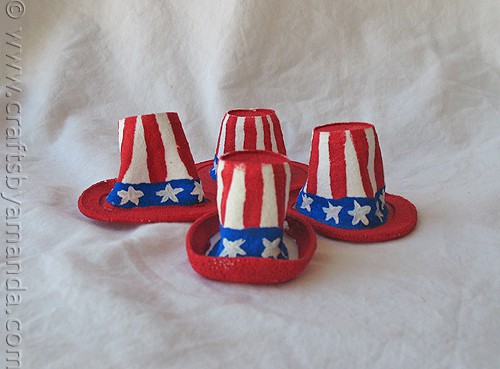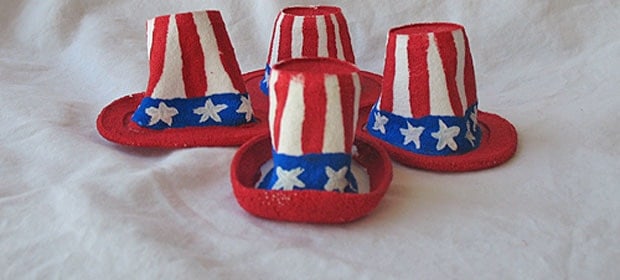
This is just a quickie post for the upcoming July 4th holiday. I actually made this project several years ago, so I don’t have any step by step photos. I have a couple of other shrunken Styrofoam cup crafts on this blog too. Just remember, this is NOT an exact science and you will need to experiment with your own oven to get the right time and temperature combination. These little Uncle Sam Hats make a fun centerpiece or would be great for name placeholders too!
You can see my Styrofoam Cup Spring Bonnets and watch a couple videos of the process as well. Hopefully this will help you troubleshoot if you have issues. I also have these Shrunken Leprechaun Hats and these Mini Spring Flower Pots made with the same method. So be sure you don’t throw out the misfits, they can be used for the last craft mentioned!
Miniature Uncle Sam Hats
Supplies
- foam cups
- acrylic paint: red white and blue
- small and medium paintbrushes
- cookie sheet
Instructions
- Place foam cups upside down (open end of cup down) on a dark coated cookie sheet, placing them about 1-2" apart. Note: we experimented with both dark coated and silver cookie sheets, the cups did not melt properly on the silver sheets.
- Bake in the oven for approximately 3 minutes, don't walk away! It will take about one minute before you see any changes to the cups, then the heat will begin to melt and shrink them rather rapidly after that. It's lots of fun for the kids to watch, so be sure to turn the oven light on. To get the brims to curl up, simply leave them in a little longer and watch closely. You can bend the brims up right after removing from the oven, but you must work quickly because they cool fast and will harden.
- Remove the cookie sheet from the oven and set aside to cool completely. If you want the flat brims, DO NOT try to remove the cups from the cookie sheet until they are completely cooled. As they cool, the foam that is stuck to the sheet will relax and release its grip from the sheet, allowing you to remove them easily. Most cups will melt rather well, thought you may end up with one or two that look rather distorted or disfigured.
- Paint the brims and the top of the hats red. Paint red stripes down the hat from the top, stopping about 2/3 of the way down to allow room for the blue band.
- When red paint is dry, paint the band of the hat blue and let dry.
- Paint white stars on to the blue band.
- Allow to dry completely and display on your Independence Day party table, or you can glue a magnet to the bottom of the brim and attach to your refrigerator.
- 30+ Organization Ideas and Tips - January 14, 2025
- Makeover: Plastic Storage Drawers - January 3, 2025
- Paint Stick Snowmen - December 31, 2024


Leave a Reply