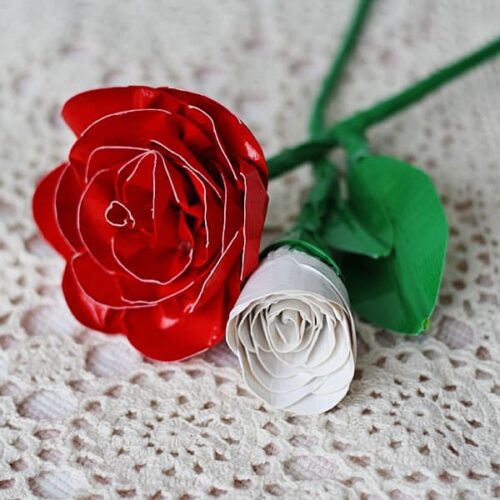
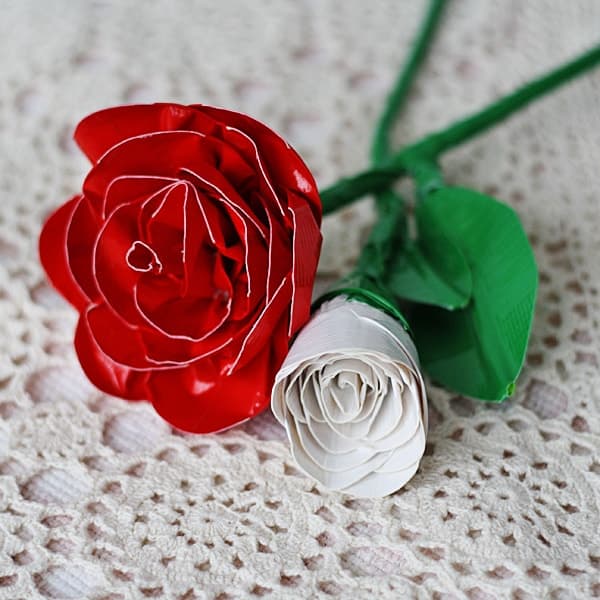
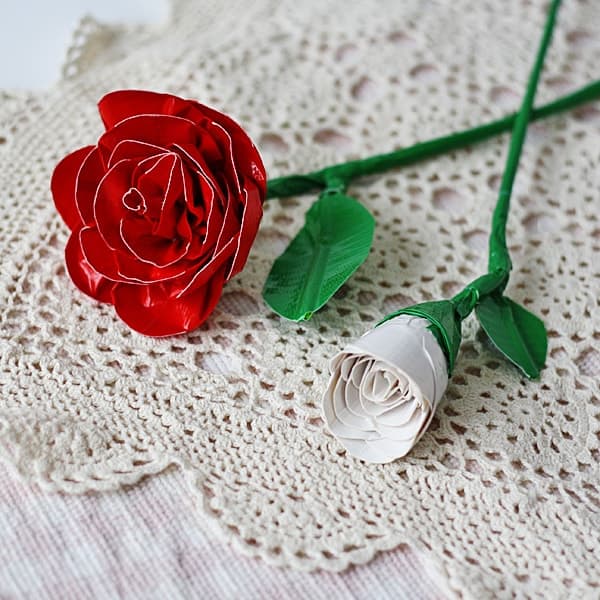
Duct Tape Roses make a lovely homemade gift idea for Valentine’s Day, Mother’s Day, or teacher appreciation day! “Wow” the recipient with some beautiful hand made roses, they won’t believe they’re made from duct tape.
Realistic Duct Tape Roses Tutorial
I’ve been playing around with duct tape lately. Funny thing is, when the rage started I really had no interest. But the more projects I try, the more I can see how people get hooked! As long as you have the right tools, like a cutting mat with measurements and a craft knife, it’s actually quite fun.
Be sure to check out my collection of duct tape crafts on the blog!
Here are some realistic-looking tape roses I made for Spoonful. I really do love the way they came out and will probably make an entire bouquet!
What you’ll need to make Duct Tape Roses
Whether these roses are for Mother’s Day, Valentine’s Day, or just because, they make a lovely heartfelt gift idea. You can follow the instructions in the printable provided below. We also have a tutorial on how to make a bouquet of felt roses that would make a great gift for someone you love!
Realistic Duct Tape Roses
Supplies
- Red or white and green duct tape
- 2 pipe cleaners
- Cutting mat
- Craft knife
- Scissors
Instructions
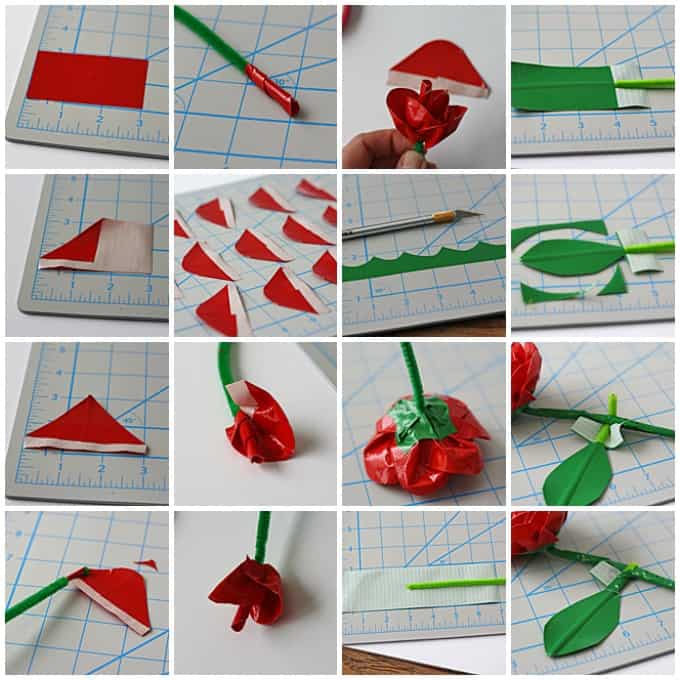
- Measure out a 3-inch piece of red duct tape.
- Fold one corner down toward the center, use the 1 1/2" mark on the cutting mat or a ruler to help you. You want to leave a small amount of sticky tape open at the bottom.
- Fold down the other corner so that the two pieces meet in the middle, creating a triangle with exposed sticky tape at the bottom.
- Use scissors to trim off and round the pointed tip of the triangle, creating your rose petal.
- Lay one pipe cleaner on the left end of the sticky section of your triangle. Wrap the tape petal completely around the pipe cleaner.
- Make 20 more petals, rounding the pointed tips of each one.
- To make a rose that appears open, like the red one pictured, you will need to gather the tape as you wrap. Take the pipe cleaner with the first petal wrapped around it and place it in the center of a new petal. Gather the bottom of the petal, as if folding accordion-style, sticking it onto itself at one fold, and then back onto the pipe cleaner at the second fold. This will help "poof" out the petals.
- Keep working around the pipe cleaner, one petal at a time, gathering as you go.
- As your flower begins to form, you will start to notice a pattern forming in the petals. Alternate from one side of the flower to the other as you add petals.
- When all of your petals have been added, cut a 6-inch strip of green tape, and cut it in half lengthwise. Use your craft knife to cut a simple scallop along one edge.
- Wrap the scalloped green tape around the bottom of the red flower. Wrap the stem of the flower (pipe cleaner) with green tape.
- To make a leaf, measure out a 7-inch strip of green tape. Place the second pipe cleaner in the center 4-inches in on the tape. There should be 3-inches of untouched tape remaining.
- Fold the untouched 3-inches of tape over onto the pipe cleaner. That should leave 1-inch of sticky tape exposed.
- Cut the folded section of tape into a leaf shape, leaving the sticky tape in tact.
- Trim off all but about an inch of the pipe cleaner that is not touching the tape. Bend the end of the pipe cleaner around the flower stem.
- Fold one side of the sticky tape over onto the leaf stem. Fold the other side of the sticky tape over to complete the leaf stem. Cover any other exposed pipe cleaner with green tape.
- To make a closed rose bud, do not follow the instructions for gathering the tape, but rather just wrap the petals around the pipe cleaner, one at a time. Continue working around the flower, working from side to side, until all of the petals have been used. Each flower uses 21 petals each.
I originally made this project for Spoonful. Spoonful has since closed and the instructions were taken down. I am putting the instructions here until such time that Spoonful projects are redirected to a new home. At that time I will remove the instructions and link directly to the project on their site.
This post was originally published on this blog on Jan 5, 2014.
- Winter Luminaries: Snowy Pinecone Candle Jars - November 19, 2024
- Pinecone Owls - November 12, 2024
- Thanksgiving Handprint Tree - November 1, 2024


Linda says
Thank you! Have you ever made a purse out of duck tape? I have seen that done but I did not do it! Linda
Amanda Formaro says
Actually, yes I did that in my duct tape craft book!
Cathy says
It would have been nice if you had pictures along with the directions.
Amanda Formaro says
Hi Cathy. Unfortunately when I originally created this particular post it was for another website and they closed down. Their photo requirements were very small, so I put them into a collage so that they would hopefully be of help here. I appreciate your feedback and will add it to my list and hopefully can get it updated with larger photos soon.