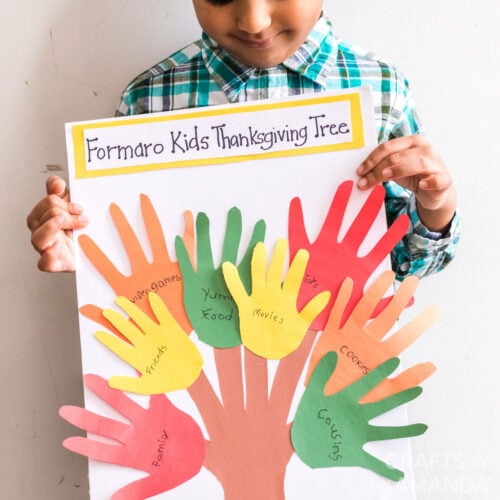
This Thanksgiving handprint tree is a great way to teach kids about being thankful. It helps them to realize how blessed they really are!

Why this project works
Way back in 2001 my kids and I made this handprint Thanksgiving tree. It was a big hit with the rest of the family as they arrived for our holiday festivities. That was a long time ago, and my kids are all grown now, but it’s still a fond holiday memory!
Handprint crafts make great keepsakes. When kids grow up, it’s fun for them to look back on these projects and see how small their handprints were!

Helpful Project Information:
- Age Level: 2 and up
- Mess Factor: Low
- Level of Difficulty: Medium
- Time to Complete: less than 20 minutes
- Cost Estimate: Less than $1.00 each
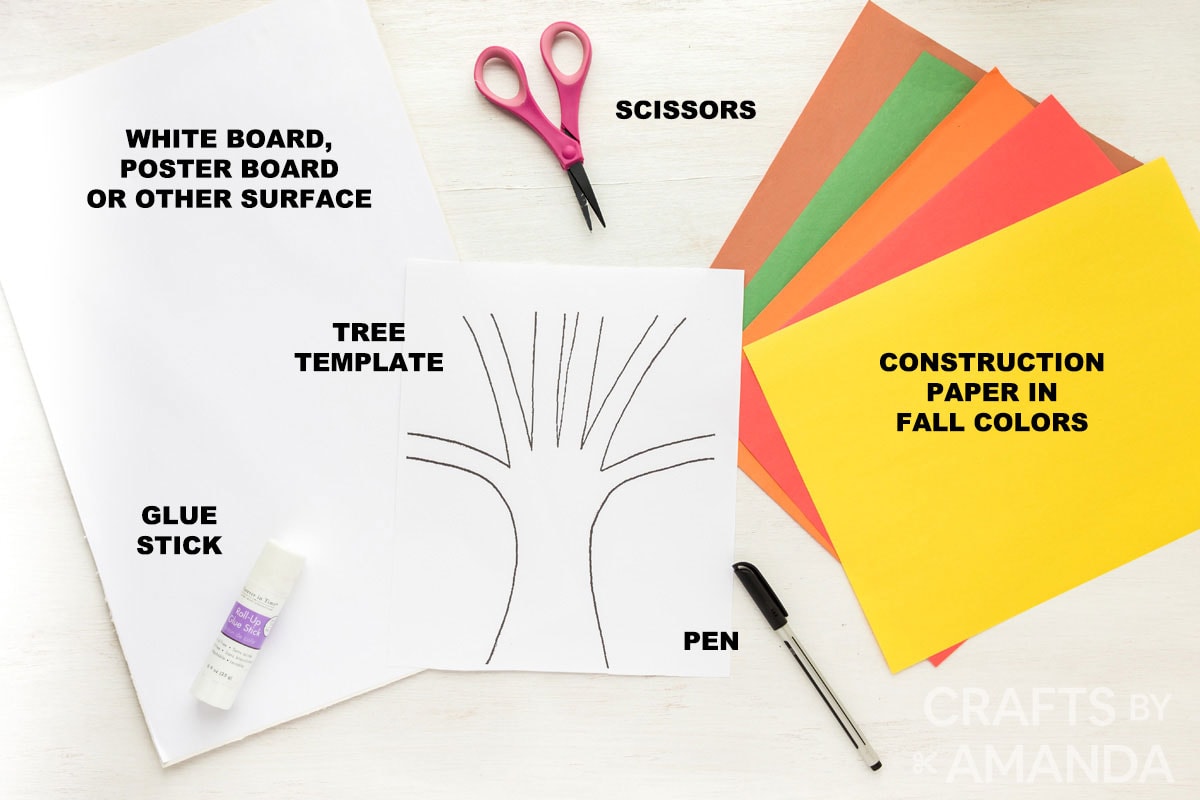
Craft supplies you will need
How to Make a Thanksgiving Handprint Tree
These step by step photos and instructions are here to help you visualize how to make this project. Please scroll down to simply print out the instructions!
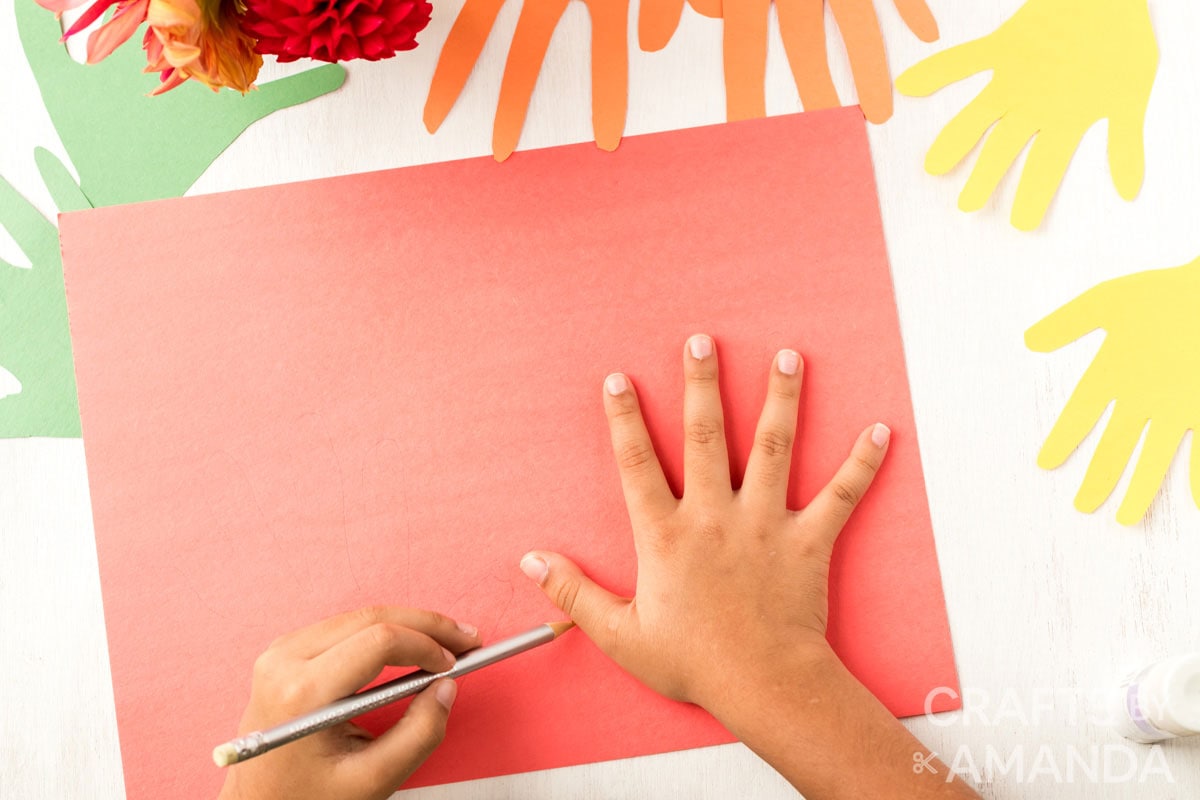
- Trace children’s hands on sheets of red, orange, green, and yellow construction paper.
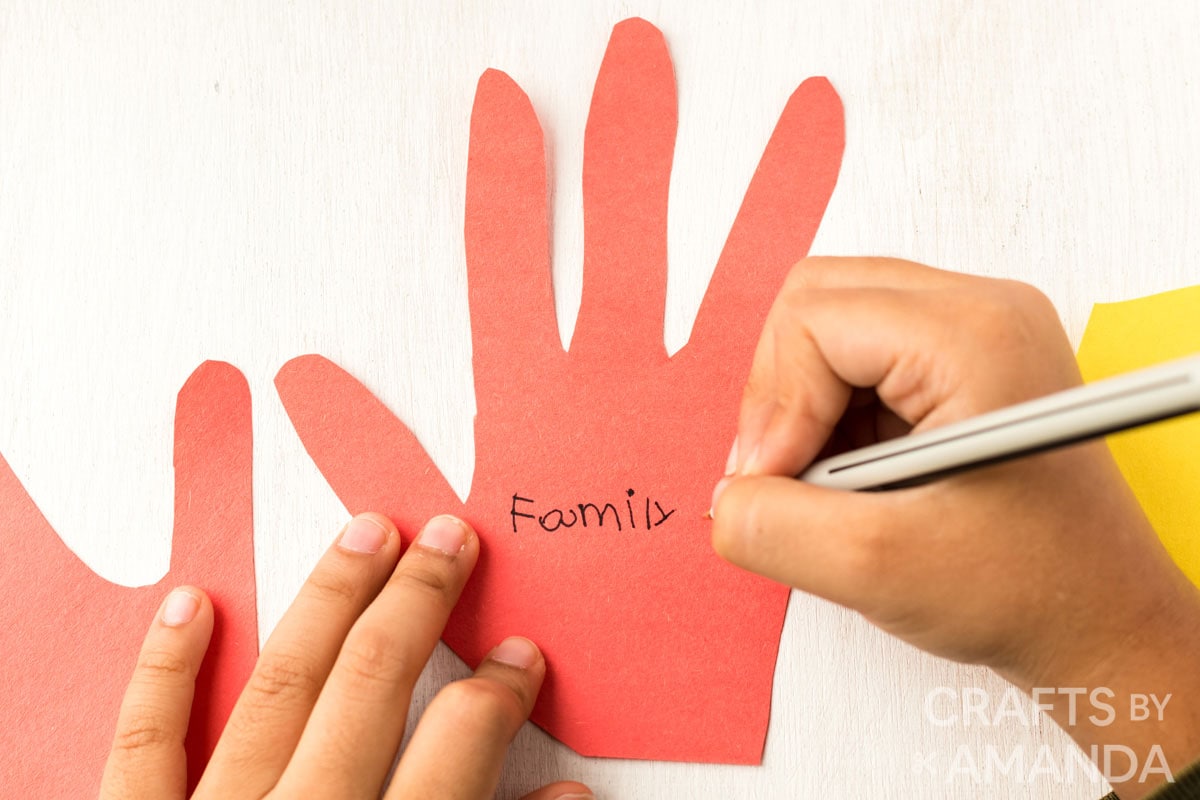
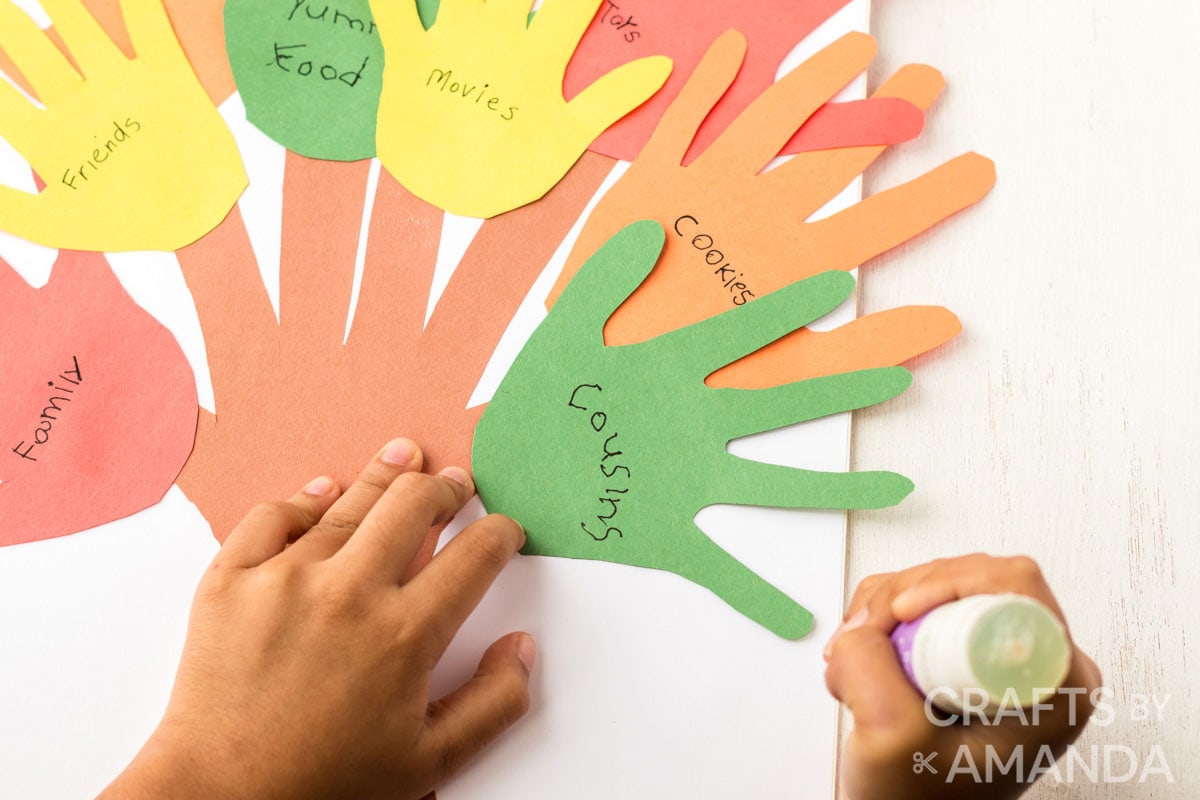
- Have kids write what they are thankful for on one side, and write their names and the year on the backside.
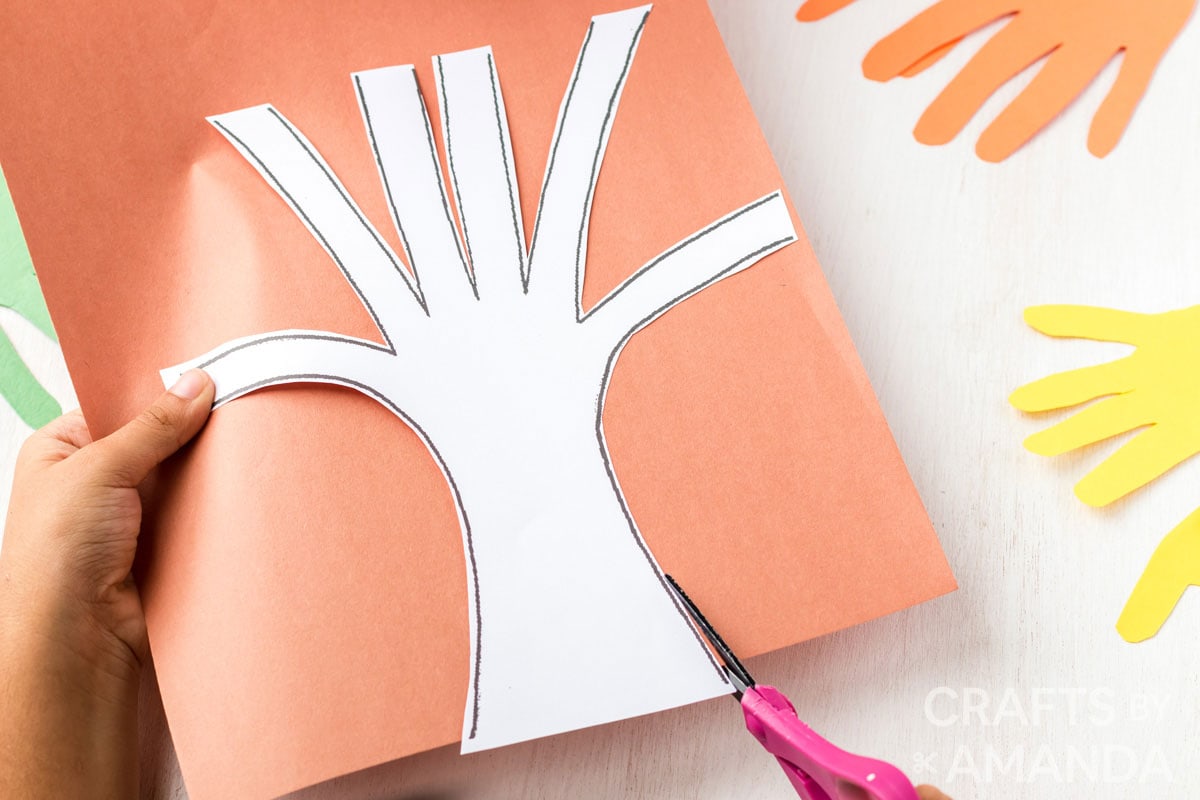
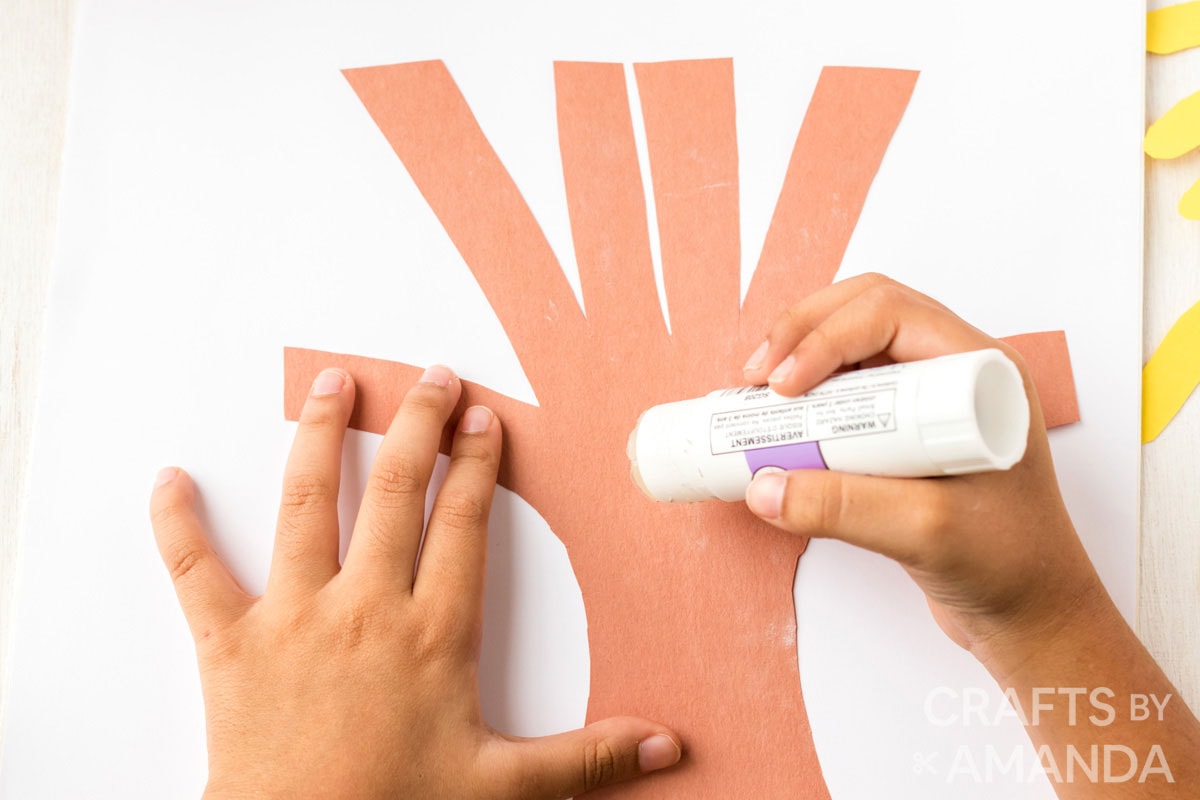
- Cut the tree from brown paper using the template. Use a glue stick to attach the tree to your board.
- Use a glue stick to attach the hands to the tree.
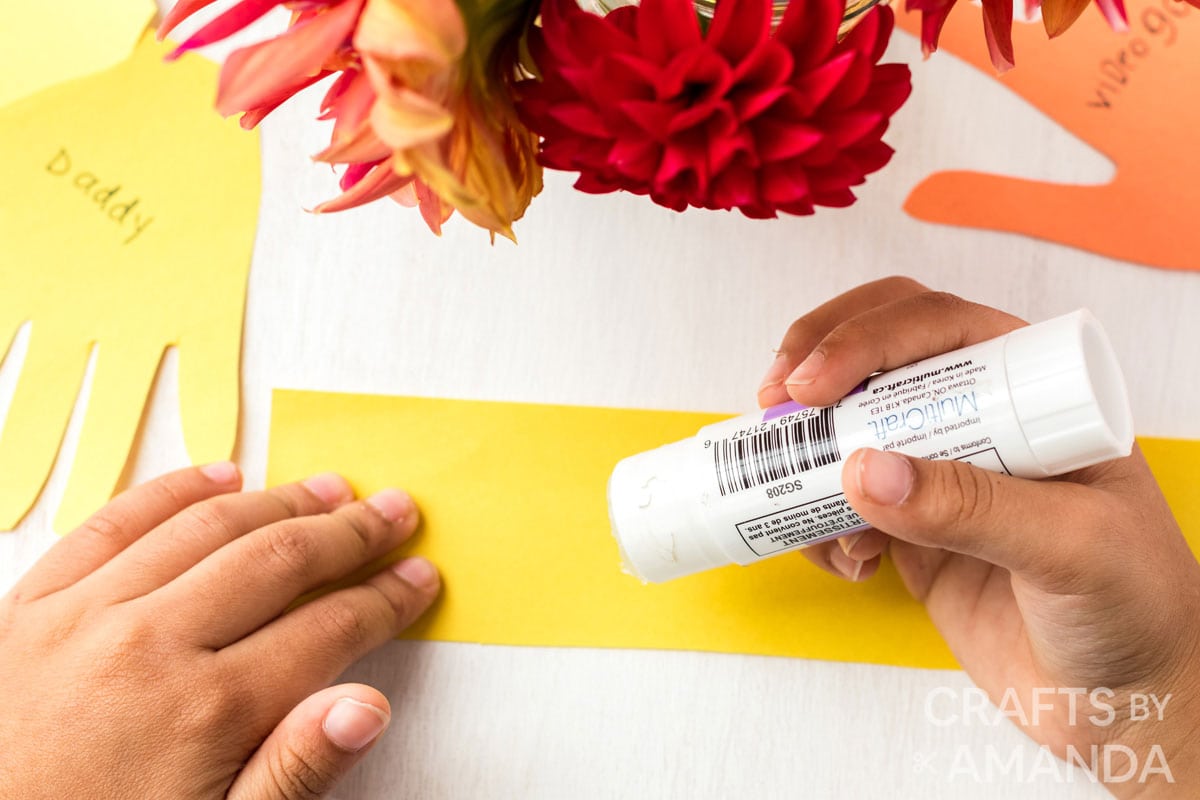
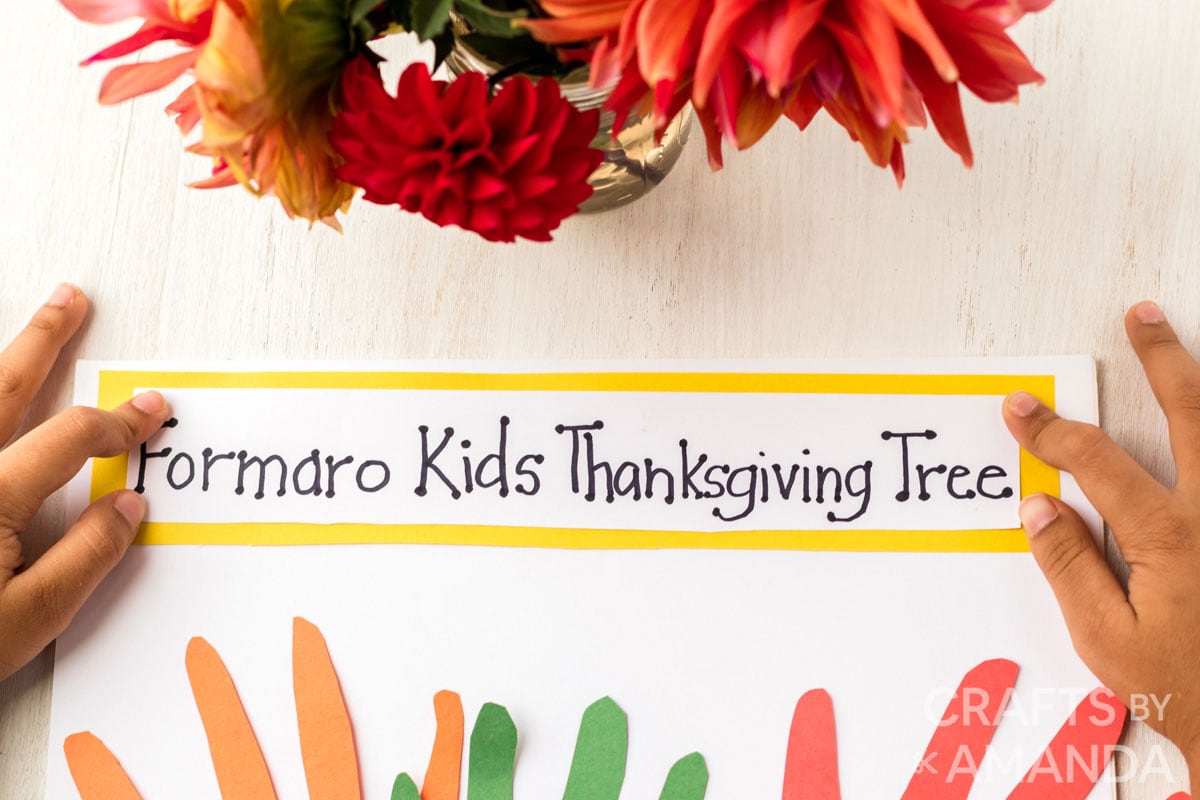
- Use a piece of yellow construction paper as a border and a smaller piece of white paper glued on top of it, then write your family’s surname and “Kid’s Thanksgiving Tree” (i.e. Formaro Kid’s Thanksgiving Tree) with a black marker.
- Attach it to the top of the bulletin board with a glue stick.
Expert Crafting Tips
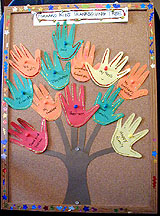
- In our original board (pictured below), we used a cork board. The border of the bulletin board can be painted with brown paint if you like.
- If you choose to grab a highly used cork board, you can cover the cork with plain white paper to cover up all the thumbtack holes.
- If you are using a plain cork board, use thumbtacks to attach the tree.

Be sure to display your Thanksgiving Handprint Tree somewhere that everyone can see! It’s a cute addition to your entryway or fireplace mantle as well.

Below is the original photo from 2001 and another photo from the second tree made in 2006. We’ve had new photos taken so that you can see them better!

More Tree Crafts
- Thankful Tree (more appropriate for older kids and teens)
- Fall Magazine Tree
- Paper Bag Tree
- Four Seasons Felt Board
Be sure to print out our free Thanksgiving word scramble too!
I love to create and share my projects with you! I know it’s hard to remember to come back and search, so I’ve made it easy for you with my weekly newsletter! You can subscribe for free and I’ll send you fun crafts and delicious recipes every week right to your email.

Thanksgiving Handprint Tree
Supplies
- Construction paper red, orange, yellow, green, brown
- Cork bulletin board or poster board
- Pen
- Tree template
- Glue stick or thumbtacks
- Paint for border of bulletin board optional
- White paper to cover cork optional
Craft tools
- Glue stick
Instructions
- Trace children's hands on sheets of red, orange, green, and yellow construction paper.
- Have kids write what they are thankful for on one side, and write their names and the year on the backside.
- Cut the tree from brown paper using the template. Use a glue stick to attach the tree to your board.
- Use a glue stick to attach the hands to the tree.
- Use a piece of yellow construction paper as a border and a smaller piece of white paper glued on top of it, then write your family's surname and "Kid's Thanksgiving Tree" (i.e. Formaro Kid's Thanksgiving Tree) with a black marker. Attach to the top of the bulletin board with a glue stick.
Expert Tips & FAQs
- The border of the bulletin board can be painted with brown paint if you like.
- If you choose to grab a highly used corkboard, you can cover the cork with plain white paper to cover up all the thumbtack holes.
- If you are using a plain corkboard, use thumbtacks to attach the tree.
This post originally appeared on this blog on Oct 31, 2010 and has since been updated with new photos and crafting tips.
- DIY Mosquito Repellent Candles - July 10, 2026
- Mason Jar Solar Lights - July 3, 2026
- Patriotic Pinwheels - June 23, 2026


Amanda says
Thanks so much for the feature Sara!
Sara @ Mom Endeavors says
This is adorable!! Thanks so much for sharing such a cute, yet meaningful project!
I featured it in my post here:
http://www.momendeavors.com/2010/11/fabulous-fall-leaves.html
Amanda says
Thank you everyone!
Sher says
love it! can't wait to share the idea with my sisters, and make it on Turkey day!
Ambrosia says
So cute! I shared this at http://fortheluvofboys.blogspot.com/2010/11/our-tree-of-thanksgiving.html
Sandy Ang says
Such a fun idea with kids !
Baker Family says
So cute, and I love the little hands :)
<3
Risa
TidyMom says
FABULOUS idea!!! Thanks for linking up!!
Amanda says
Thanks you guys!
Jessica @ This Blessed Life says
This is seriously darling!
JDaniel4's Mom says
What a great way to share things you are thankful for.
Amanda says
Thank you everyone!
Gwen @ Gwenny Penny says
Such a sweet project… thanks for sharing!
Jenny @ Embellishing Life says
Love this! You have the best ideas here!
http://embellishinglifeeveryday.blogspot.com/
Jennifer says
This is so cute. I'm going to see if our girl scout leader wants to do this craft with the girls.
BodyLogique says
I love this idea!I am a children's Yoga teacher and one of the practices we do is gratitude-this project is not only great at Thanksgiving, but as a daily activity for kids to focus on Gratitude of what we have rather than lamenting over what we "have-not"
I'd like to re-post on my Facebook!(BodyLogique)
Thanks so much for your awesome ideas!
~Barbara Gini
creativejewishmom/sara says
Wonderful idea, thanks so much for sharing on Craft Schooling Sunday!
Kathryn says
I love this idea! Thanks for sharing this with us.
Maria says
You come up with the best ideas!