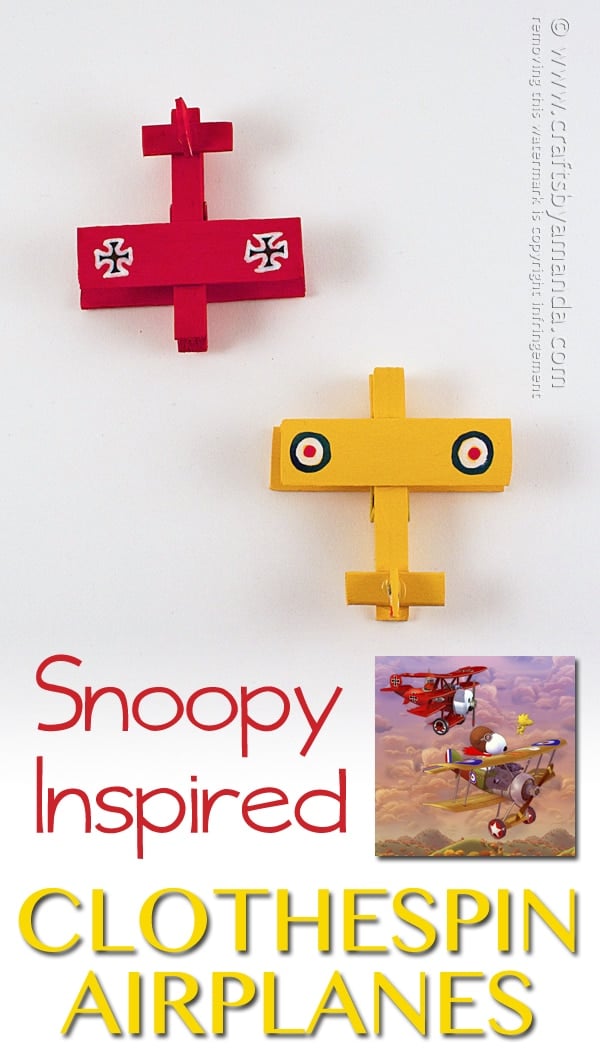
Probably not what you expected from a clothespin airplane craft, so let me explain. Snoopy’s birthday is on August 10th and I was always a big fan when I was a kid! Growing up I loved watching Peanuts, with Snoopy and Woodstock being my favorite characters.
The show was on every Saturday morning if I recall, and yes, that was before cable when you basically had a handful of channels to choose from. The three major networks aired Saturday morning cartoons, but if you slept in too late you missed all the good ones! Ahhh, childhood.
I always loved when Snoopy would sit on top of his doghouse and allowed us to enter his imagination. His house transformed into a World War I fighter biplane and within moments he was in a mid-flight gunfight with the Red Baron.
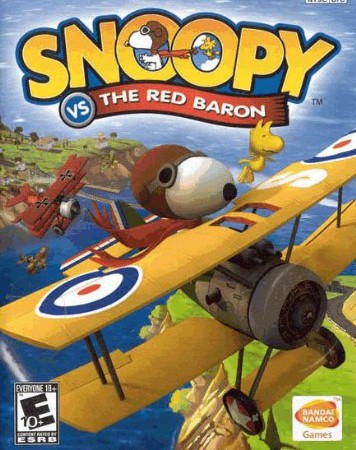
There’s even a video game of the famous Red Baron and Snoopy battles.
When the Disney movie, Planes: Fire & Rescue released in July, there were clothespin airplanes all over the place! While most of them are for younger kids, I wanted to make something that the older kids might like to create.
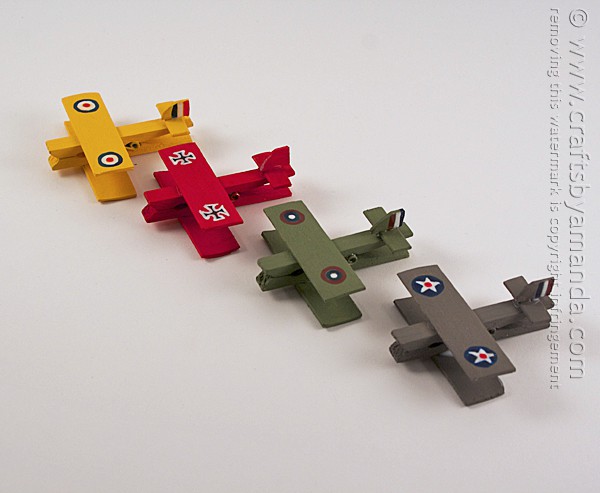
I also made some Clothespin Military Airplanes which would make a wonderful gift for a grandfather who may have fought in the war. If you like to make toys you can really play with instead of just admire, this rubber band car is right up your alley!
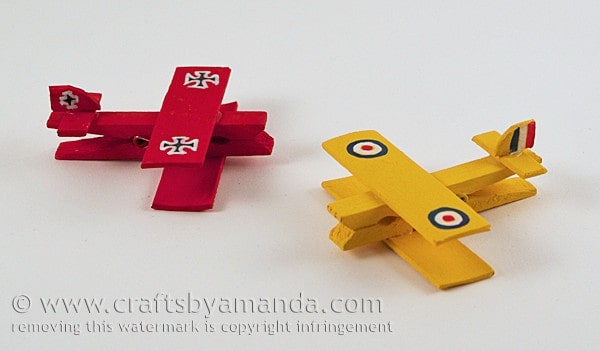
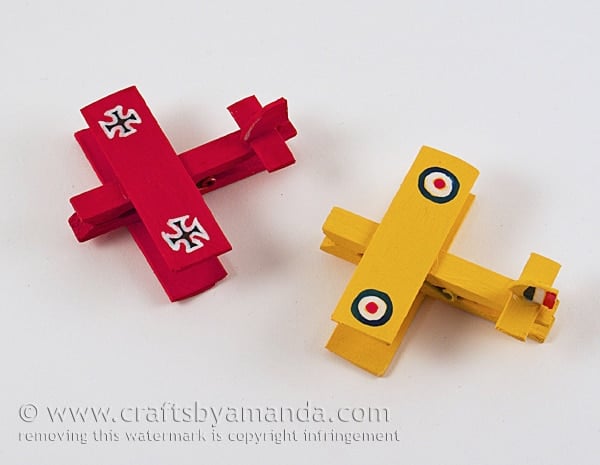
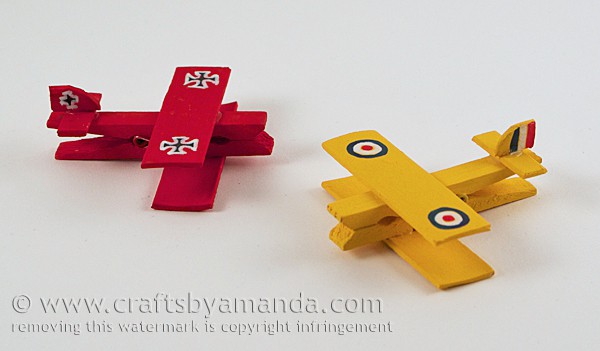
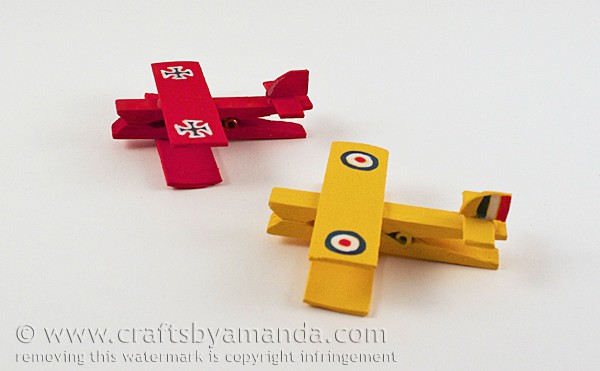
So in honor of Snoopy’s birthday, I give you Snoopy’s fighter plane and his nemesis, The Red Baron.
Clothespin Airplanes: Snoopy and the Red Baron
Note: some links below are affiliate links. That means if you happen to buy something, a small percentage of that sale goes back into this site, which enables me to continue to bring you free tutorials such as this one. So, thanks!
As always, a full printable supply list and instructions are at the end of this post.
For this project you will need the following supplies:
- 2 Jumbo craft sticks
- 2 Miniature craft sticks
- 2 Wooden clothespins
- Paint: red
and yellow
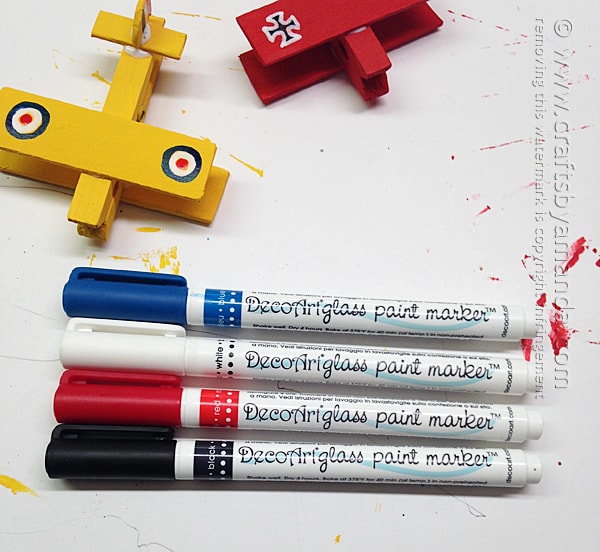
- Paint pens: red, white
, blue
, black
- Tools: craft knife
, cutting mat
, sandpaper, paintbrush, white craft glue
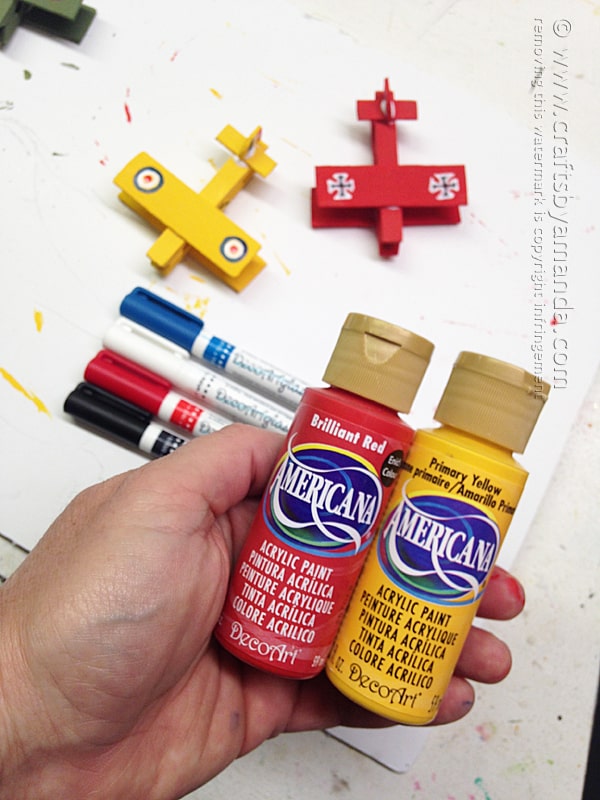
I used Americana paints in Brilliant Red and Primary Yellow. Any craft paint will work just fine.
I also used my glass paint markers. I just really like them. Sharpies might work, but not for the white. I suppose you could use a toothpick dipped in paint, but it might be a bit more challenging.
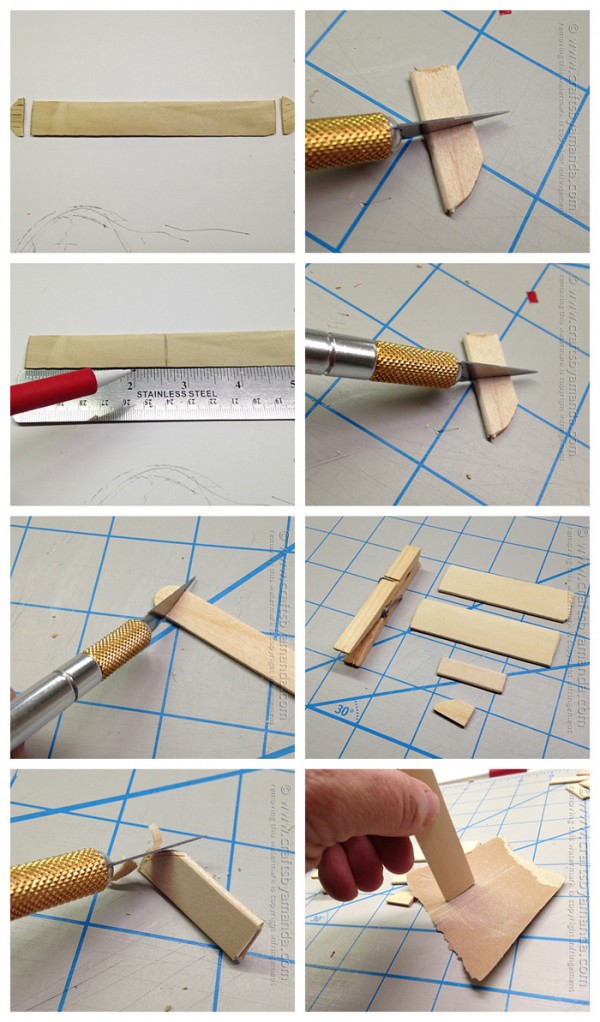
Cut the rounded ends off the jumbo craft sticks.
Cut the jumbo craft sticks in half.
Cut the ends off the miniature craft sticks.
Cut the miniature craft sticks in half.
Use your craft knife to round the end of one of the miniature craft stick halves. Repeat for the second one.
After rounding the end, cut that piece in half, keeping only the rounded half. Repeat for the second one.
For each airplane you should now have – wooden clothespin, two large pieces for the wings, one small piece for the horizon tail, and the rounded piece for the vertical tail.
Sand the edges of each cut piece.
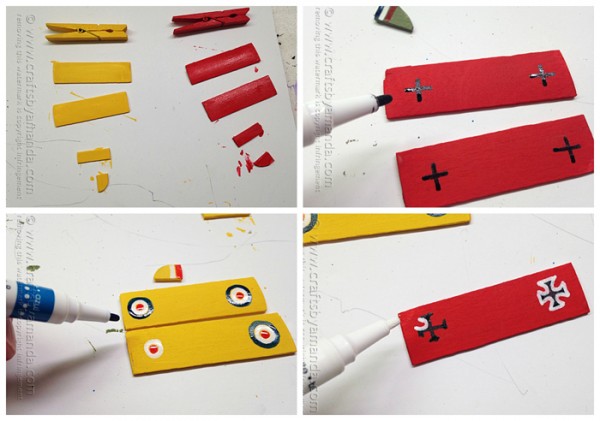
Paint the pieces for one plane red and the pieces for the other plane yellow.
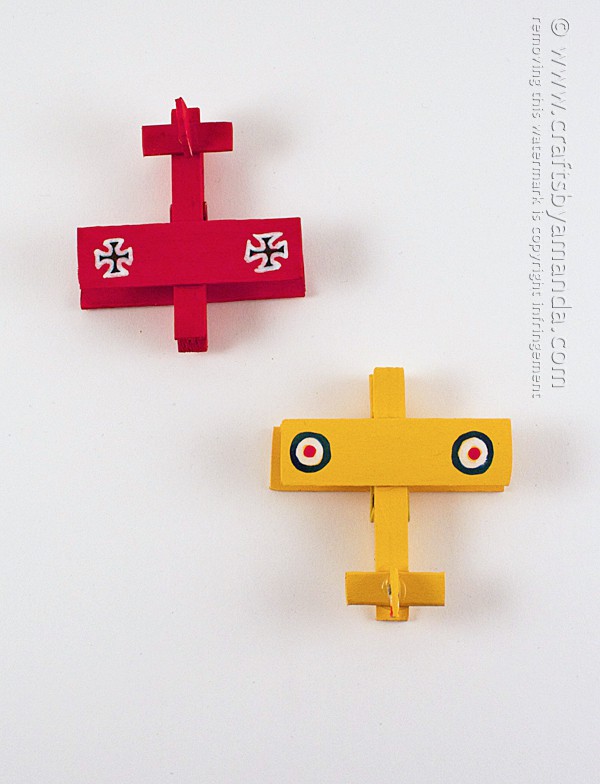
Use paint pens to add details to the wings and vertical tails.
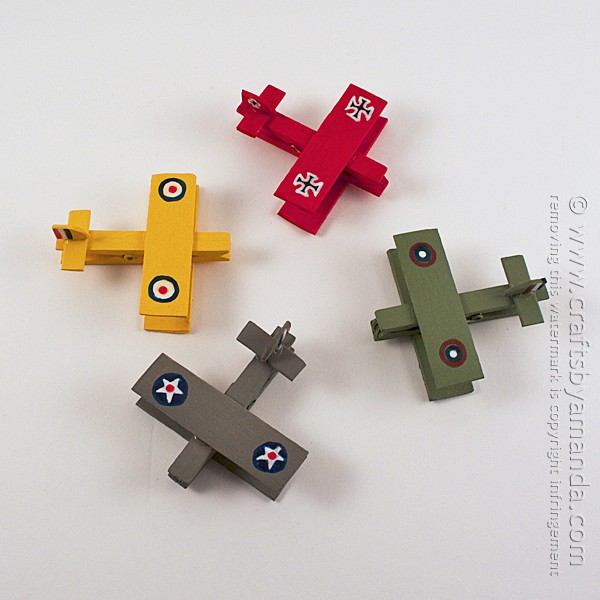
To assemble, place one of the wings upside down so that the emblems are facing downward. Add a line of white craft glue to the center of the wing. Place the clothespin into the glue.
Place a line of white craft glue on top of the clothespin and place the second wing onto it, emblems facing up.
Glue the horizontal tail piece to the back of the clothespin.
Glue the vertical tail piece to the horizontal tail piece.
Repeat these steps for the second plane.
Allow everything to dry completely.
If you’re looking for a more preschool or toddler friendly airplane craft, try these Clothespin Airplanes for Preschoolers.
I hope you enjoyed my little tribute to Snoopy. I will always have a place for him in my heart! :)
Be sure to check out these adorable DIY clothespin cars for another fun kids craft idea!
Clothespin Airplanes: Snoopy and the Red Baron
Supplies
- 2 Jumbo craft sticks
- 2 Miniature craft sticks
- 2 Wooden clothespins
- Paint: red and yellow
- Paint pens: red white, blue, black
- Tools: craft knife cutting mat, sandpaper, paintbrush, white craft glue
Instructions
- Cut the rounded ends off the jumbo craft sticks.
- Cut the jumbo craft sticks in half.
- Cut the ends off the miniature craft sticks.
- Cut the miniature craft sticks in half.
- Use your craft knife to round the end of one of the miniature craft stick halves. Repeat for the second one.
- After rounding the end, cut that piece in half, keeping only the rounded half. Repeat for the second one.
- For each airplane you should now have - wooden clothespin, two large pieces for the wings, one small piece for the horizon tail, and the rounded piece for the vertical tail.
- Sand the edges of each cut piece.
- Paint the pieces for one plane yellow and the pieces for the other plane red.
- Use paint pens to add details to the wings and vertical tails.
- To assemble, place one of the wings upside down so that the emblems are facing downward. Add a line of white craft glue to the center of the wing. Place the clothespin into the glue.
- Place a line of white craft glue on top of the clothespin and place the second wing onto it, emblems facing up.
- Glue the horizontal tail piece to the back of the clothespin.
- Glue the vertical tail piece to the horizontal tail piece.
- Repeat these steps for the second plane.
- Allow everything to dry completely.
- 30+ Organization Ideas and Tips - January 14, 2025
- Makeover: Plastic Storage Drawers - January 3, 2025
- Paint Stick Snowmen - December 31, 2024



Kim says
These are great! My boys would have fun making and playing with these.
Amanda Formaro says
Thank you Kim, hope they get a chance to make them! ;)
GEETA THADANI says
VERY INNOVATIVEAND USFUL AS GIFT ITEMS FOR KIDS
Martha Lofton says
great boys gifts. well some boys. thanks for the idea.
Martha Lofton