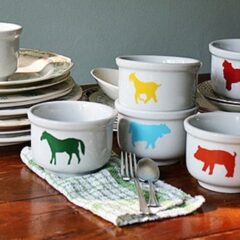
I have an inspiration board on Pinterest where I save things that I might like to make or be inspired by some day. Clean white with a splash of color has always been a favorite of mine, and I live in the country. So I knew that inevitably this project would make it to my craft table one day.
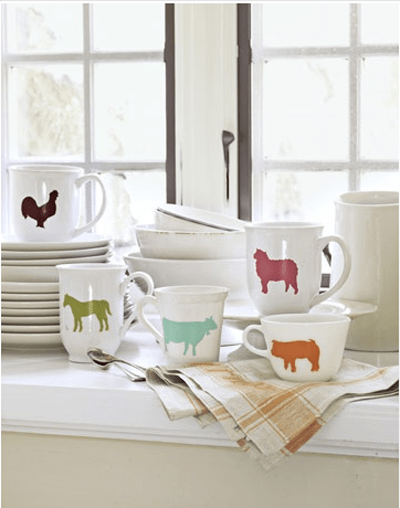
A year after I pinned it I finally sat down to duplicate this fun set of mugs from Country Living. What spurred me to finally get to it?
A box arrived with DecoArt’s new Americana Multi-Surface Satin paints in it, that’s what. You can use these paints on wood, metal, glass, terra cotta, ceramics, papier mâché, most plastics, fabric, and canvas. There’s no priming or sealing required, you can bake them like enamels for a permanent finish on dishes, and they are self leveling. That means no brush strokes in your finished product! Something you should definitely take into consideration is that multiple thin coats of this paint is far more effective than thick coats. So have patience my friends. :)
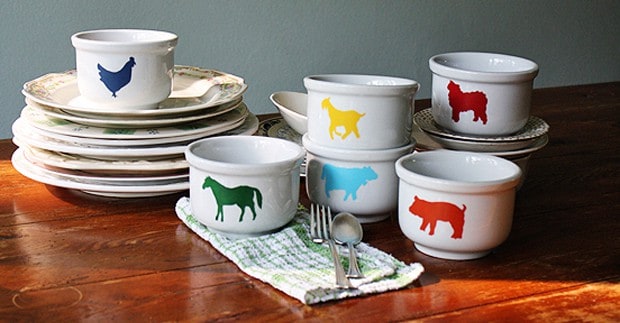
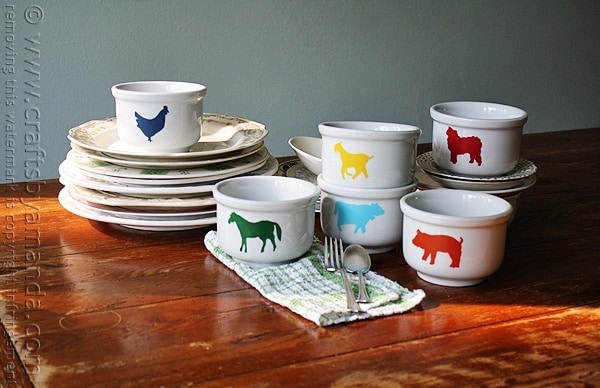
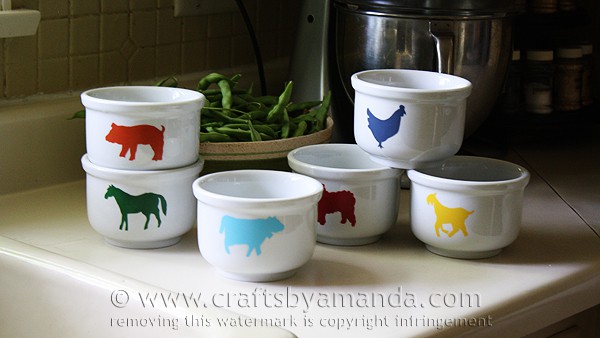
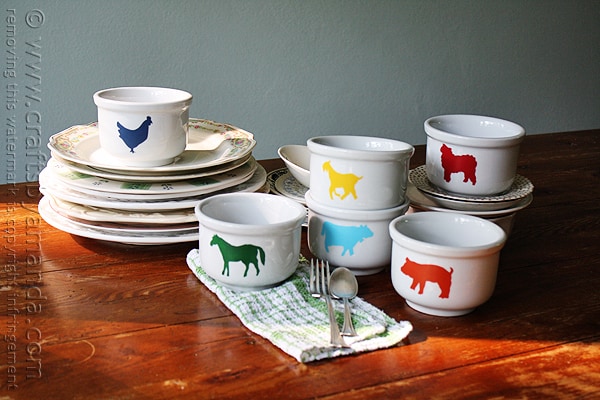
Now, back to the project. First off, Country Living’s instructions are minimalistic at best. They do offer a few printable patterns, but not every animal in the picture. So I took things into my own hands and used theirs as well as digging up 3 more animals from other sources. I found the horse pattern on DragonArtz Designs. I used the one that resembled Country Living’s and flipped it. The goat and the chicken (couldn’t find a decent rooster) are actually a font called Farm & Wild Animals. Country Living’s version has 5 animals. I found 6 white bowls at the flea market, so I needed a 6th animal. Hence the goat!
Patterns
I have created several PDFs for you, depending on what you want. You can download each one individually or the whole set:
Farm animals (set of 6)
Cow
Goat
Pig
Chicken
Horse
Sheep
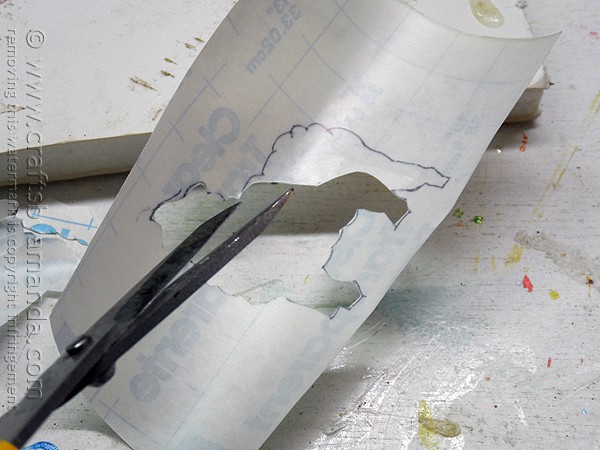
I used contact paper Clear Contact Paper to create the stencils. Place your printed animal pattern underneath the contact paper and trace it with a pen. Cut the inner section of the animal out.
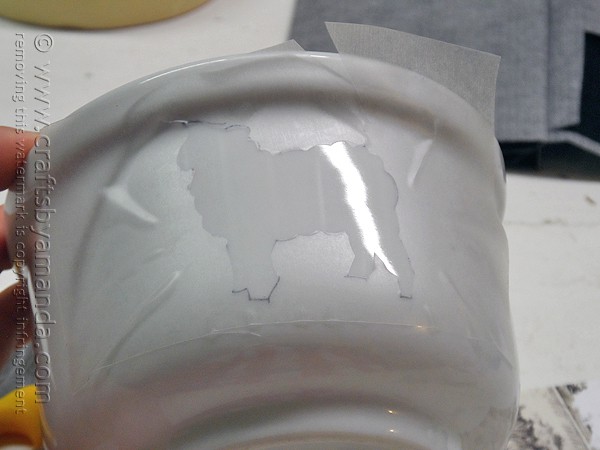
Position your stencil onto the bowl, making sure its centered, and push out any air bubbles, especially around the stencil edges.
Craft Tip!
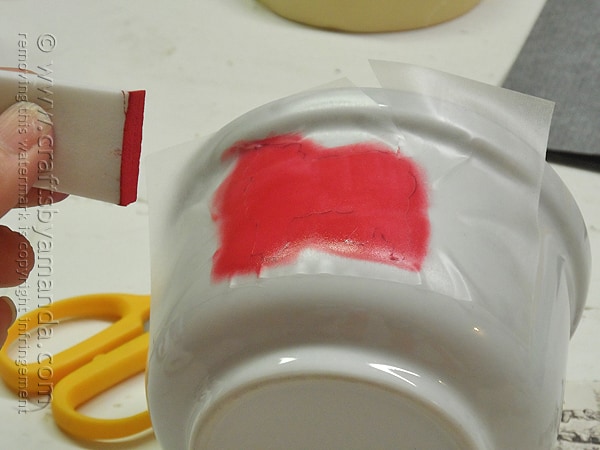
Buy cosmetic sponges (like these from Amazon) or grab some at the dollar store, and use them for all of your stenciling projects. I promise you will go from a stencil hater to a stencil lover. I absolutely did! They have made all the difference in the world. I’ve tried all different sorts of stenciling tools, and by far these are my favorite. I won’t use anything else from here on out. I learned this tip from my uber creative friend Donna, who also happens to be DecoArt’s Design Department Manager. Her head is so full of great ideas I’m afraid she might burst some day!
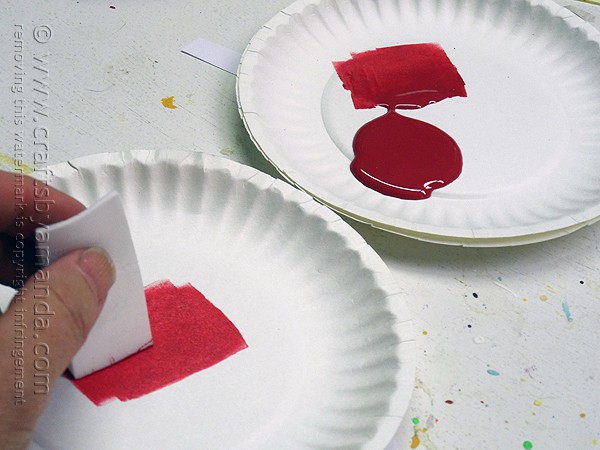
I use mini paper plates, squeezing some paint out on one, dipping the sponge into the paint and dabbing it off a little. Then I use the second plate to dab off the remaining excess paint.
With a straight up and down motion (which of course I’m not demonstrating here :-P) apply a thin layer (almost dry) over the stencil. Take a 1 minute break. Now add another layer to darken it up a bit.
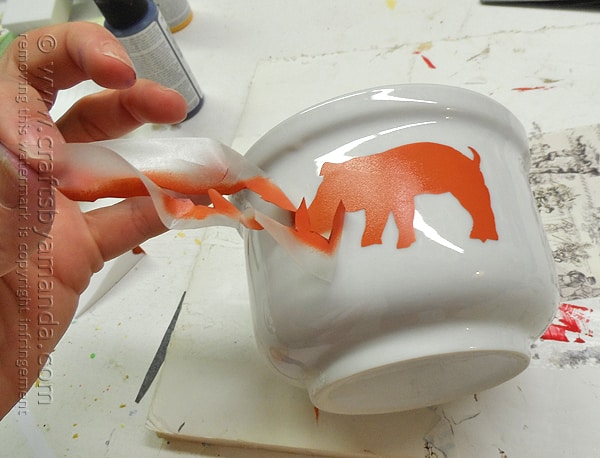
Peel off the contact paper and set the bowl aside to dry. Repeat this process with all of your bowls (or mugs, plates, what have you).
If you are using these for decorative purposes only, you don’t have to bake them. However, baking them will give you the best adhesion, so here’s the deal:
- Let them dry for 4 days, undisturbed
- Place bowls in a cold oven and shut the door
- Turn the oven on to 325 F
- Once the oven preheats, set the timer for 30 minutes
- When the timer goes off, turn off the oven and crack open the door, do not remove the bowls yet
- Allow them to cool for 30 minutes in the oven
- Remove them from the oven and let them cool completely if they haven’t already
Hand washing is best, but these paints, if cured as directed above, and dishwasher safe on the top rack.
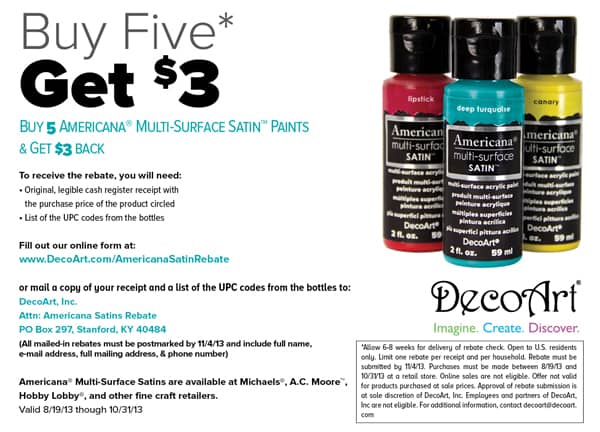
How about a rebate?
Everyone loves saving money, right? I encourage you to try these multi-surface paints. They have a nice, smooth finish and are great for so many projects! Check out the rebate below!
I am a DecoArt Core Blogger. I was compensated for this post, but have always loved DecoArt products! Therefore, all opinions expressed here are 100% my own.
Farm Animal Bowls
Supplies
- Contact paper
- Animal patterns links in the post
- Bowls or cups
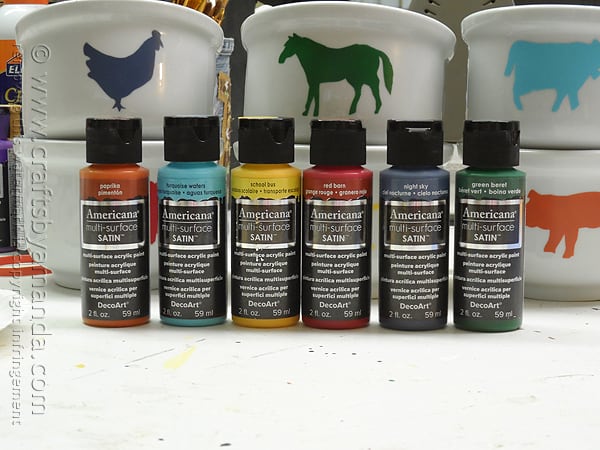
Americana multi-surface satin paints:
- Night Sky
- Green Beret
- Turquoise Waters
- Paprika
- Red Barn
- School Bus
Instructions
- Print the pattern(s). Place your printed animal pattern underneath the contact paper and trace it with a pen. Cut the inner section of the animal out.
- Position your stencil onto the bowl, making sure its centered, and push out any air bubbles, especially around the stencil edges.
- Use 2 mini paper plates, squeezing some paint out on one, dipping the sponge into the paint and dabbing it off a little. Use the second plate to dab off the remaining excess paint.
- With a straight up and down motion to apply a thin layer (almost dry) over the stencil. Take a 1 minute break. Now add another layer to darken it up a bit.
- Peel off the contact paper and set the bowl aside to dry. Repeat this process with all of your bowls (or mugs, plates, what have you).
Expert Tips & FAQs
2. Place bowls in a cold oven and shut the door
3. Turn the oven on to 325 F
4. Once the oven preheats, set the timer for 30 minutes
5. When the timer goes off, turn off the oven and crack open the door, do not remove the bowls yet
6. Allow them to cool for 30 minutes in the oven
7. Remove them from the oven and let them cool completely if they haven't already Hand washing is best, but these paints, if cured as directed above, and dishwasher safe on the top rack
- Deco Mesh Poinsettia Flower - November 22, 2024
- Winter Luminaries: Snowy Pinecone Candle Jars - November 19, 2024
- Pinecone Owls - November 12, 2024


Inspire Me Heather says
Oh I love your bowls, very cool!!
Amanda Formaro says
Thank you Heather!
Kelley @Miss Information Blog says
I love these! I pinned them on a future board to do as well and now you have made it easy for me, thanks!
Amanda Formaro says
Thanks Kelley, I’m glad it was helpful! :)
Ceci Bean says
These turned out fantastic! Thank you for the tips on using this paint. I can already see all sorts of Christmas gift potential!
Amanda Formaro says
Thanks Ceci! You’re welcome, this paint is quite nice as long as it’s used the way it’s intended. I love that it can be used on so many surfaces!
Jennifer says
Oh my gosh, I pinned those mugs eons ago too bc I loved them but never thought I could really replicate them. Your tutorial makes it look so easy and they turned out so nice!
Amanda Formaro says
Hi Jennifer! Yes quite easy, I did have a little trouble with the horse, but all in all they were easy! :) So glad you liked them!
Christina at SWEET HAUTE says
This is an excellent post!
Amanda Formaro says
Thanks Christina!
Devin says
I love these!!! I have 4 boys and I think they would really like this… Maybe for Christmas from Mommy? Thanks for the great tutorial! Have already pinned!
-Devin
saltandpeppermoms.blogspot.com
Amanda Formaro says
Thanks Devin, and thanks for the pin!
Brenda @ a farmgirl's dabbles says
These turned out really great, Amanda! So fun!
Amanda Formaro says
Thank you Brenda!
suburbsmama says
These are so cute! Thank you for the tutorial! If you get a chance, please link up to my linky party going on now: http://suburbsmama.blogspot.com/2013/09/sunday-linky-24.html
Amanda Formaro says
Thank you, I appreciate that!
Kelly says
Love Love Love! Simply adorable and with a perfectly country twist!
Amanda Formaro says
Thanks Kelly! I’m really happy with how they turned out :)
Maria says
Love these!
Amanda Formaro says
Thank you maria!
Amy@Let's Explore says
My 9-year-old loves all things farm, especially piggies! She needs at least a couple cereal bowls like this – they are so, so cute. Christmas present maybe! :)
Amanda Formaro says
Fun idea Amy, thank you!
Jackie D. says
LOVED seeing this post! Thank you as I have been searching for a paint which could be baked on and used decoratively for kitchen items. I saw you mentioned that you got the bowls at a flea market – but you tell me the type of bowls that you used (I love their style) or suggest another type of bowl which may work just as well? Thanks so much! Love your crafts!
Amanda Formaro says
Hi Jackie! Yes, found them at a flea market. I was actually looking for mugs for this specific project, but stumbled across the bowls and bought them instead. They don’t have any marking on the bottom, so I can’t tell you a brand or anything, but they are pretty heavy and my guess is they are restaurant ware soup bowls. I found these on Ruby lane (it’s like an eBay for antiques and collectibles) http://www.rubylane.com/item/168117-06541/TEPCO-China-Restaurant-Ware-Soup but they aren’t exactly the same. Hope that helps!
María Gálvez says
Me encantó este trabajo. Una idea fantástica. Gracias por compartirla.
Saludos
Amanda Formaro says
Thank you Maria, I’m glad you like them!
Serenity de Clare says
This is awesome! Since I am a horse girl, I am just going to do horses. I do love your set though. It is very kool :D Very creative!
Amanda Formaro says
Hi Serenity! I forgot to mention in the post that the horse stencil was the only one that really challenged me. So make sure you have it positioned correctly before you start, have fun!
Lisa@hooplapalooza says
oh! Old MacDonald who had a farm would be so proud of you! heehee
LOVE these Amanda :>D
Amanda Formaro says
Ha ha thanks Lisa!
Angie | Big Bear's Wife says
LOVE the piggy! They turned out great!
Amanda Formaro says
Thanks Angie!
Lolly Jane says
Those are just too stinkin cute, Amanda. LOVE them! I’m impressed how clean the stencil lines are too, nice!!
Amanda Formaro says
Thank you girlfriend! :) Those cosmetic sponges are the BOMB. I will never use anything else to stencil, ever!