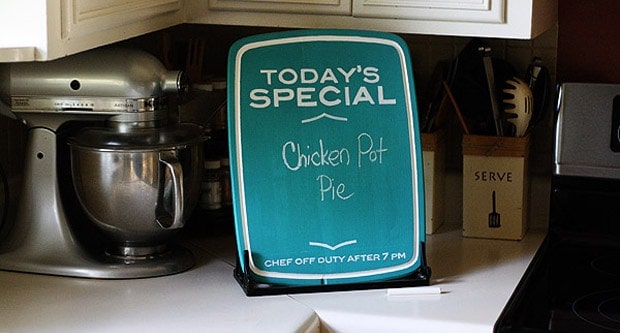
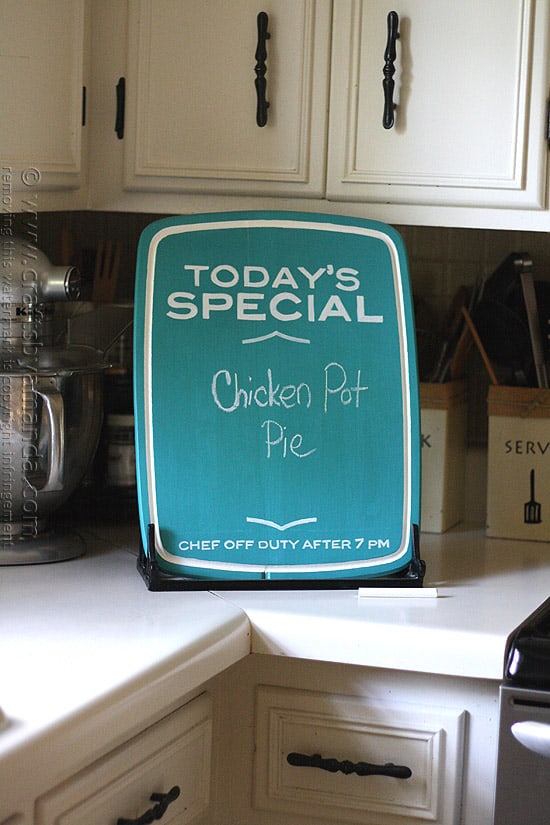
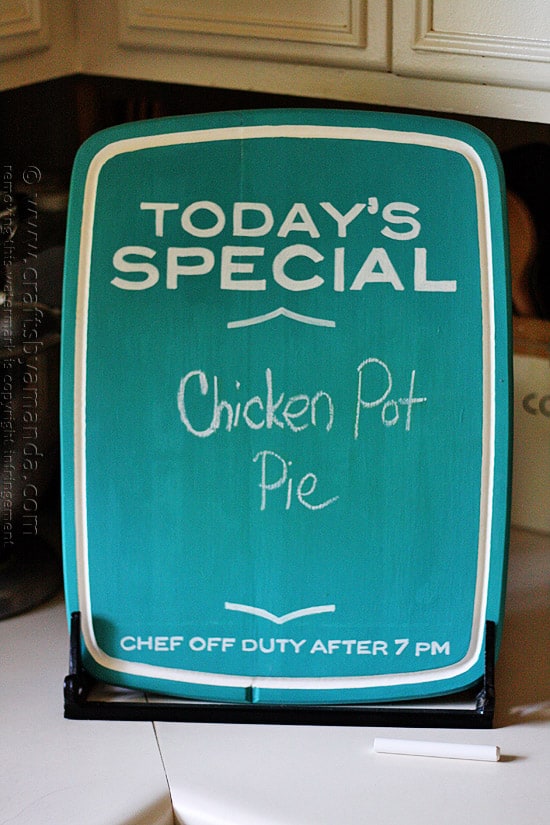
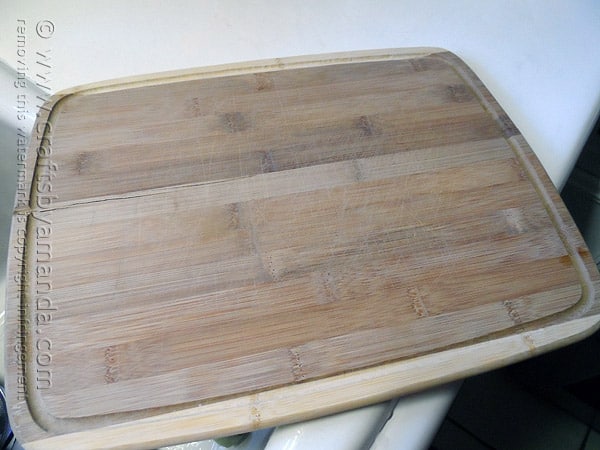
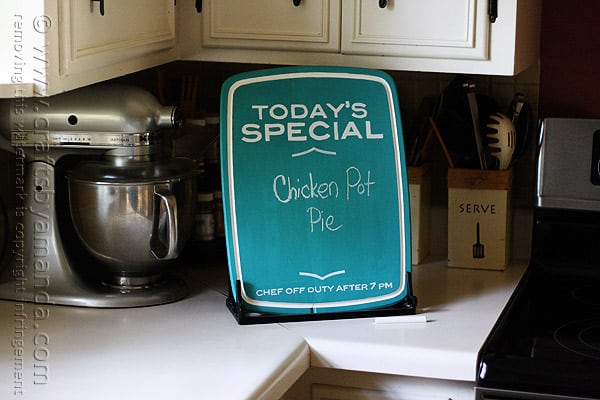
It’s inevitable, cutting boards wear out. Or, as in my case, they split down the middle. This wooden cutting board has fallen on the floor countless times and is no longer usable as originally intended. Instead of throwing it out, I’ve given it a new use: a chalkboard menu for my kitchen!
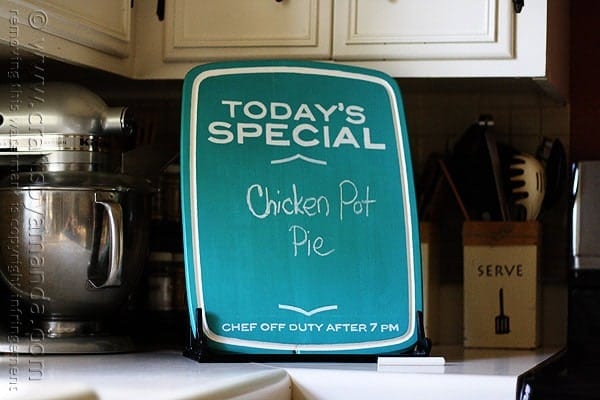
I’m really happy with how the chalkboard menu came out! In fact, I think I’m going to repaint my kitchen now as this Aqua color goes great with the cabinets, but not my wall color. By the way, if you like the utensil holders in the background, you can find the tutorial for those here -> Kitchen Utensil Holders.
The only thing I don’t like about chalkboards is how messy my handwriting looks on them. Ha ha!
Well, here she is. It’s the last time she’ll be naked.
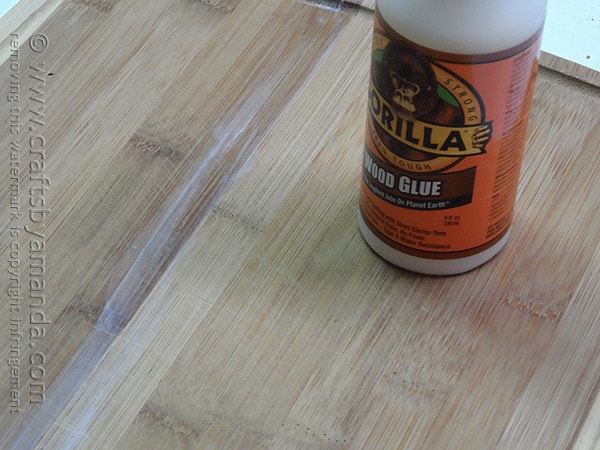
First and foremost I had the glue that split back together. Gorilla Glue’s wood glue did the trick!
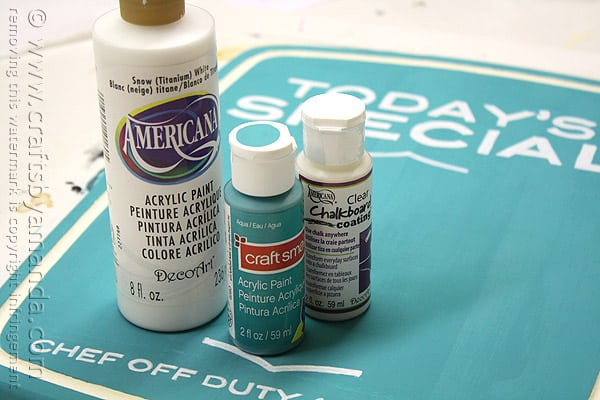
For this project I used Craft Smart paint in Aqua, Americana Snow White, and Americana Clear Chalkboard Coating.
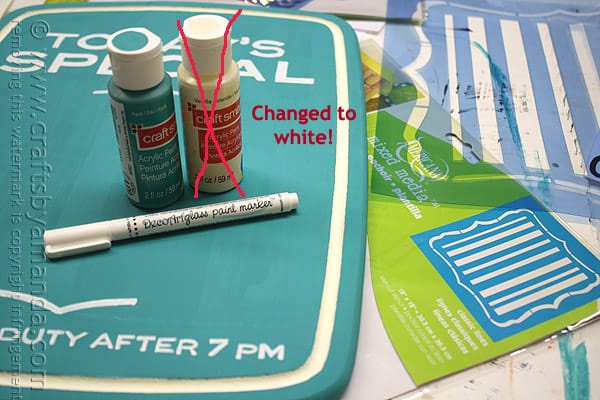
I also used a DecoArt Glass Paint Marker and a stencil called “Classic Lines”, also from the Americana line. As you can see I crossed out the Vanilla in this picture, you’ll read why below…
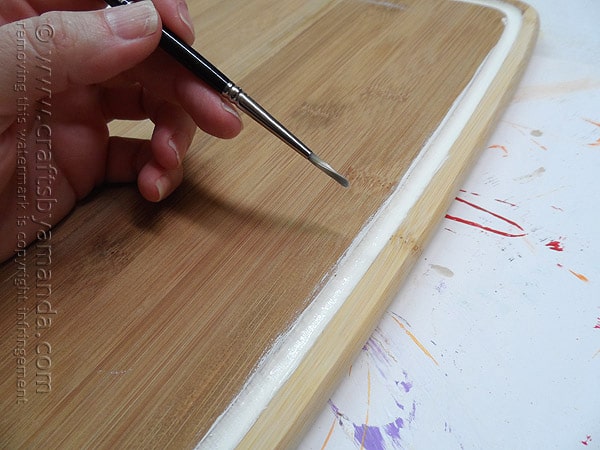
First I painted the drip catcher with Vanilla. But as you’ll see later, after I put the letters on the Vanilla didn’t match. So I later switched and repainted it with Snow White.
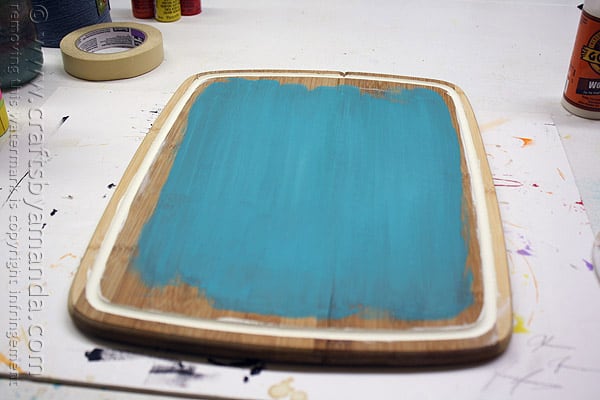
Next I painted the entire board and the outer edges with Aqua. I used Craft Smart paint which is available at Michaels. I actually did 3 coats.
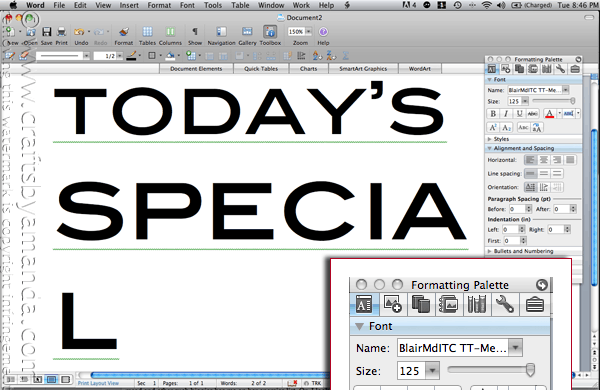
While the paint was drying I made my pattern. basically, I just opened up a Word document and typed out my words. I used a standard font called “BlairMdITC TT-Medium”. I made the word “special” larger than the word “today’s”.
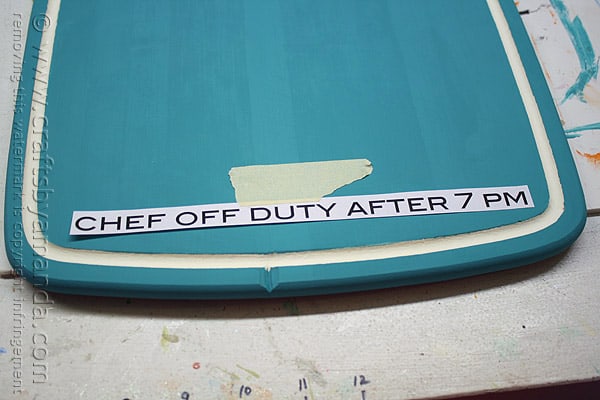
I used the same font for the lettering at the bottom.
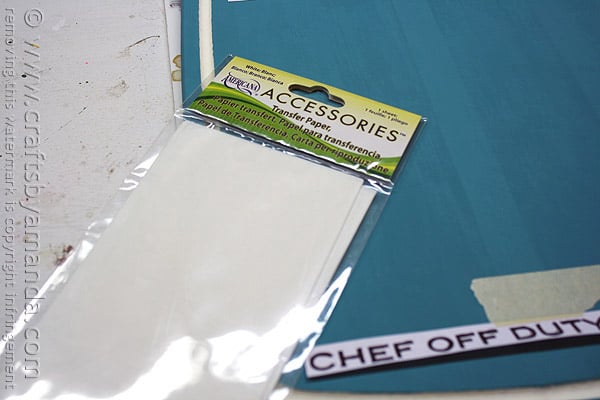
This is white transfer paper. If you haven’t used transfer paper, you need to pick up a package or two next time you hit the craft store. It’s probably in the artist’s section rather than the craft section. I always have white and black on hand. It’s very similar to carbon paper and can be reused several times.
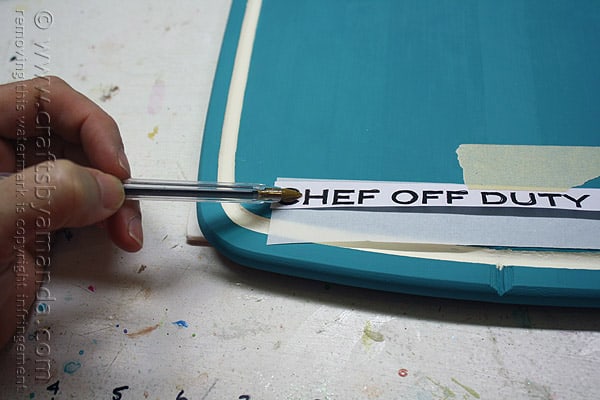
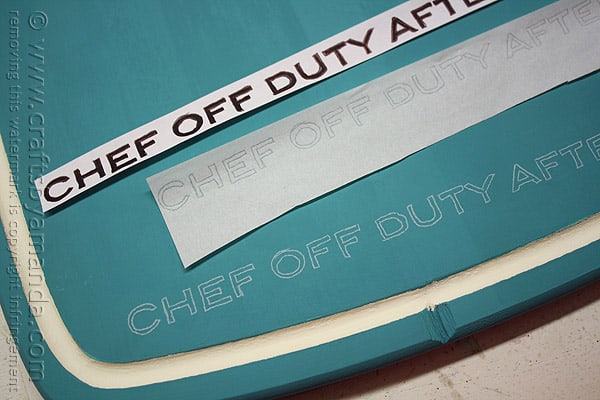
You cut a piece of that transfer paper and slide it underneath your printed words, holding it in place with a bit of masking tape. Then use a ballpoint pen to trace over the outline of the letters.
See? Pretty cool huh?
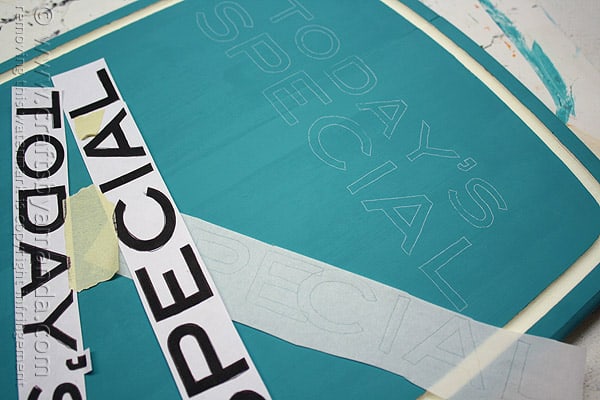
I did the same thing with the big letters at the top of the board.
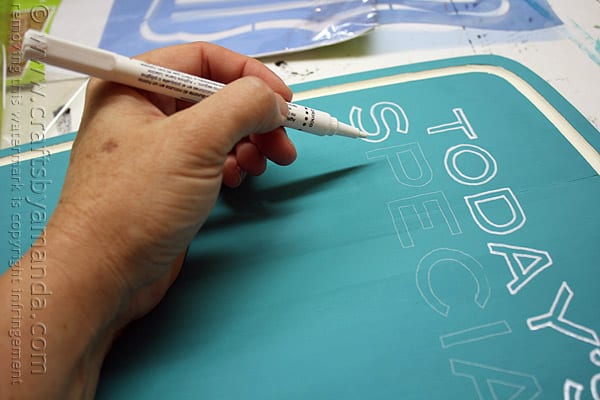
Next I used a DecoArt paint pen (LOVE these so much!) to trace the outline that the transfer paper made. Then I colored them in.
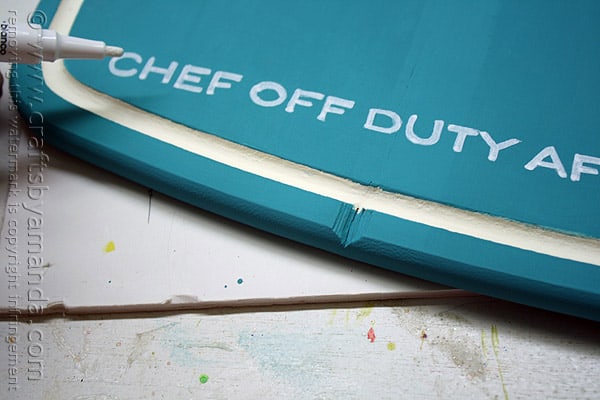
Same thing for the smaller letters. After the paint pen dried I went over it again to make it more visible.
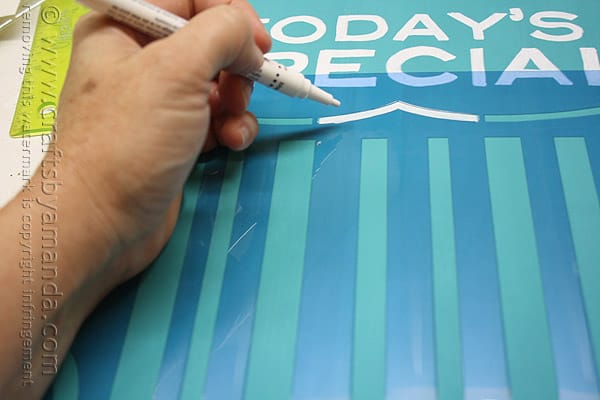
I also used a stencil to add a little decoration on the board below the top letters and above the bottom letters.
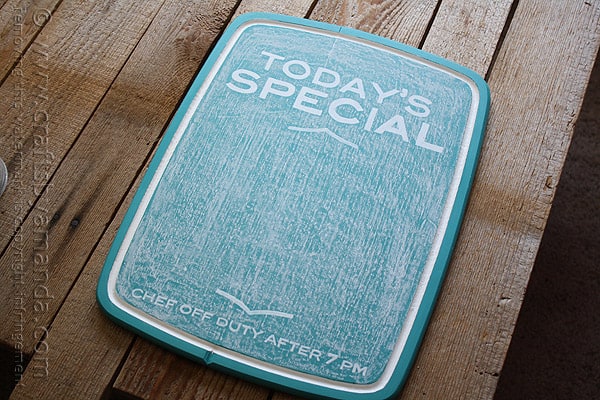
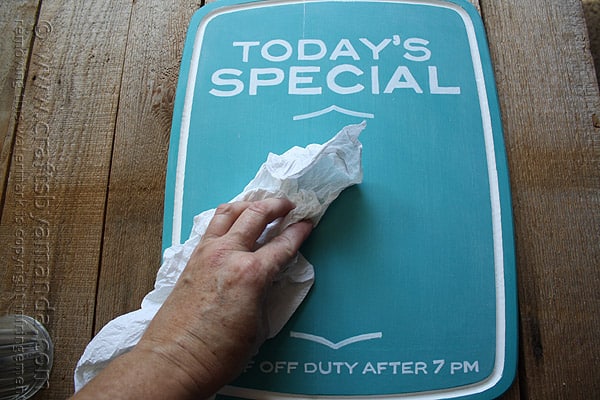
Then when everything was dry, I gave the entire thing a layer of clear chalkboard coating. This allows you to paint whatever colors you want and still use it as a chalkboard. No worrying about buying 5 different colors of chalkboard paint! You have to prime the board after the mandatory dry time. You do this by rubbing chalk all over the entire surface and then wiping it off.
I also wiped it down with a damp cloth and then dried it off.
Now the chalkboard is ready to use! I hope you enjoyed this project and it inspires you to make something similar of your own!
I am a DecoArt Core Blogger. I was compensated for this post, but have always loved DecoArt products! Therefore, all opinions expressed here are 100% my own.
Chalkboard Menu from an Upcycled Cutting Board
Supplies
- Wooden cutting board
- Craft Smart paint - Aqua
- Americana paint - Snow White
- Americana Chalkboard Coating
- DecoArt Glass Paint Marker - white
- Americana stencil - Classic Lines
- DecoArt white transfer paper
Instructions
- If needed, sand the surface of the cutting board and wipe away all dust particles.
- Paint drip tray with Snow White.
- Paint cutting board with Aqua - 2-3 coats may be needed.
- Create your letters in a Word document and print out. Transfer letters to painted cutting board with white transfer paper.
- Trace transferred patterns with white paint pen and fill in to make solid.
- Apply clear chalkboard coating as described on back of bottle.
- Deco Mesh Poinsettia Flower - November 22, 2024
- Winter Luminaries: Snowy Pinecone Candle Jars - November 19, 2024
- Pinecone Owls - November 12, 2024


Darlene says
Hi! I am going to make the solo cup Gum Ball Machines for ppl at work for Valentines Day, could I see those instructions again please? Maybe asap? I appreciate your help! Love all your crafts you tell us about and can make!
Thank You!!!
Amanda Formaro says
Hi Darlene. Those are at this link http://www.meetthedubiens.com/2014/02/valentine-i-chews-you.html :)
Ananasa says
So creative and so fun! We love this one! Thank you for this amazing post!
Amanda Formaro says
Thank you!
Nancy says
Amanda, how can I use a plastic cutting board instead of a wooden one? I have several plastic that I might need to retire soon.
Amanda Formaro says
Hi Nancy. Americana has a new paint called Multi Surface Satin. It can be used on plastic and works great, I’ve used it for several projects already. Multiple thin coats with drying time in between is best. Then of course, follow up with the chalkboard coating. :)
Brenda @ a farmgirl's dabbles says
Great tutorial & fun project!
Amanda Formaro says
Thanks Brenda!
Kelly says
I LOVE this, Amanda!! What a fabulous upcycle. xo
Amanda Formaro says
Thanks Kelly! I’m really happy with how it turned out :)
Bonnie @ Uncommon Designs says
Love this! Have not used the transfer paper, but must have some now! ;)
Amanda Formaro says
Thanks Bonnie! I used to tole paint, so transfer paper was something I used all the time. It’s very handy!
Angie | Big Bear's Wife says
I do love it! I didn’t know that you could get clear chalkboard paint stuff!
Amanda Formaro says
I know, isn’t that stuff great??