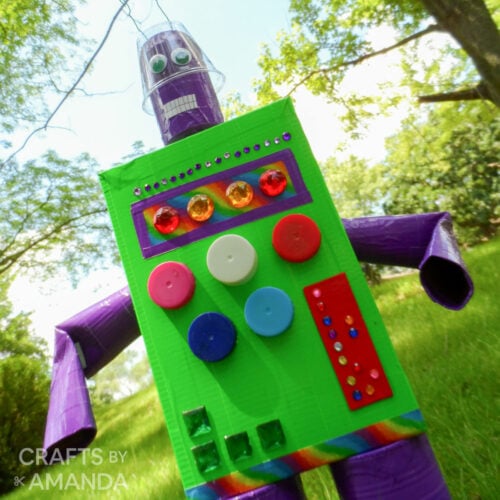
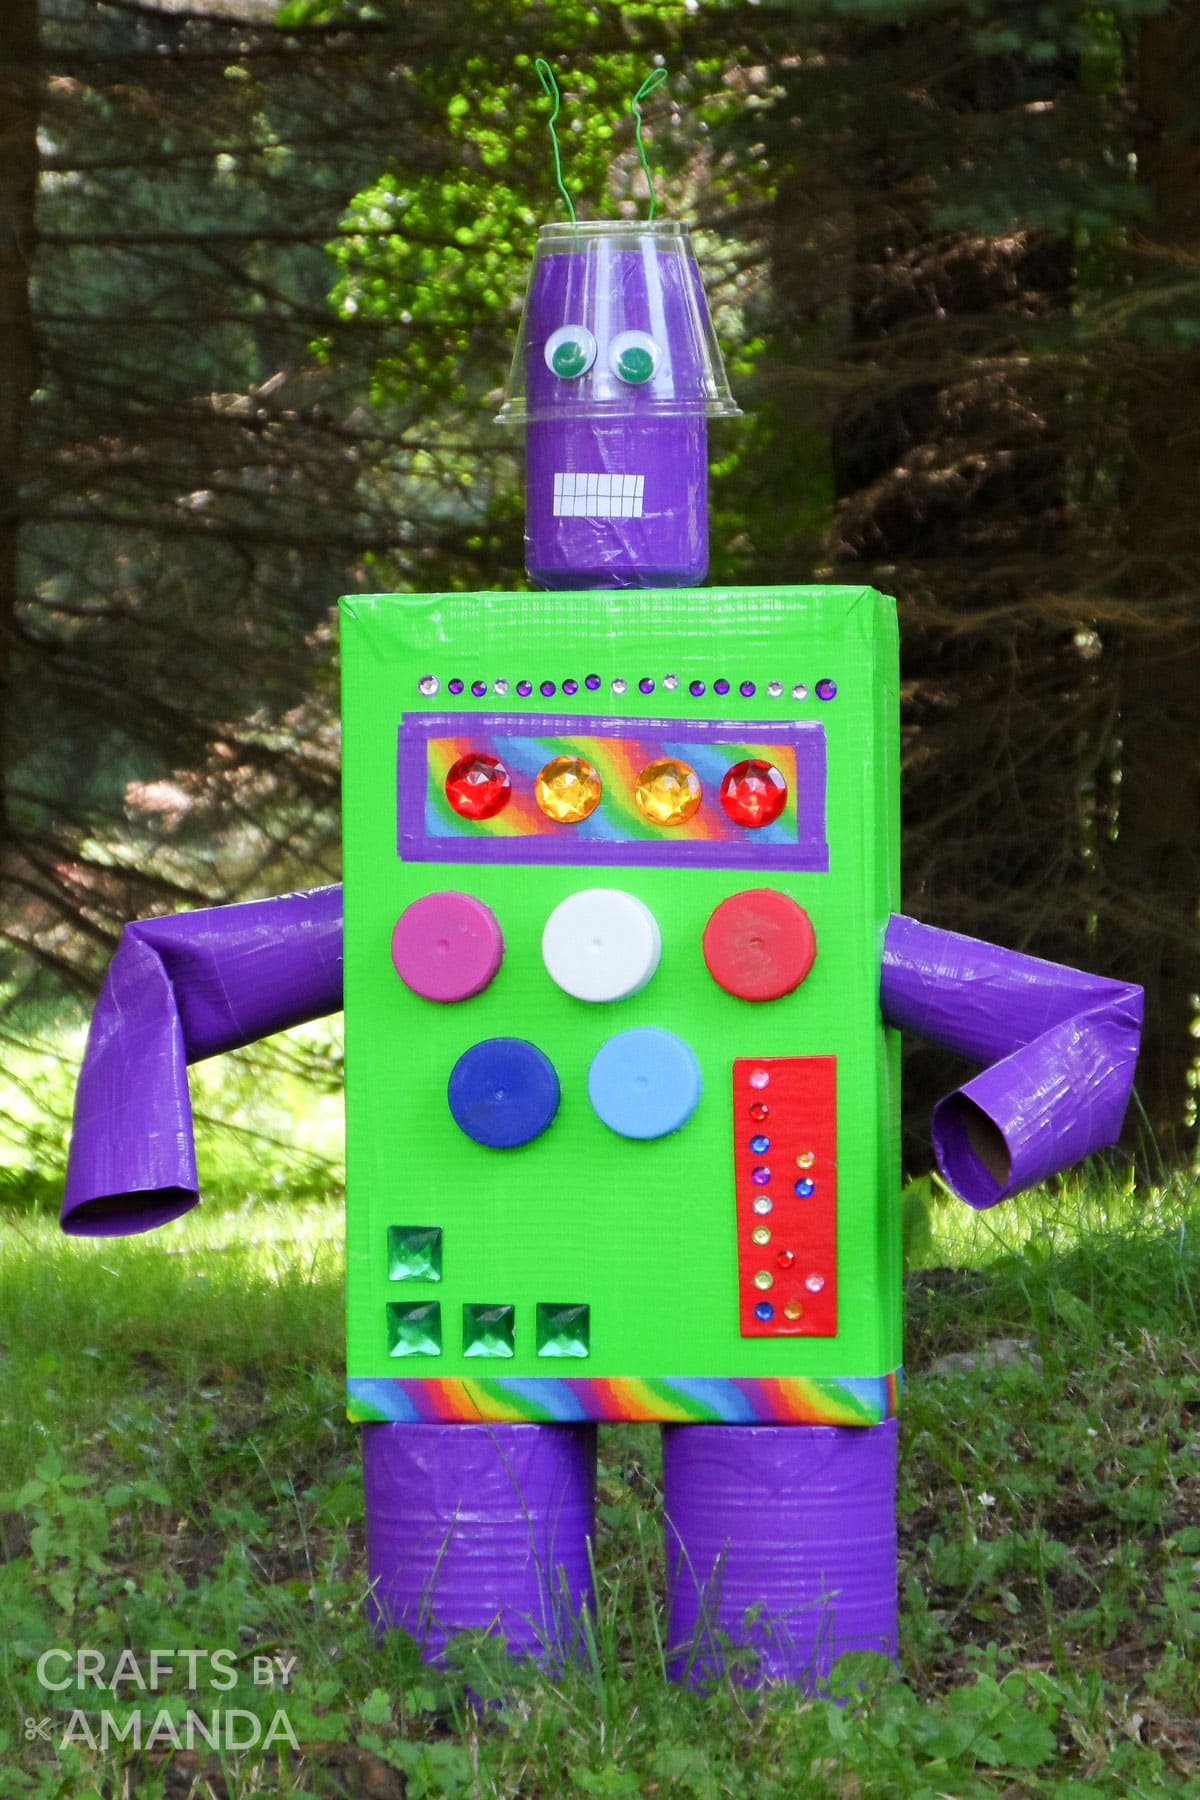
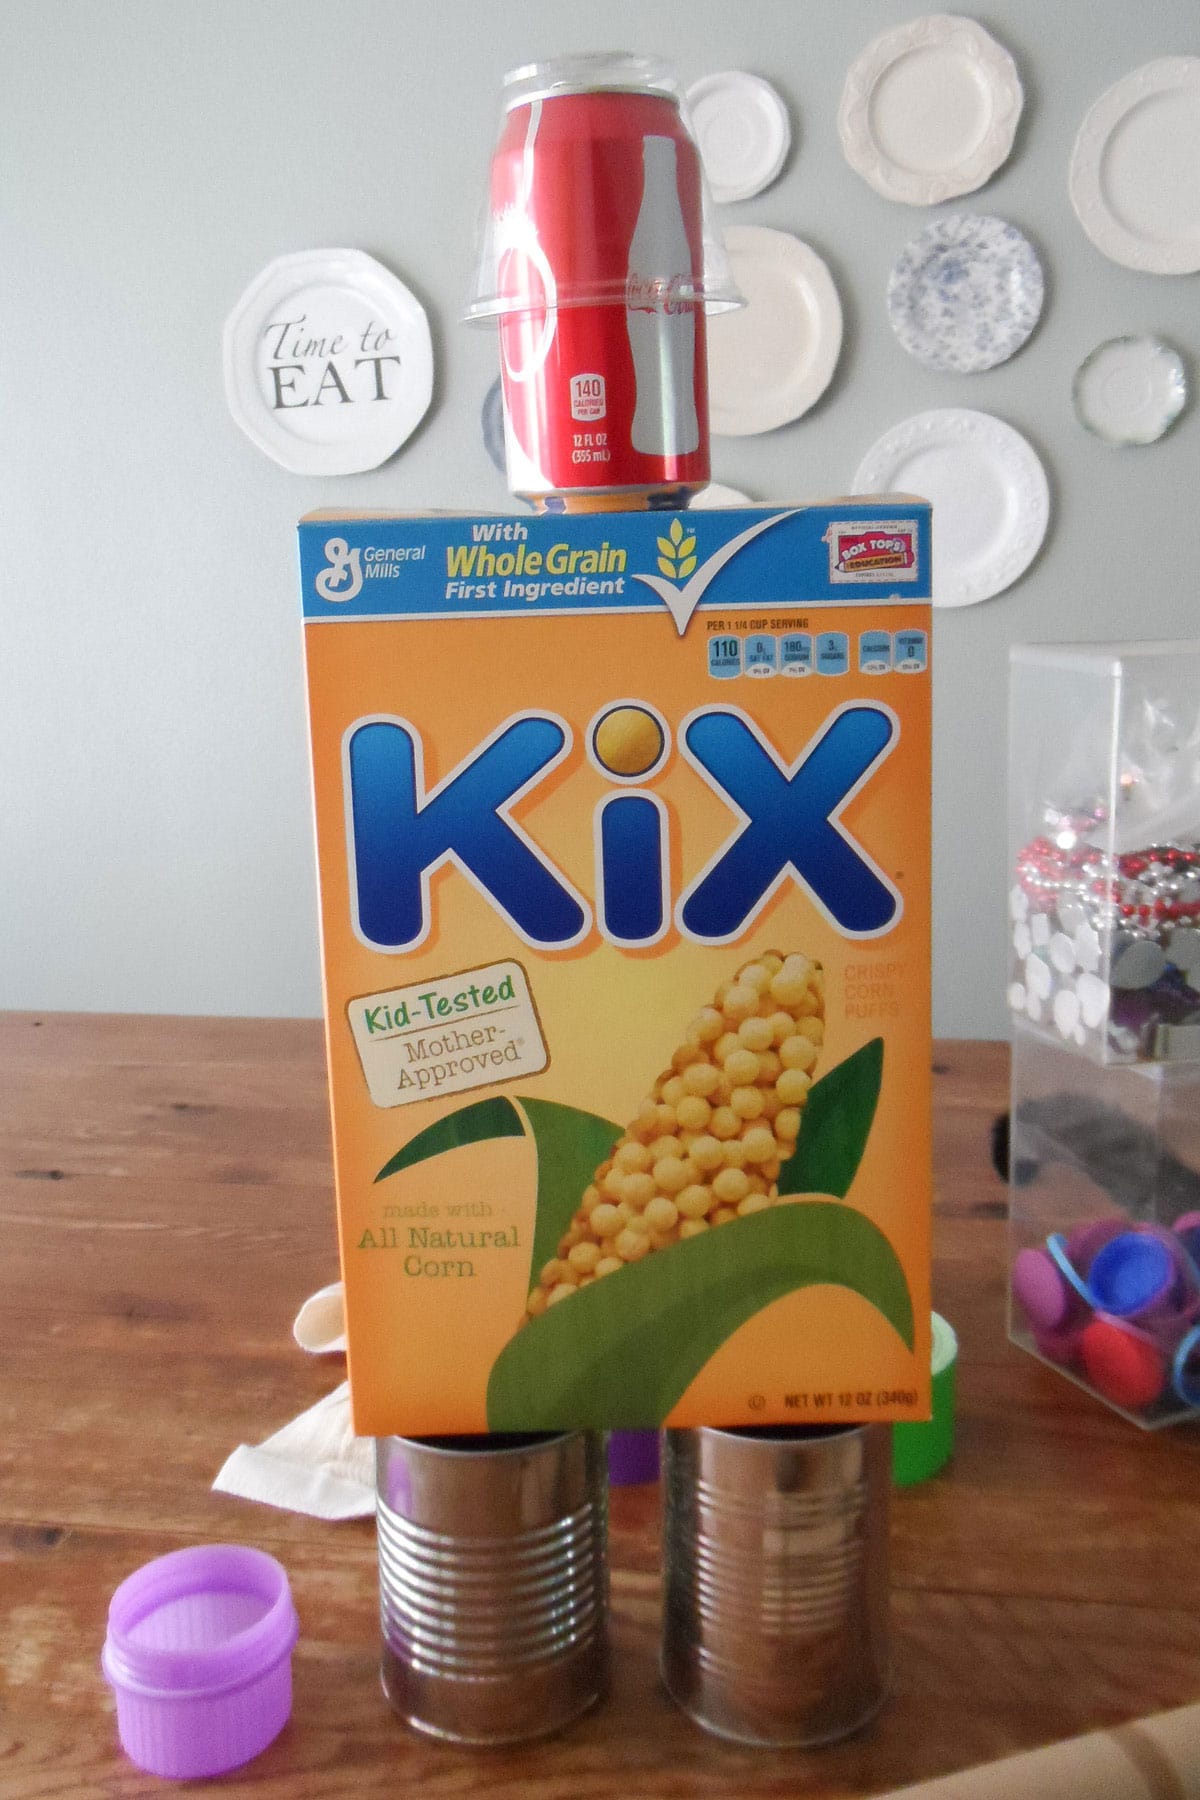
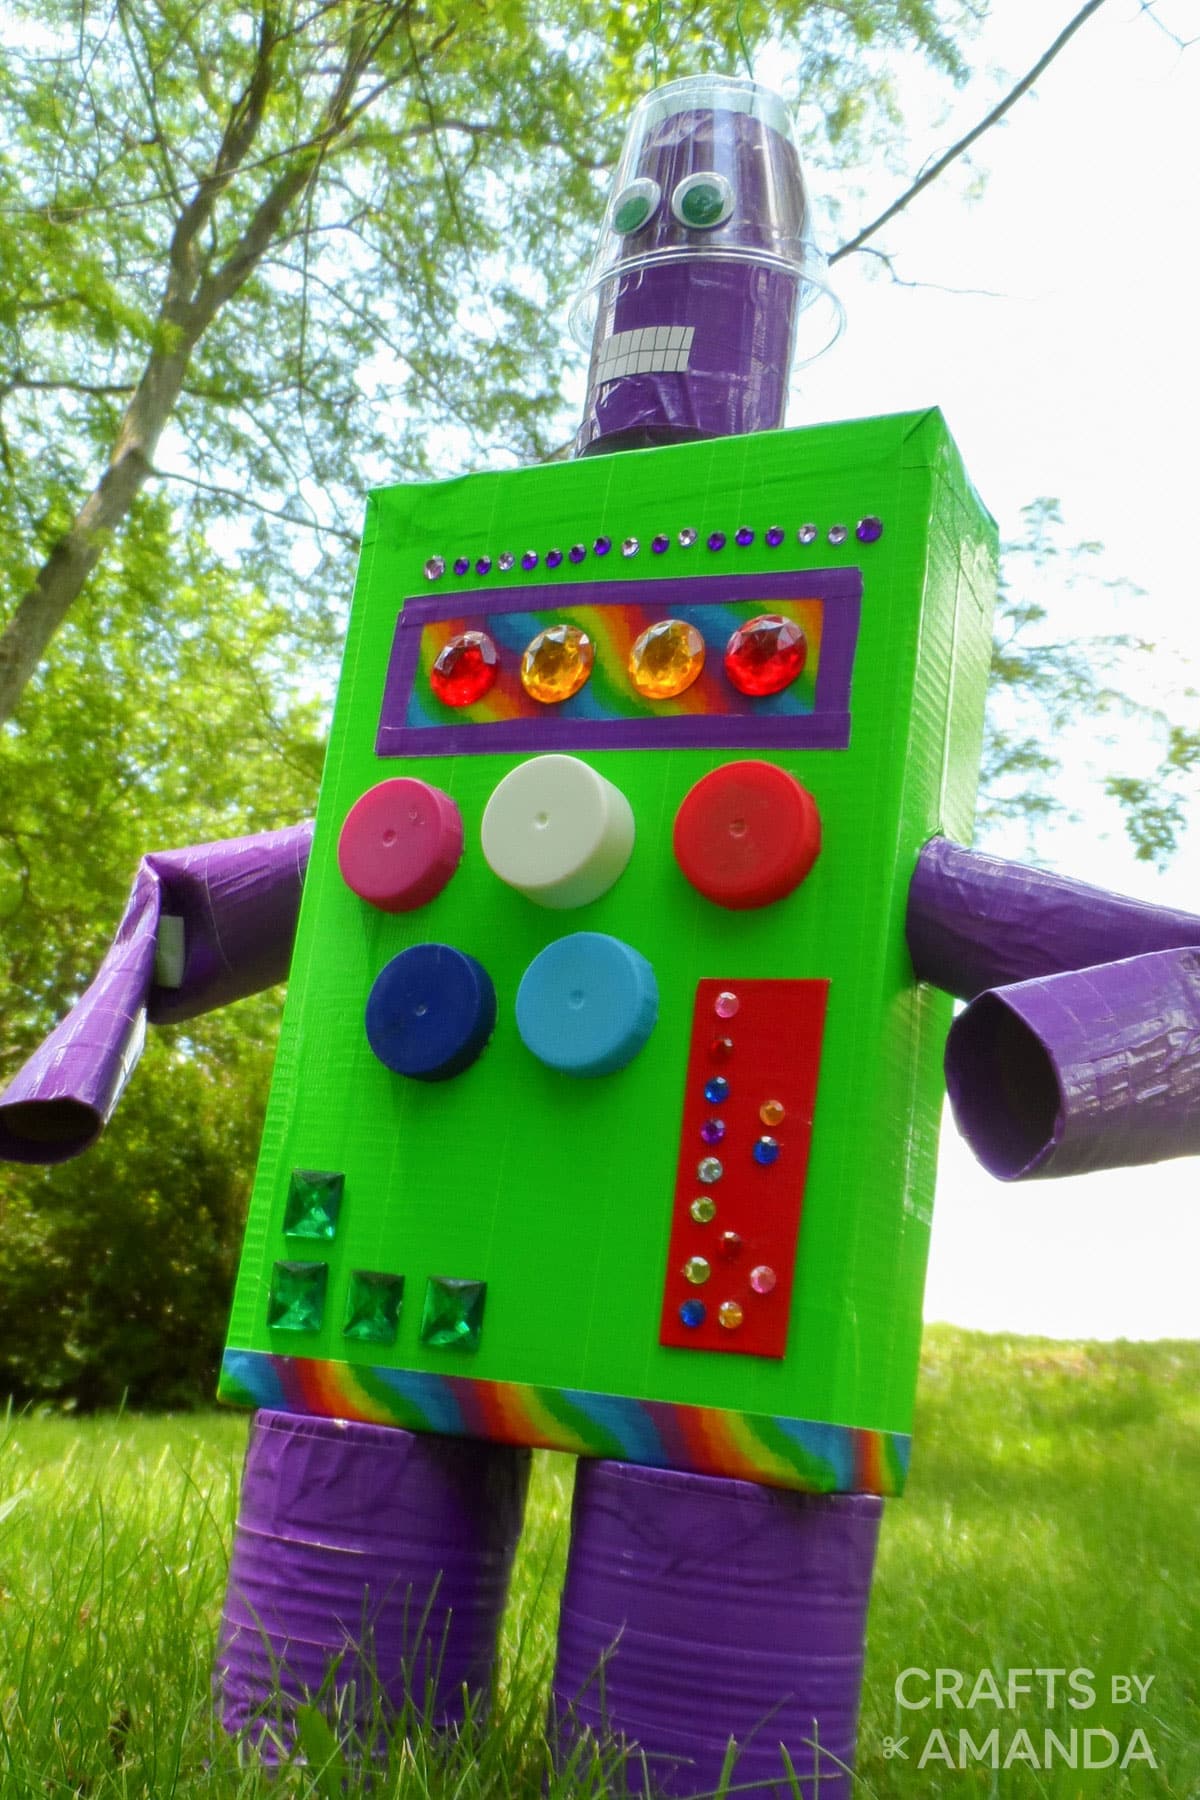
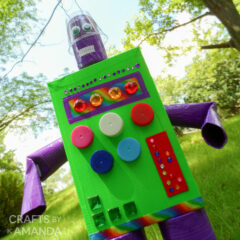
Don’t toss that empty cereal box in the recycle bin, save it to make this fun robot craft! Just think of all the recycled items in your kitchen that you could use to build your own. Vegetable cans and soda cans are great for legs and a head, while paper towel tubes make ideal robot arms!
Why this project is a hit
Girls and boys alike love crafting and this recycled cereal box robot can be created however your child likes. I used duct tape to help this fun robot lat longer. Makes a great addition to your child’s bedroom decor too!
Craft supplies you will need
As you go through these instructions, you’ll notice that I have used a hot glue gun. You don’t have to use hot glue, but it does set up a lot faster. Other alternatives include white craft glue and instant grab glue, both available in craft supply stores. If you decide to use hot glue, a grown up should handle those steps.
Get full list of supplies and directions in the printable version at the end of this post.
Helpful Project Information:
- Age Level: 6 and up
- Mess Factor: Low (water)
- Level of Difficulty: Medium
- Time to Complete: 30 minutes
- Cost Estimate: Less than $5.00
How to Make a Duck Tape Recycled Robot
These step by step photos and instructions are here to help you visualize how to make this project. Please scroll down to simply print out the instructions!
- First, place the bag or dried beans or rice inside the cereal box. Build your robot without gluing anything, just to get a visual. Move all the items to the side.
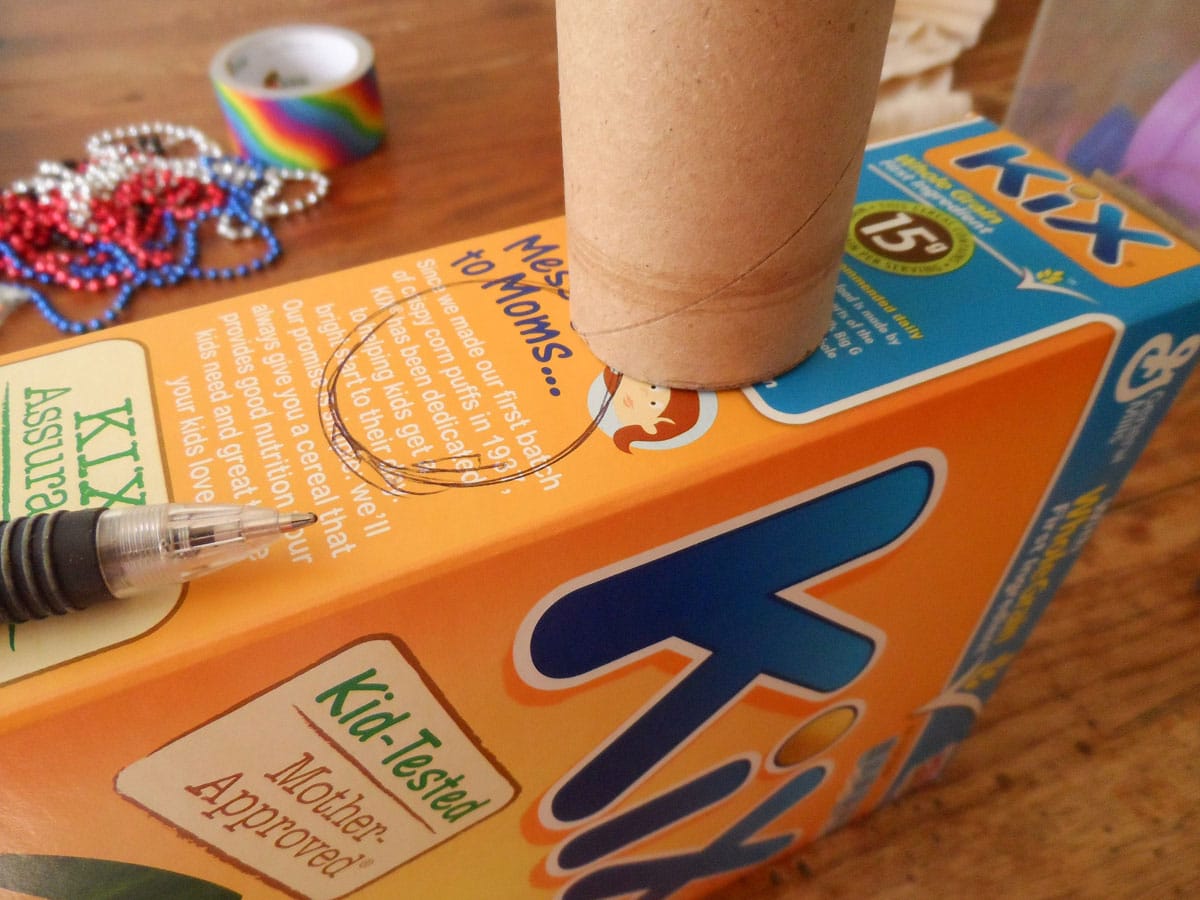
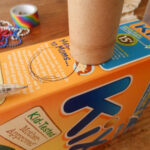
- Next, cut your arm holes. Place the cereal box on its side and trace the cardboard tube onto it. Use a craft knife (a grown up should handle this part) to cut out the circle.
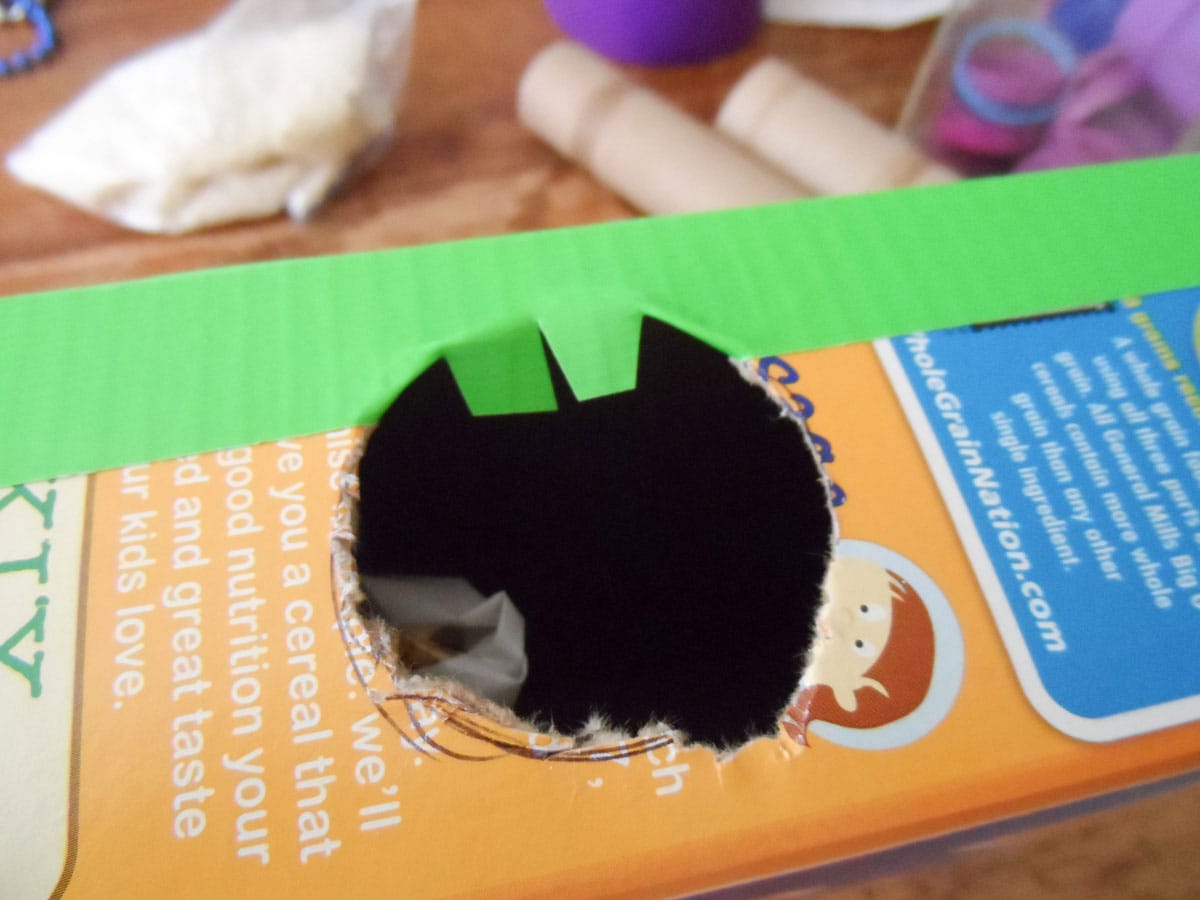
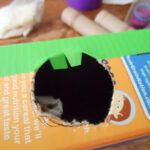
- Cover the sides of the cereal box with green Duck Tape. When you cover the arm-holes, be sure to cut some slits in the tape and fold the tape inside the hole and inside the box.
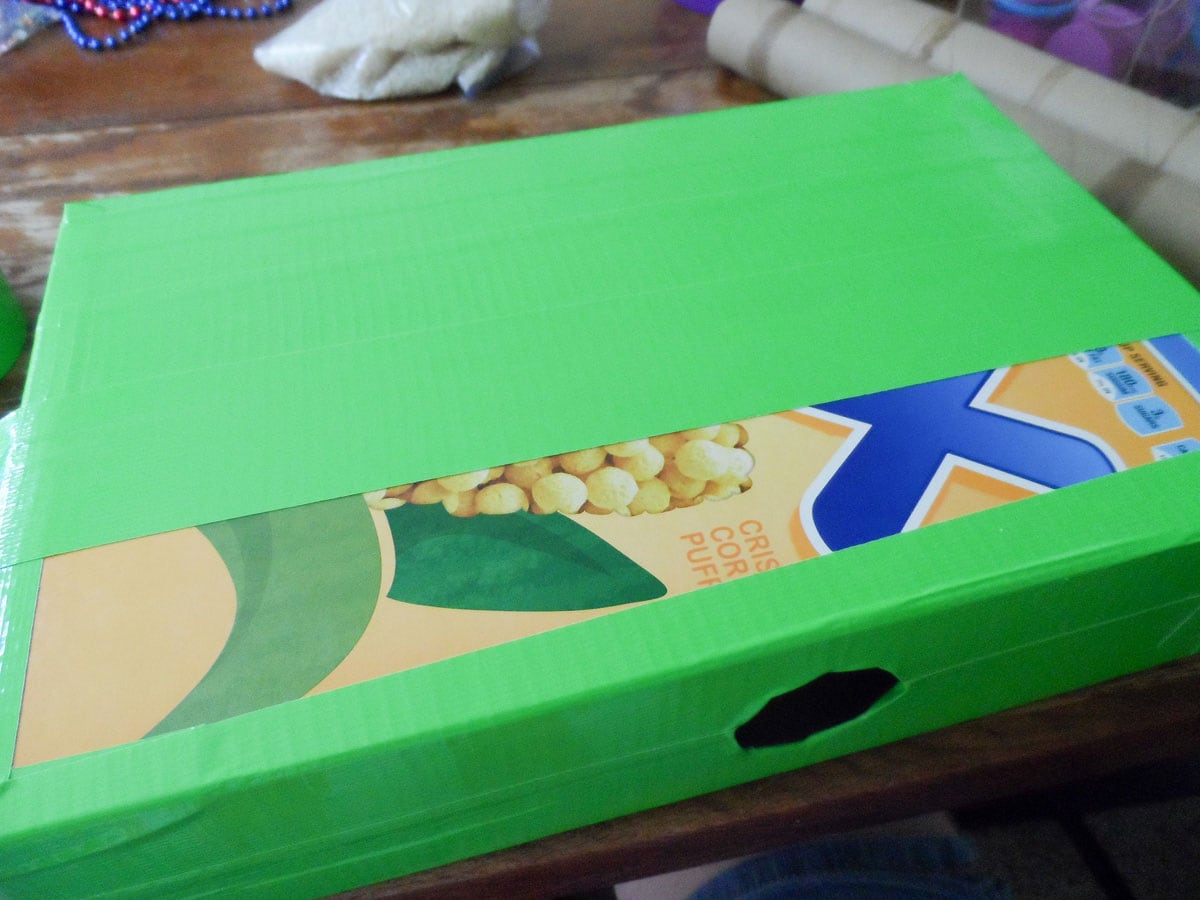
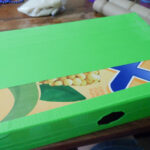
- Cover the rest of the box with green Duck Tape. You didn’t forget to put your bag of beans inside the box did you? Good.
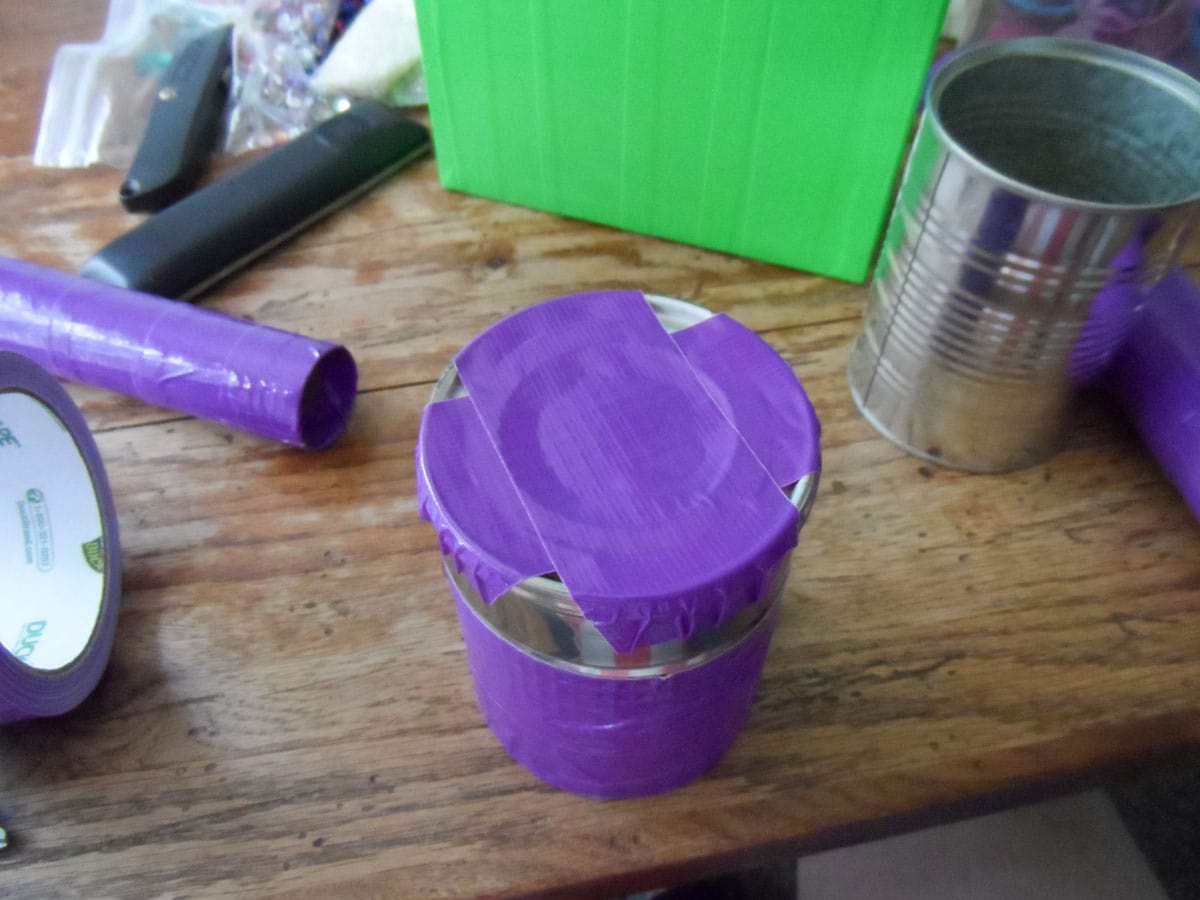
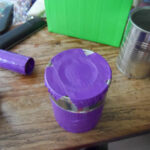
- Cover the vegetable cans completely with purple Duck Tape, including the bottom and the top opening. Cover the cardboard tubes and the and the soda can with purple tape. Insert the cardboard tubes into the arm holes and fold them in the center to bend. Hot glue the soda can to the top of the cereal box.
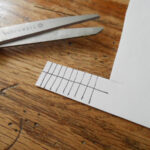
- Use a pen to draw several vertical lines and one horizontal line going through the center. This will be the robot’s teeth. Trim the jagged pen edges off and cut into a rectangle. Glue the teeth to the lower front of the soda can.

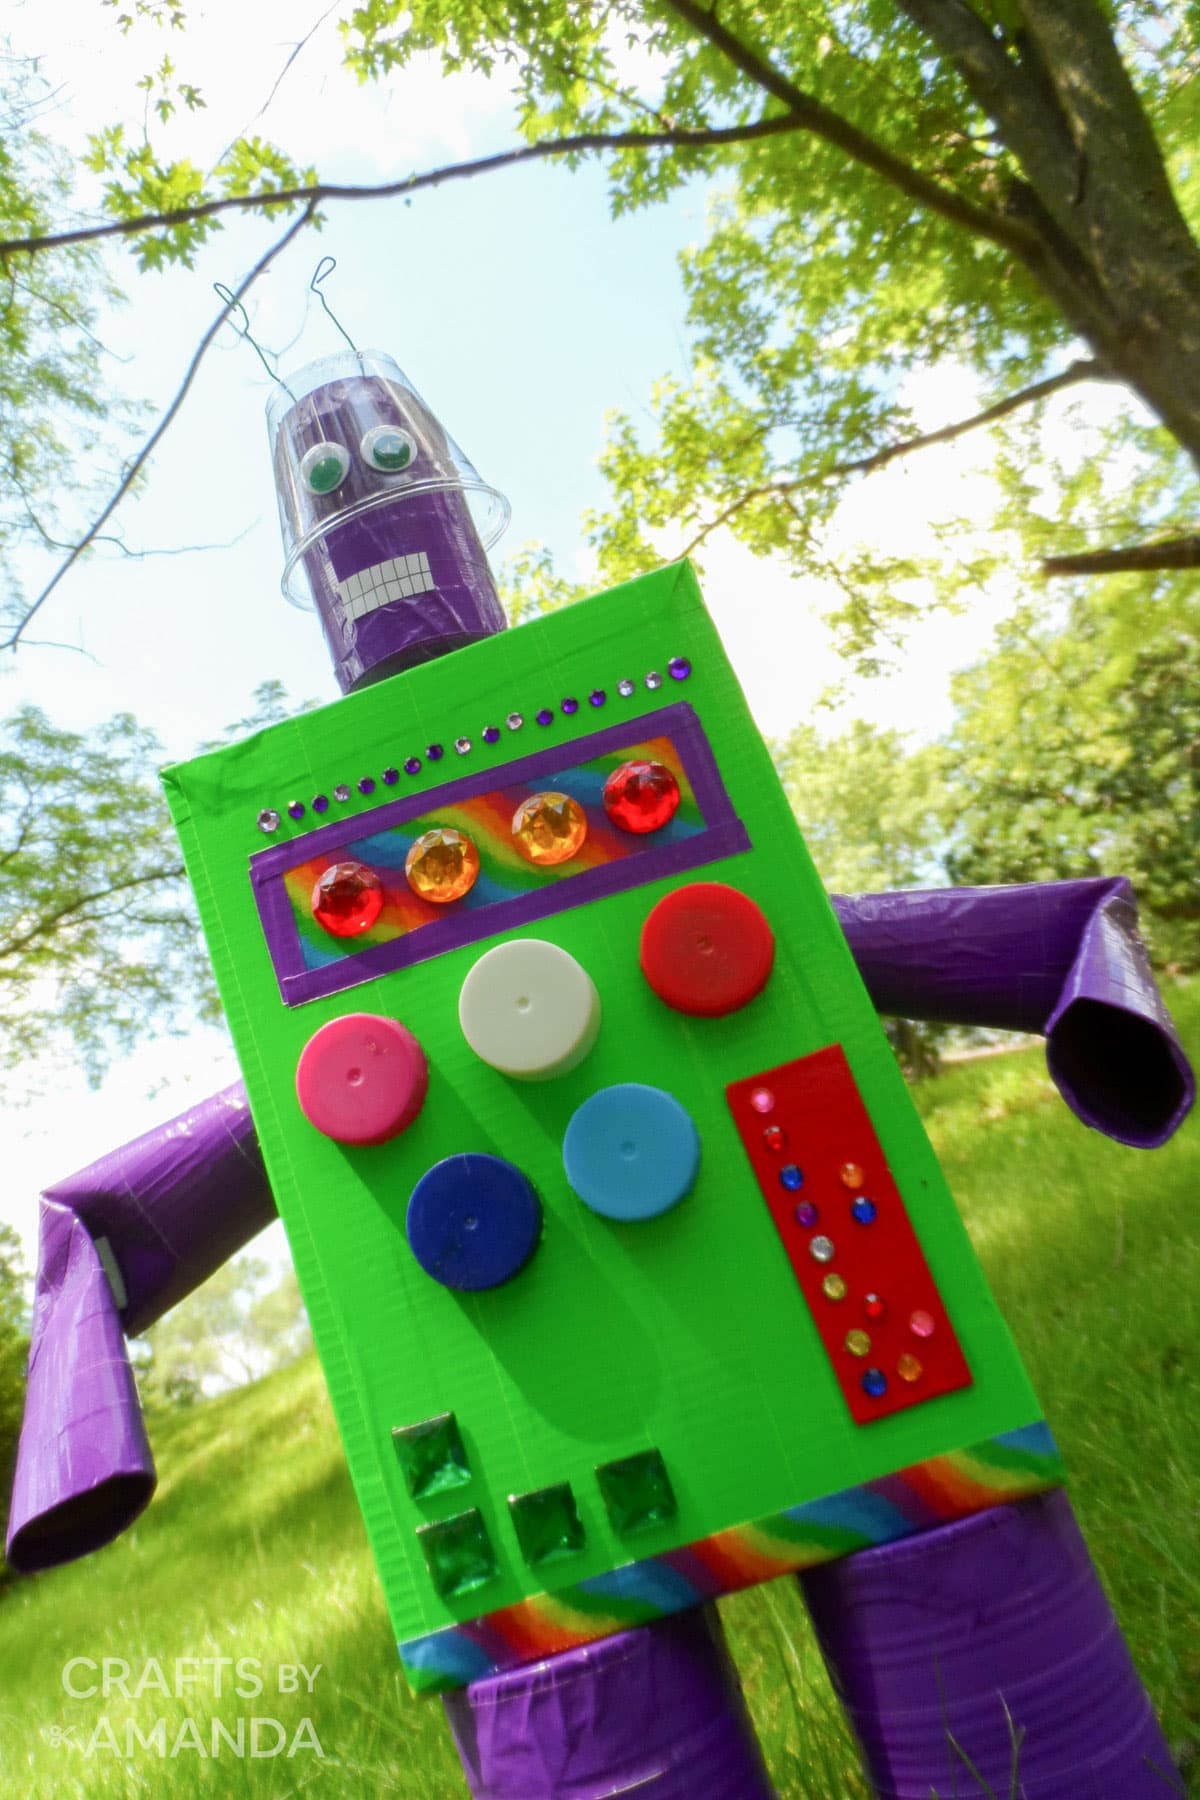
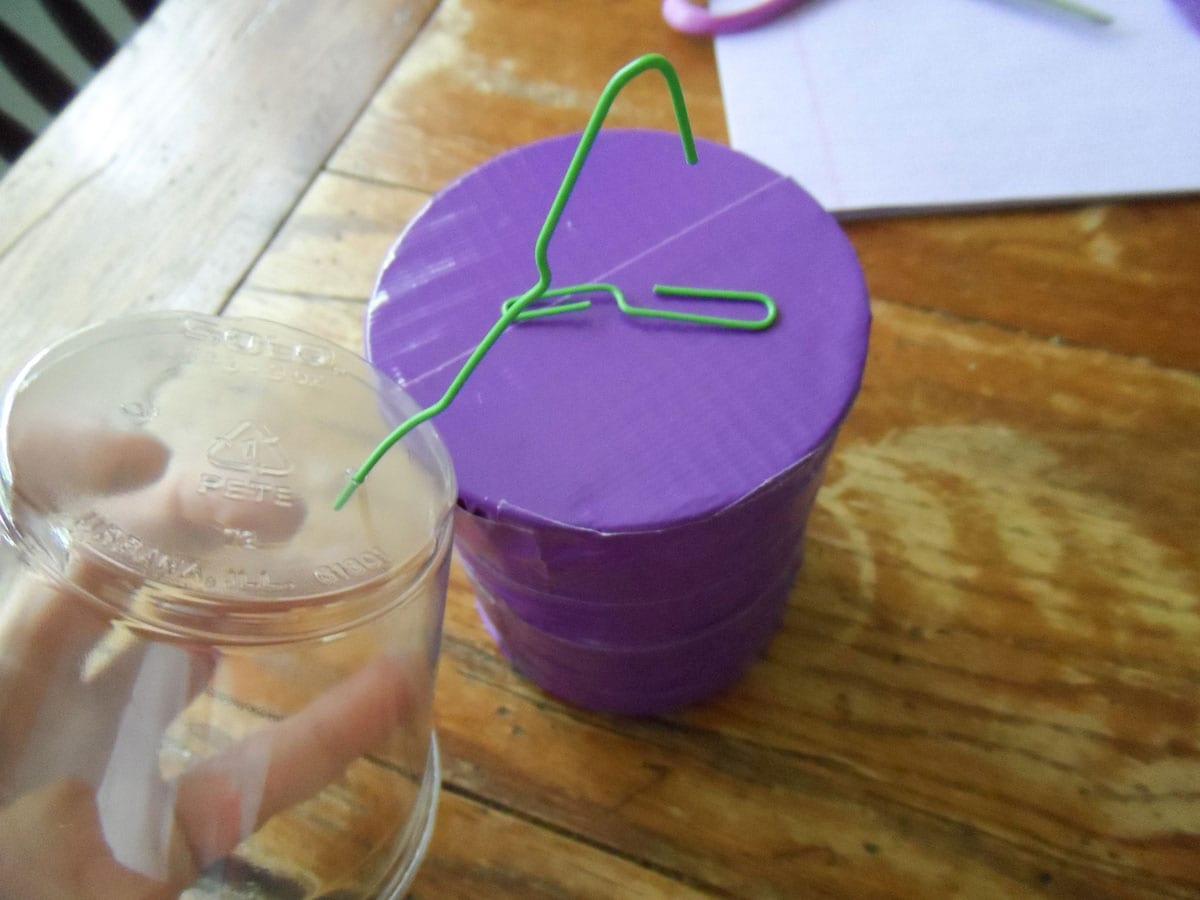
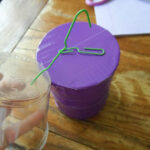
- To make the helmet, turn the plastic cup upside down and use a craft knife to poke two small holes in the bottom of the cup. Open the two paper clips and stretch them out. Poke the end of each paper clip into each hole in the cup to create the antennae. Glue googly eyes to the plastic cup, then place the cup on the soda can head.
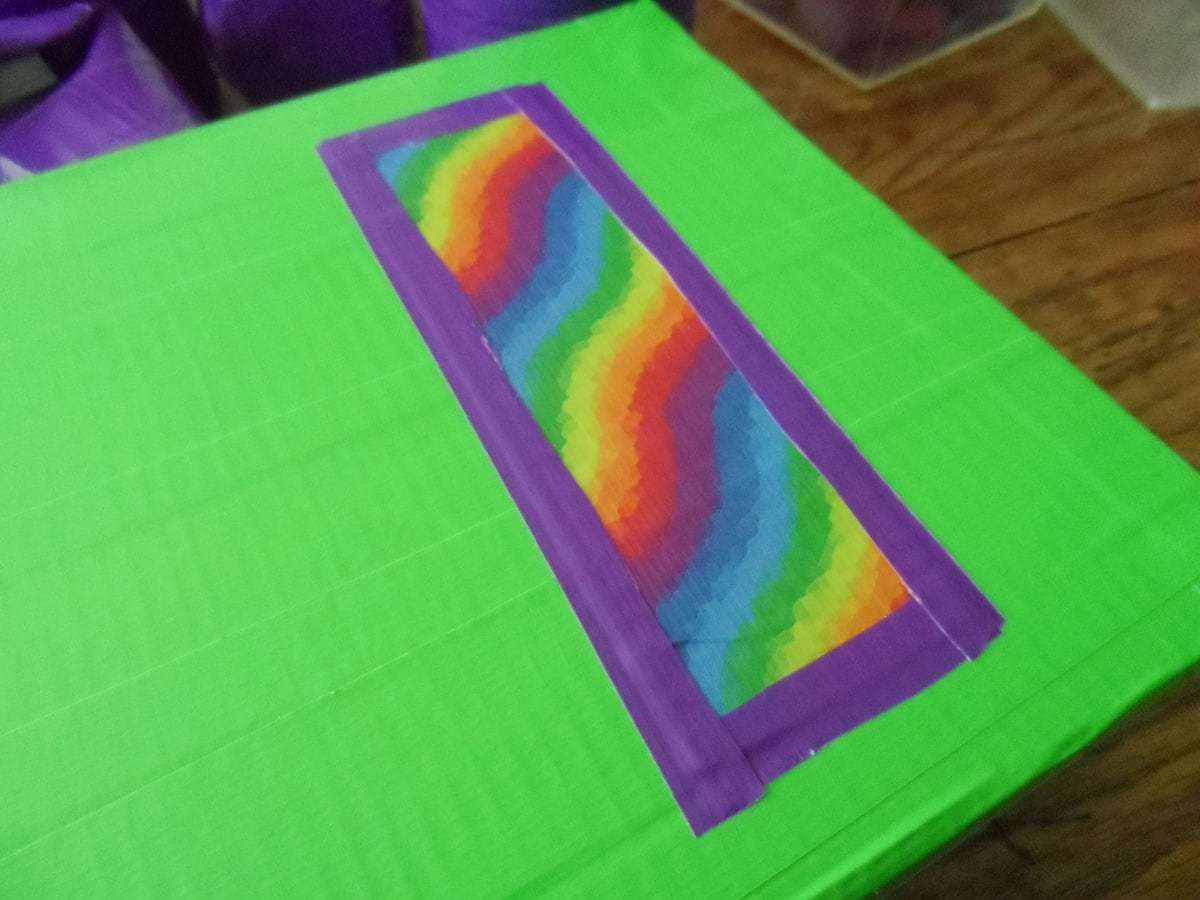
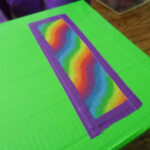
- Place a strip of rainbow Duck Tape on the front of the cereal box toward the top. Cut small strips of purple tape to create a border around the rainbow tape. Glue round craft jewels onto the rainbow strip.
- Decorate the rest of the box with craft jewels and plastic lids for knobs, lights and buttons. I made a red instrument panel using a small piece of cardboard I cut into a rectangle and covered with red Duck Tape. I then glued small craft jewels to the red rectangle, then glued the “light panel” to the front of the box.
- If you like, add a piece of rainbow Duck Tape to the bottom of the cereal box, overlapping the front of the box by about 1/2-inch. This just adds a bit more color. Glue the cereal box onto the two taped vegetable cans (legs).
Expert Tips & FAQs
- Let your child choose the duct tape colors. This gives them control over the project and lets them personalize their creation.
- Duck tape can be easily torn to break off a piece, but feel free to use scissors as well.
- Due to the popularity of duck tape crafts, Fiskars created a pair of scissors specifically for cutting duck tape!
The best part about making a robot from recycled materials is that each one created will look different from the next. You don’t have to use colored tape. You can leave all of your materials as is, or if you like cover them with construction paper or even paint them. Whatever strikes you, now go and have fun!
More Robot Crafts
Incidentally, when I was done with this guy, I gave him to my neighbor’s grandson. I wish I would have had my camera handy as the look on his face was priceless! And, isn’t he a cutie? You can see him when he was little, wearing the egg carton spy goggles I made several years ago.
I love to create and share my projects with you! I know it’s hard to remember to come back and search, so I’ve made it easy for you with my weekly newsletter! You can subscribe for free and I’ll send you fun crafts and delicious recipes every week right to your email.
Recycled Robot
Supplies
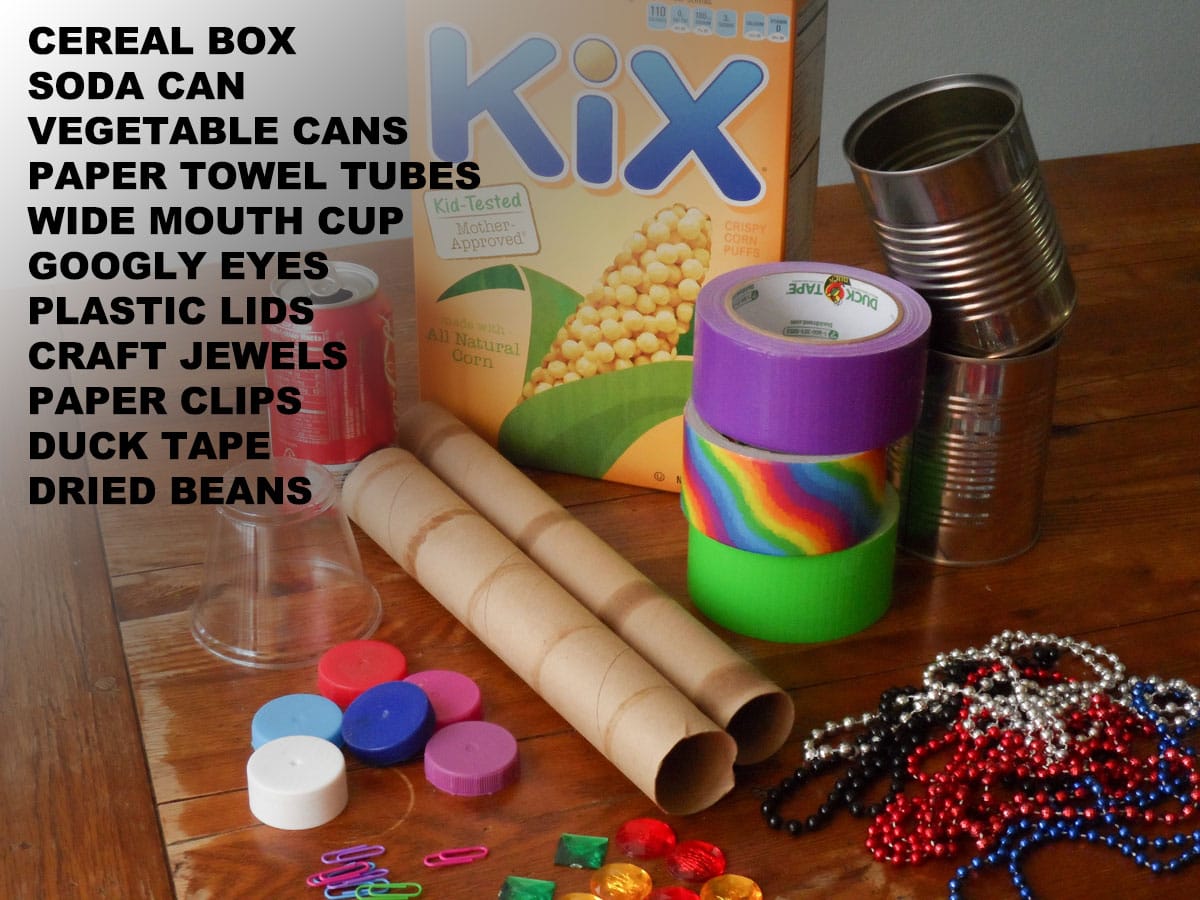
- 1 cardboard cereal box
- 1 soda can
- 2 vegetable cans
- 2 cardboard paper towel tubes
- 1 plastic wide mouth drinking cup
- 2 googly eyes
- Assorted plastic lids
- Colored craft jewels in various sizes
- 2 green plastic coated paper clips
- 3 colors of Duck Tape we used neon green, purple, rainbow
- Bag of dried beans or rice for weight
Craft tools
- Scissors/craft knife
- Pen
Instructions
- First, place the bag or dried beans or rice inside the cereal box. Next, cut your arm holes. Place the cereal box on its side and trace the cardboard tube onto it. Use a craft knife (a grown up should handle this part) to cut out the circle.

- Cover the sides of the cereal box with green Duck Tape. When you cover the arm-holes, be sure to cut some slits in the tape and fold the tape inside the hole and inside the box.
- Cover the rest of the box with green Duck Tape. You didn't forget to put your bag of beans inside the box did you? Good.
- Cover the vegetable cans completely with purple Duck Tape, including the bottom and the top opening. Cover the cardboard tubes and the and the soda can with purple tape. Insert the cardboard tubes into the arm holes and fold them in the center to bend. Hot glue the soda can to the top of the cereal box.
- Use a pen to draw several vertical lines and one horizontal line going through the center. This will be the robot's teeth. Trim the jagged pen edges off and cut into a rectangle. Glue the teeth to the lower front of the soda can.
- To make the helmet, turn the plastic cup upside down and use a craft knife to poke two small holes in the bottom of the cup. Open the two paper clips and stretch them out. Poke the end of each paper clip into each hole in the cup to create the antennae. Glue googly eyes to the plastic cup, then place the cup on the soda can head.
- Place a strip of rainbow Duck Tape on the front of the cereal box toward the top. Cut small strips of purple tape to create a border around the rainbow tape. Glue round craft jewels onto the rainbow strip.
- Decorate the rest of the box with craft jewels and plastic lids for knobs, lights and buttons. I made a red instrument panel using a small piece of cardboard I cut into a rectangle and covered with red Duck Tape. I then glued small craft jewels to the red rectangle, then glued the "light panel" to the front of the box.
- If you like, add a piece of rainbow Duck Tape to the bottom of the cereal box, overlapping the front of the box by about 1/2-inch. This just adds a bit more color. Glue the cereal box onto the two taped vegetable cans (legs).
Expert Tips & FAQs
- Let your child choose the duct tape colors. This gives them control over the project and lets them personalize their creation.
- Duck tape can be easily torn to break off a piece, but feel free to use scissors as well.
- Due to the popularity of duck tape crafts, Fiskars created a pair of scissors specifically for cutting duck tape!
I originally created this project for Kix Cereal in July, 2013.
- A Watering Can That Pours Crystals - May 12, 2026
- How to Make Lavender Soap - April 28, 2026
- Plastic Spoon Bugs on a Branch - April 24, 2026


Leave a Reply