This colorful, glittery candy cane Mason jar luminary is a festive way to add some twinkling warmth to your Christmas decorating. You likely already have all the supplies you need on hand for this simple craft idea.
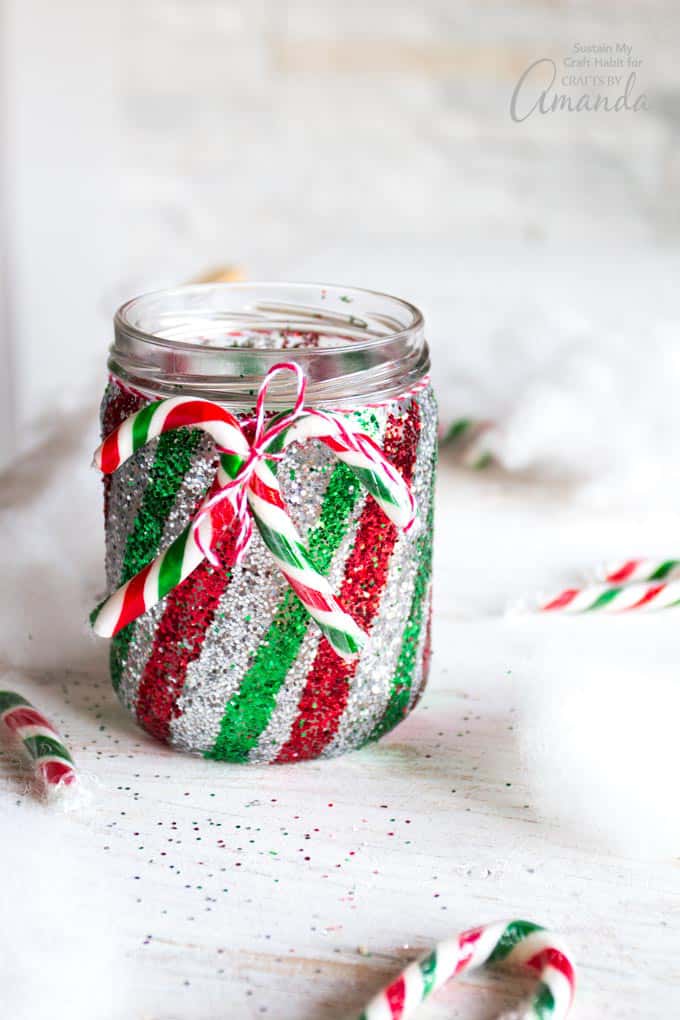
Candy Cane Mason Jar Luminary
I’ve been saving up all the glass jars in my home recently. I have so many ideas to use them for Christmas decorating and gifts this year. For example, Amanda’s snowy pinecone candle jars are high on my list, as is this glittery Santa’s belly jar.
So far this year I’ve made an adorable Christmas Mason jar snowman as a secret Santa gift idea. I’ve also had the urge to dig into my glitter stash, and the idea of a candy cane Mason jar luminary came to mind. These look gorgeous both lit and unlit, especially grouped together on a holiday mantel.
Hint: If you prefer to buy instead of make, Etsy has a lot of different Christmas luminary options!
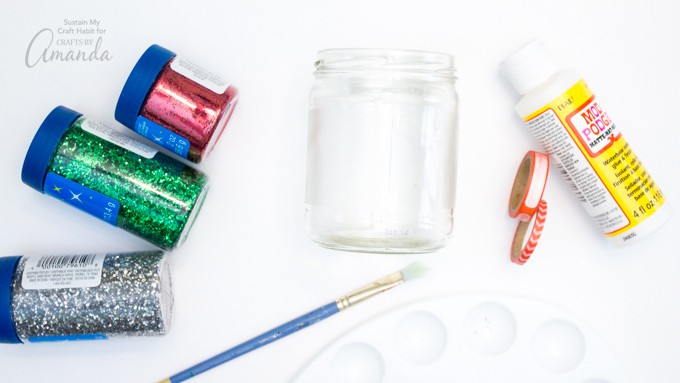
Supplies needed for this Mason Jar Luminary
How to Make a Candy Cane Mason Jar Luminary
- Thoroughly wash the glass jar and remove any labels.
2. Place alternating thin and thick strips of tape, slightly diagonally down the jar. Leave wider sections uncovered (for the white glitter).
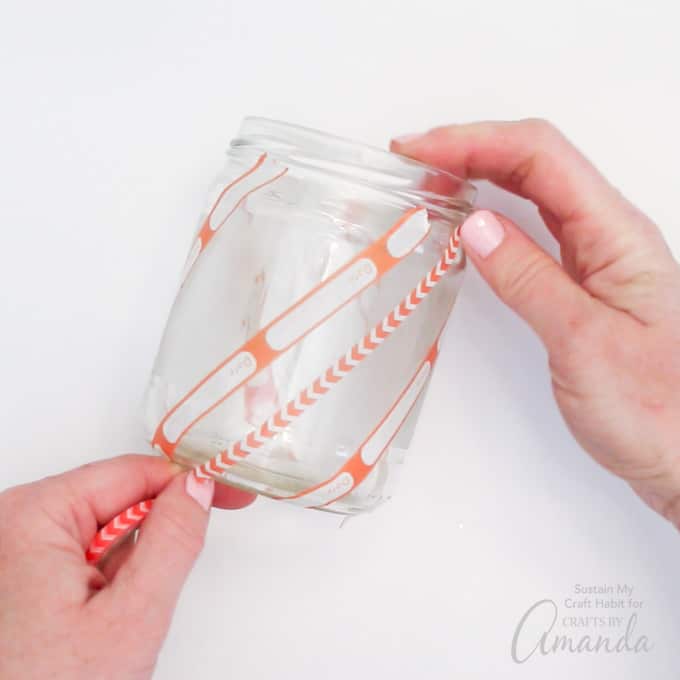
3. Trim off the ends of the tape along the jar rims.
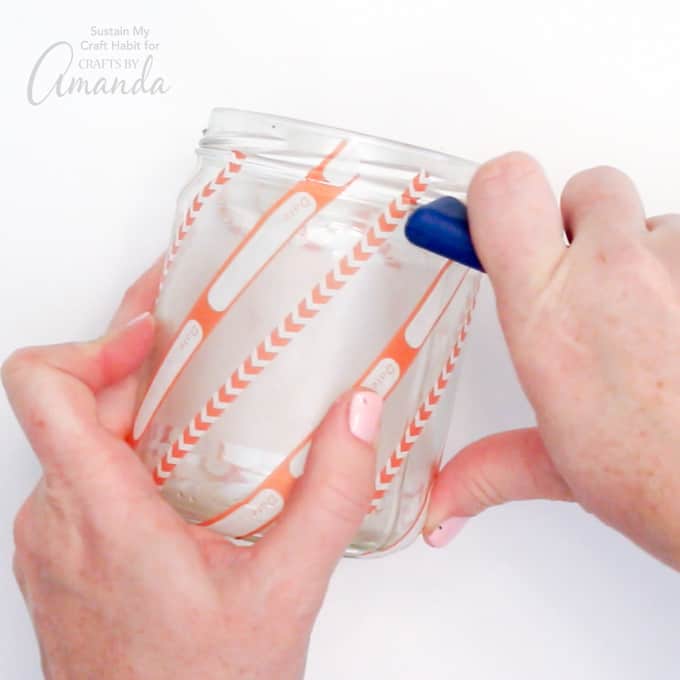
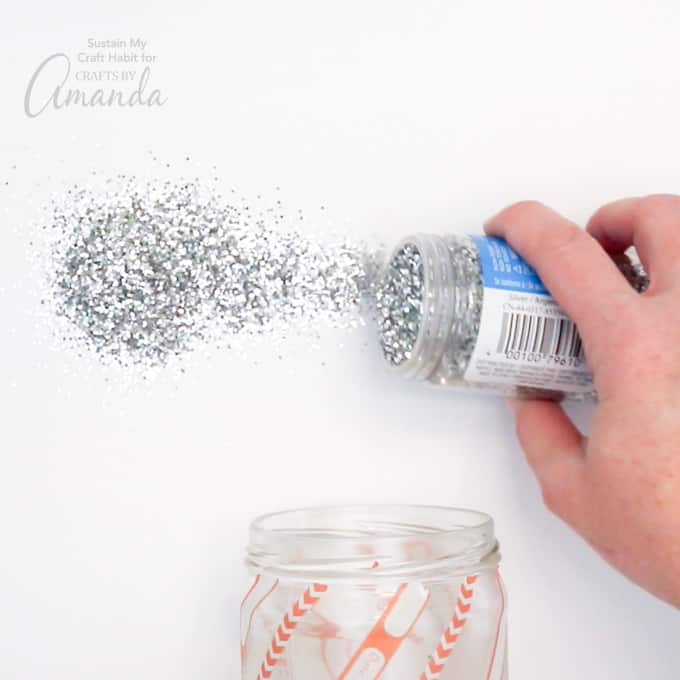
4. Pour out a bunch of silver glitter on your working surface. (Tip: use a clean piece of paper which you can later lift up and pour the remaining glitter back into the jar with).
5. Working in small sections, paint Mod Podge onto the untaped areas of the Mason jar luminary.
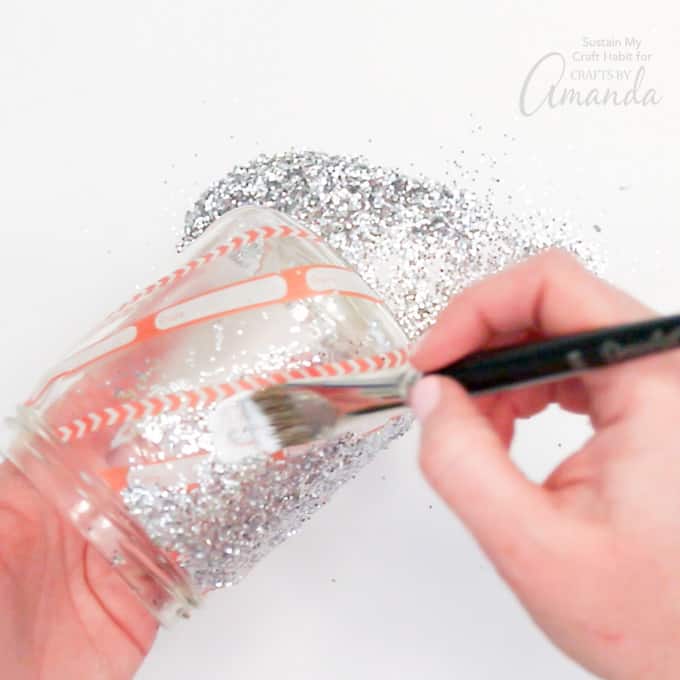
6. Before it dries, roll the glued section of the glass jar over the silver glitter until it is covered. Repeat this all the way around the jar and let dry before moving on to the next step.
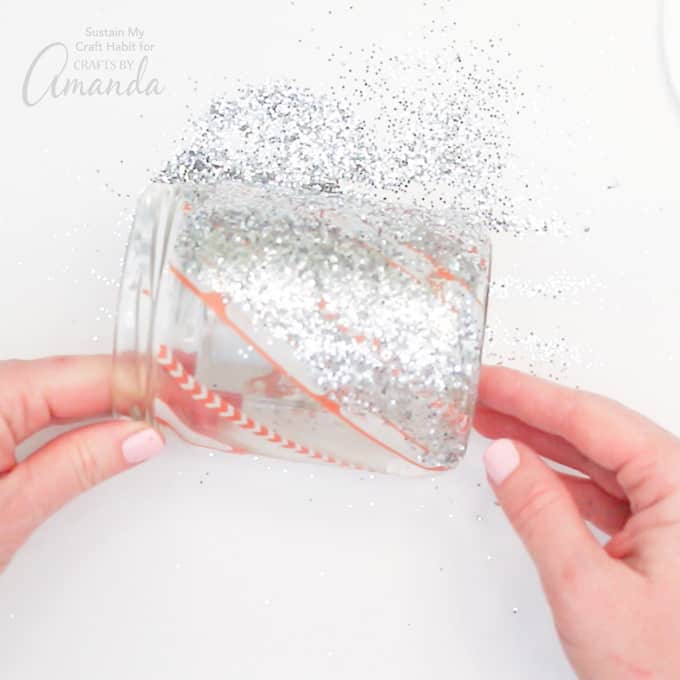
7. Gently remove just the thicker pieces of tape from the jar. Clean up all the silver glitter.
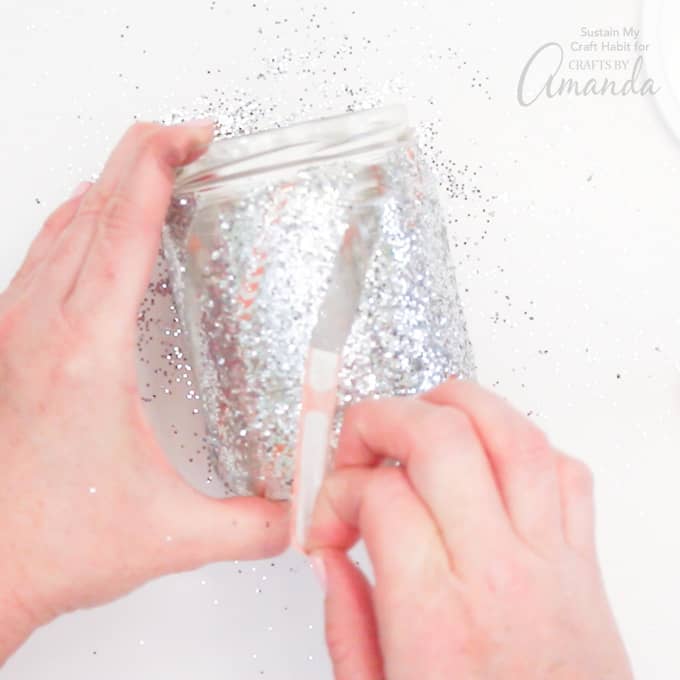
8. Pour out a bunch of green glitter onto your cleaned working surface.
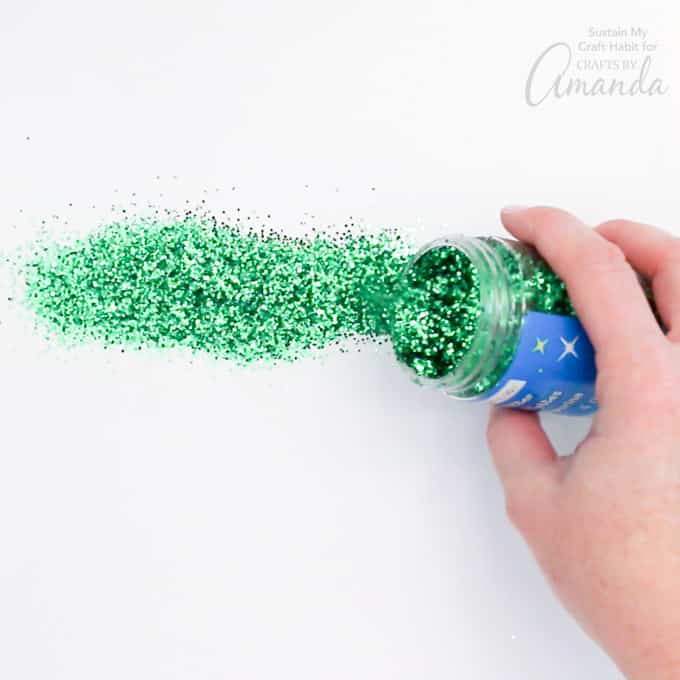
9. With a small brush, add Mod Podge to the uncovered glass, working in small sections.
10. Roll the jar in the green glitter. Repeat this all the way around the jar and let dry before moving on to the next step.
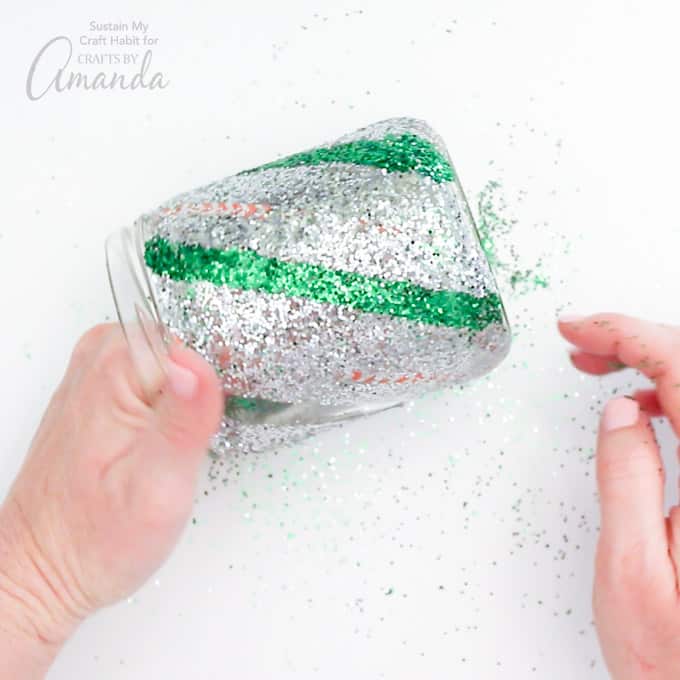
11. Finally, repeat steps 7-10 for the red glitter.
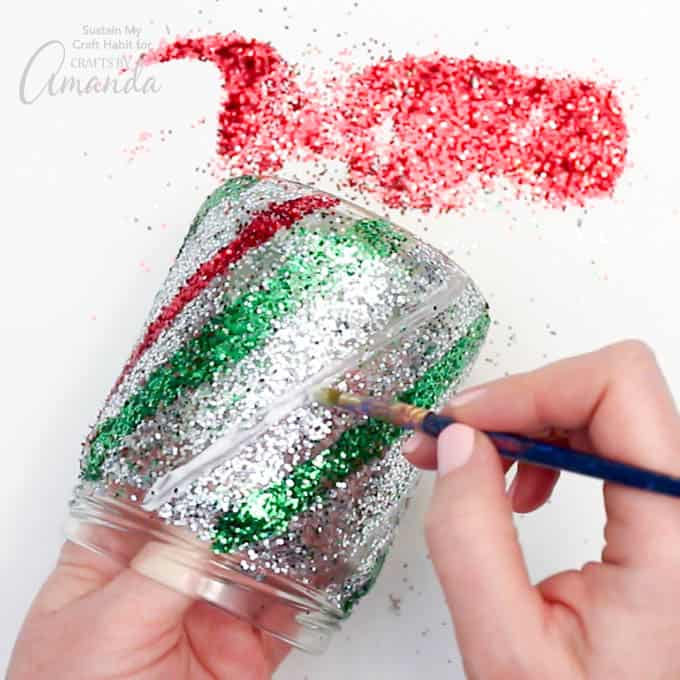
A Sparkly and Sweet Christmas Craft
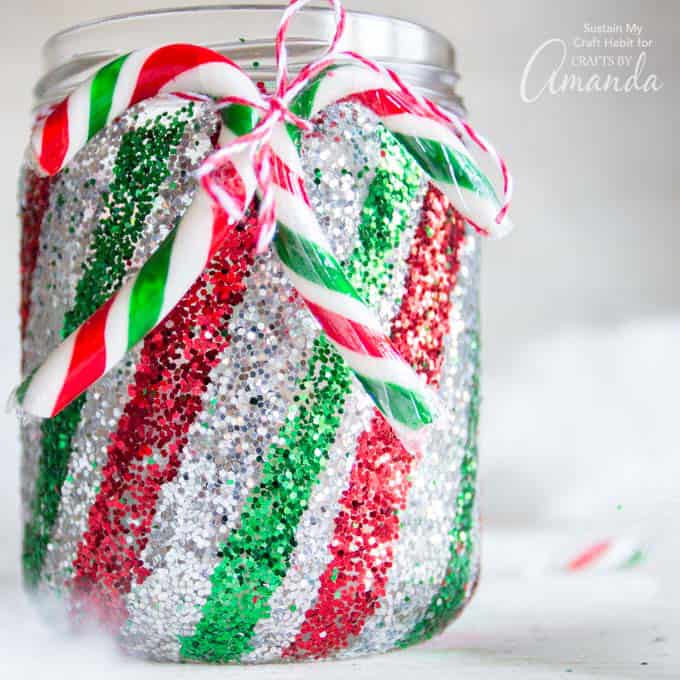
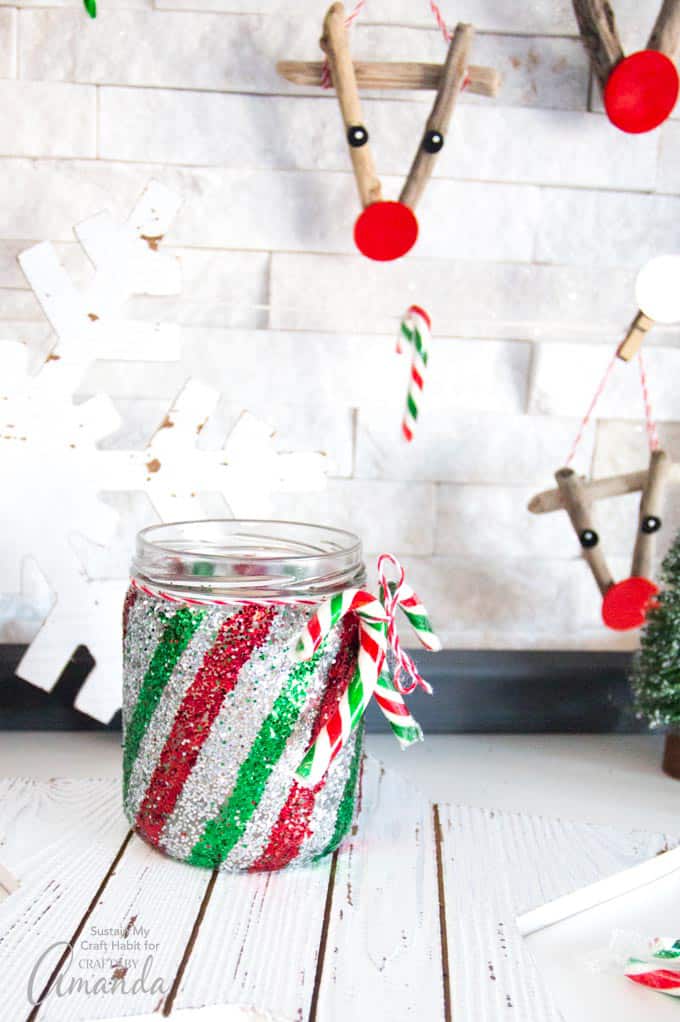
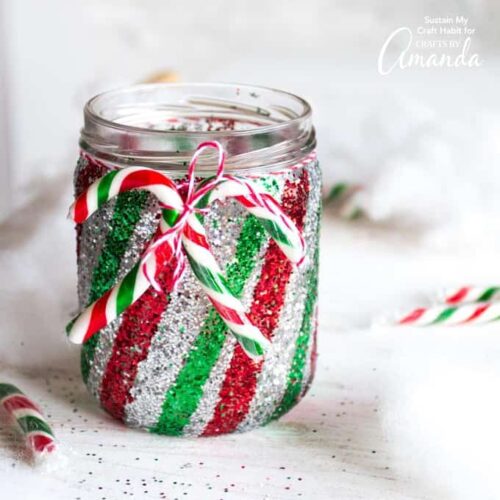
And you’re all done! You can further embellish your Candy Cane Mason Jar luminary by tying a couple of small candy canes around the neck of the jar with red and white baker’s twine. Use a candle (a peppermint-scented one would be amazing!) or battery-operated twinkle lights to light up your luminary.
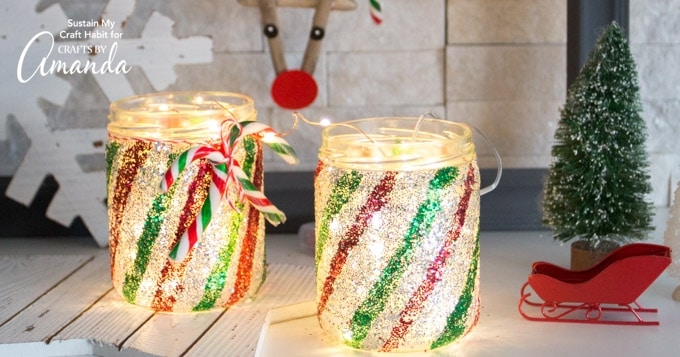
Or simply use it to hold candy for the holiday (make sure that the candies are wrapped so that they don’t get glitter on them).
I have mine set up on my Christmas mantel which includes our Christmas Mason jar snowman.
More Holiday Crafts
- Christmas Terrarium
- Cinnamon Ornaments
- Birdhouse Gingerbread House
- DIY Peppermint Bath Salts
- Decoupaged Wood Slice Ornaments
- Sea Glass Christmas Trees
- Waterless Snow Globes
I love to create and share my projects with you! I know it’s hard to remember to come back and search, so I’ve made it easy for you with my weekly newsletter! You can subscribe for free and I’ll send you fun crafts every week right to your email.
Candy Cane Mason Jar Luminary
Supplies
- small glass jar such as a salsa jar or Mason jar
- washi tape in two widths or masking tape
- Mod Podge
- Glitter in red, green, and silver
Craft tools
- Utility knife
Instructions
- Thoroughly wash the glass jar and remove any labels.
- Place alternating thin and thick strips of tape, slightly diagonally down the jar.
- Pour out a bunch of silver glitter on your working surface.
- Working in small sections, paint Mod Podge onto the untaped areas of the Mason jar luminary.
- Before it dries, roll the glued section of the glass jar over the silver glitter. Repeat this all the way around the jar and let dry before moving on to the next step.
- Gently remove just the thicker pieces of tape from the jar. Clean up all the silver glitter.
- Pour out a bunch of green glitter onto your cleaned working surface.
- With a small brush, add Mod Podge to the uncovered glass, working in small sections.
- Roll the jar in the green glitter. Repeat this all the way around the jar and let dry before moving on to the next step.
- Repeat the steps above for the red glitter.
This post was originally published on this blog on Nov. 24, 2017.
- DIY Pebble Art - July 26, 2024
- Beach Terrarium - July 23, 2024
- Strawberry Painted Rocks - July 12, 2024


Jan says
I saw recently that glitter has been banned because it has ended up in the waterways. Also, I noticed that this same project was posted last year on November 19, 2019. I recently changed email addresses. However, I’m wondering if I unsubscribe and give you my new email address will I then start a rotation of your projects to my new email address, that I’ve already received?? I’m sending this via my old email address., until I hear from you.
Amanda Formaro says
Hi Jan. Sometimes we republish older projects to bring them back into the reader’s eye, especially when it pertains to a timely season or holiday. No it will not start a new rotation :)