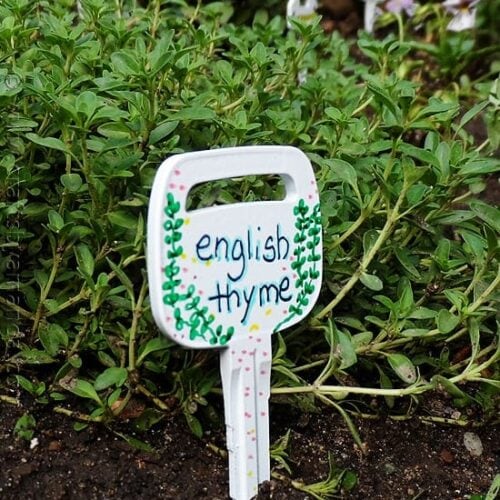
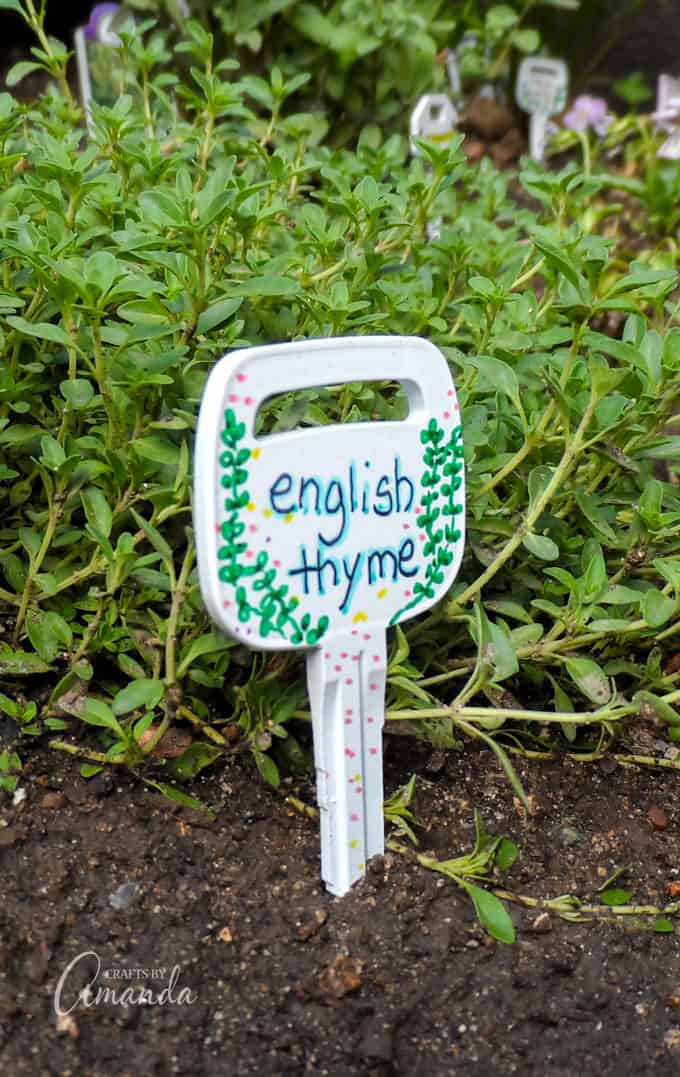
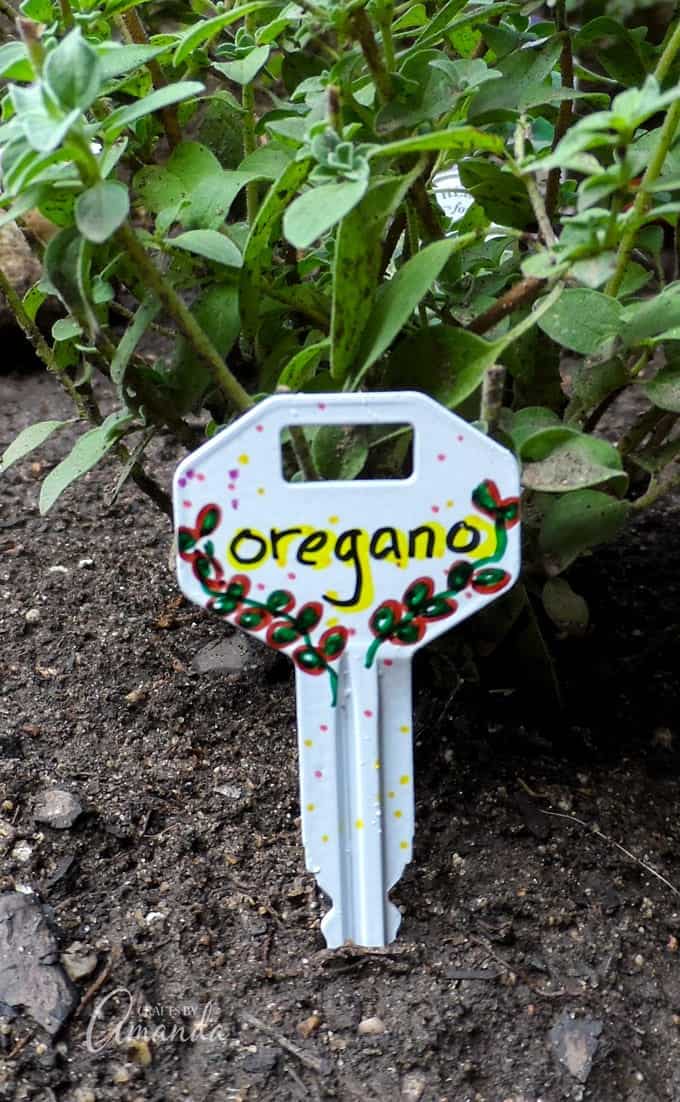
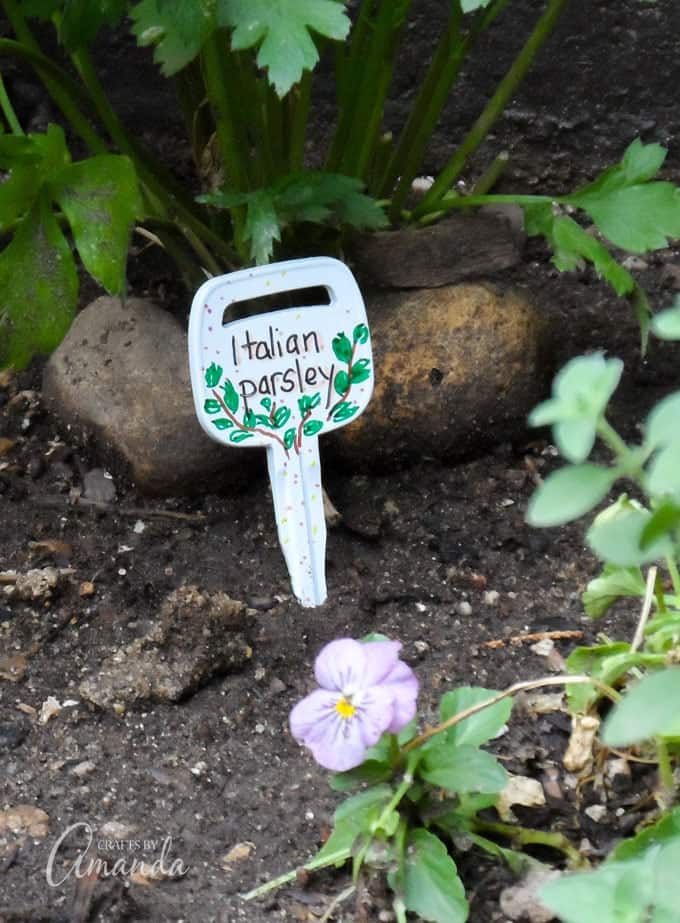
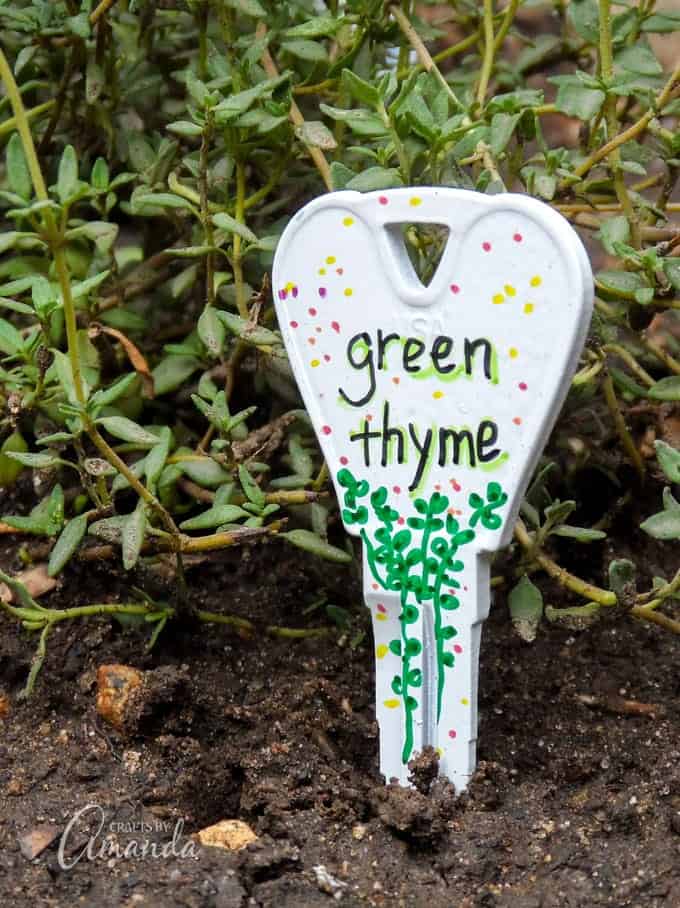
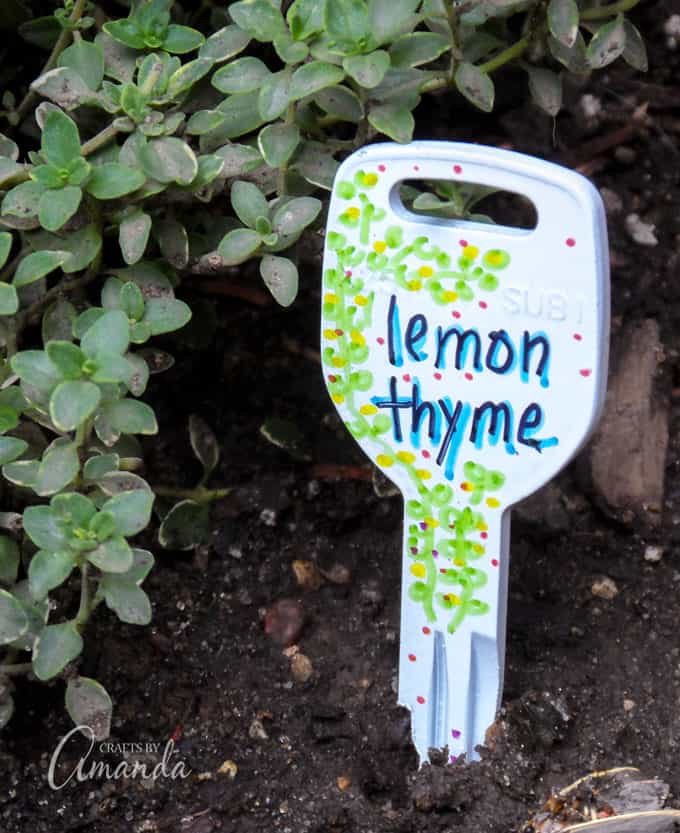
Use old keys to make these recycled key garden markers for your herb, vegetable, or flower garden this spring. This is a wonderful springtime recycling project to keep old keys out of the landfill.
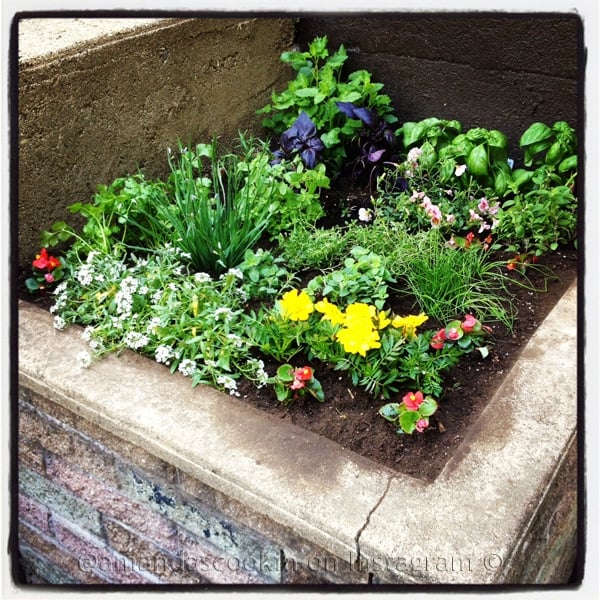
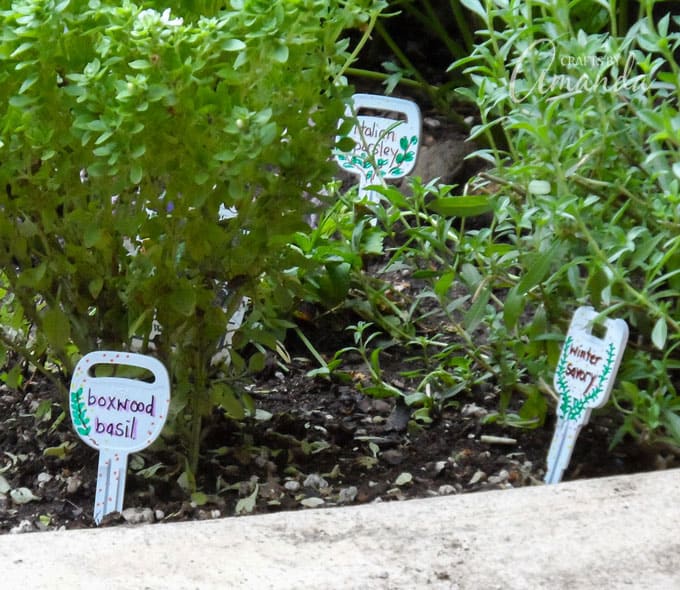
I have a wooden planter box outside my door where each year I plant my herb garden. I’m not crazy about those little plastic markers that come with the potted herbs, so I decided to make a set of my own.
Luck would have it that I had been given a big container full of keys and I knew there were lots of projects I could use them for. First, I made these adorable Recycled Key Snowman Ornaments with my big batch of keys, and now these recycled key garden markers were born!
Recycled Key Garden Markers
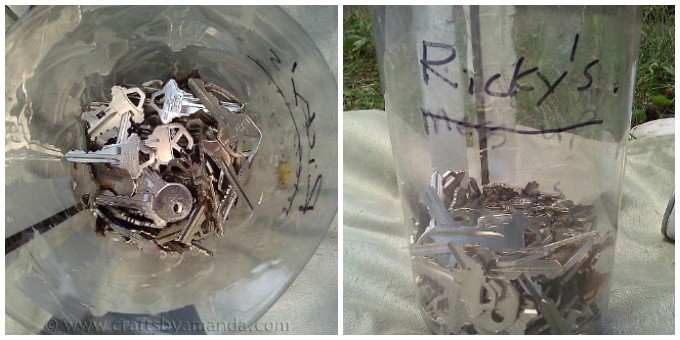
My daughter’s boyfriend works at the hardware store here in town. One day he showed up with a 2-liter plastic bottle, the top cut off and filled with keys. They have a key cutting machine, and apparently, these were all the rejects. He knew me well enough that I could probably make something from them!
As you can see from the bottle, they had some fun with a fellow employee named Ricky! :)
I love recycling things and keeping as much as possible out of the landfill. If you’re like that too, I suggest you check with your local hardware store and see what they do with their mishap keys! Maybe you’ll come home with a batch as well.
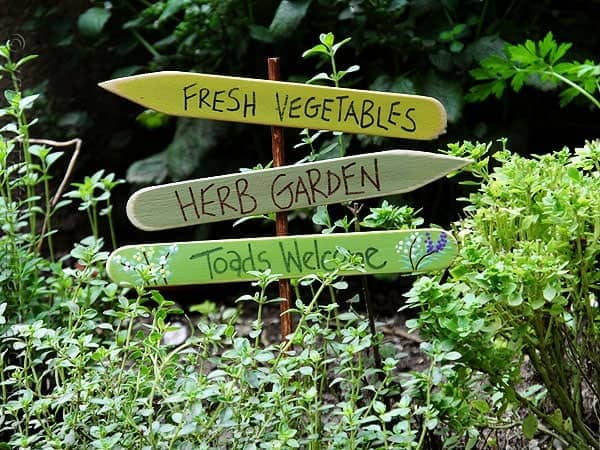
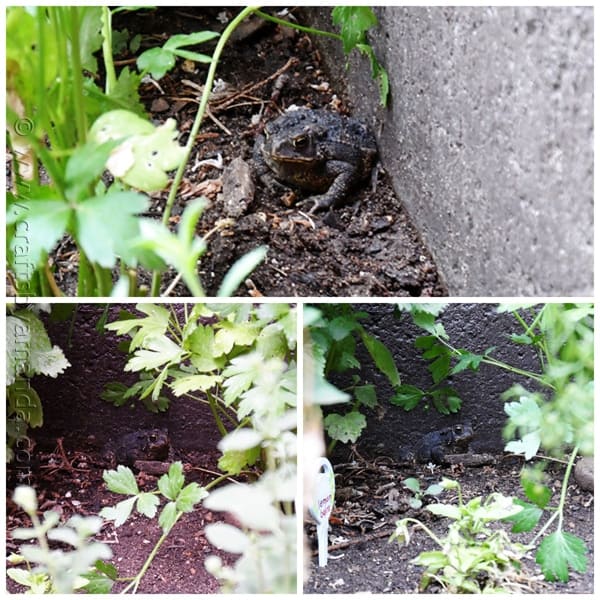
Anyway, back to the planter. You might remember my Toads Welcome Herb Garden Sign from last year.
Please note, all of these key marker photos are from last year, hence the vast amount of unplanted space you see.
Well, this year I looked at the empty planter and decided I wanted it to be much fuller than last year. I added even more herbs, and I kid you not, the day after I planted them the toad was back! I’m happy to see him taking up residence here once again. And, this year, he has a lot more plant cover as you can see!
Here are some photos of him from last year.
What you’ll need to make Recycled Key Garden Markers
- Recycled keys
- White indoor/outdoor spray paint
- Colorful Sharpie permanent markers
- Outdoor sealer spray or brush-on (such as Outdoor Mod Podge)
How To Make Recycled Key Garden Markers
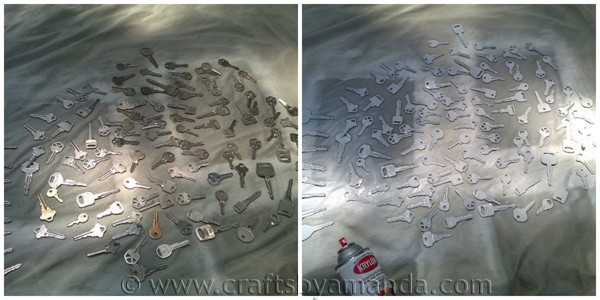
To make these plant markers, I used white spray paint with a satin finish. I used an old shower curtain to protect the grass and laid all the keys out. I sprayed them on one side and let them dry, then flipped them over and did the other side.
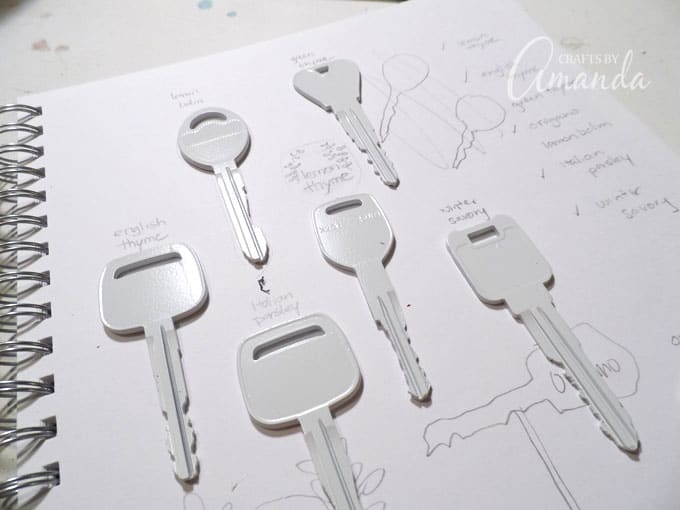
To decide what to write on each key, I traced each one’s shape onto paper first. Then I drew out the herb names to see what fit best on each key.
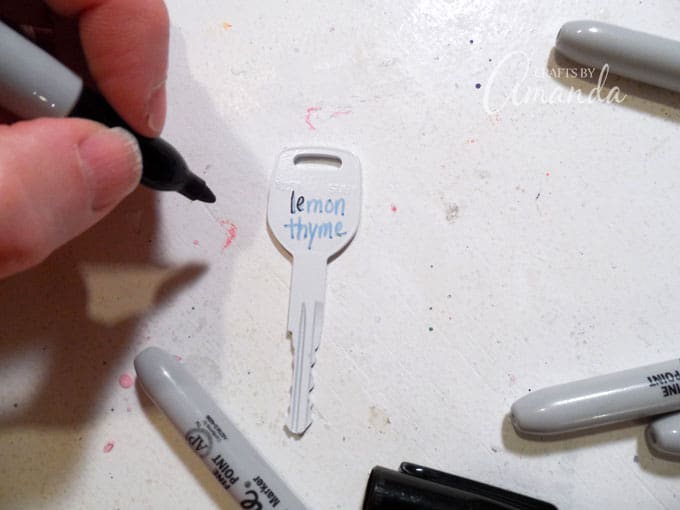
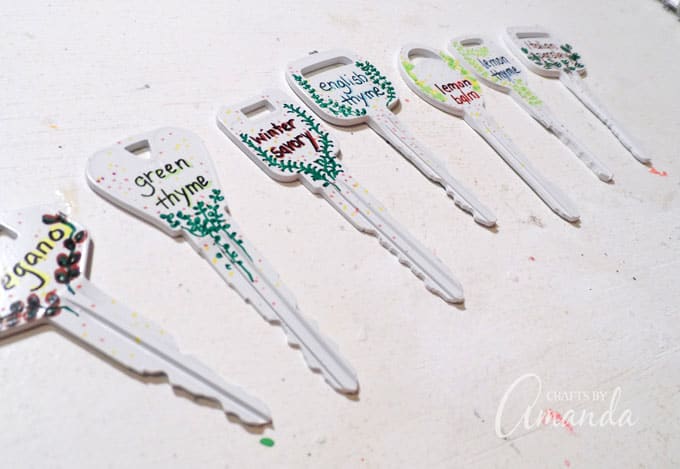
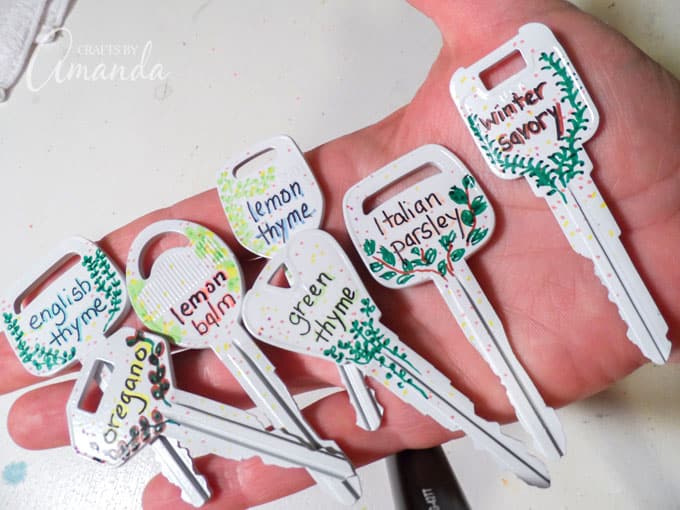
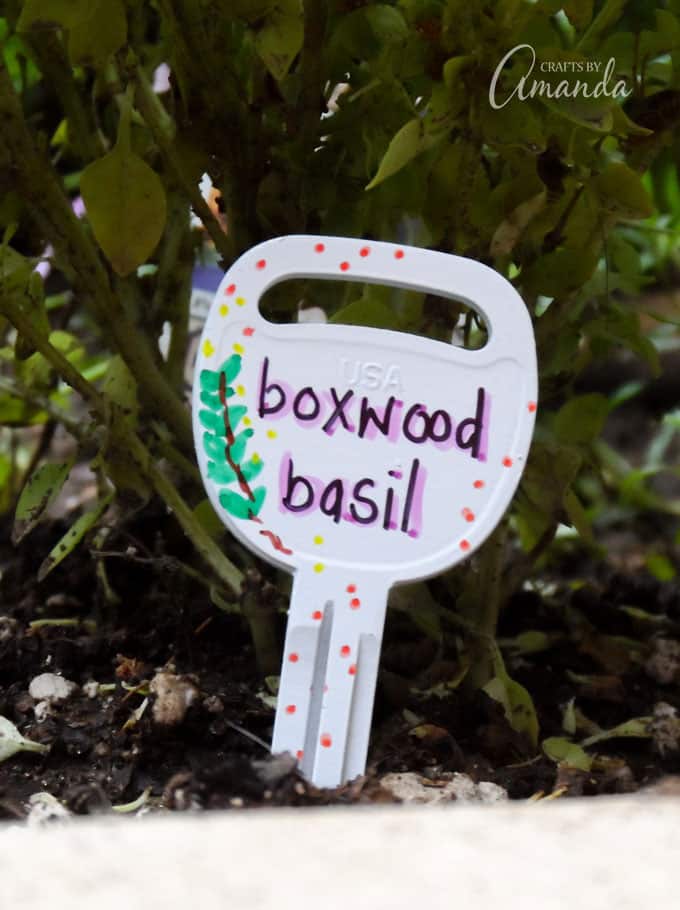
When I was ready, I used colored Sharpie’s to add the words and designs.
Have fun with different colors and designs on each key!
Cute, right?!
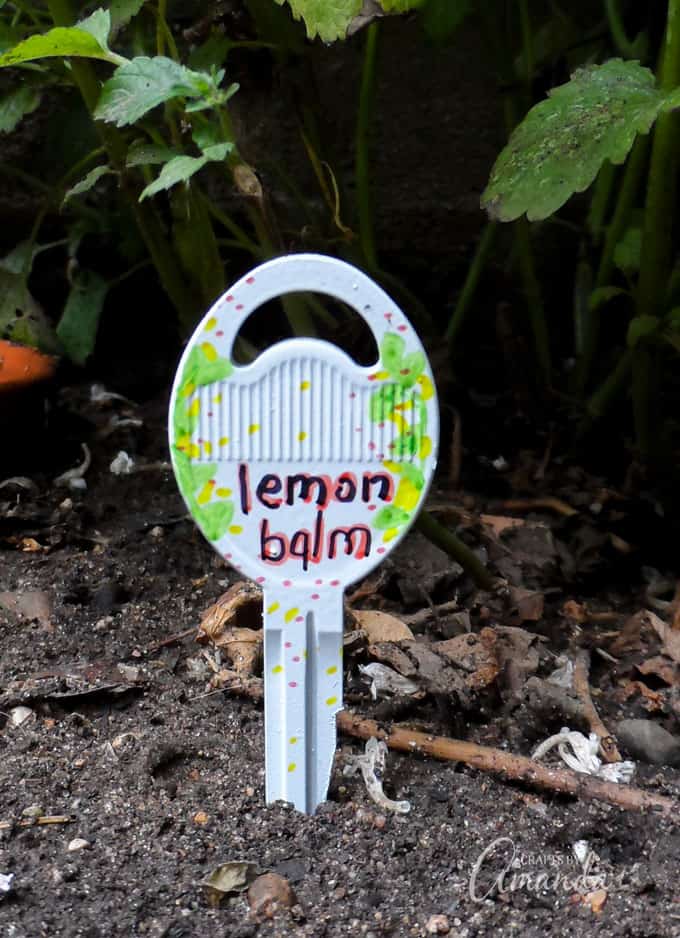
These recycled key garden markers survived great last year, but I neglected to bring them in over the winter and now I have to redo them. So don’t forget to bring in your markers and save yourself the extra step!
Don’t miss my Plastic Spoon Garden Markers for another great recycled craft AND garden marker project! Another popular one is my Painted Rock Garden Markers. Happy crafting!
More DIY Garden Decor Ideas
- Cheese Grater Owl
- Ladybug Painted Rocks
- Watering Can That Pours Crystals
- Beaded Decorative Garden Stakes
- Mason Jar Bird Feeder
Recycled Key Garden Markers
Supplies
- Recycled keys
- White indoor/outdoor spray paint
- Colorful Sharpie permanent markers
- Outdoor sealer spray or brush-on such as Outdoor Mod Podge
Instructions
- Spray paint the keys and allow to dry. Give them a second coat and let them dry again before turning them all over and painting the other side.
- Write herb names with colorful Sharpies. Then trace over the words, offset just a little, with a black fine point Sharpie. You want to make sure the color shows through.
- Use shades of green to draw leaves in different sizes on the keys. I also used pinks, oranges and reds to add a few dots here and there just for colorful accent.
- Allow the marker to dry for two hours before applying sealer. Apply two coats to each side.
This post was originally published on this blog on May 24, 2013.
- Watercolor Luminaries - February 11, 2025
- Free Valentine Printables: Cards, toppers, and tags - February 4, 2025
- Valentine Hugs - January 31, 2025


Naomie Moore, Castaic, CA says
Absolutely adorable! I just happen to have a vast quantity of keys left over from stuff that used to belong to my parents. And just like you, I didn’t want them in a landfill and making yet another windchime seemed a bit much. This is perfect! I grow quite a variety of herbs, spices and peppers. During the growing season I give away as much as anyone wants and the excess abundance, I dry and then place in tins and give as gifts to friends, neighbors and co-workers that cook and bake. And now you have provided me with a fun project as well as a gift for one of my gardening girlfriends! Yay! Thanks so much for sharing!
Amanda Formaro says
How fun, thanks!
Carmen Sanchez says
I have a collection of keys that no one seems to know what they open :)
This is a lovely idea!
lmcburney says
I love the recycled key idea. When the plants fill out, you could hang the keys over the plants from something else recycled like hangers or something. Over strawberry plants perhaps the dangling keys would deter the birds from landing and eating them. I remember my grandpa hanging small pie tins over his plants. Same idea, have something randomly making movement and noise to deter the birds. Anyway, just my thoughts on your great recycled key project.
Amanda Formaro says
I have never heard of that, what a great idea!
Angie | Big Bear's Wife says
ahhhh so neat! Those will look perfect in our flowerbed and herb planters!
Amanda Formaro says
Thanks Angie! They are definitely fun and different!
Mary Louise Shimkus says
This will make me smile when I’m in the garden, not to mention the one that will be on my sisters face when I give her her own set of “garden keys”. Thanks, Amanda
Amanda Formaro says
What a sweet gift idea mary!
Terri Betz says
Awesomeness! You are a genius! These are magical and I have a bunch of old keys! Love you and your brain! Pinning it of course as Blue Strong! You’ve made my day Amanda!Thanks Thanks Thanks! :)
Amanda Formaro says
Thanks Terri, you are too kind! So glad you liked them, hope you have fun!
Casse-bonbec says
what a good and beautiful idea !
Amanda Formaro says
Thank you so much Casse!
shawna bates says
Very cute idea!!
Amanda Formaro says
Thank you Shawna!