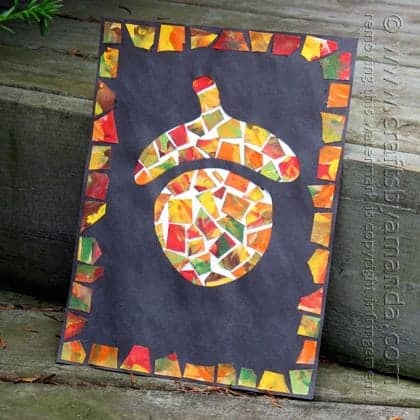
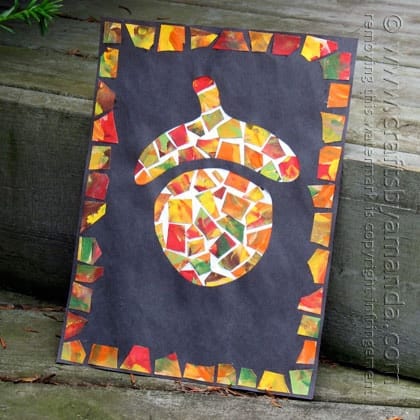
This mosaic paper acorn is one of my all time favorite kid’s crafts for fall. I drew an acorn shape (I have provided a pattern for you below) and used finger painted paper to create an acorn mosaic. With this paper acorn project, your child can create a beautiful piece of artwork just in time for the falling of the leaves.
Download the free pattern here
While my paper acorn project uses finger painted paper, you could just as easily use construction paper, scrapbook paper, or plain paper that has been colored with markers or crayons. Kids love to finger paint, so it’s an added bonus that turns one art project into another.
Hint: If you would like to go the finger painting route for this paper acorn AND it happens to be a hot end-of-summer kind of day, lay a dollar store table cloth out on the deck, porch or picnic table and let the kids paint away in their bathing suits. When they are done they can leave their artwork to dry in the sun and then wash off in the backyard sprinkler!
If it’s not hot enough outside for all of that, be sure to pull smocks over the kids’ heads to keep their clothes from getting paint on them while they work on their paper acorn and painting projects.
When they are all done with their paper acorn, hang it up on the fridge for all to see!
I originally made this project for Kaboose, which was then bought out by Spoonful. Spoonful has since closed and the instructions were taken down. I am putting the instructions here until such time that Spoonful projects are redirected to a new home. At that time I will remove the instructions and link directly to the project on their site.
Mosaic Acorn
Supplies
- Scraps of painted paper
- A piece of paper finger painted with fall colors
- Construction paper or magazine pages in red orange, yellow, green, and brown
- 1 sheet of black construction paper
- 1 sheet of white copier paper
- Black marker
- Pencil
- Paper clip
- Scissors
- Acorn pattern
Instructions
- Cut the scraps of painted paper/construction paper/magazine pages into 1/2” – 1” pieces.
- Print acorn pattern, you will need to enlarge the image.
- Trace around the pattern using a black marker. Place a piece of white paper on top of the pattern and paper clip it to hold in place.
- Use glue bottle to trace around the pattern on the blank paper, the black marker should show through allowing you to trace. Fill in the pattern area on the blank paper with white craft glue. Remove paper clip and take printed pattern out from behind the glued paper.
- Place painted paper scraps onto the glue, overlapping the edges of the pattern and leaving some white space between each scrap of painted paper. Set aside to dry.
- Take printed pattern and place over the top of one sheet of black construction paper. Use a pencil to trace the outline of the acorn pattern, pressing firmly so that the black paper underneath becomes indented.
- Remove pattern and carefully cut out the two traced shapes from the black paper, leaving an acorn shaped window in the black paper.
- Line up the black paper with the acorn-shaped window over the top of the mosaic acorn picture so that the mosaic pieces appear through the window.
- Glue or tape the white paper onto the back of the black paper with the acorn window.
- Glue extra pieces of painted paper around the border of the paper as a mosaic frame.
Expert Tips & FAQs
- 30+ Organization Ideas and Tips - January 14, 2025
- Makeover: Plastic Storage Drawers - January 3, 2025
- Paint Stick Snowmen - December 31, 2024


Mary says
Such a beautiful craft idea! Just included this on my recent post – Top Ten Fall Activities! http://simplynatureplusnurture.com/2016/08/29/fall-activities/
Amanda Formaro says
Thanks so much for the feature, I really appreciate it!