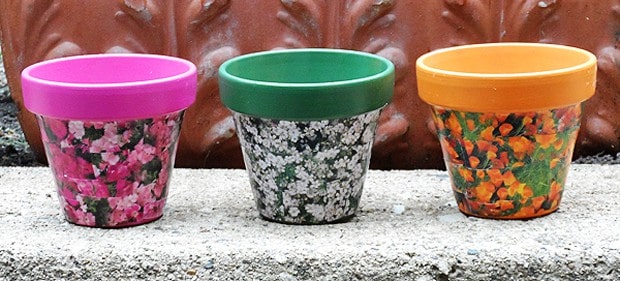
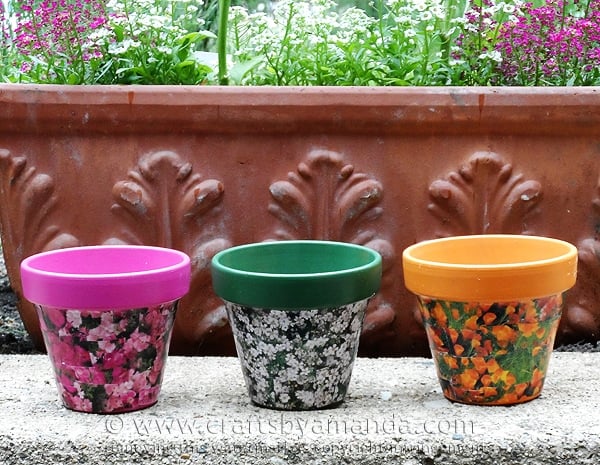
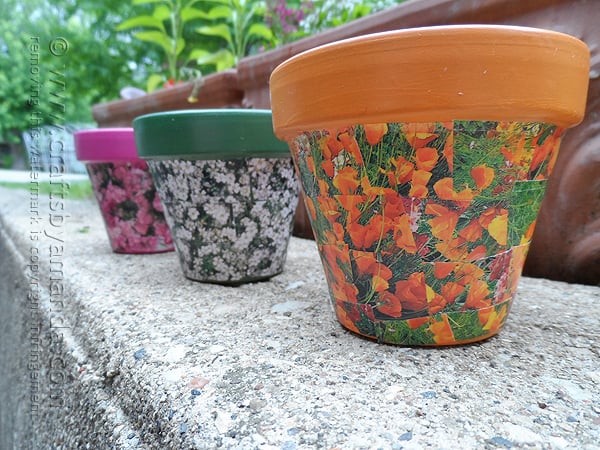
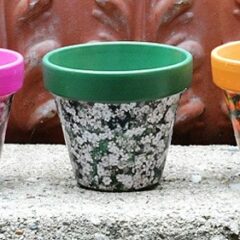
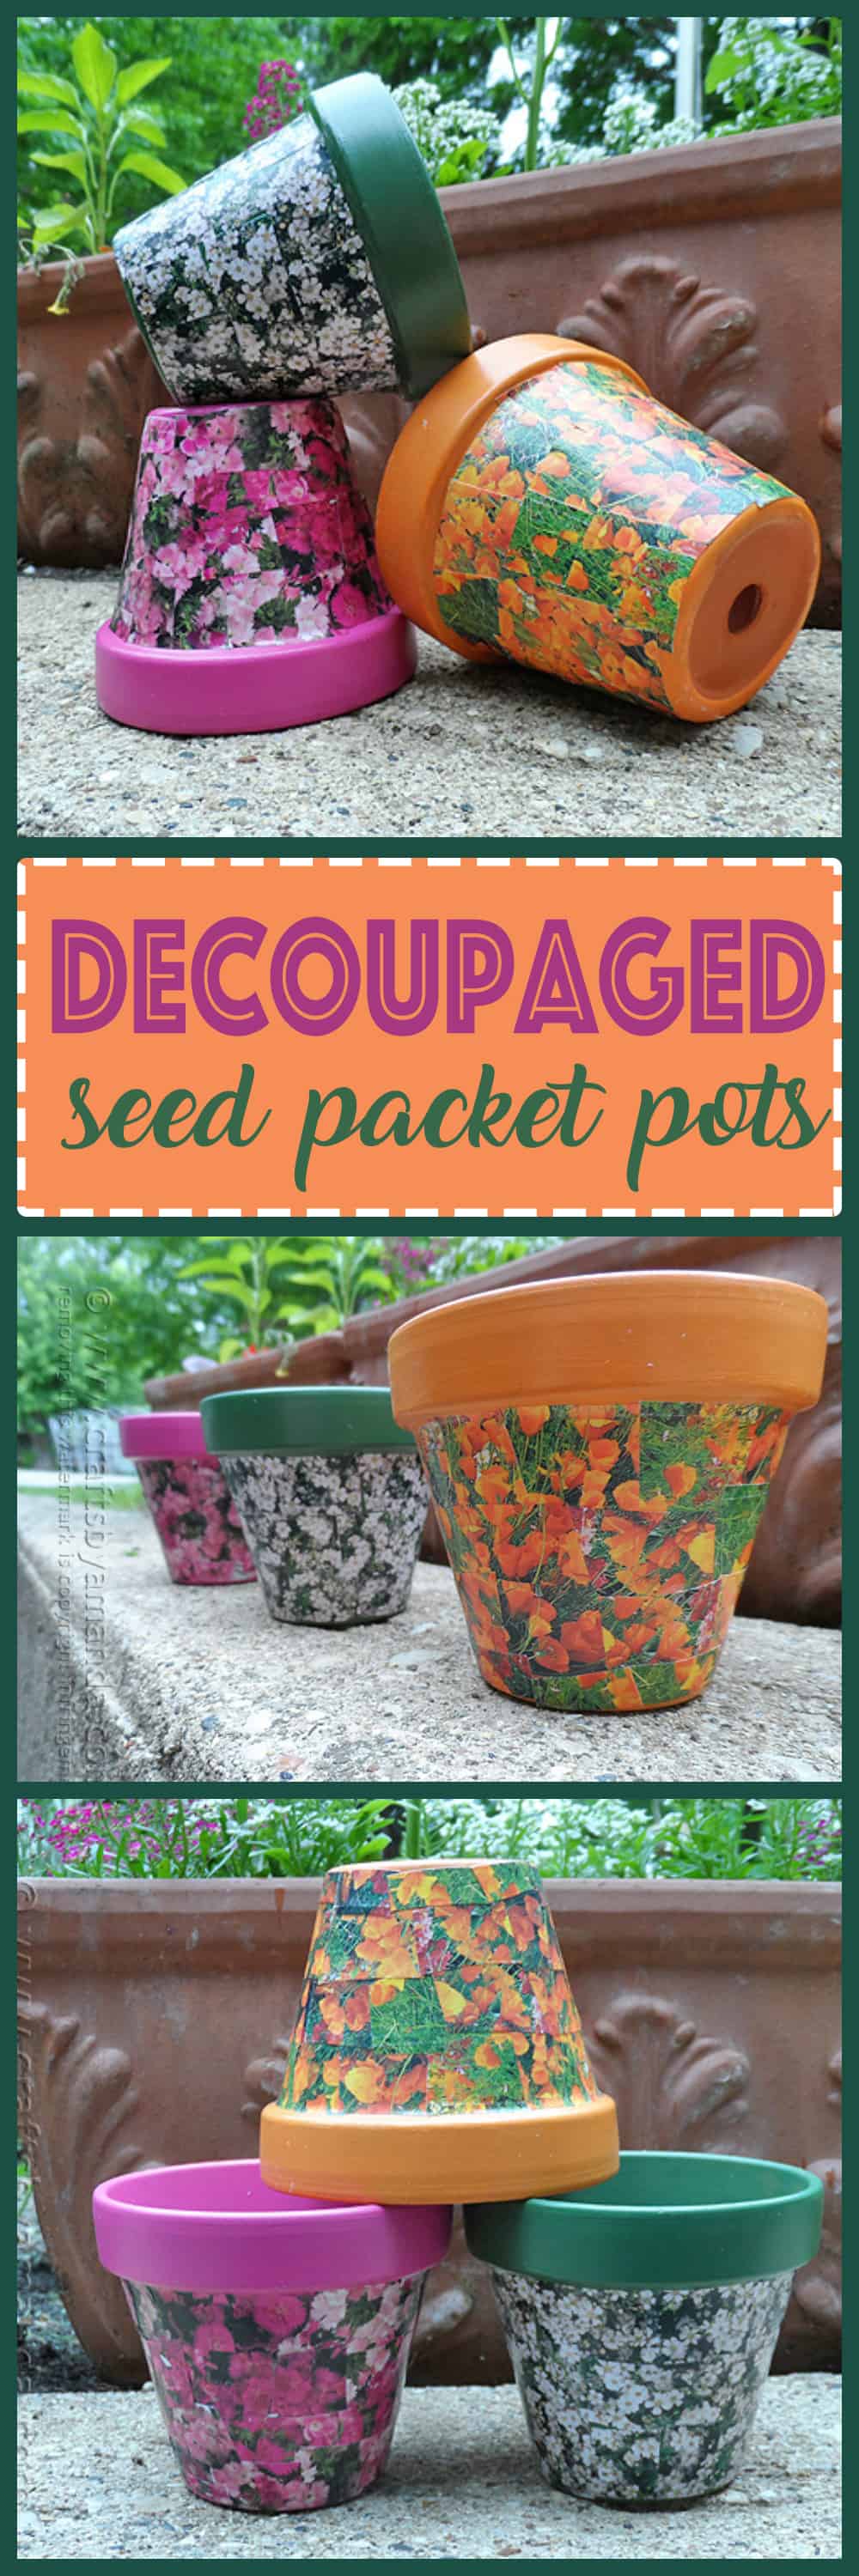
I was at the Dollar General one day and saw that they had a big display of flower and vegetable seeds. I grabbed several, but then the “must recycle everything” portion of my brain kicked in and said “hey, what are you going to do with the empty packets? Hmm?” I like to decoupage clay pots, they turn out so fun, so that’s what I decided to do.
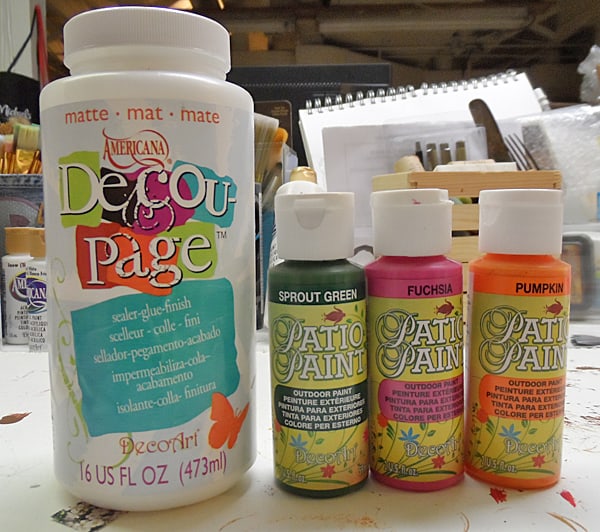
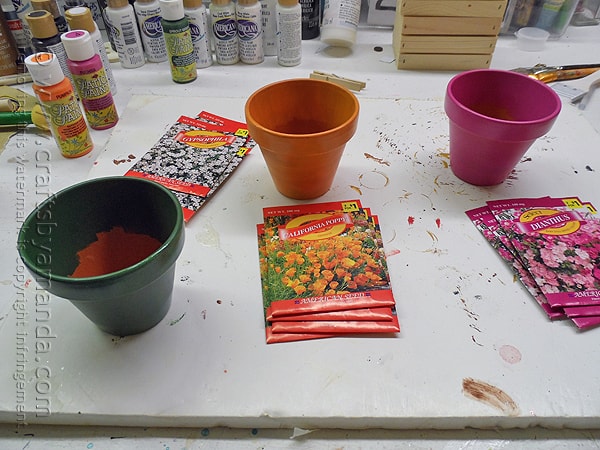
A little color coordinating with paint and the seed packets had to be done first. I started digging through my collection of Patio Paint which I LOVE. I adore how it goes on and stays there, just has such a nice feeling to it! Patio Paint is made for porous surface like clay pots and works beautifully.
I picked Sprout Green, Fuchsia
and Pumpkin
. I also used Americana Decou-page
, but Mod Podge
is great too. In fact, you might want to opt for the outdoor formula
if you plan to use these outside.
This winter has been long, long, long. As you can probably tell from the pictures, I made this project last year when it was still warm and I had lovely plants in the ground and in pots!
If you keep up with me on Instagram, you probably saw plenty of flower and herb pictures last summer. Here’s a fairly new lavender plant I have. I’m hoping this year it’s much bigger!
And you probably remember this guy. I found him at the local flea market and placed him right by my kale plants…
This is what he looked like this winter!
This is something else I can’t wait for. Green grass…
And blue skies…
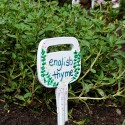
I cannot wait to get into my garden, plant some herbs, bring out my fairy garden and welcome my toad back! He’s come back two years in a row, so hopefully I’ll see him again this year. Do you remember this Toads Welcome Herb Sign I made?
Anyway, maybe I can bring some spring into my world with a craft project!
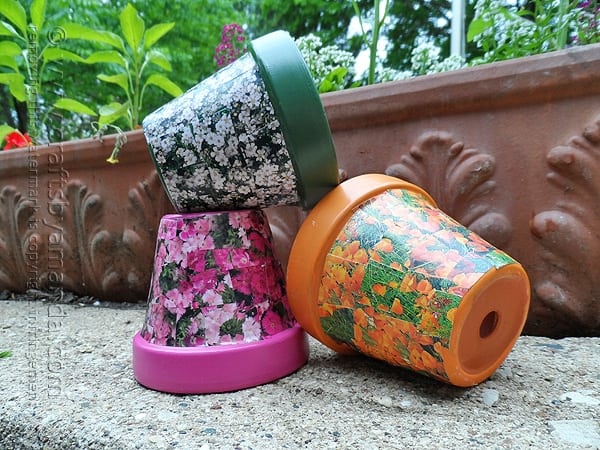
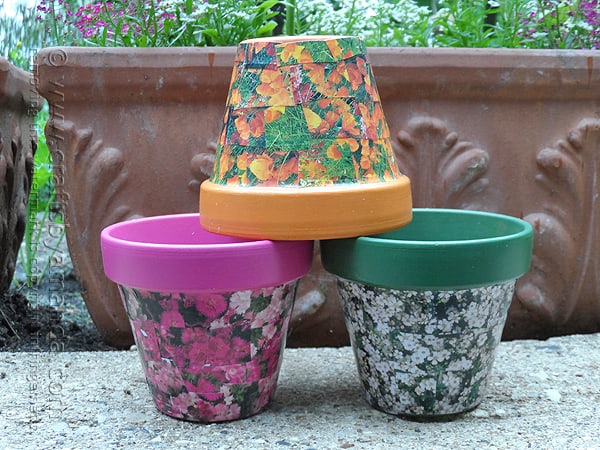
This is a pretty simple craft, all you do is paint the pots and let them dry, then cut the seed packets up and decoupage them onto the pots. Easy peasy! Full printable instructions are at the end of this post. I hope you have fun with this or a similar project.
More garden crafts
If you need some inspiration for other garden projects, check out some I’ve chosen for you below. Or you can browse all the garden crafts here.
More Outdoor Crafts and Projects
- Cheese Grater Owl
- DIY Garden Stepping Stones
- Mason Jar Wind Chime
- Ladybug Painted Rocks
- Mason Jar Solar Lights
- Terracotta Pot Wind Chimes
- Clay Pot Toadstools
- Fingerprint Flower Pot
Seed Packet Decoupage Clay Pots
Supplies
- 1 4- inch clay pot
- 3-4 seed packets
- Craft paint in a color that coordinates with your seed packets
- Decoupage medium Mod Podge
- Scissors
Instructions
- Paint the outside, the rim and about an inch or so of the inside of your clay pot. 2 coats may be needed. Allow to dry for 2 hours.
- Because seed packets are made of thick shiny paper, it's a good idea to dip them in water first. Remove them from the water and gently dab water off both sides with a clean towel. This softens the paper a bit, making it easier to decoupage.
- Cut seed packet into small squares, approximately 3/4".
- Apply a coat of decoupage medium to the pot. Place seed packet squares onto the pot and press gently into the decoupage medium. Continue until entire pot is covered, except for the rim, overlapping squares a little to cover pot surface. Apply more medium as needed.
- When pot is covered, apply a generous (but not dripping) coat of decoupage medium over the top of all the seed packet squares. Allow pots to dry overnight before using.
Expert Tips & FAQs
- Paper Plate Tropical Fish Craft - July 19, 2024
- Tropical Paper Flowers - July 16, 2024
- DIY Mosquito Repellent Candles - July 9, 2024




Rebecca Payne says
So Cute.
Cindy says
Cool idea and I love the look of the packets on the clay pots.
er says
Simple, easy and beautiful.
Amanda Formaro says
Thank you ER :)
Faby says
j’adore l’idée ! merci beaucoup (y)
Amanda Formaro says
Thank you Faby, glad you like them!
Donna Foerster says
I used seed catalogs instead of seed packets, and they worked well. I cut out the pictures, put similar colors together, and was able to do a lot of very nice pots.